Good light exists everywhere. You just need to know where to look.
This isn't wishful thinking. Right now, wherever you're reading this, there's light doing something interesting somewhere in your space. A window creating soft illumination on one side of the room. Shadows adding depth in a corner. Reflected light bouncing off surfaces.
The difference between photographers who consistently get good light and those who complain about "bad light" comes down to whether they've trained themselves to see it. That's the core idea behind our entire lighting guide.
What "Good Light" Actually Means
Good light is simply light that serves your image.
For a portrait, good light usually means: soft, directional, flattering on skin, creating gentle shadows that add dimension without harshness.
For a dramatic landscape, good light might mean: hard, raking across terrain, creating deep shadows that reveal texture and form.
For a product shot, good light probably means: even, wrapping, showing detail without distracting highlights or shadows.
So "finding good light" really means finding light appropriate for your subject and intent. The light that makes a face beautiful might make a landscape boring. The light that creates drama might wreck a product shot.
When you're looking for light, know what you're looking for.
The Pocket Principle
Even in the "worst" lighting conditions, good light exists in pockets. Your job is to find them.
Harsh midday sun? There's open shade under every awning, tree, and overhang. There are reflected light pockets near light-colored walls. There are cool shadows in doorways and alleys.
Flat overcast? There's more direction near windows, under partial cover, anywhere the grey isn't uniform.
Mixed indoor lighting? There's cleaner light near windows, away from competing artificial sources.
The pockets are always there. Starting photographers stand wherever they happen to be and accept the light. Experienced photographers spend thirty seconds scanning the space for the pocket that works.
How to Train Your Eye
Seeing light is a skill you can develop with practice.
Exercise 1: Follow the Shadows
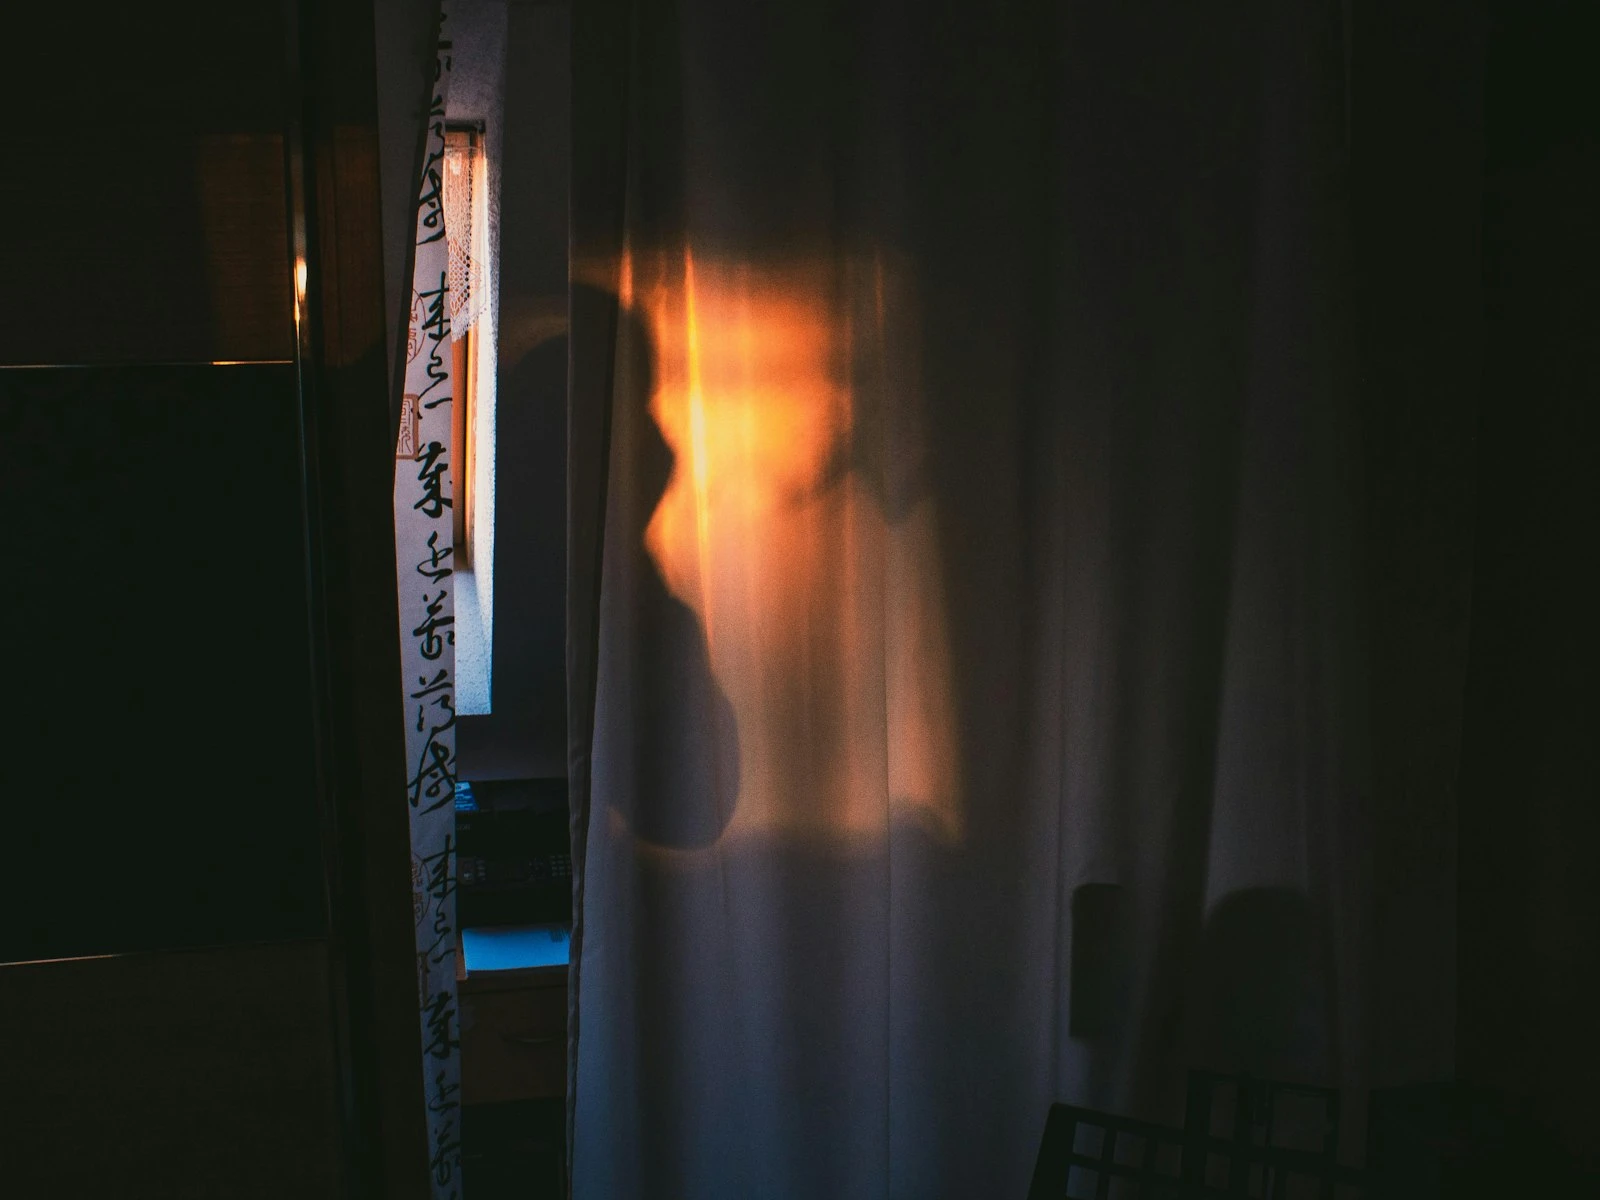
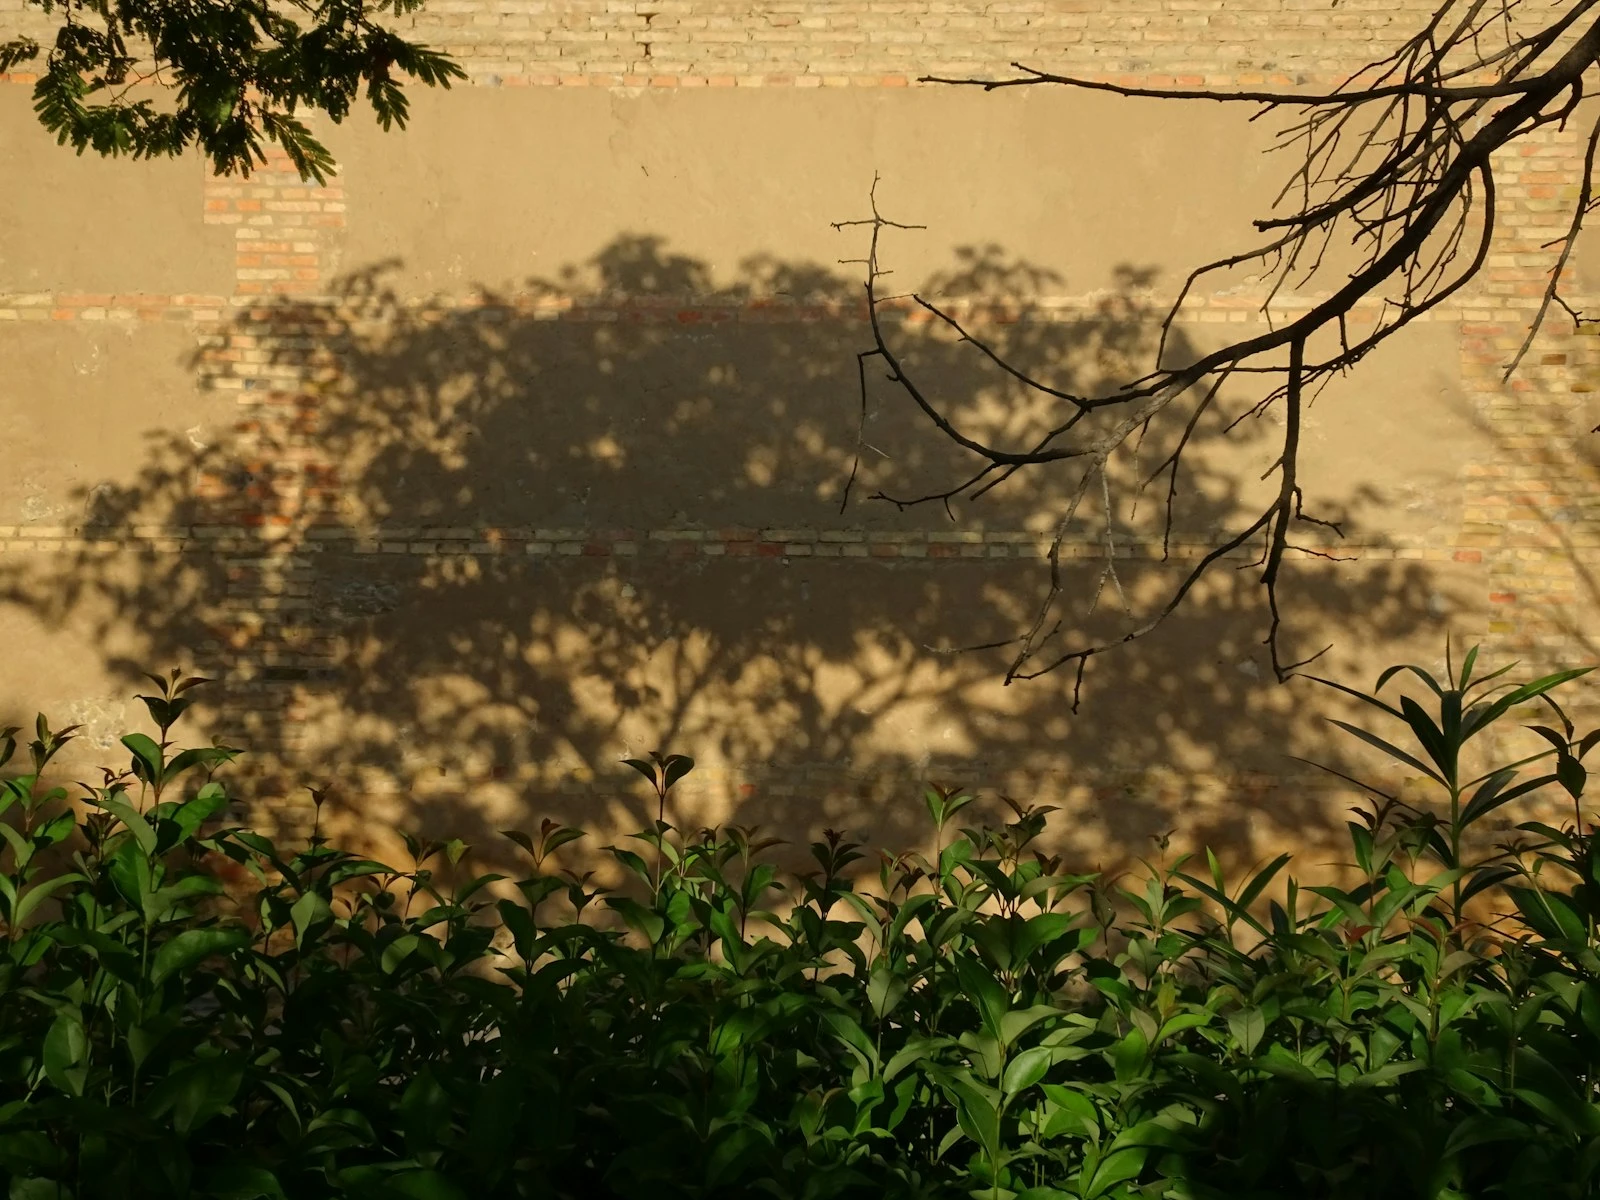
Shadows reveal light direction better than anything else. When you walk into any space, look at the ground and walls first. Where are shadows falling? Follow them backward to the light source.
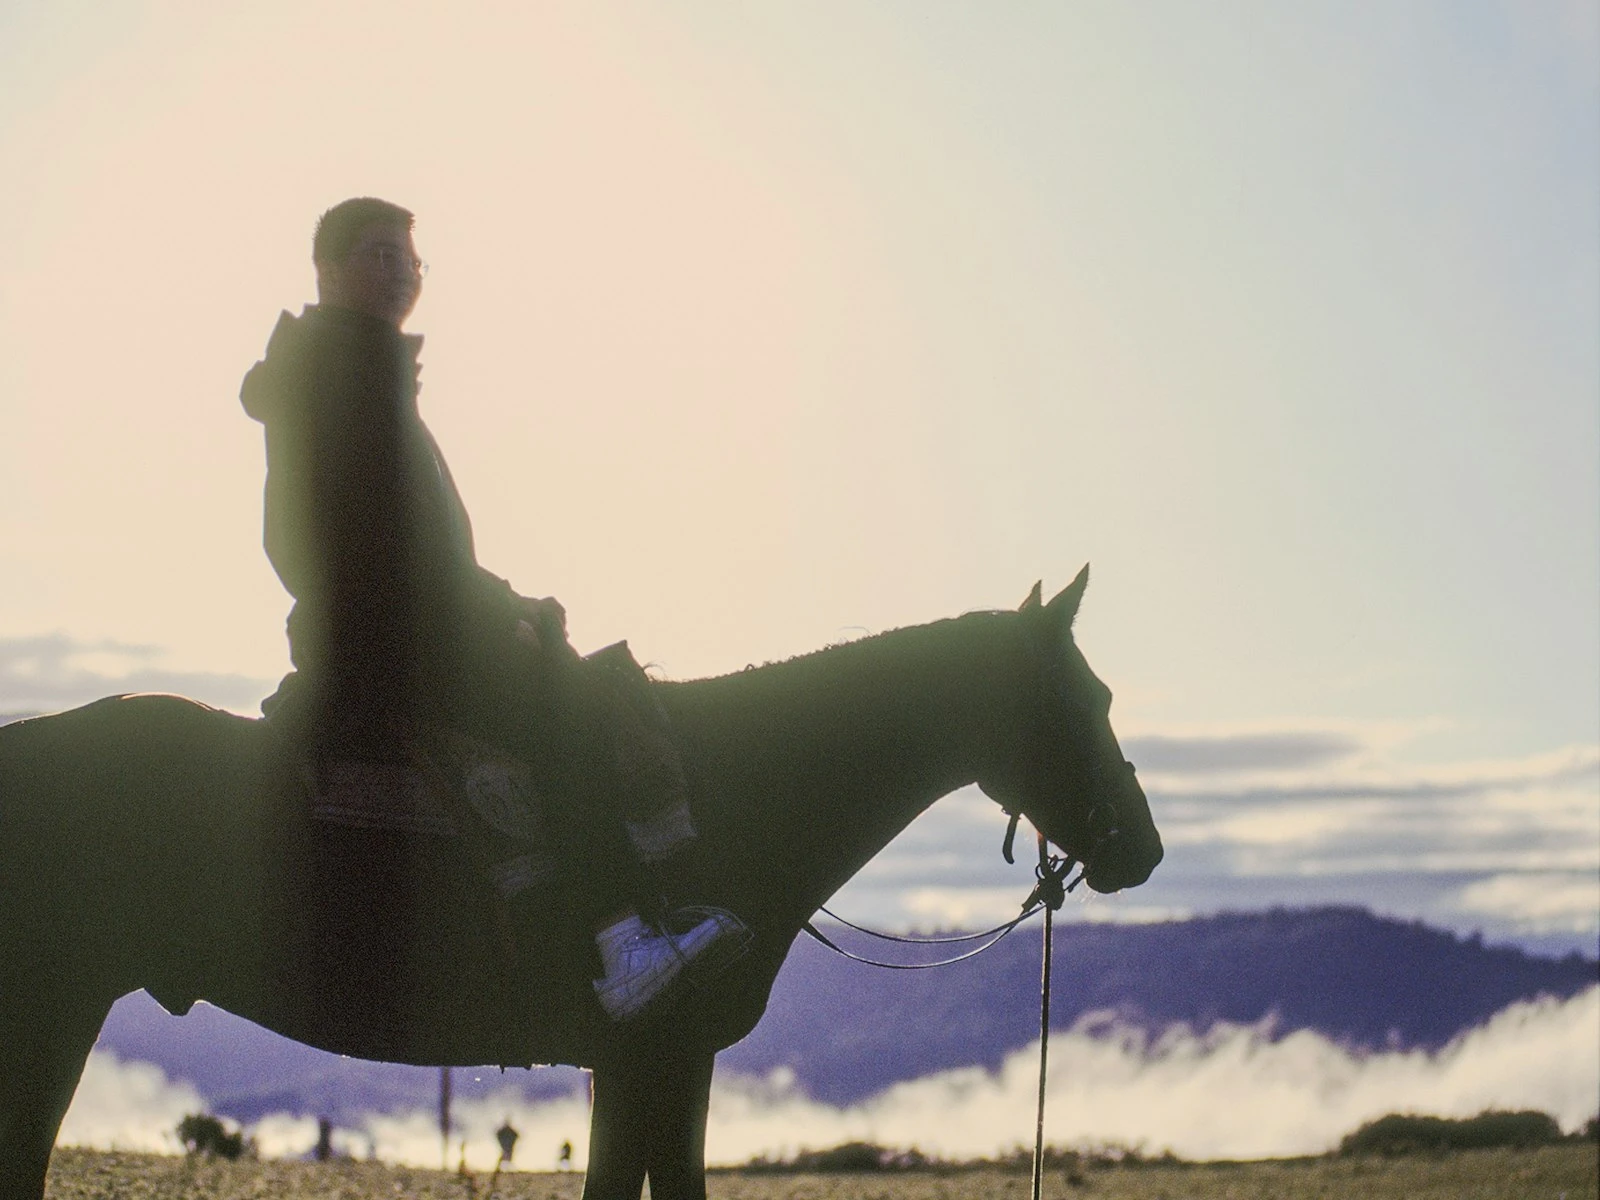
Long shadows mean low-angle light (morning, evening, or small source at distance). Short shadows mean overhead light. Soft shadow edges mean diffused light. Sharp edges mean direct, hard light.
Do this without your camera at lunch, in the office, and walking down the street. Notice shadows and trace them to sources to build the automatic awareness.
Exercise 2: Find the Window
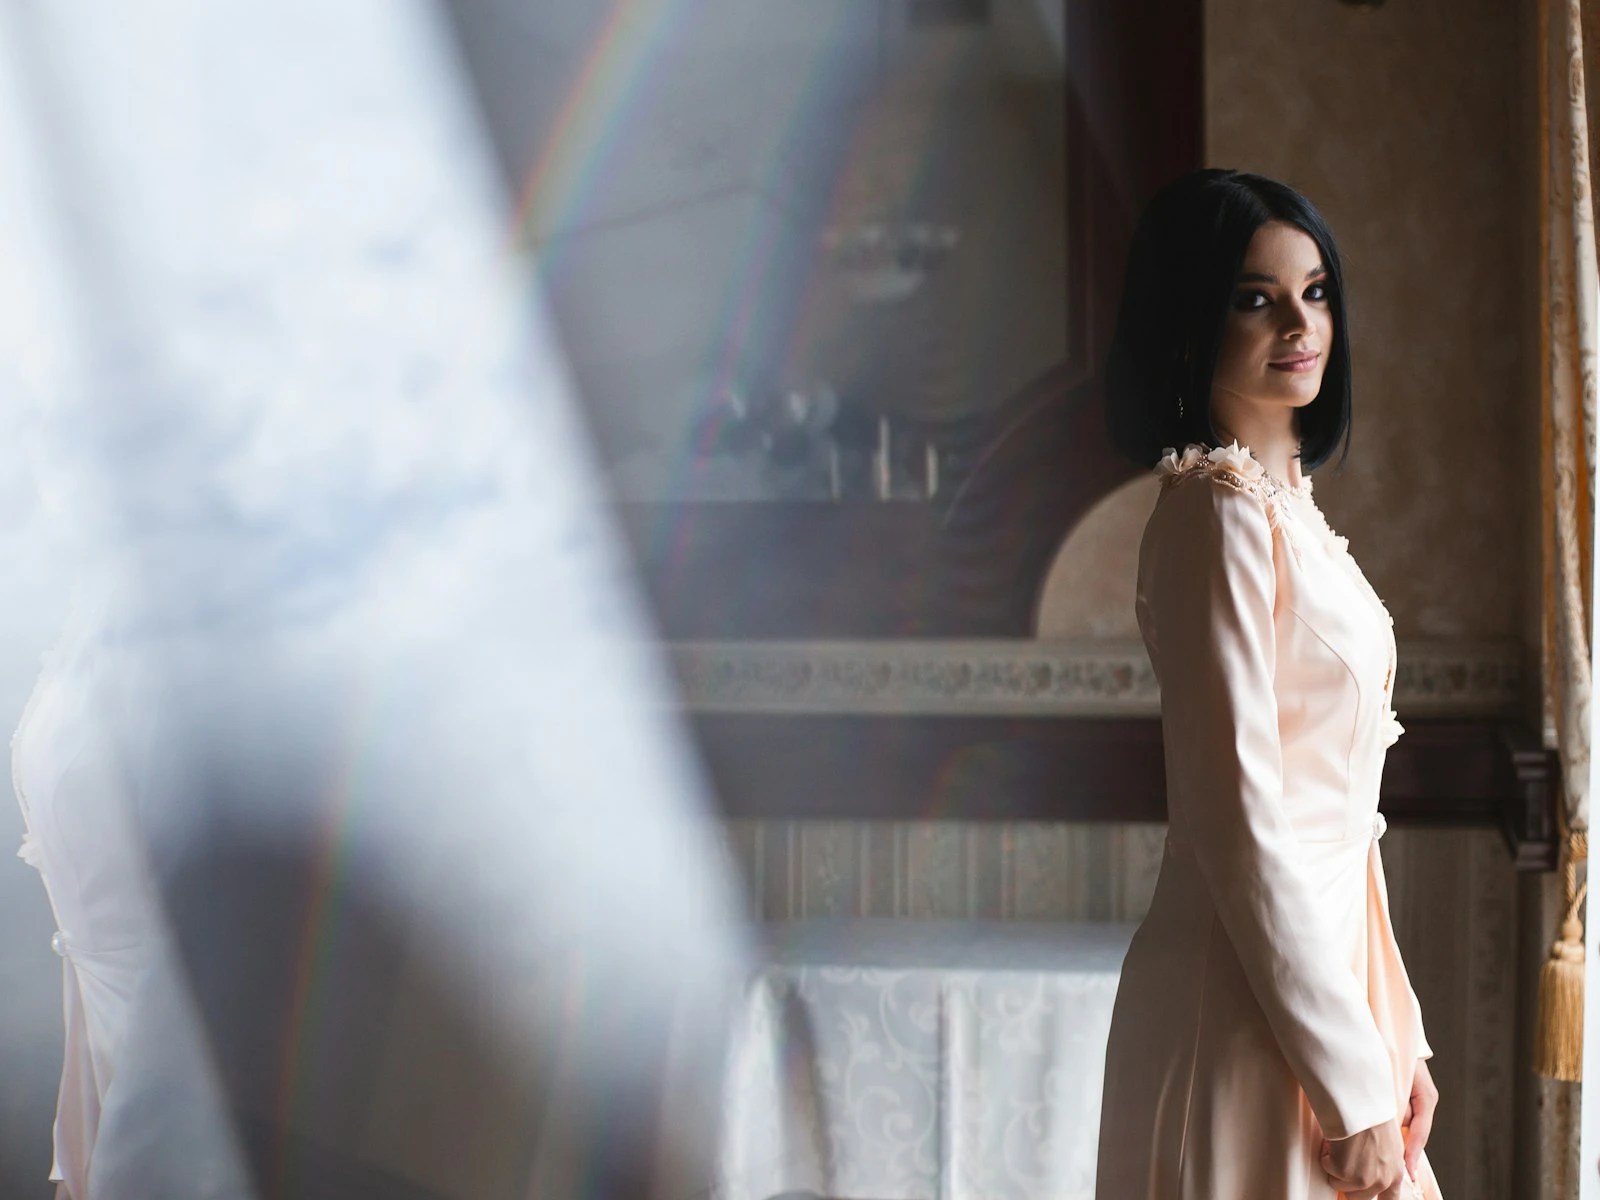
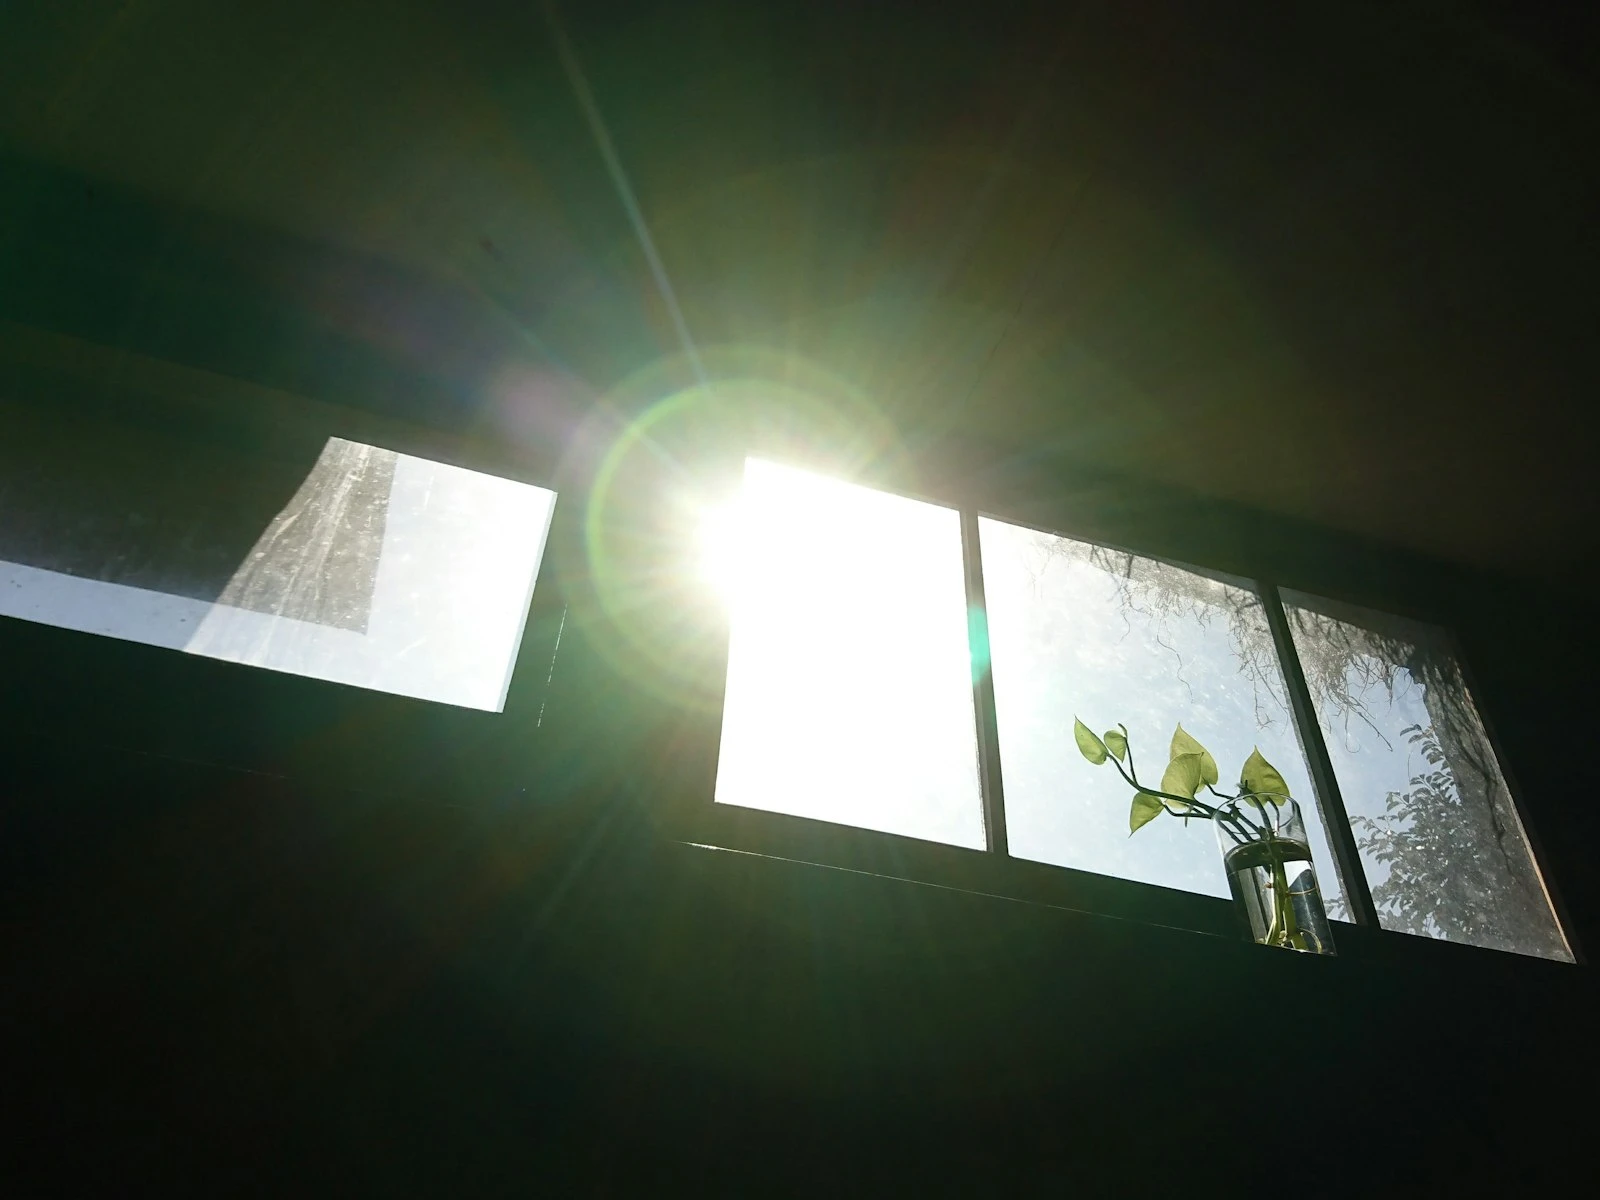
In any indoor space, the window is usually your best light source. But not all positions relative to a window are equal.
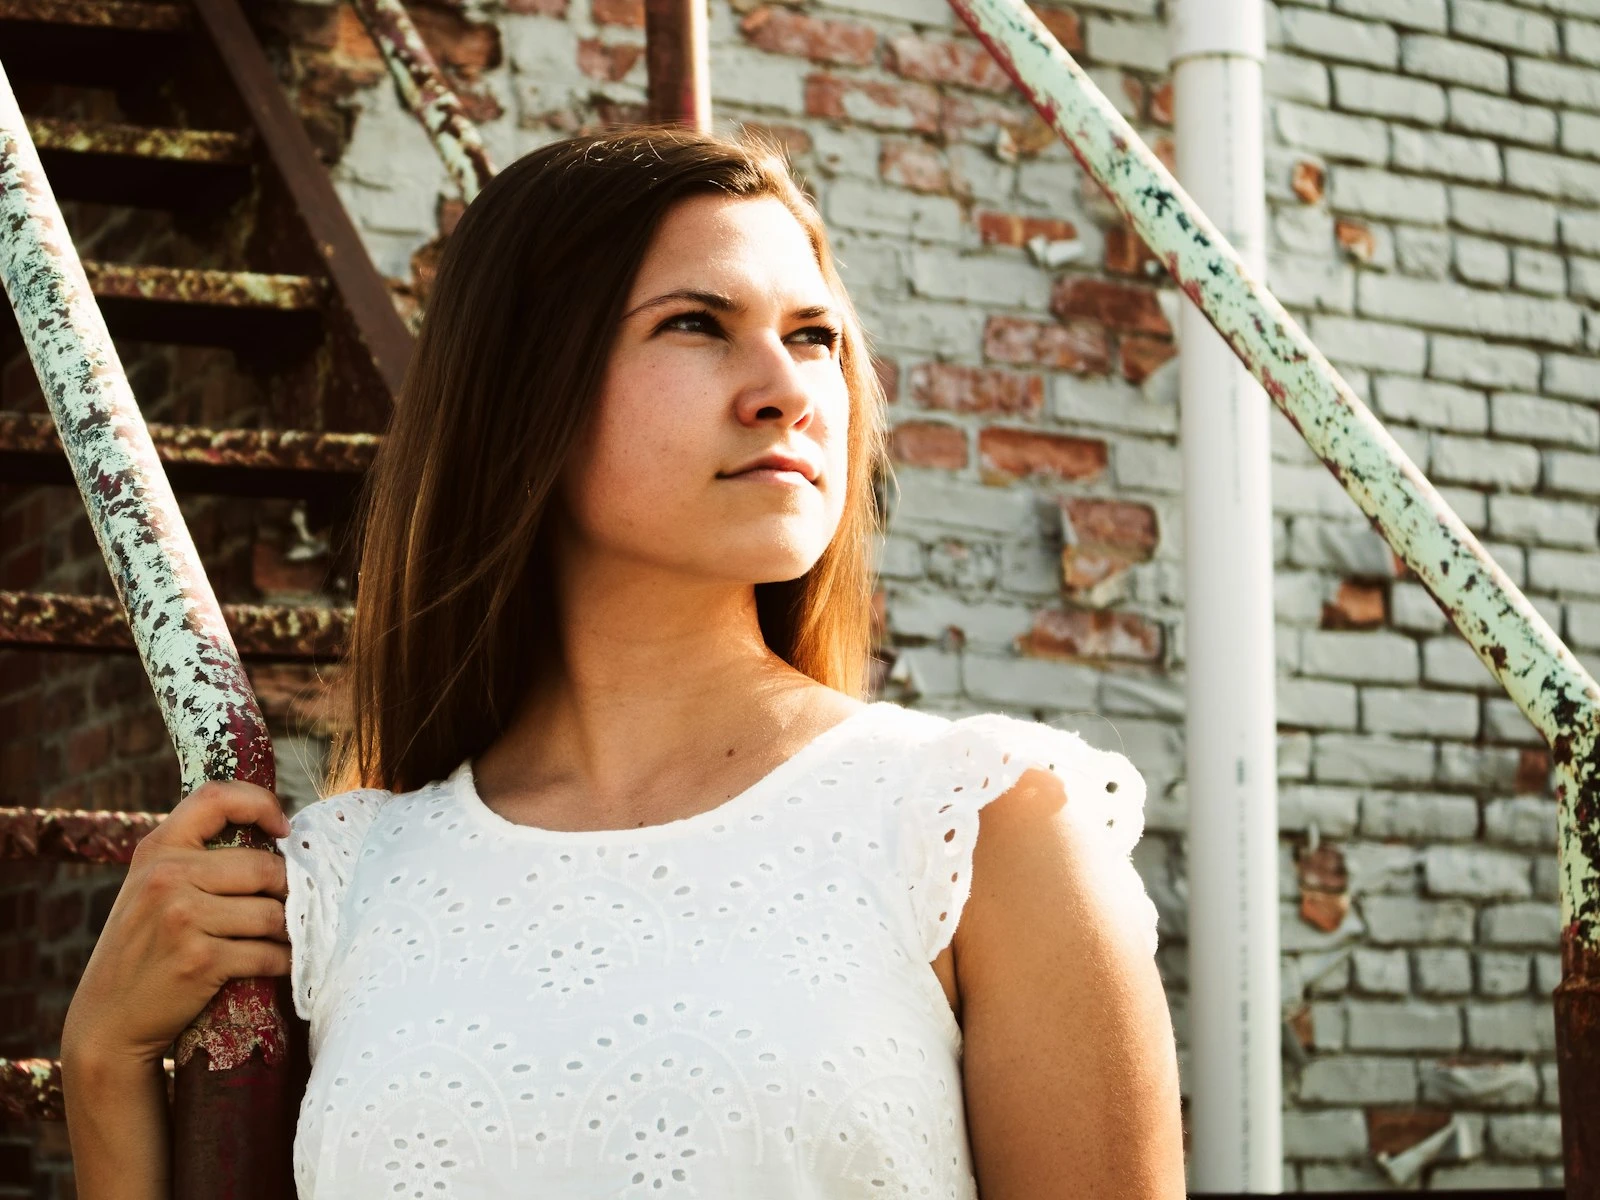
Stand directly facing a window: flat, even light. Stand at 45 degrees to a window: dimensional, interesting light. Stand with back to window: backlit, dramatic or silhouetted. Stand far from window: softer but dimmer light. Stand close to window: brighter, more contrasty light.
In any indoor space, locate the windows, then mentally map how subjects would look at different positions relative to them.
Exercise 3: The Squint Test
Squint your eyes, seriously.
When you squint, you lose detail and see mainly tonal contrast, where it's bright and where it's dark. This is closer to how the camera sees than how your eyes normally see.
Use the squint to evaluate whether there's interesting contrast in this light, where the brightest and darkest areas are, and whether a subject would look good here or blend into uniform grey.
Exercise 4: Watch People's Faces
Faces reveal light quality instantly. The human face has complex curves and planes that react to light in telling ways.
Watch people in different lighting as you go about your day. Notice how some faces look great (soft light, good direction) and some look terrible (overhead hard light, under-eye shadows). You're not photographing them. You're cataloging how light types look on faces.
When you need to photograph someone, you'll have a library of mental references for what works.
The Specific Pockets to Look For
Here's where good light hides in common situations:
Outdoors in Harsh Sun
Open shade at building edges. The north side of any building (in the northern hemisphere) is shaded from direct sun but lit by open sky, a huge, soft light source.
Covered structures. Porches, awnings, gazebos, parking garages. Overhead sun is blocked, but light wraps in from the sides.
Tree canopy edges. Not deep under trees (too dark, dappled), but at the edge where shade meets sky. Soft overhead with some directional light from the open side.
Doorways and alleys. Natural frames that block overhead sun and create soft, directional light from the opening.
Reflected light zones. Stand someone in shade near a sunlit white wall. The wall becomes a giant softbox, bouncing beautiful fill light onto them.
Outdoors in Overcast
Near structures. Pure overcast light is direction-less, but standing near a wall or under partial cover gives you some direction because light is blocked from one side.
Close to subjects. Overcast light lacks punch at distance but renders detail beautifully up close, so move in.
Against contrasting backgrounds. The light won't create contrast, so find backgrounds that provide it, like dark foliage behind light skin or light sky behind a dark figure.
Indoors with Windows
The window side of the room. This seems obvious, but many people set up with their back to the window, putting subjects in shadow.
At angles, not straight on. Pure front window light is flat. Position subjects at 45-90 degrees to the window for dimension.
The floor near windows. For product photography or flat-lays, the floor (or a table) near a window gets that soft, directional light. Move away from the window for softer contrast.
North-facing windows. If you have a choice, north windows (northern hemisphere) never get direct sun, providing consistent soft light all day.
Indoors with Mixed Light
Overpower or eliminate the artificial. Mixed lighting (daylight plus tungsten or fluorescent) creates color problems. Either turn off the artificial lights and use window only, or move far from windows and use artificial only.
Large windows still win. If you have a big window, its light will dominate even if overhead fixtures are on. Position subjects where window light is clearly the main source.
Time of Day Cheat Sheet
The sun moves. The pockets move with it.
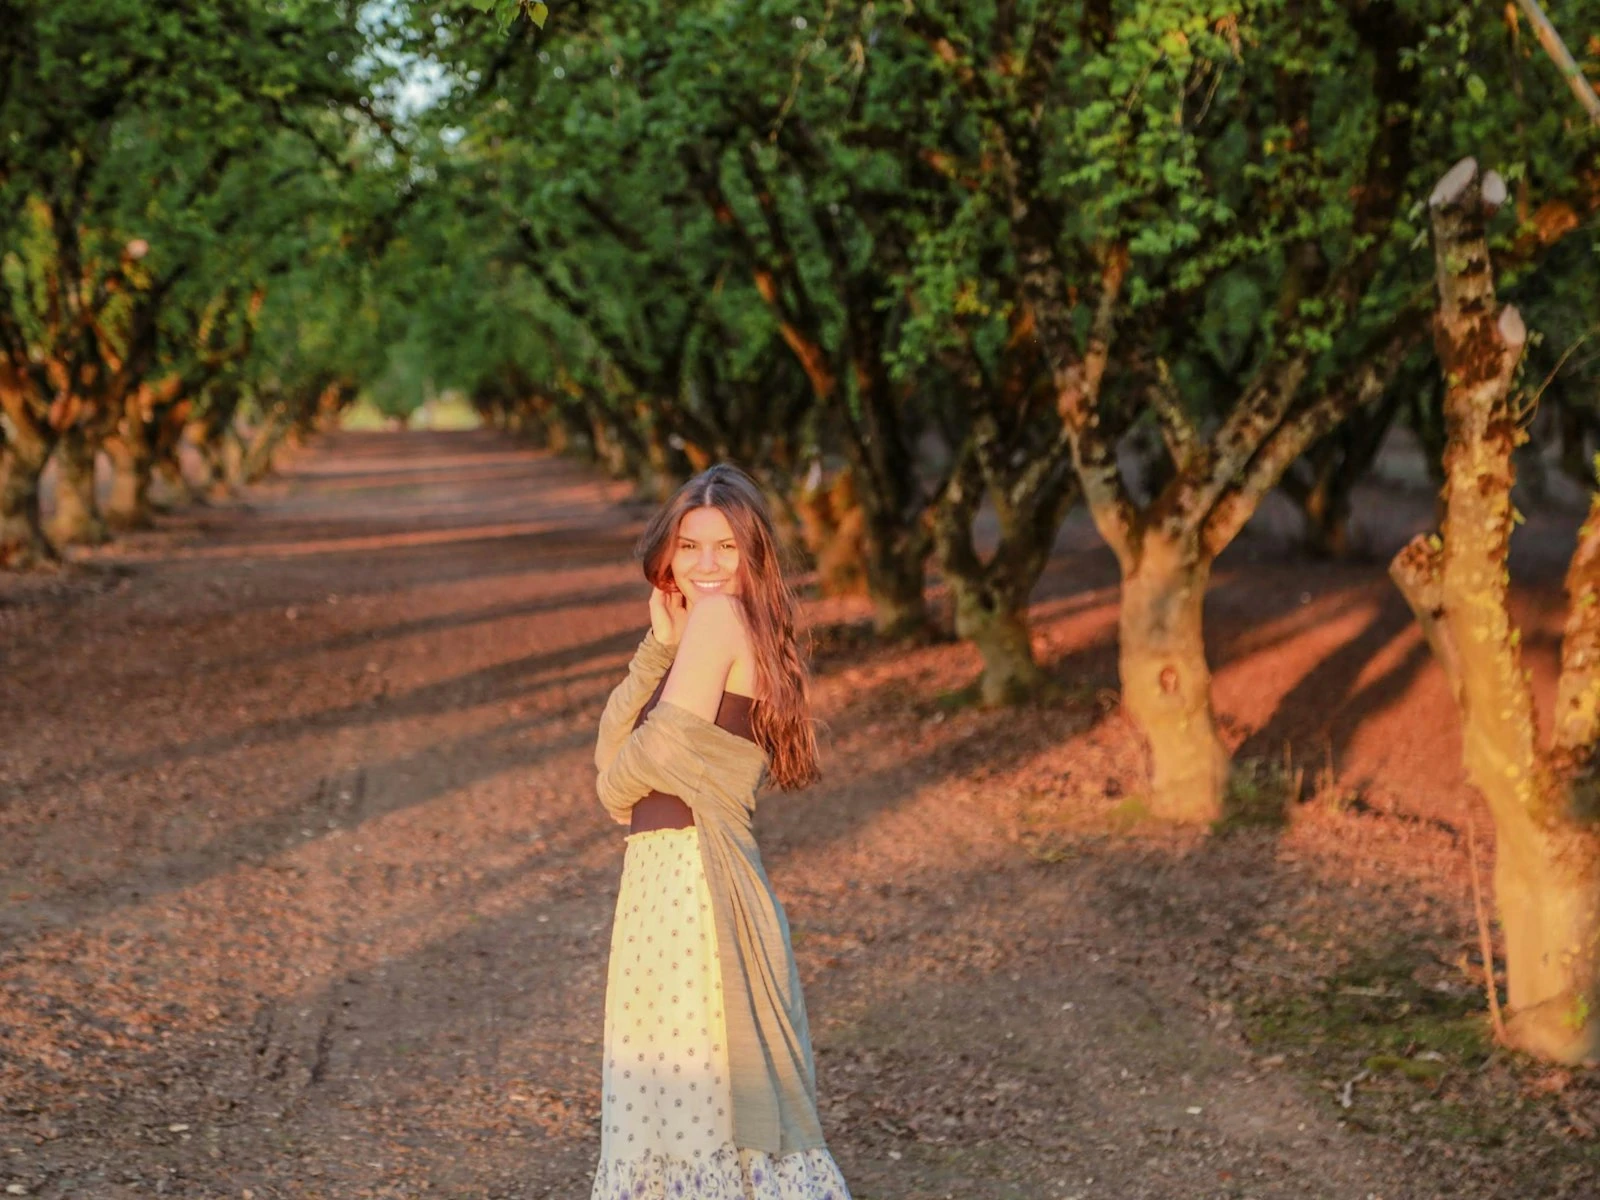
Early morning (golden hour): Warm, directional, long shadows. Light is soft because it travels through more atmosphere. Pockets: anywhere with direct morning sun access.
To know exactly where the sun will be at a given time, the sun position planner maps out light direction for any location and date.
Mid-morning: Still directional but climbing. Light getting harder. Pockets: east-facing walls, areas still getting raking light.
Midday: Overhead, harsh, short shadows, and generally unflattering. Pockets: open shade everywhere, reflected light near light surfaces.
Afternoon: Descending but often still hard. Pockets: west-facing shade, spots where buildings block the direct sun.
Golden hour (before sunset): Warm, directional, long shadows returning. Pockets: anywhere with west-facing open views.
Blue hour (after sunset/before sunrise): Cool, even, shadowless. Pockets: everywhere equally, since this light is inherently soft and even.
The 30-Second Scan
Here's a practical process for any shooting situation:
-
Enter the space and stop. Don't start shooting yet.
-
Identify main light source. Window? Sun? Overhead fixture? Where is the brightest light coming from?
-
Check shadow quality. Hard or soft? Directional or overhead?
-
Walk the space. Spend 20 seconds exploring. Where does the light look best? What pockets exist?
-
Position your subject. If you're photographing a person, put them in the best pocket you found. If you're photographing something fixed, position yourself to make the light work.
This takes half a minute. The difference in your images is enormous.
Phone Photography and Finding Light
Phone cameras have improved dramatically, but they still have smaller sensors with less dynamic range than dedicated cameras. This makes finding good light even more critical.
With a phone, you can't "fix" harsh shadows as easily in post. You can't recover blown highlights as well. The camera does more automatically and gives you less control.
So with a phone, the pocket principle matters more. Find the soft, even light. Don't fight hard contrast that the phone can't handle.
Phones are always with you, which means you can practice finding light in moments throughout the day when a bigger camera wouldn't be available. Every coffee shop, every walk, every random moment is a chance to ask where the light is.
Building the Instinct
Finding light becomes unconscious with practice. Eventually you'll walk into any space and immediately know where to shoot. You won't think through the process. You'll just see it.
To get there:
Notice light constantly. Not just when shooting. All day, every day. Where is the light? What quality? What would work here?
Shoot the same subject in different light. Find something you can return to, like a spot in your home, a local park, or a familiar street. Photograph it in morning, midday, evening, overcast, sunny. See how the light changes everything.
Review with light in mind. When looking at your images, don't just assess "good or bad." Ask: what was the light doing? Why did this work or not work?
Study others' images. When you see a photograph you love, analyze the light. Where was it coming from? Hard or soft? How was the subject positioned relative to it?
Good light is everywhere, and you just need to know where to look.
Key Takeaways
- Good light exists everywhere in pockets, so look for open shade, reflected light near walls, and directional light near windows even in harsh conditions.
- Before shooting, identify the light quality (hard or soft) and direction (where it is coming from), then decide whether to work with it or reposition.
- Move your subject to the light rather than fighting bad light with camera settings, since positioning solves most lighting problems instantly.
- Train yourself to notice light constantly, even when you do not have a camera, to build the habit of seeing photographic opportunities everywhere.
More in This Guide
Continue exploring lighting techniques.