The most important thing about light is what kind you have.
Hard light and soft light create fundamentally different images of the same subject. One adds drama. One adds flattery. One reveals texture. One conceals it. Choosing between them is fundamentally a creative decision.
Understanding this distinction changes how you see. You stop thinking about "good" and "bad" light and start thinking about what each type of light does for your image. It's the most foundational concept in our lighting guide. New to terms like diffusion, catchlight, or rim lighting? Our photography glossary covers those and 250+ other photography terms.
What Your Eyes See vs. What Matters
Look at the shadows in the room around you. Some have sharp, defined edges. Some fade gradually into the lit areas. That edge quality, sharp or gradual, tells you everything about the light.
Hard light creates sharp-edged shadows. The transition from light to shadow is immediate. Think of the shadow your hand casts in direct sunlight. You can see every finger distinctly, with crisp lines.
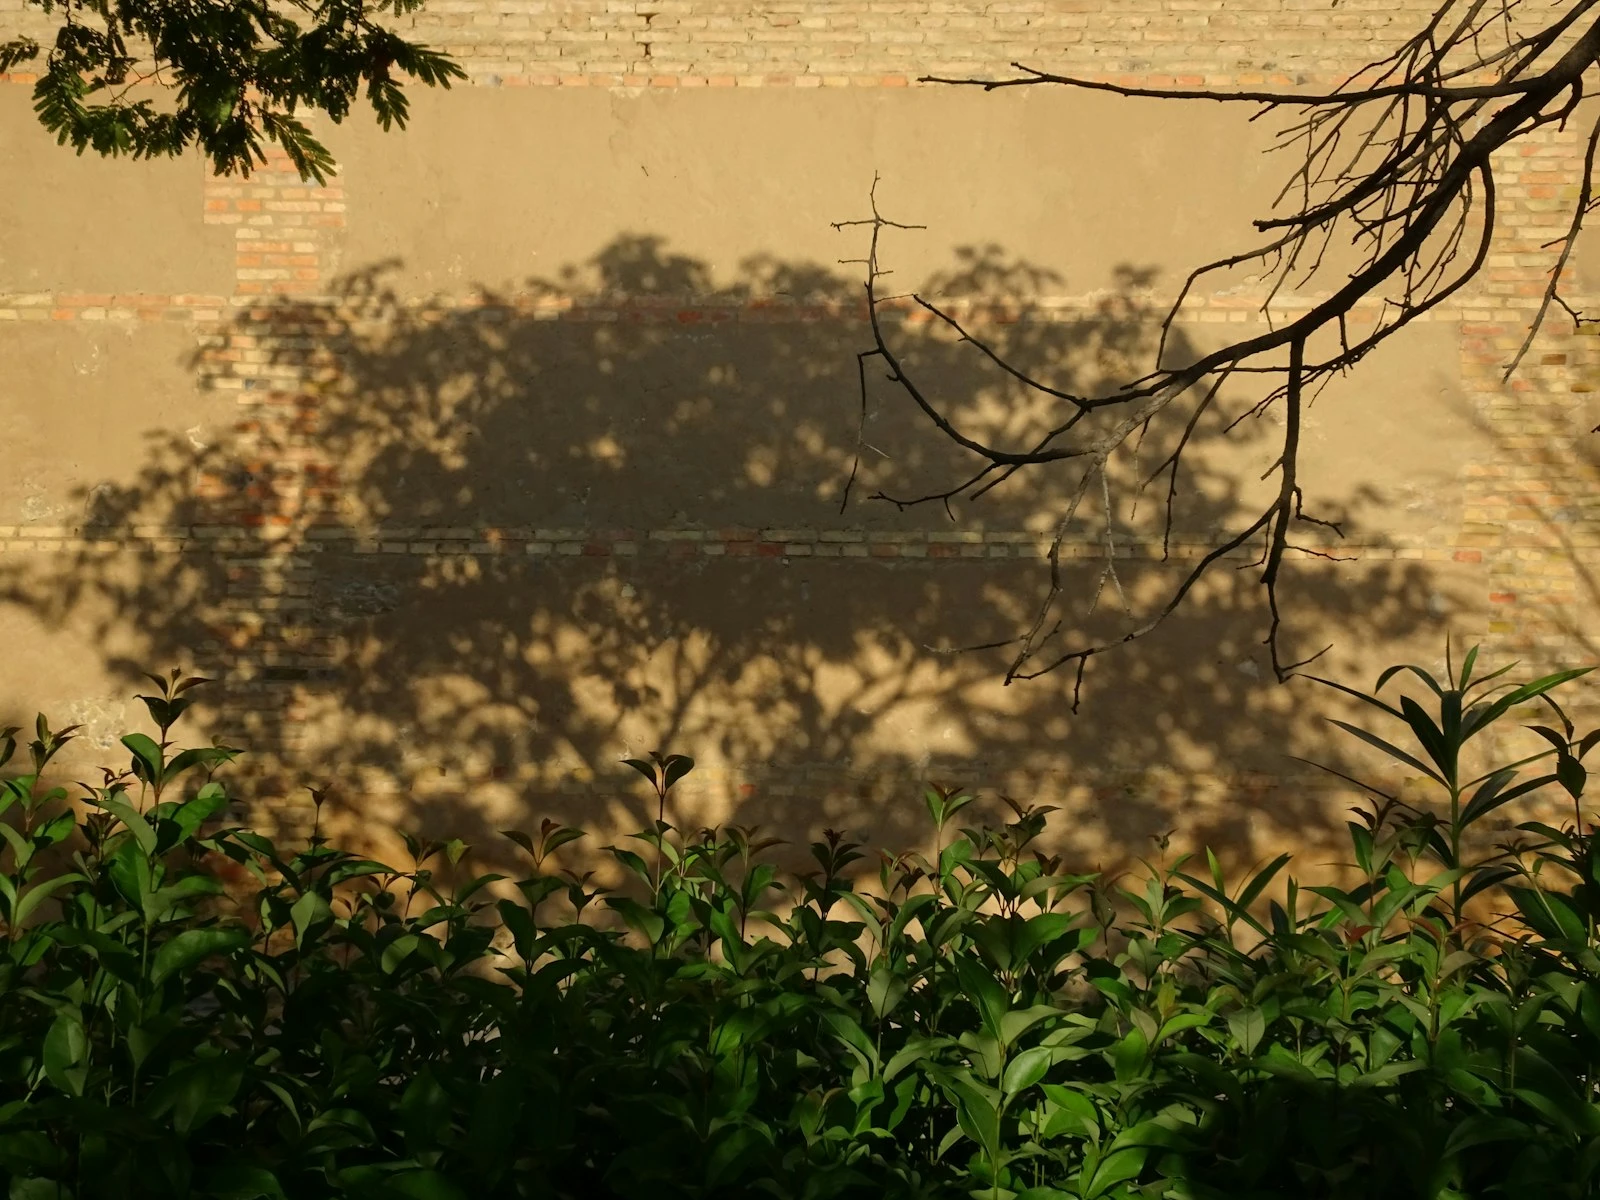
Soft light creates gradual-edged shadows. The transition happens over distance, blending smoothly. Think of your shadow on a cloudy day, barely visible, fading gently if you can see it at all.
Brightness has nothing to do with it, since you can have dim hard light (a distant streetlamp) or bright soft light (overcast noon). The quality is about the shadow edges, nothing else.
Why It Happens: The Size Rule
The size of the light source relative to your subject determines whether light is hard or soft, and this is the physics that matters most.
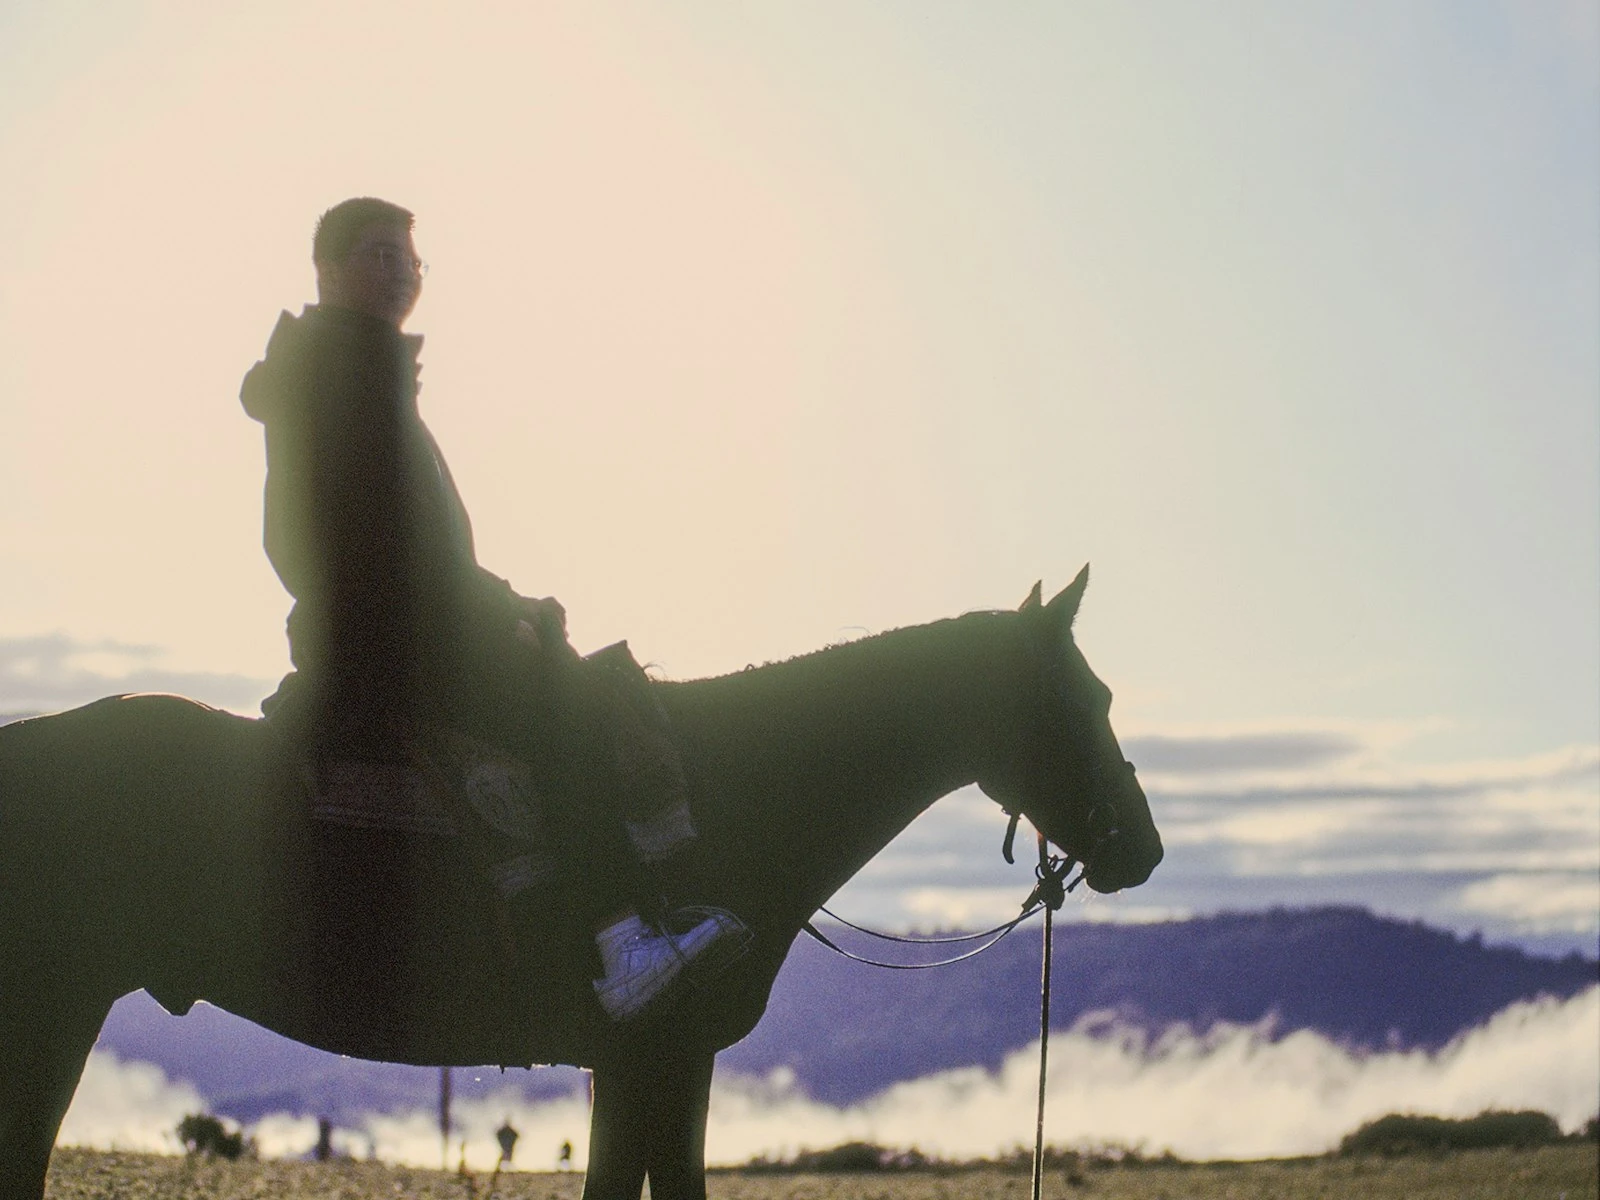
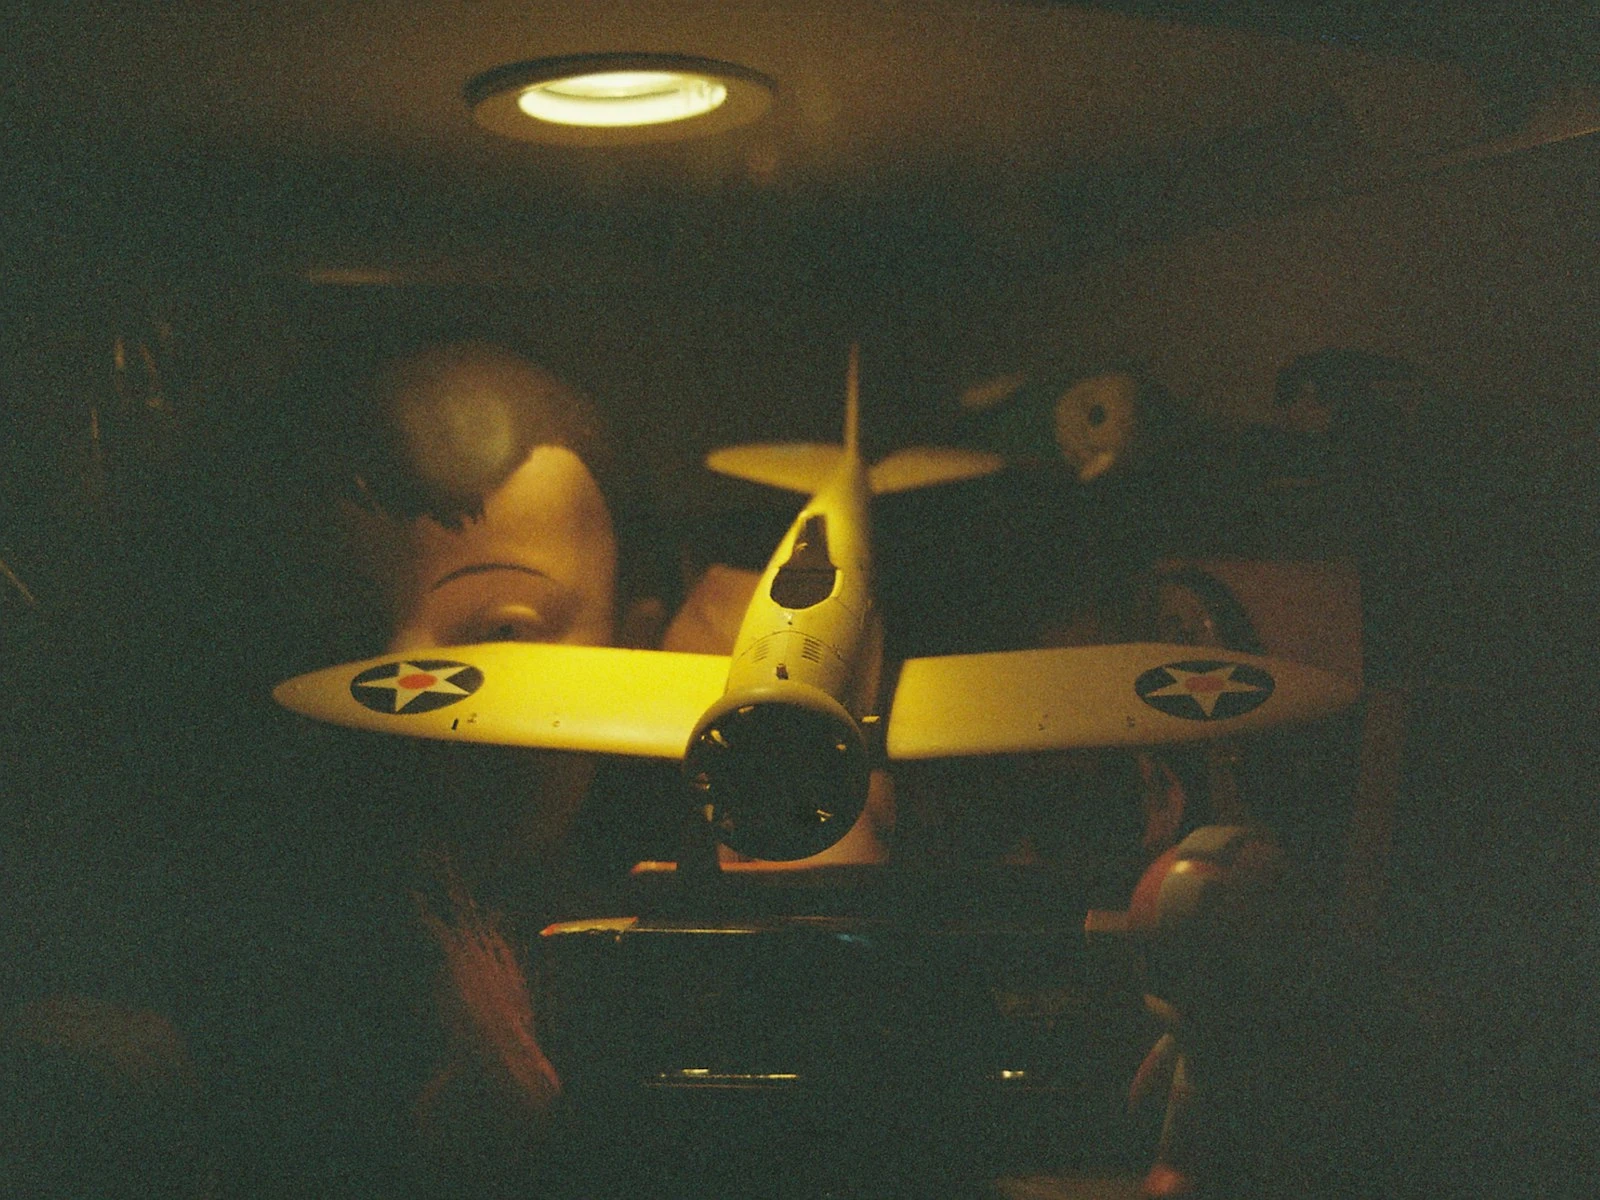
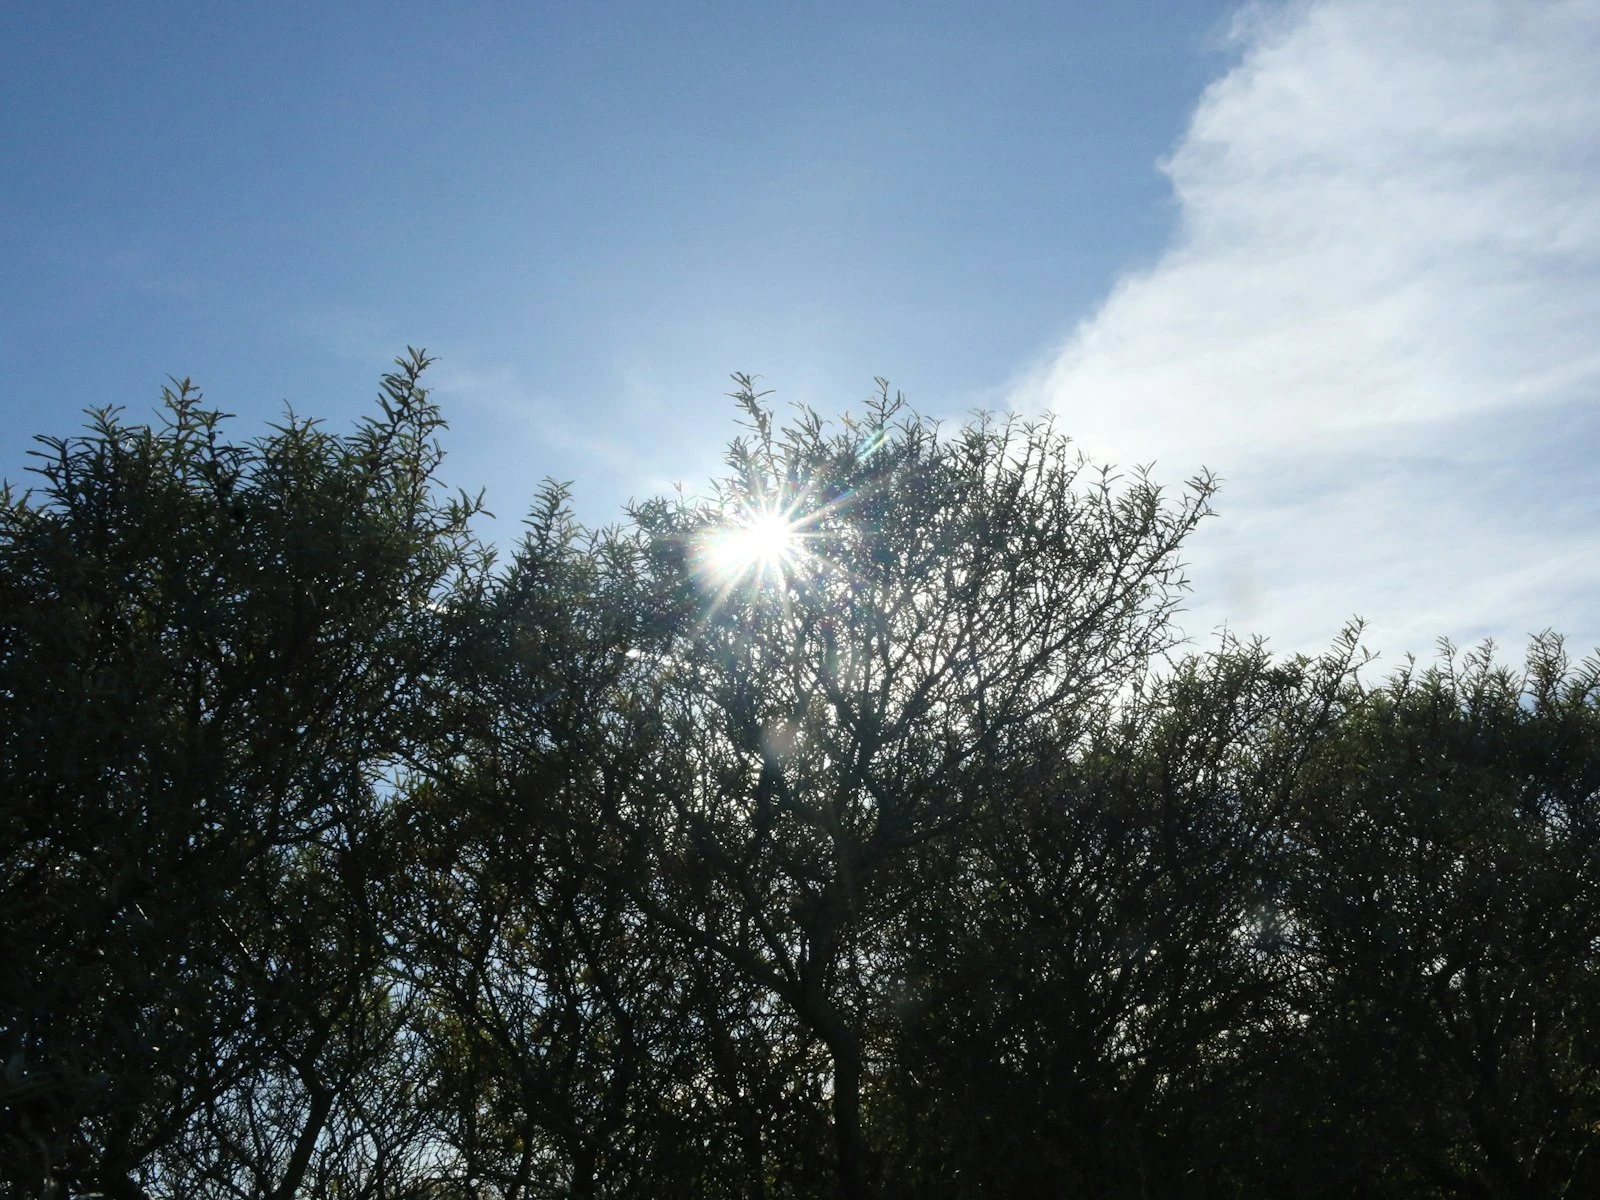
Small source = hard light. The sun (far away, so effectively small), a bare bulb, a direct flash, and a spotlight all create hard shadows because light rays hit the subject from essentially one direction.
Large source = soft light. The sky on a cloudy day, a large window, a big diffuser, and a white wall with light bouncing off it all create soft shadows because light rays hit the subject from many angles, filling in shadow edges.
The key phrase is "relative to your subject." A window that seems large to you is small relative to a building. It would create soft light on a person's face but harder light on the whole building.
This is the principle that lets you modify light. Move the source closer (effectively larger)? Softer. Add a diffuser (makes the source bigger)? Softer. Move a small source farther away? Stays hard. The rule always applies.
What Hard Light Does to Your Image
Hard light is a creative choice, and knowing what it does helps you use it well.
Texture revelation. Hard light skimming across a surface shows every bump, pore, wrinkle, and imperfection. Brick looks like brick. Skin looks like skin, for better or worse.
Drama and mood. Those sharp shadows create high contrast. Light and dark exist right next to each other. This reads as dramatic, edgy, intense.
Defined shapes. Hard shadows have graphic quality. They become compositional elements: patterns on walls, strong lines, geometric forms.
Unflattering for smooth subjects. Anything you want to look smooth, like skin, products, or fabrics, tends to suffer in hard light. The texture revelation works against you.
Powerful in black and white. High contrast translates beautifully to monochrome. Hard-lit images often convert dramatically.
What Soft Light Does to Your Image
Soft light is also a creative choice, and knowing what it offers helps you use it intentionally.
Texture concealment. Soft light wraps around subjects, minimizing the appearance of texture. Skin looks smoother. Surfaces look more even.
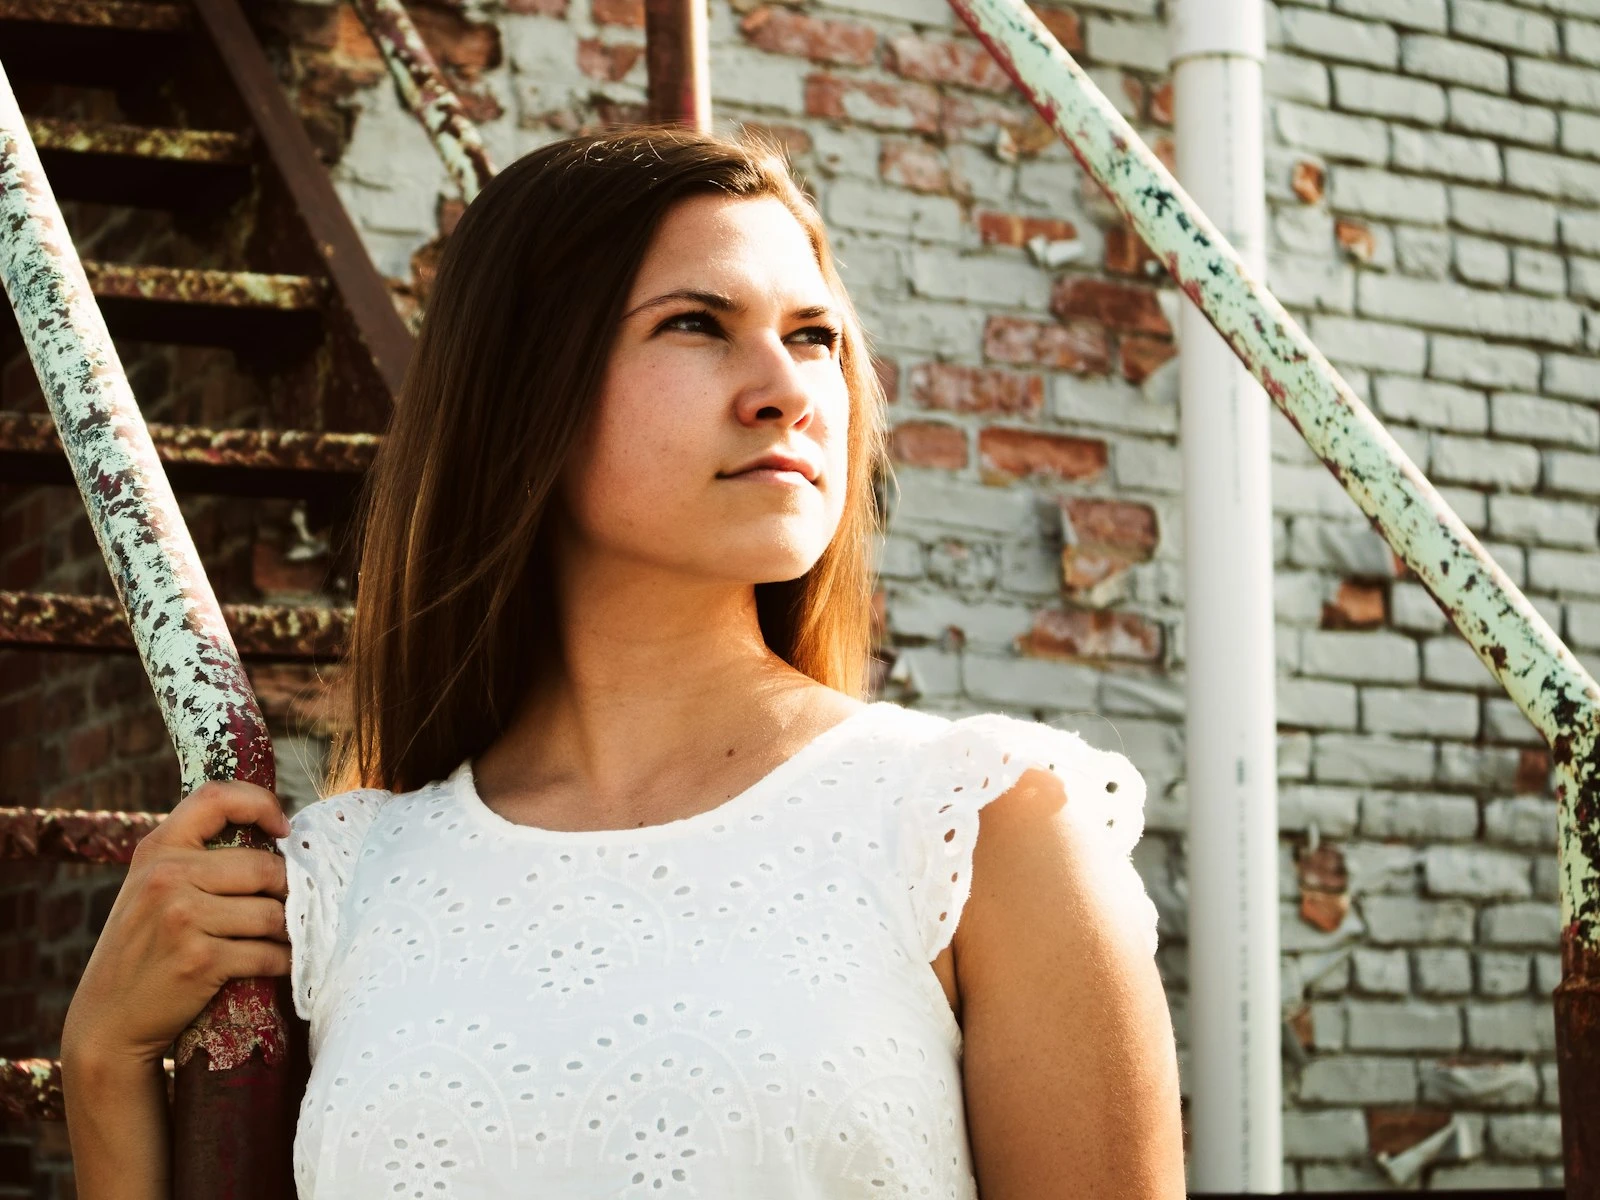
Flattery and forgiveness. The low contrast and gradual shadows are universally flattering for faces. This is why portrait photographers often seek soft light.
Mood and calm. Lower contrast reads as gentler, calmer, more approachable. Romantic, ethereal, peaceful.
Less graphic. Without strong shadows to work with, your composition relies more on subject, color, and arrangement rather than the light itself.
Natural for many subjects. Still life, products, food, and flowers all look their best in soft, even illumination that reveals detail without harsh shadows.
Choosing: What Does Your Subject Need?
This is the creative question. Light quality should serve your subject and your intent.
Ask: Do I want to show texture or minimize it?
A weathered face telling a story of experience, maybe hard light serves that narrative. A senior portrait where the client wants to look their best, probably soft light.
A rough stone wall you're documenting: hard light. A smooth product you're selling: soft light.
Ask: What mood am I creating?
Dramatic, edgy, intense, or mysterious: lean hard. Gentle, romantic, peaceful, or approachable: lean soft.
A film noir-inspired portrait: hard light. A dreamy engagement photo: soft light.
Ask: What does the subject look best in?
Some faces look great in hard light, particularly those with strong features and interesting character. Others need the forgiveness of soft light.
Some scenes have their own character that hard light reveals. Others need soft light to feel right.
Matching light quality to intent is what matters here.
Finding Hard Light
Hard light is often abundant. You just need to know where to look.
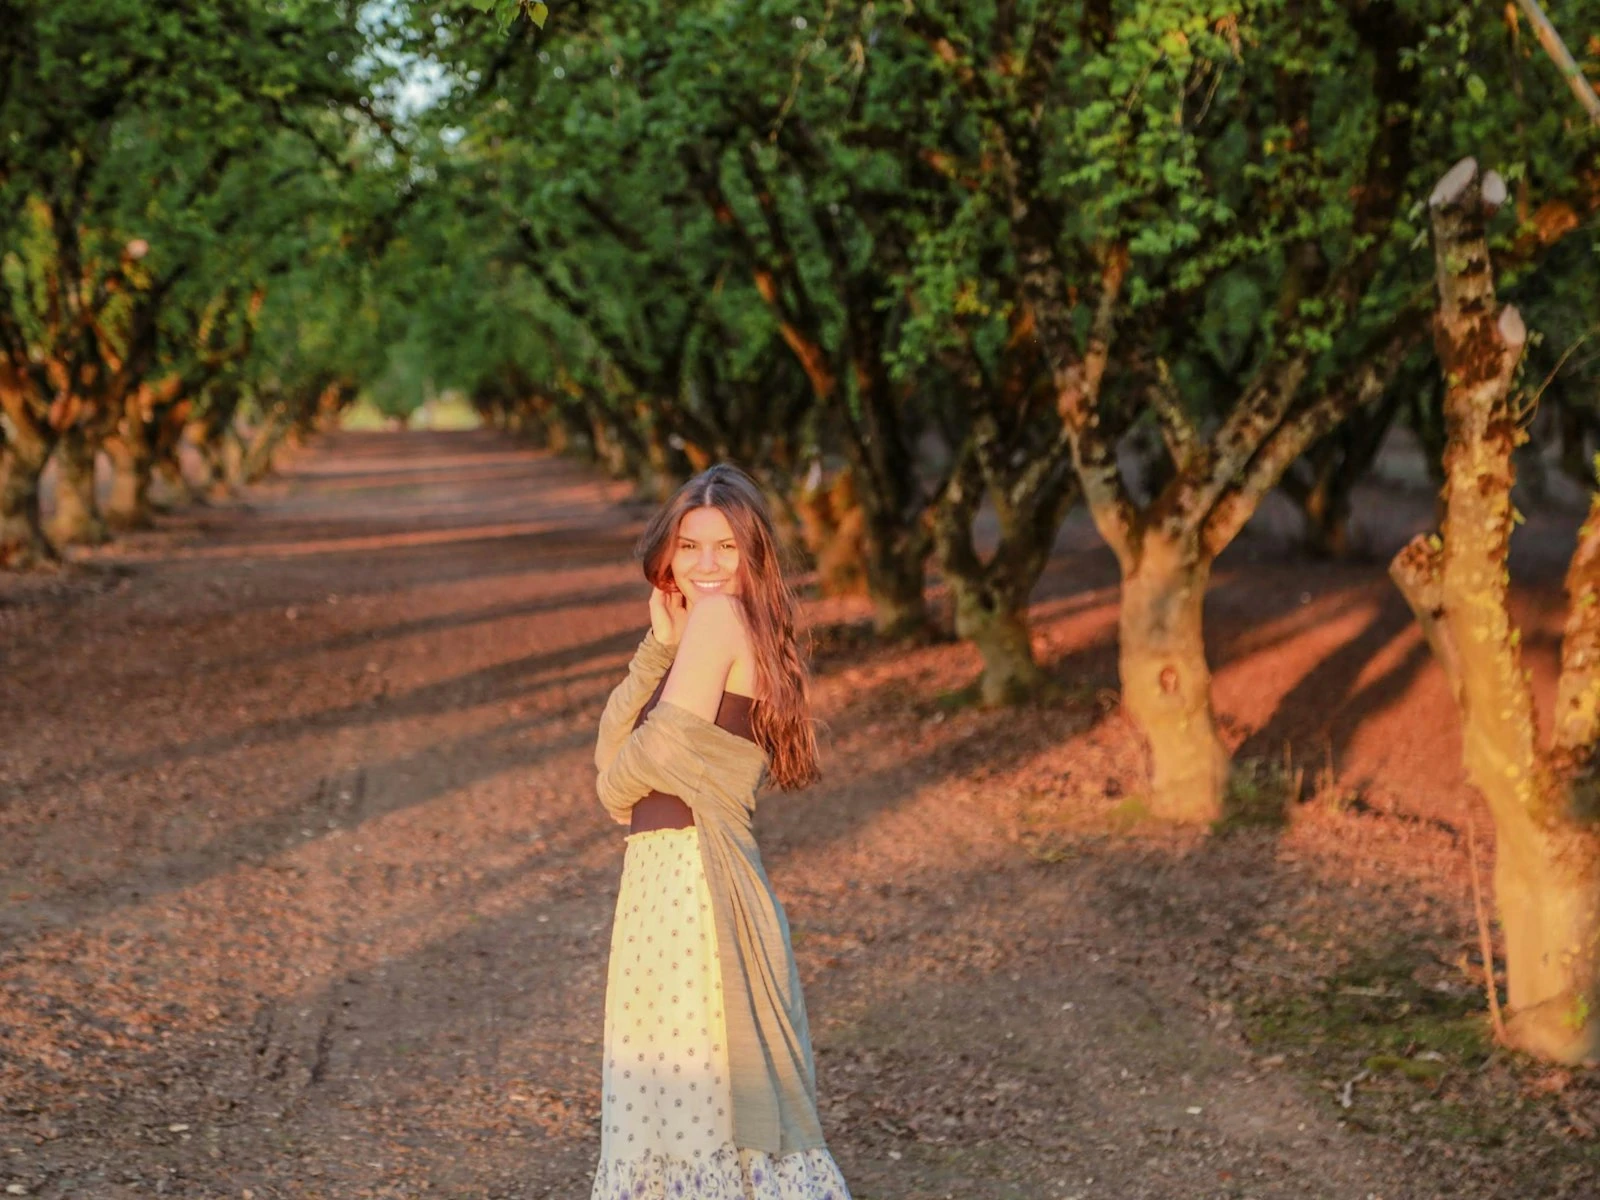
Direct sun. The classic hard light source. Available any clear day, creating strong shadows and high contrast. Midday is the most intense, but any direct sunlight qualifies.
Spotlights and direct artificial light. Any small source that's not diffused: flashlights, bare bulbs, focused stage lighting.
Reflected sun. Light bouncing off a mirror or metallic surface maintains its hard quality (though from a new direction).
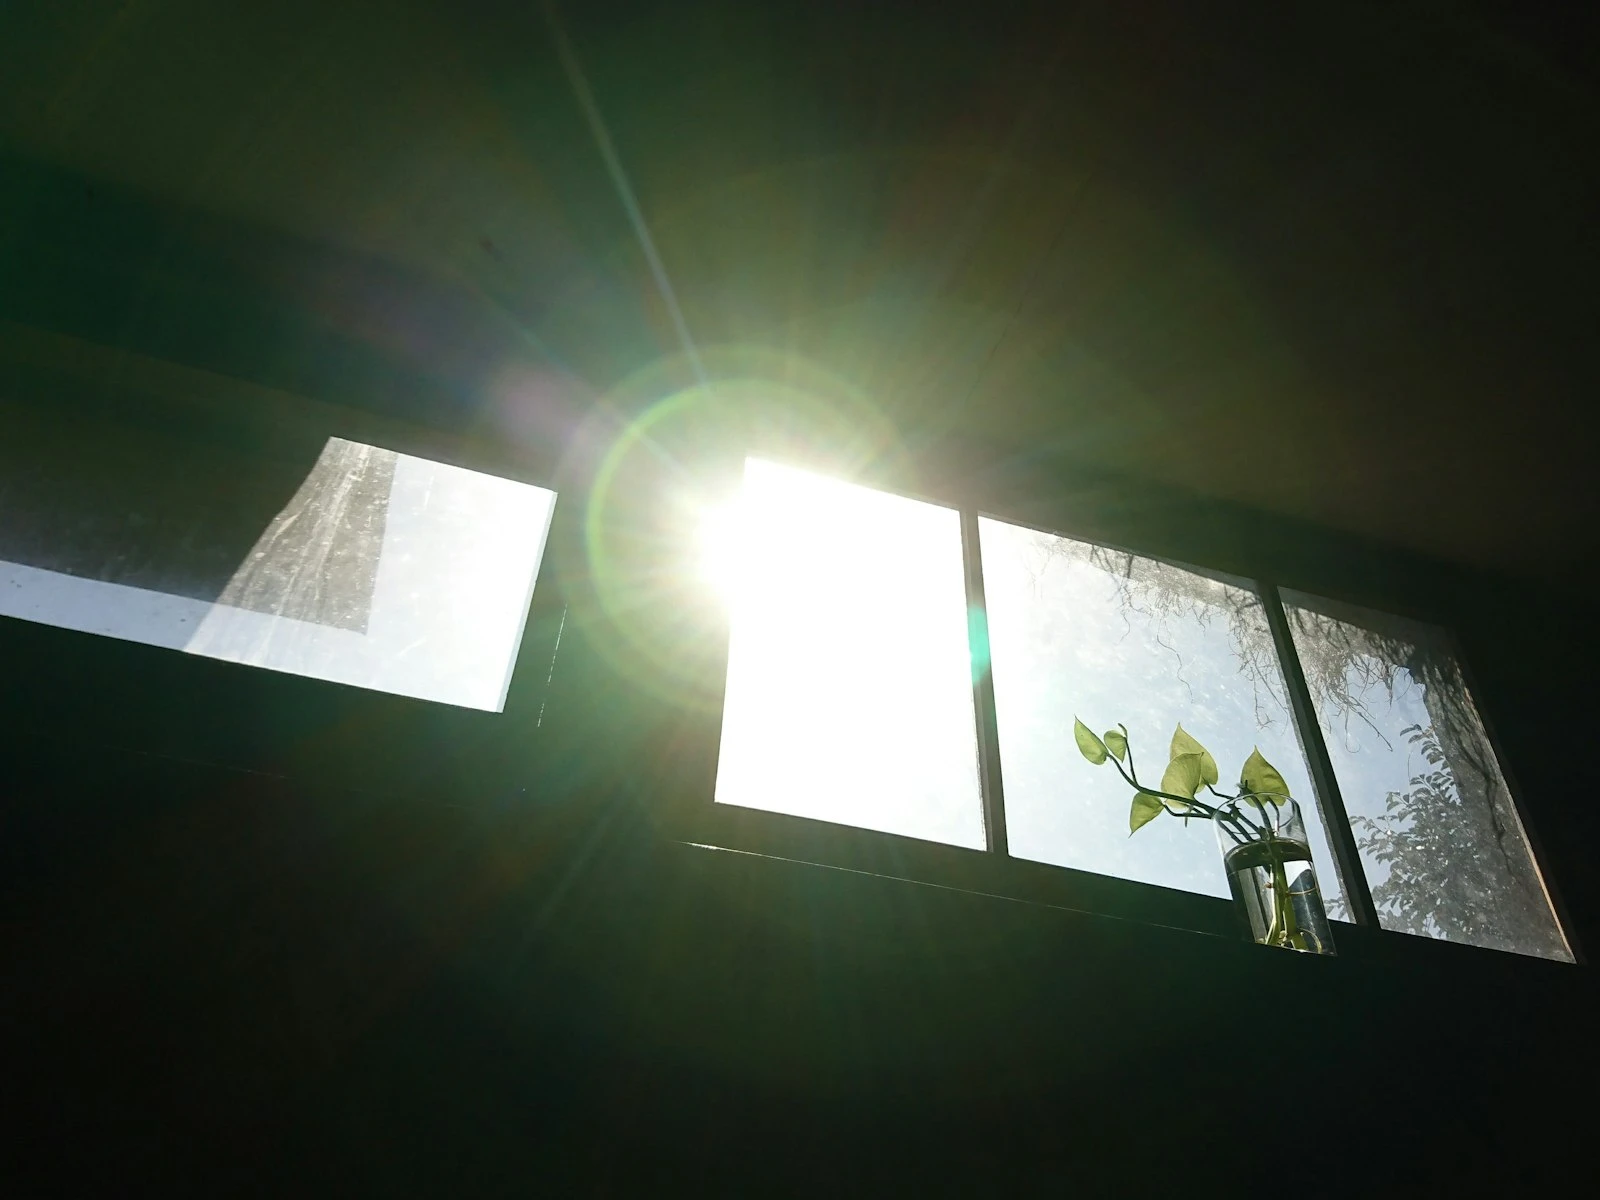
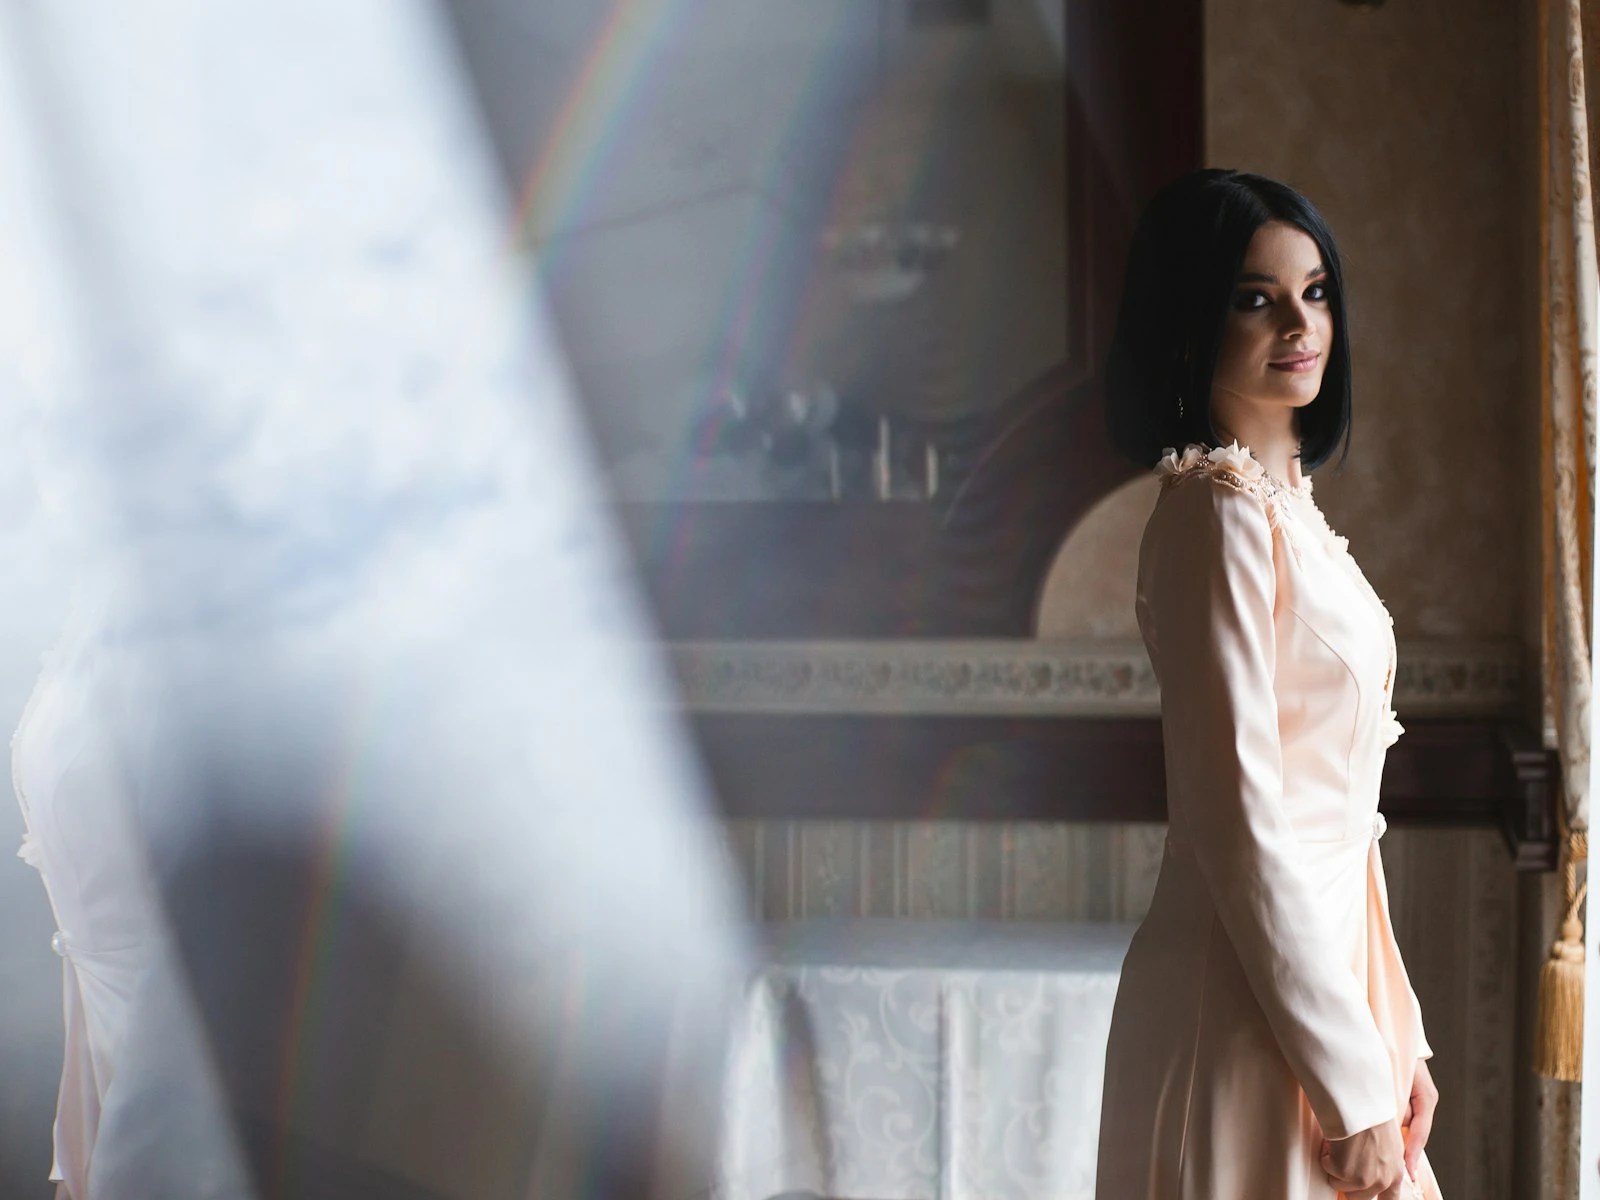
Small windows. A small window far from the subject creates relatively hard light compared to a large window close up.
Flash without modifiers. On-camera flash or a speedlight without diffusion is a small, hard source.
Finding Soft Light
Soft light requires diffusion or large sources.
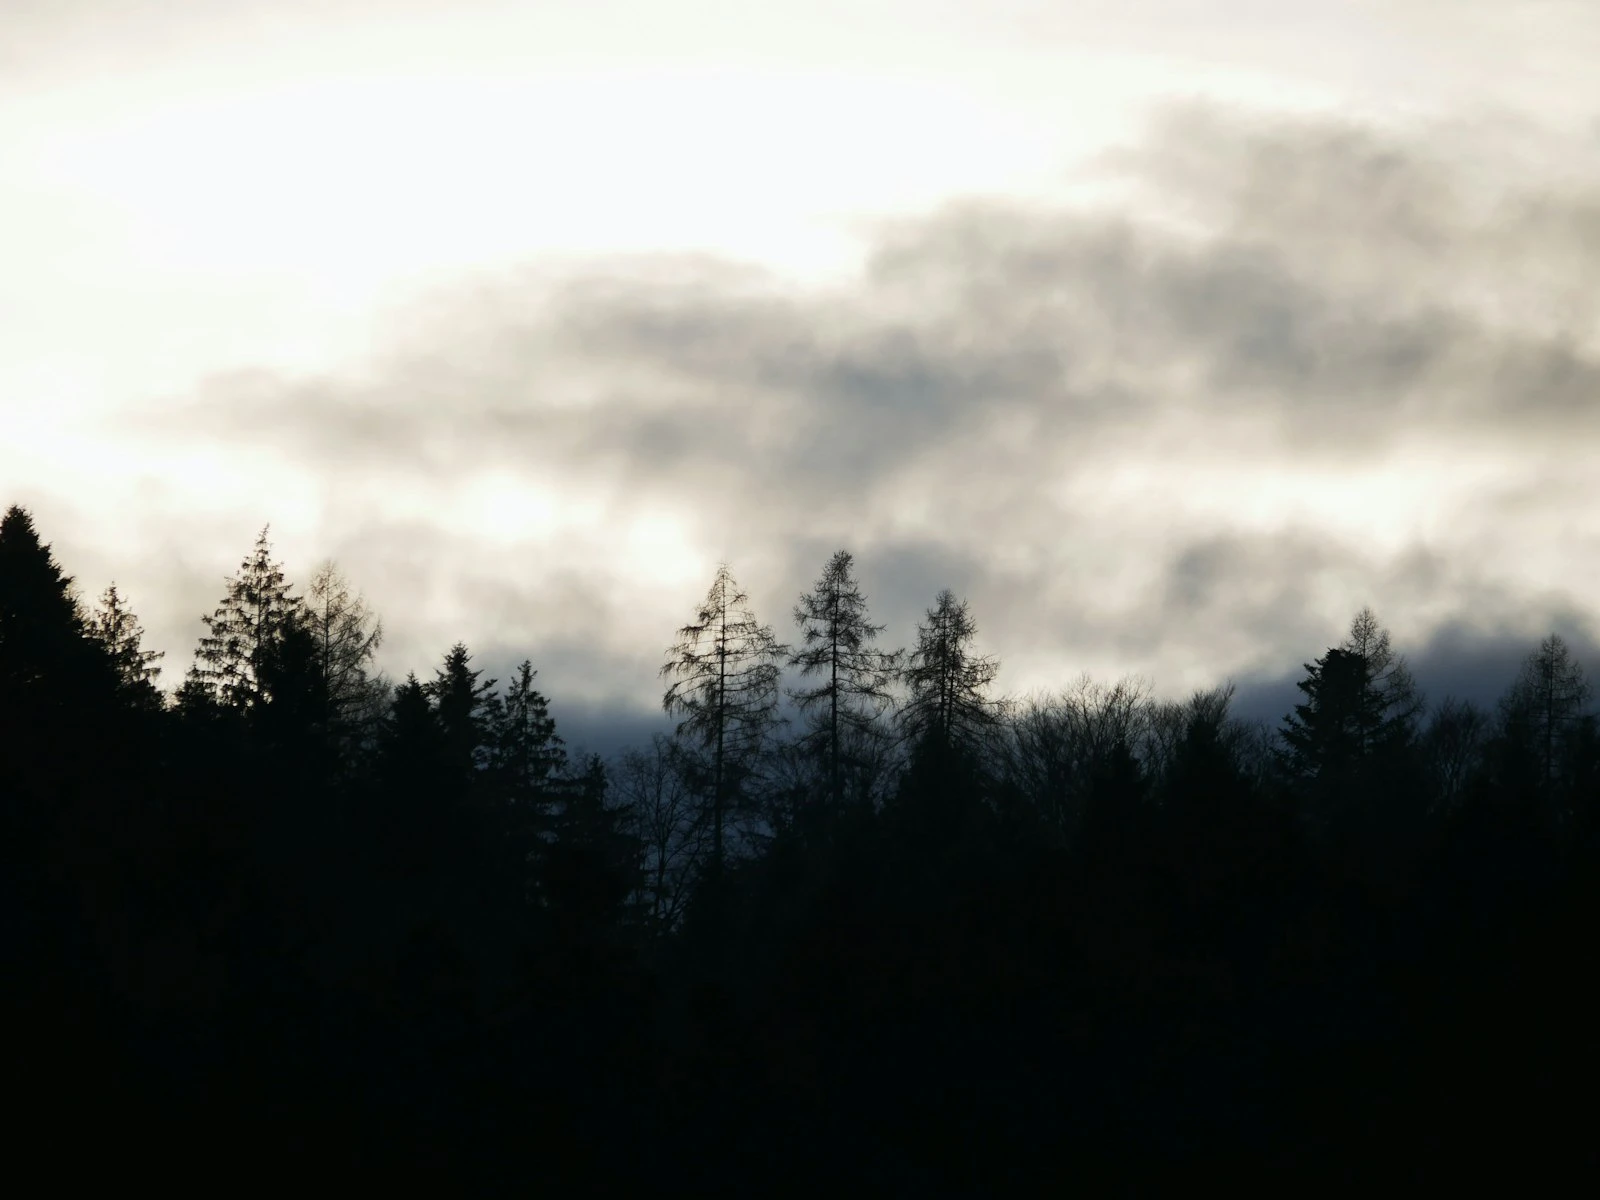
Overcast sky. The entire sky becomes one enormous soft source, available any cloudy day.
Open shade. In shade, the sky is your light source, huge and soft, and available even on sunny days.
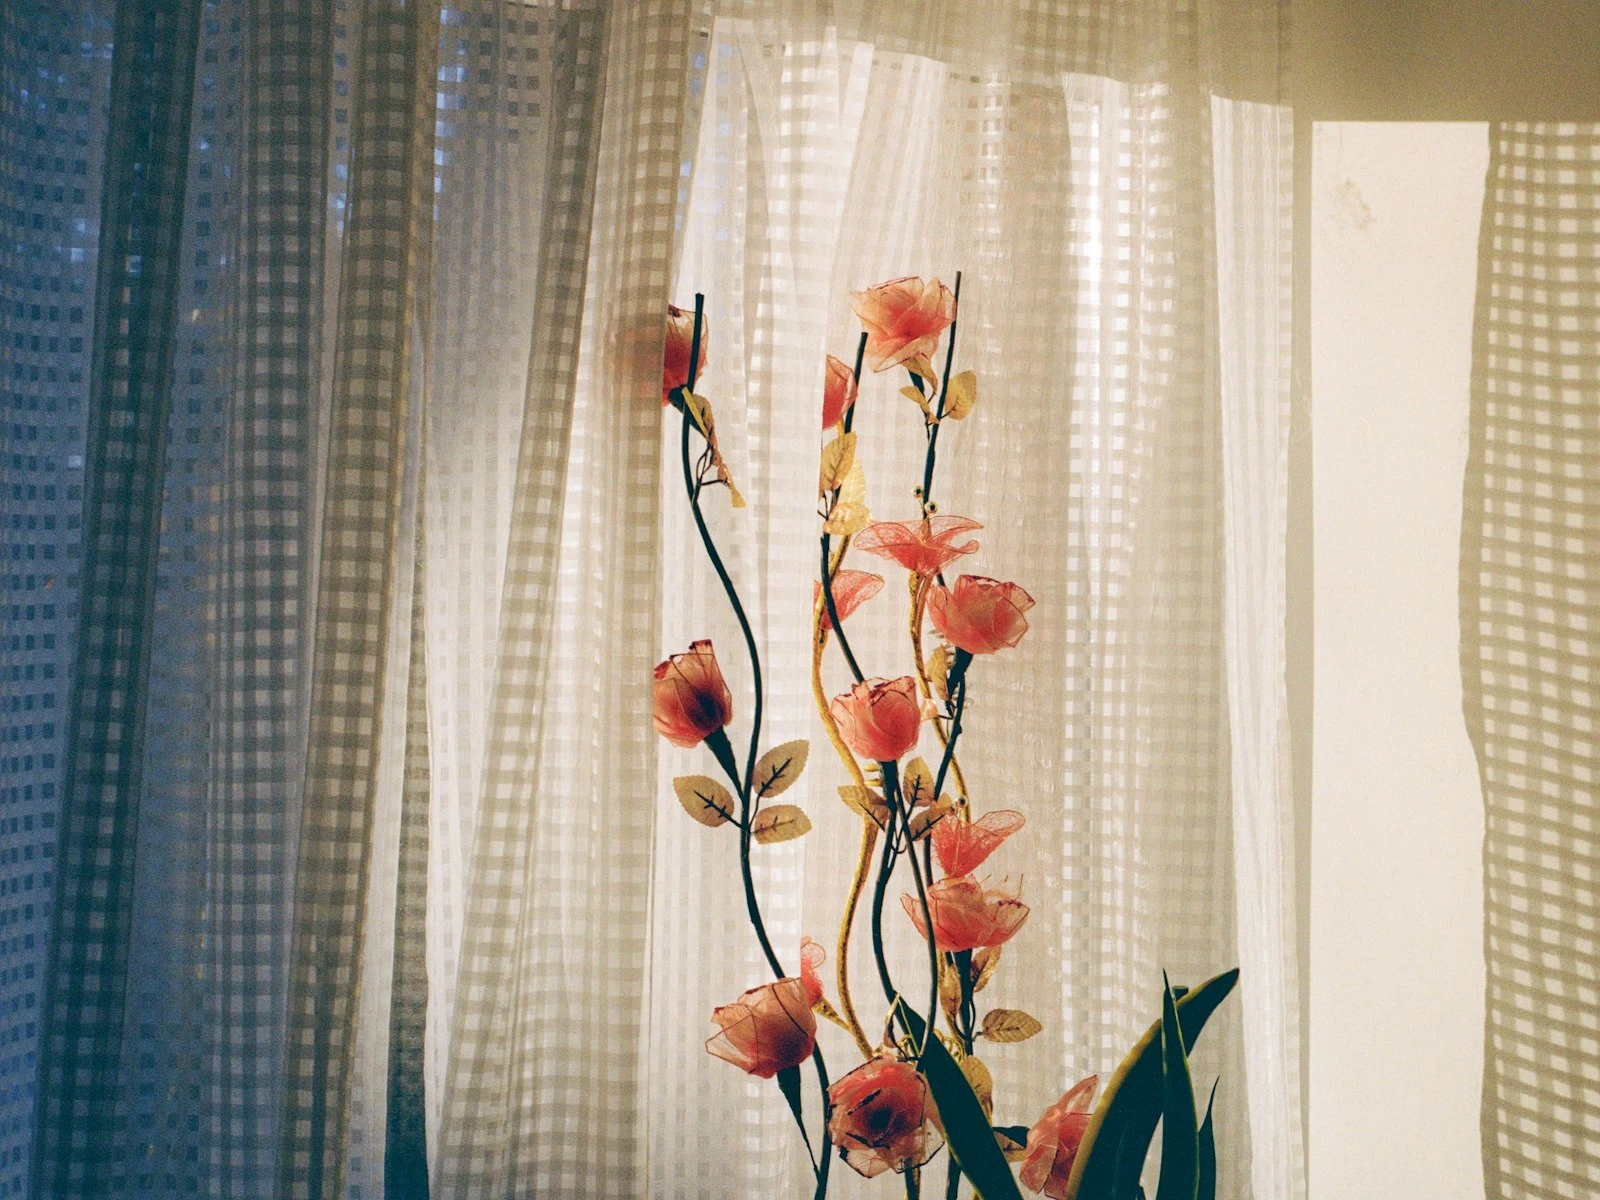
Large windows. Windows are softboxes that come with buildings. The larger and closer, the softer.
Reflected light. Light bouncing off a large surface (white wall, ceiling, reflector) becomes soft because the bouncing surface is now the source, and it's large.
Diffusers. Put any translucent material between your subject and a hard source. The diffuser becomes the new, larger source.
Overcast + shade at sunset. Light at the end of the day is softer because the sun is lower and travels through more atmosphere.
Modifying Light: Making Hard Light Soft
You don't have to accept the light you find, because you can change it.
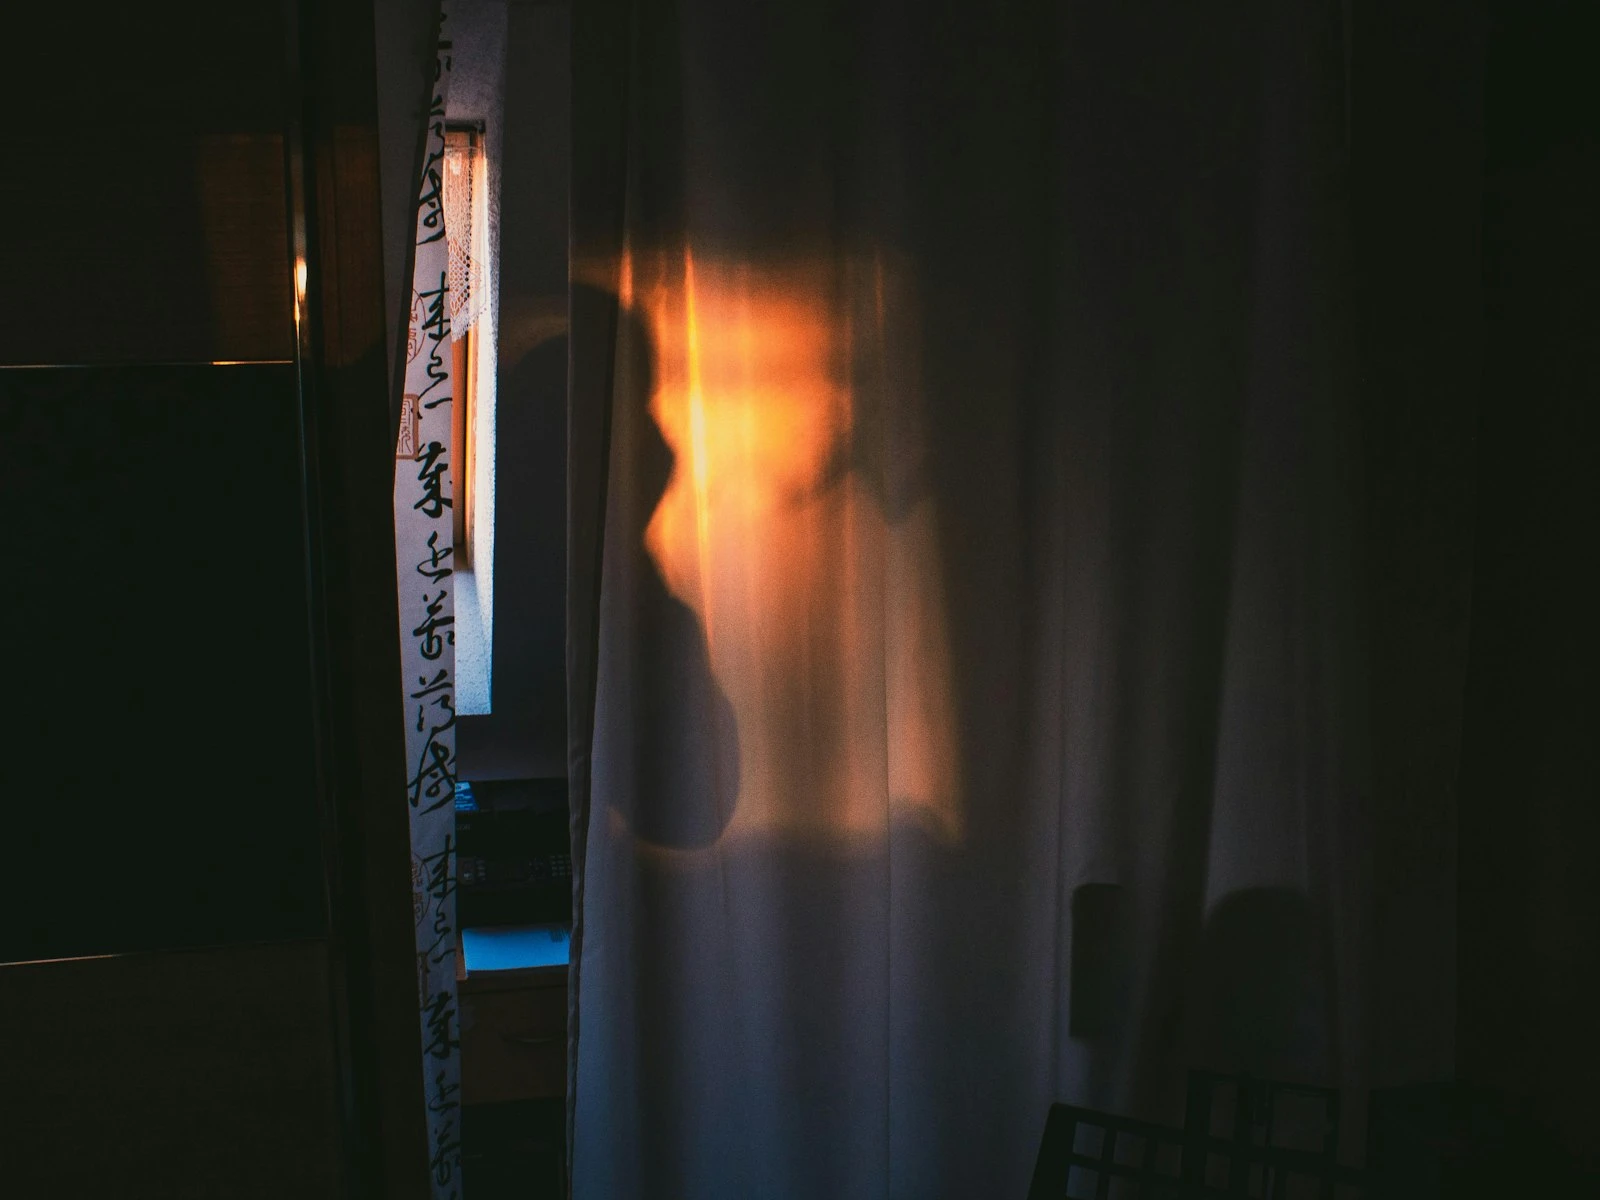
Add diffusion. A sheer curtain in front of a window. A translucent diffuser panel between subject and sun. A bedsheet held up by helpers. The hard source hits the diffuser, and the diffuser becomes a new, soft source.
Bounce it. Aim hard light at a large white surface like a wall, ceiling, or foam board. The hard light hits the surface and scatters. The surface becomes your new, soft source.
Move the source closer. If you control the light source, bringing it closer makes it larger relative to the subject. A flash close to the face is softer than the same flash far away.
Find existing soft light. Often easier than modifying. Move to shade, wait for clouds, find a window.
Modifying Light: Making Soft Light Harder
Occasionally you want harder light but have soft.
Flag and focus. Block part of a large source so only a smaller portion illuminates your subject, effectively shrinking the source size.
Use distance. Move the subject far from the soft source. As the source becomes relatively smaller, shadows edge toward harder.
Wait for the sun. If you're working in overcast conditions and want hard light, you may simply need to wait for a break in the clouds.
Reading Light Quality: The Practice
Train yourself to read light quality automatically.
Look at shadow edges. Every scene has shadows somewhere. What do their edges look like? Sharp = hard source. Gradual = soft source.
Look at highlights. Hard light creates more distinct, brighter hot spots. Soft light creates broader, more even highlights.
Look at contrast. High contrast (big difference between light and dark areas) usually indicates hard light. Lower contrast indicates soft light.
Watch faces. Human faces show light quality clearly. Sharp shadows under nose and chin = hard light. Gentle transitions = soft light.
Do this when you're not photographing by noticing light quality at breakfast, in the car, and walking around. Build the awareness so it's automatic when you have your camera.
Mixed Light: The Middle Ground
Real situations often have both hard and soft light in the same scene.
Sun with reflector fill. Hard main light (sun) with soft fill (reflected). You get definition from the hard source with shadows lifted by the soft fill.
Window with direct sun. The window overall is soft, but a beam of direct sun through it is hard. Both qualities exist in the same space.
Multiple sources. A room might have hard ceiling spotlights and soft window light. The combination creates its own unique quality.
In mixed situations, identify which source dominates on your subject. Position and distance determine which quality wins.
The Creative Conversation
Every time you're about to photograph, ask yourself: what quality of light serves this image?
Sometimes the answer is "what I have works fine." Sometimes it's "I need to move to find better light." Sometimes it's "I need to modify what exists."
But you can only have that conversation if you see the difference. If you recognize hard light and soft light as distinct tools with different uses, you gain a creative choice that photographers who think "light is light" never have.
This is how you move from accepting light to working with it, by developing the vision to see options.
Key Takeaways
- Light quality (hard vs soft) is determined by the size of the light source relative to your subject, not by brightness.
- Soft light (large source, gradual shadows) flatters faces and skin, while hard light (small source, sharp shadows) reveals texture and creates drama.
- Move your light source closer to make it effectively larger and softer, or add a diffuser to spread the light across a bigger area.
- Choose hard or soft light as a creative decision based on what you want the image to communicate, not as a "good vs bad" judgment.
More in This Guide
Continue exploring lighting techniques.