Harsh shadows ruin portraits faster than almost anything else, creating dark eye sockets, hard lines under noses and chins, and unflattering shadows that age faces and emphasize every imperfection.
But harsh shadows aren't random bad luck. They're a predictable result of specific lighting conditions, and learning to manage them is a key part of our lighting guide. Once you understand what causes them, you can prevent them, or occasionally, use them intentionally.
What Creates Harsh Shadows
Harsh shadows come from hard light, which has a simple definition. It comes from a small light source relative to your subject.
The sun at midday is the classic culprit. Yes, the sun is massive, but it's 93 million miles away. From Earth, it's effectively a point source, and therefore small. Direct overhead sun creates those unflattering under-eye shadows, sharp lines under noses, and deep chin shadows that make people look tired or aged.
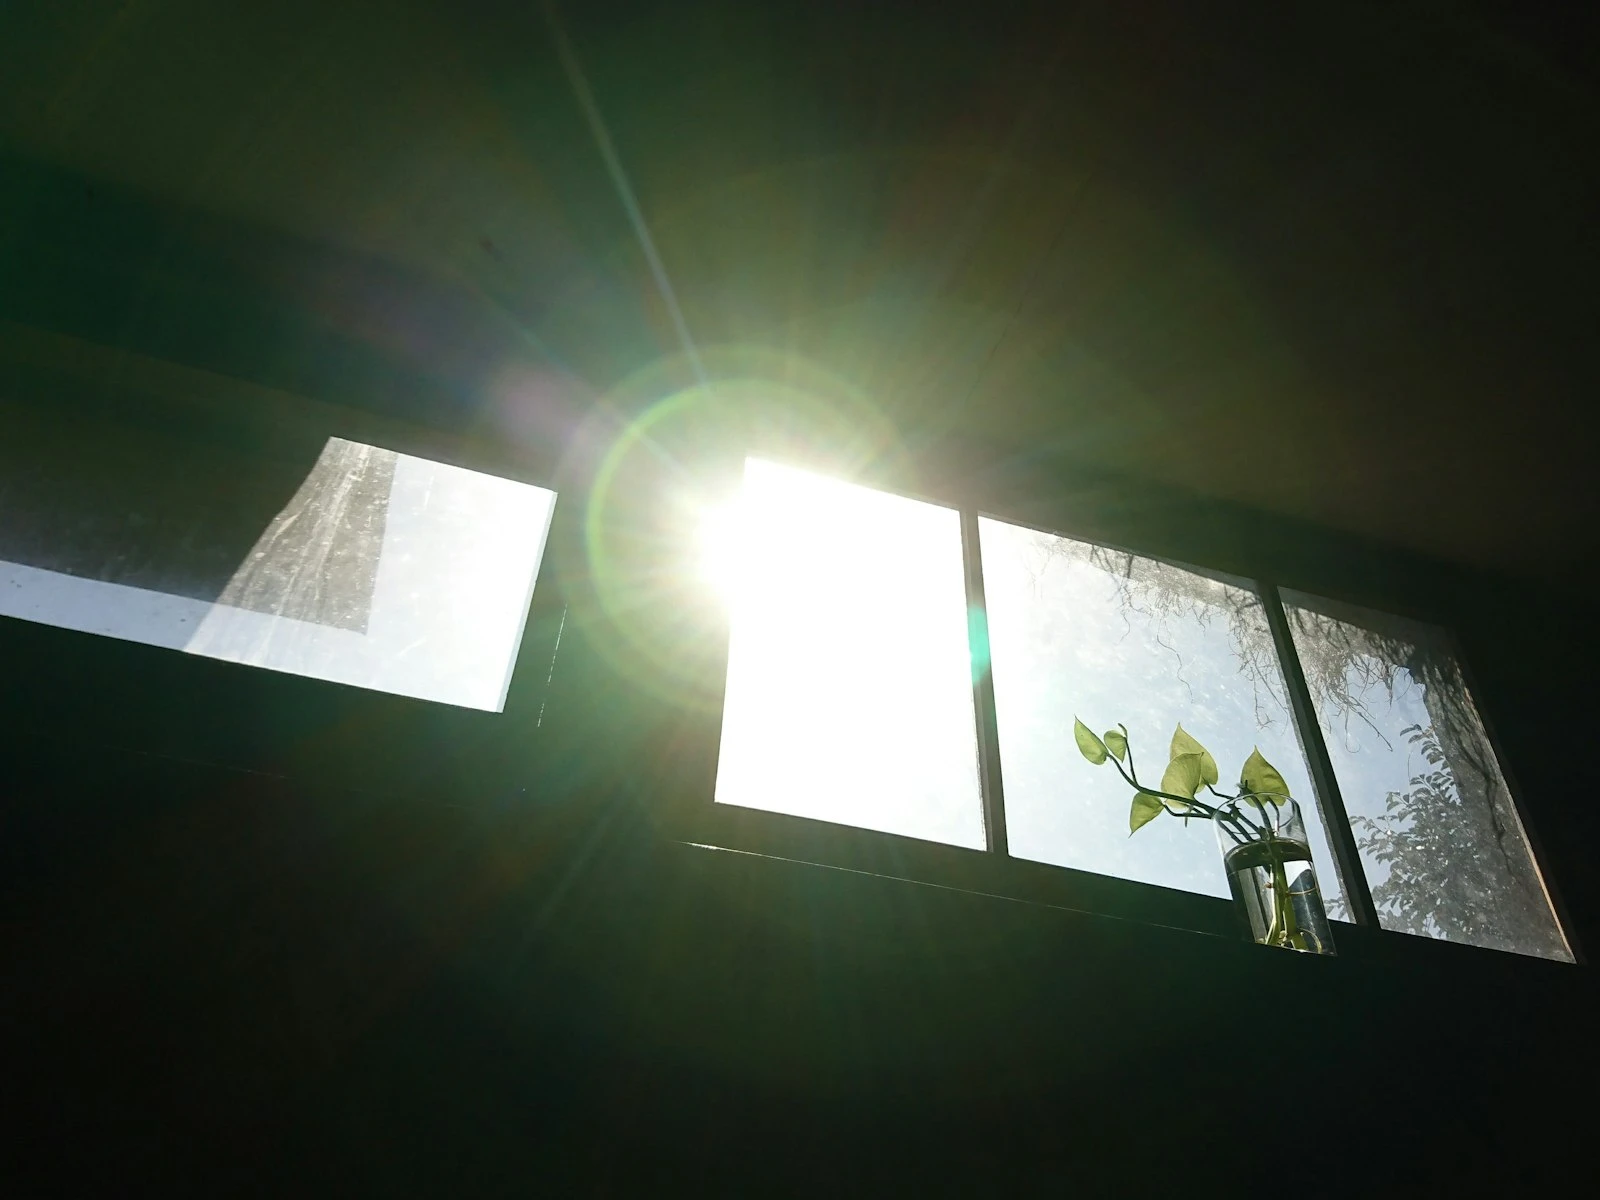
Bare light bulbs create hard light. The bulb is small compared to your subject, so shadows have sharp edges.
Direct on-camera flash fires from a small source. It flattens subjects and creates harsh shadow edges wherever the light doesn't reach.
Clear midday sky means nothing is diffusing the sun. The light hits subjects directly without any softening.
The pattern: small source = hard edges on shadows.
Why Hard Shadows Are Usually Unflattering
Faces have complex geography: eye sockets, noses, cheekbones, chins. When hard light comes from above (like midday sun), it creates:
- Raccoon eyes. The brow casts shadows into the eye sockets, darkening eyes.
- Nose shadows. A hard shadow falls from the nose, sometimes reaching the lip or below.
- Chin shadows. The chin casts dark shadows on the neck.
- Texture emphasis. Hard light exaggerates every skin texture, pore, and wrinkle.
Light quality drives these issues more than intensity. Even dim hard light creates these problems, while bright soft light avoids them entirely.
The camera also sees this worse than your eyes do, because your brain automatically fills in shadow detail while the camera records the shadows exactly as they are. What looks "a little shadowy" to your eye might look dramatically dark in the photo.
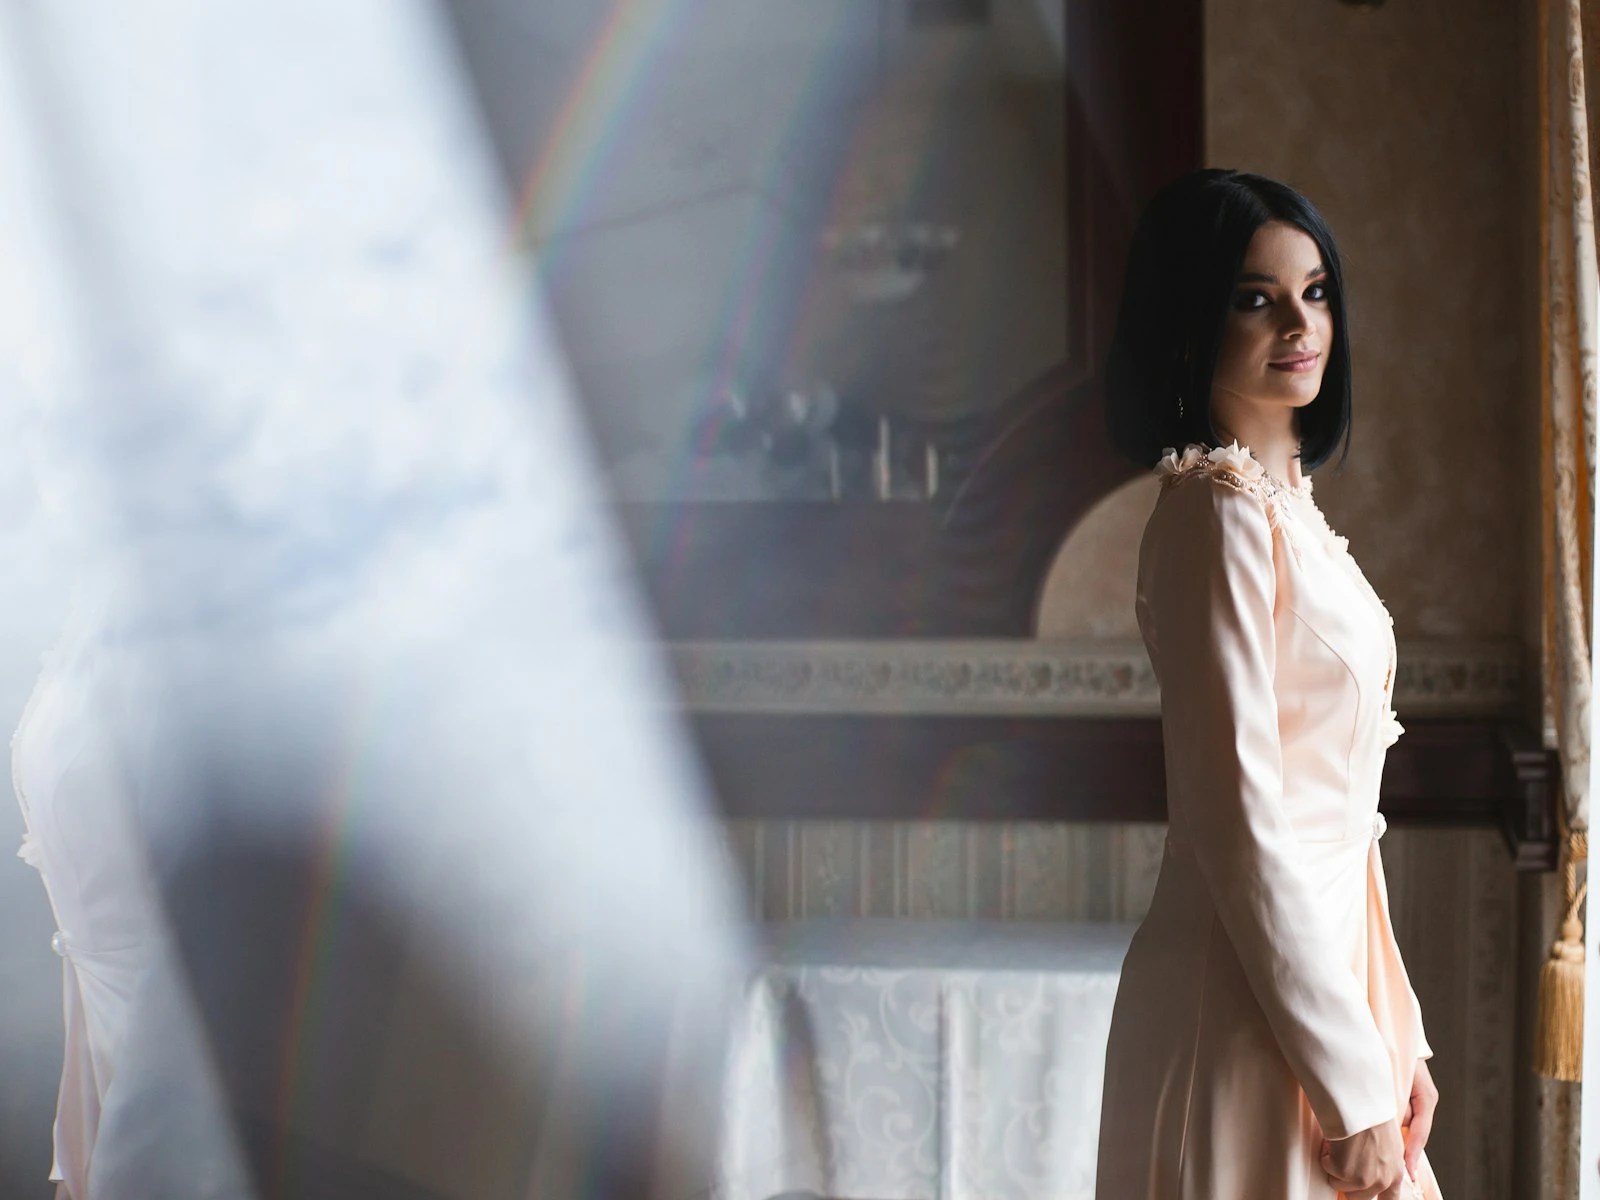
Solution 1: Find Shade
The simplest fix for harsh shadows in outdoor portraits: move to shade.
Open shade means a shaded area that faces open sky: the north side of a building, under an awning, at the edge of tree coverage. You're blocked from direct sun, but the vast sky becomes your light source. Sky is enormous, so the light is soft.
What to look for: Ground that's clearly shaded (not dappled sun through leaves). An area where you can still see the bright sky when you look up, just not the direct sun.
How far in to go: Step just into the shade, not deep into it. Too deep and you lose light intensity and may get conflicting bounce from surfaces.
Watch for color cast: Shade can take on colors from nearby objects. Green from grass bounce, warm from sunset reflections, cool from blue sky. Check your white balance.
Moving to shade turns a challenging lighting situation into an easy one. It's the most practical solution 90% of the time.
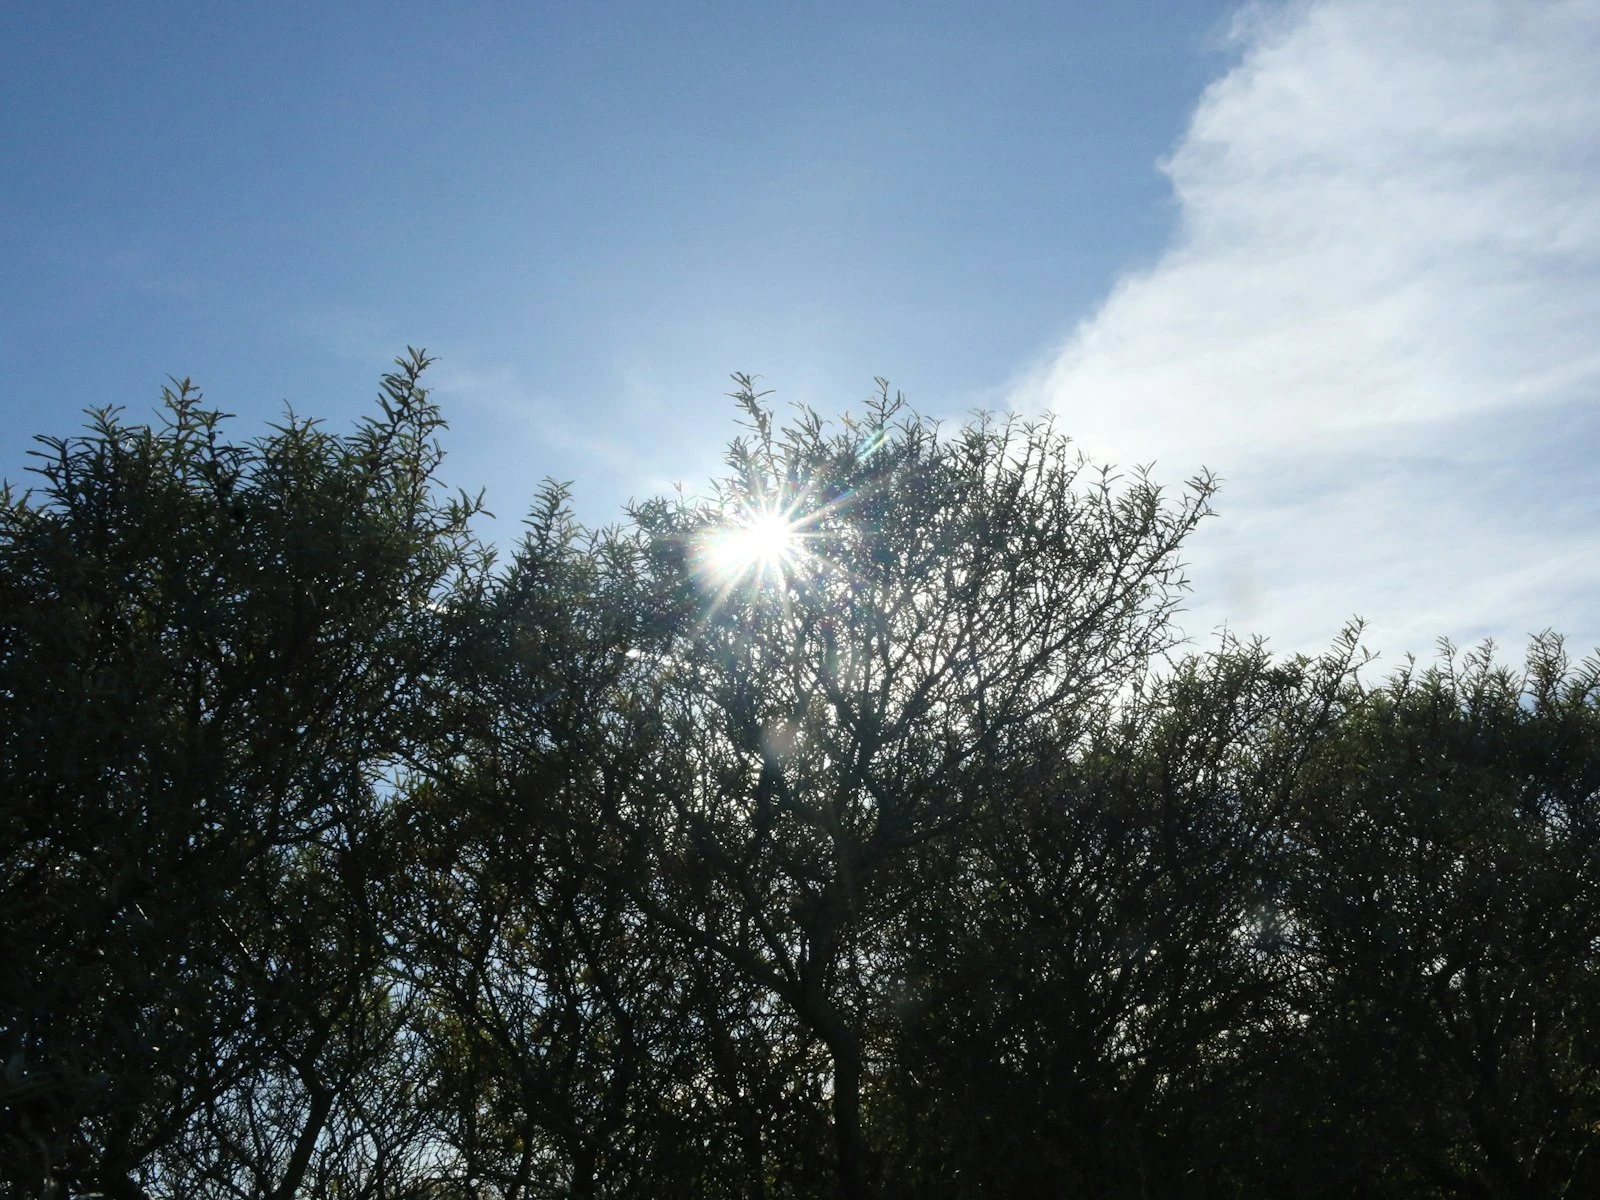
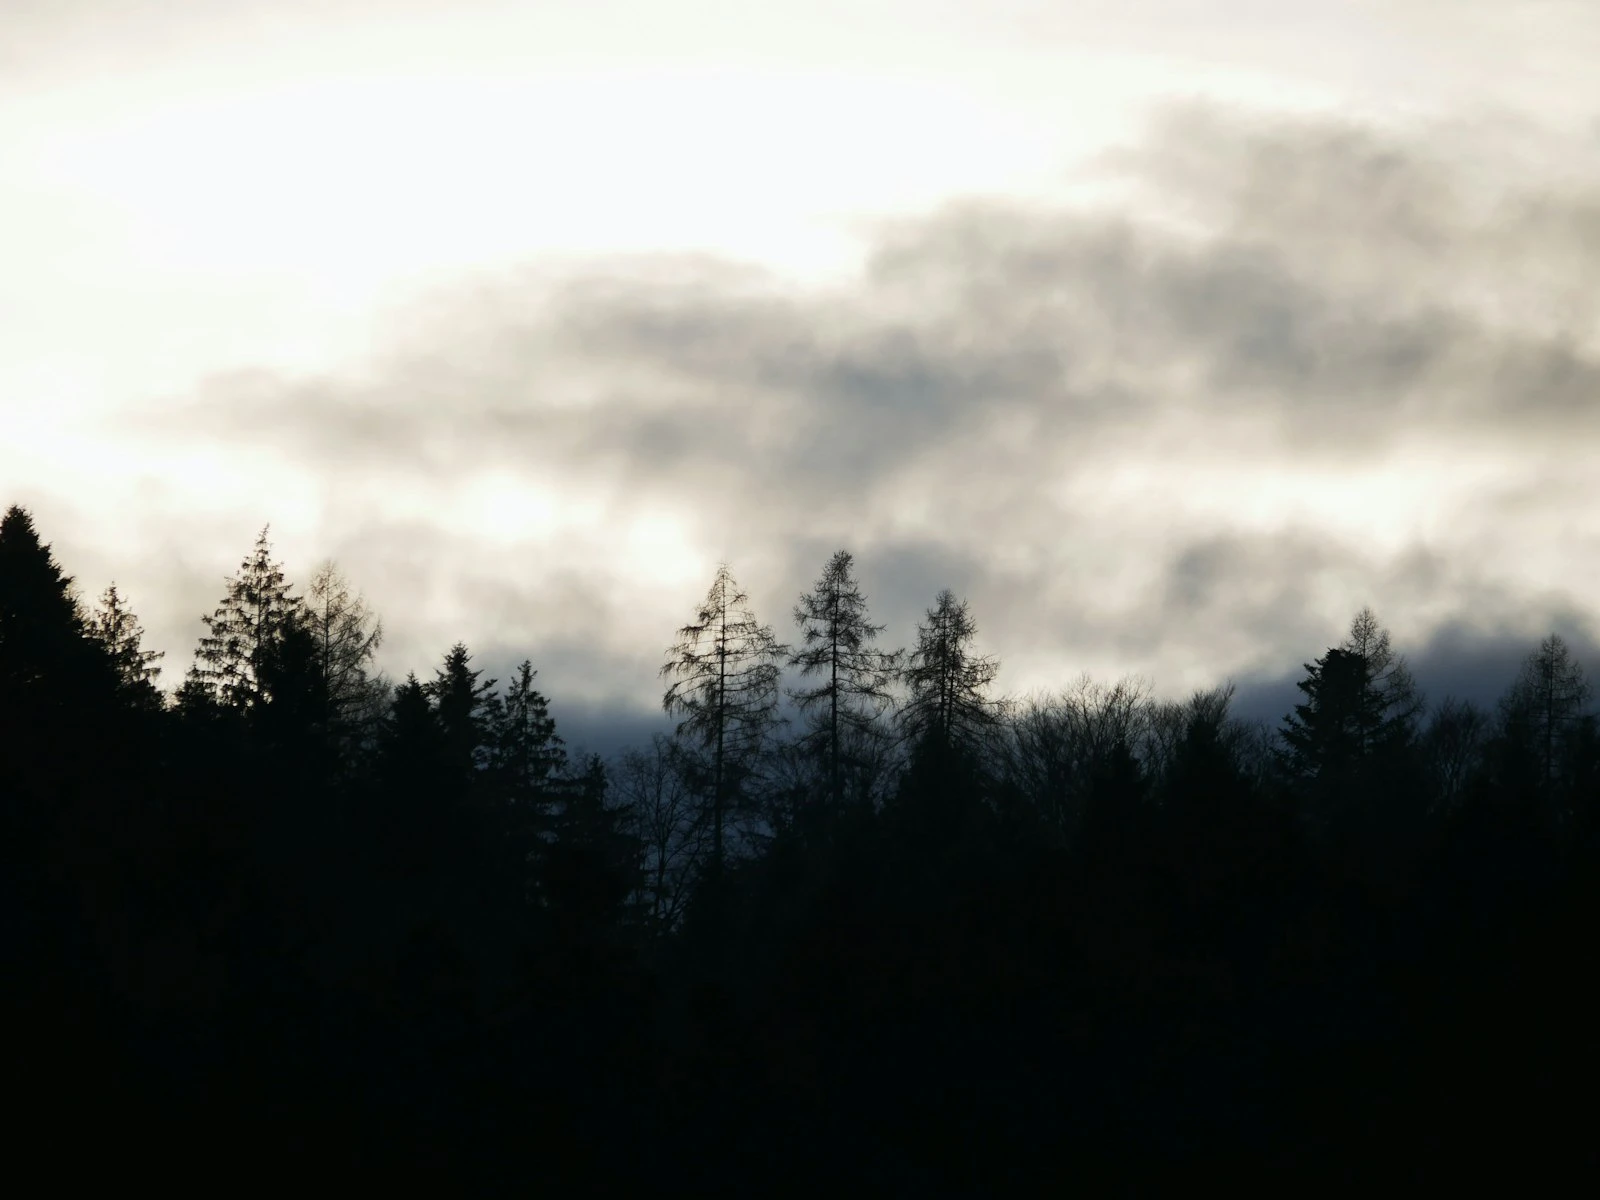
Solution 2: Wait for Clouds
If you can wait, clouds are nature's giant diffuser.
When the sun goes behind clouds, the light source becomes the entire sky, massive and soft. Shadows become gentle or disappear entirely. Hard edges become gradual transitions.
Full overcast means consistent soft light all day. You can shoot in any direction without worrying about harsh shadows.
Passing clouds give you periodic windows of softer light. Watch the sky and time your shots for when the sun is covered.
Thin clouds vs. thick clouds: Thin cloud cover still lets some direction through, creating slight shadows with soft edges. Thick overcast creates nearly shadowless light, flattering but sometimes lacking dimension.
Overcast light is sometimes called "bad" by people who haven't learned to use it. For portraits, it's often easier and more flattering than sunny conditions.
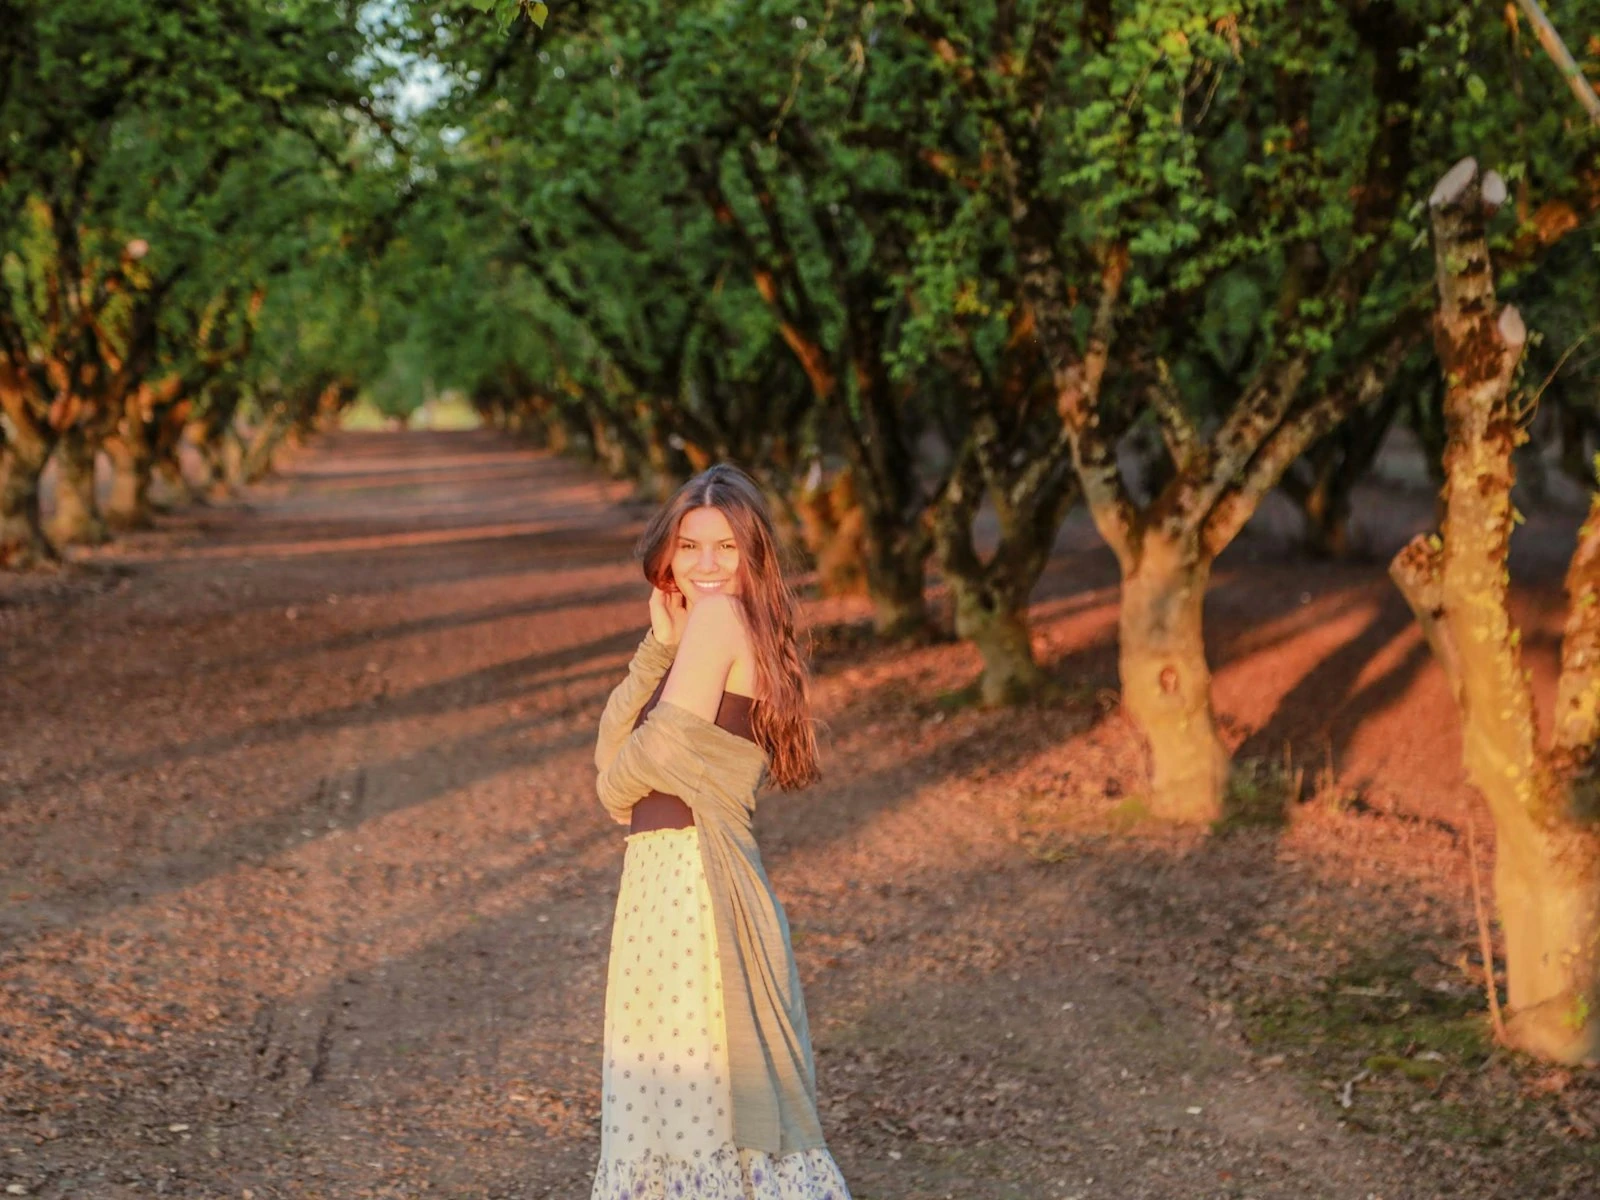
Solution 3: Change the Angle
If you can't change the light, change your relationship to it.
Face them toward the sun (but not directly into it, causing squints). When the sun hits the face from the front rather than above, shadows fall behind the head, not on the face.
Lower sun angle. Earlier morning or later afternoon means the sun comes from the side, not overhead. Golden hour light still produces shadows, but they sculpt the face rather than pool in eye sockets.
Turn the subject. Even in direct sun, having them turn their face slightly can redirect shadows. Experiment with angles and watch how the shadows move across their features as they turn.
Change your position. Sometimes the solution is shooting from a different angle yourself. Shadows that look bad from one angle might work from another.
Solution 4: Block It
Create your own shade if none exists.
A reflector as a shade. Hold a translucent diffuser panel between the sun and your subject. This turns direct sunlight into diffused light. Portable and effective.
A person as shade. Position a taller person (or yourself) to cast a shadow over your subject. Works for kids, pets, or anyone shorter.
Anything overhead. A held jacket, a large umbrella, a piece of cardboard. If it blocks direct sun, it creates open shade.
Outdoor structures. Position subjects under porches, awnings, covered walkways. The structures are there, so use them.
The key is blocking direct sun while ensuring the subject is still lit by open sky. Block above, open to the side.
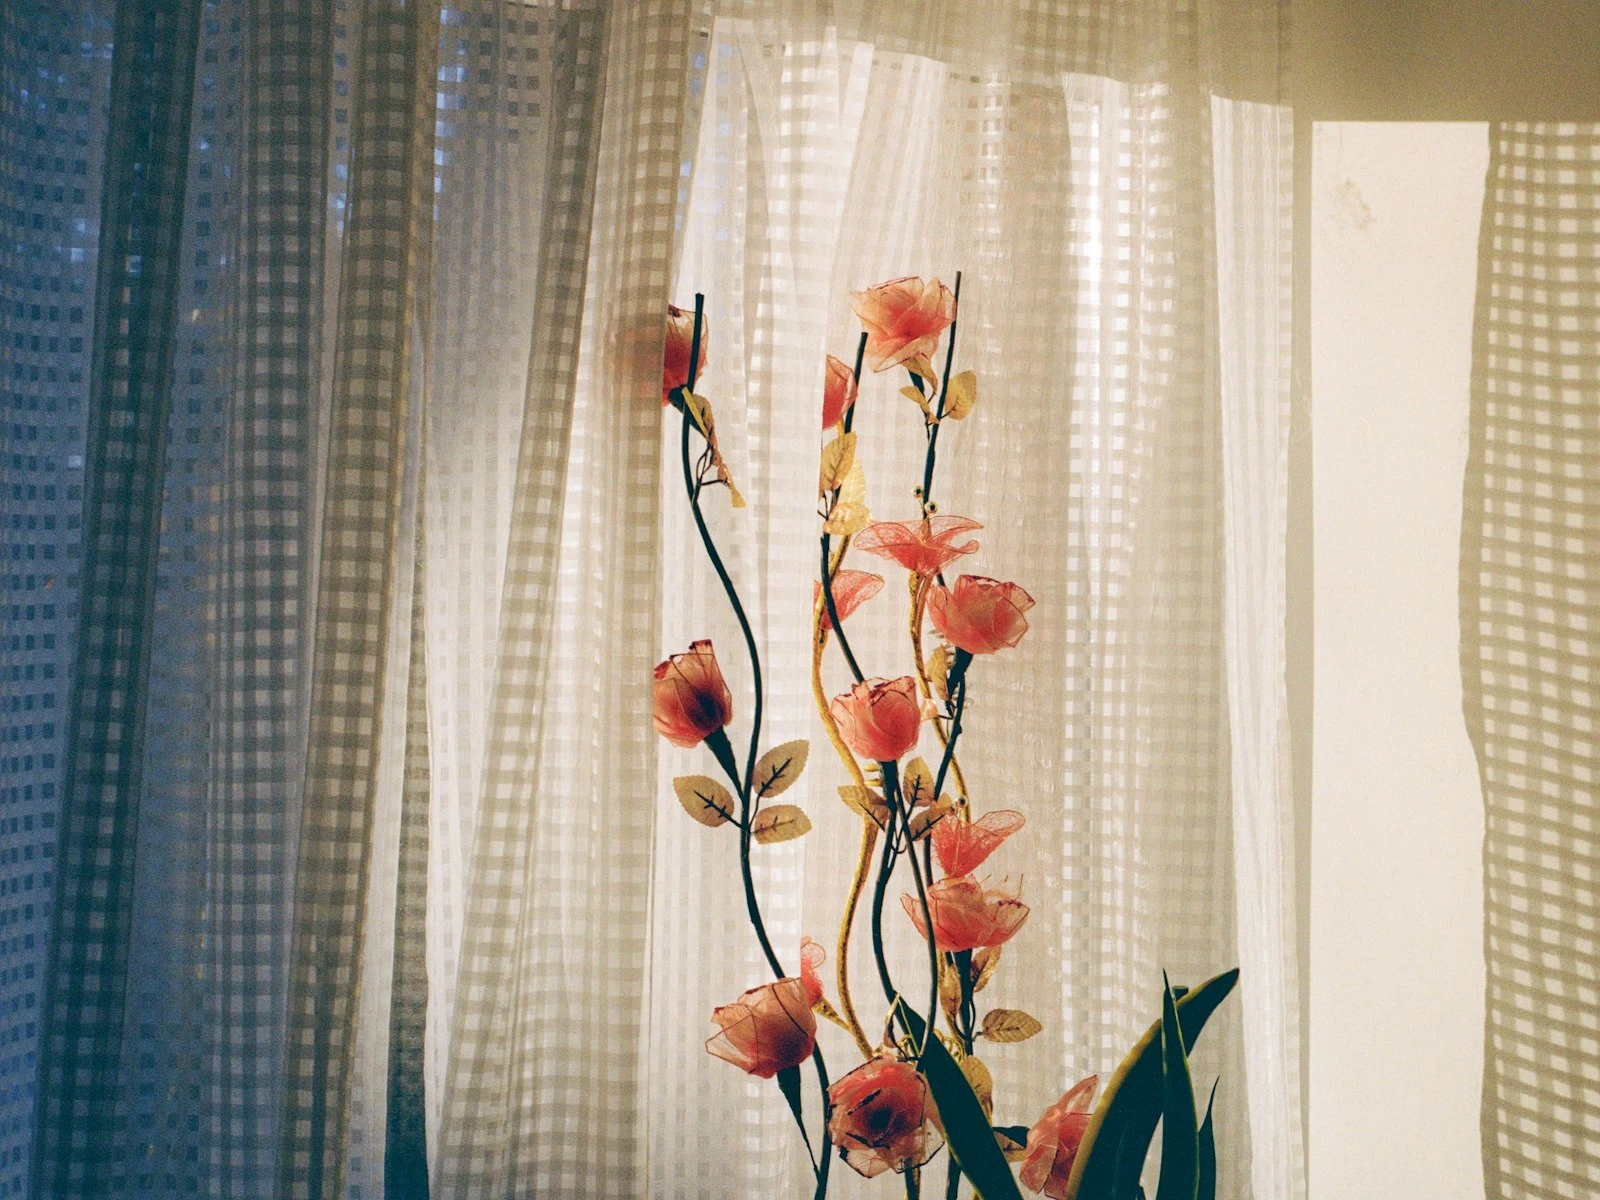
Solution 5: Fill the Shadows
If you can't eliminate hard light, fill in the shadows it creates.
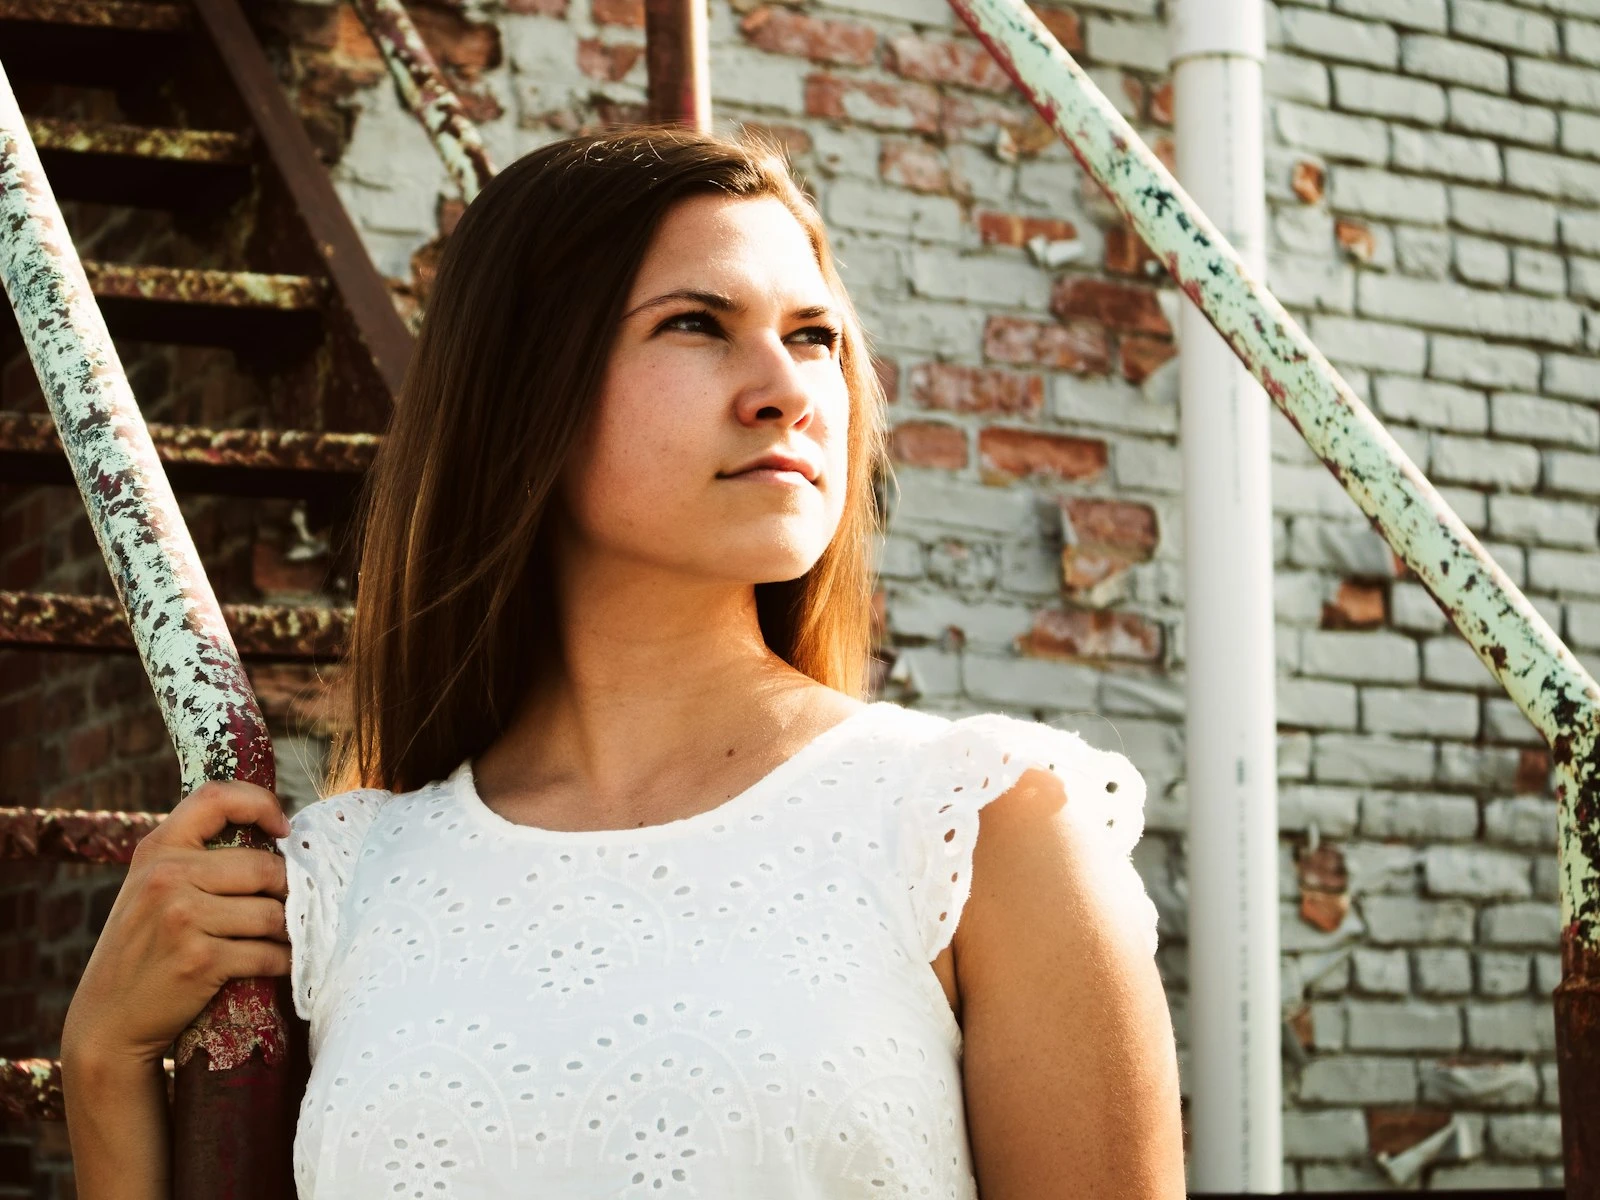
White reflector. A piece of white foam core, a reflector panel, even a white shirt or piece of paper. Position it on the shadow side to bounce light back into dark areas. This fills shadows while keeping the dimensional quality of directional light.
Gold reflector. Adds warmth while filling shadows. Good for outdoor portraits when you want that sun-kissed look.
Silver reflector. More punch than white, almost like adding another light source. Can be too intense if positioned close.
Natural fill. Light-colored surfaces nearby already act as reflectors. Position your subject near a white wall, sidewalk, or light building. The environment becomes your fill.
Fill doesn't eliminate shadows but lightens them. You keep dimension but lose the harsh contrast that makes shadows problematic.
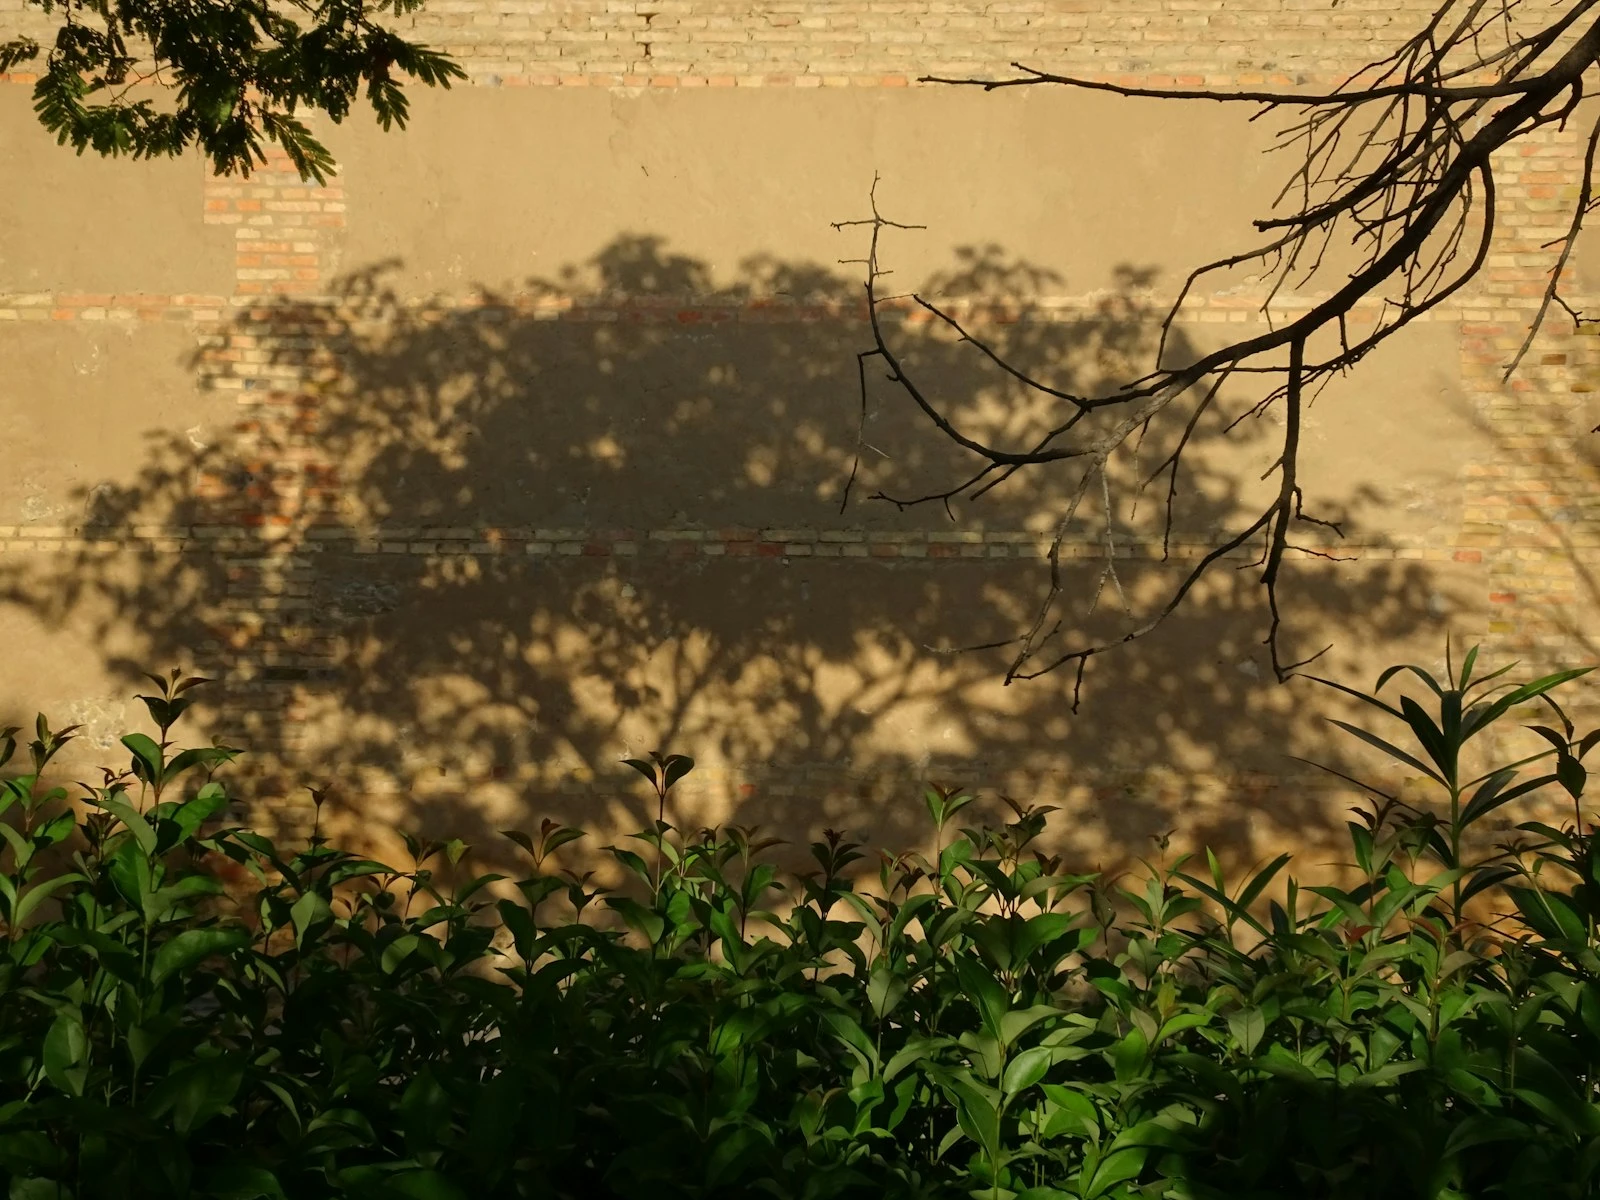
Solution 6: Embrace It
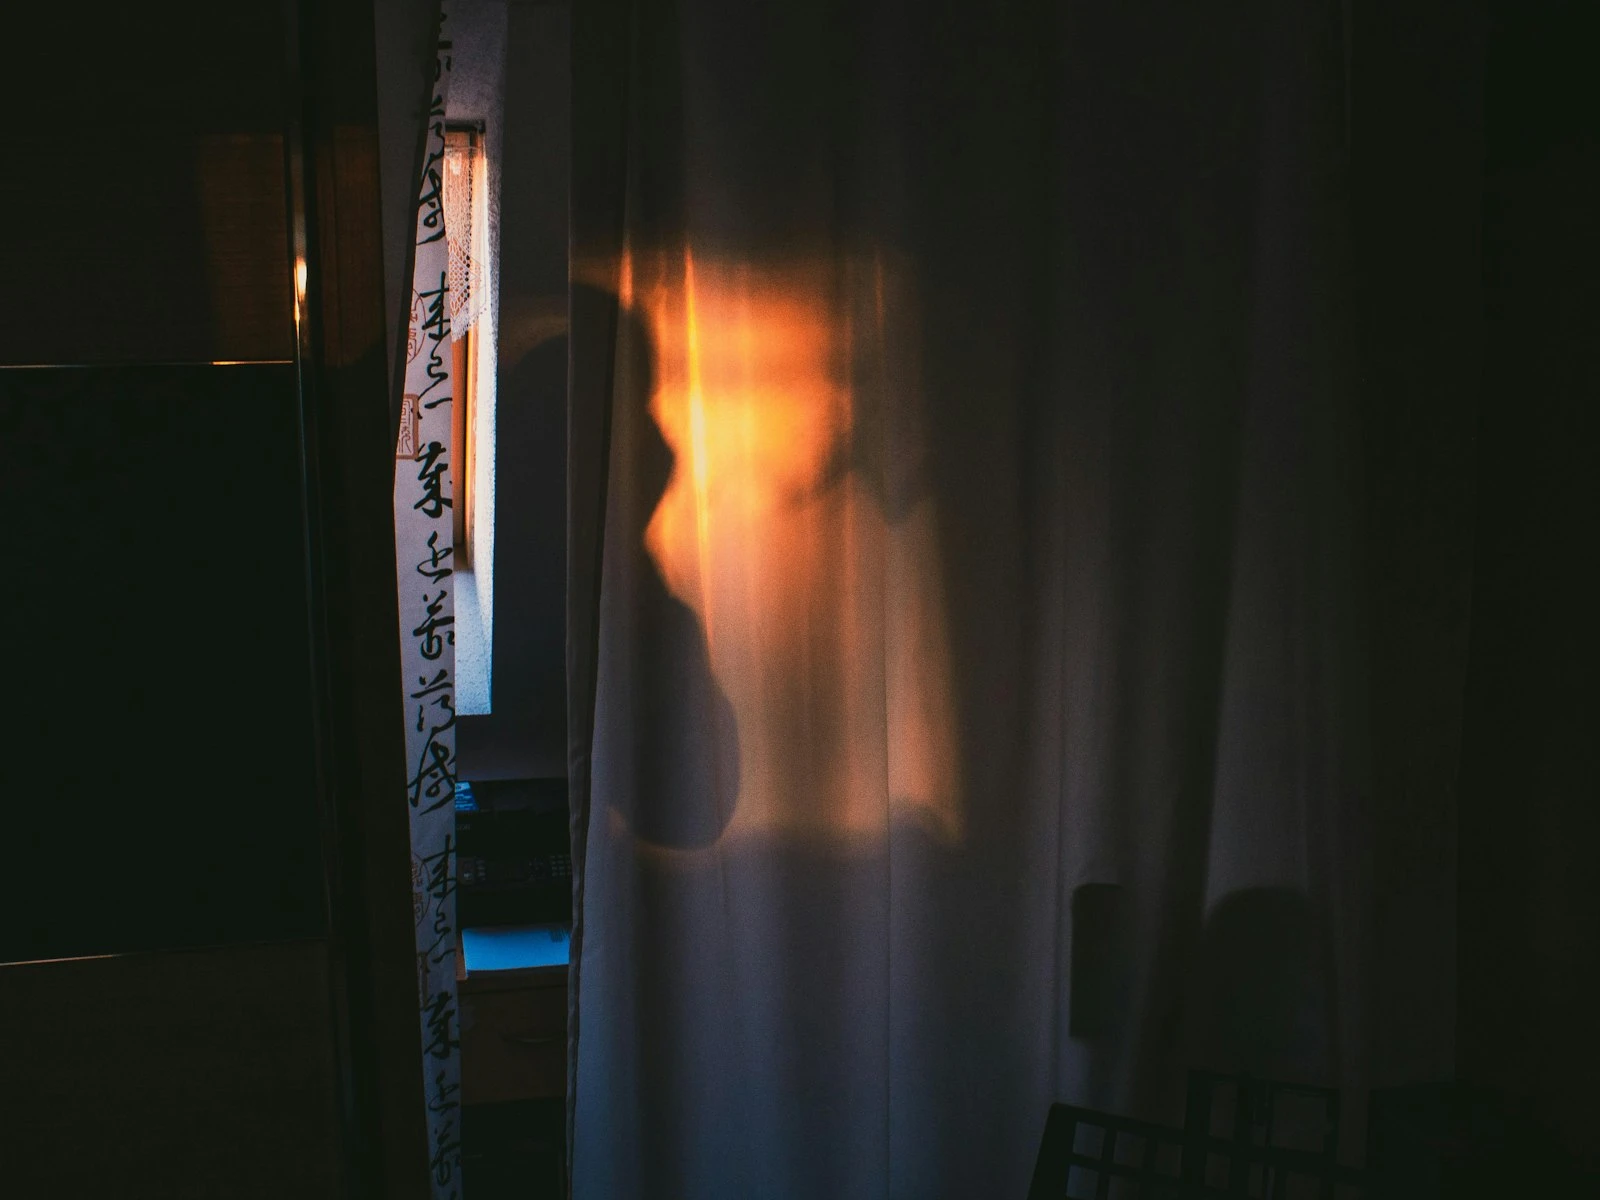
Sometimes harsh shadows are the point, and several genres lean into them intentionally.
Film noir style uses hard light for drama, with dark shadows across faces creating mood and mystery.
Fashion photography often uses hard light for its edge and intensity. It's graphic, bold, unflattering in the traditional sense but visually striking.
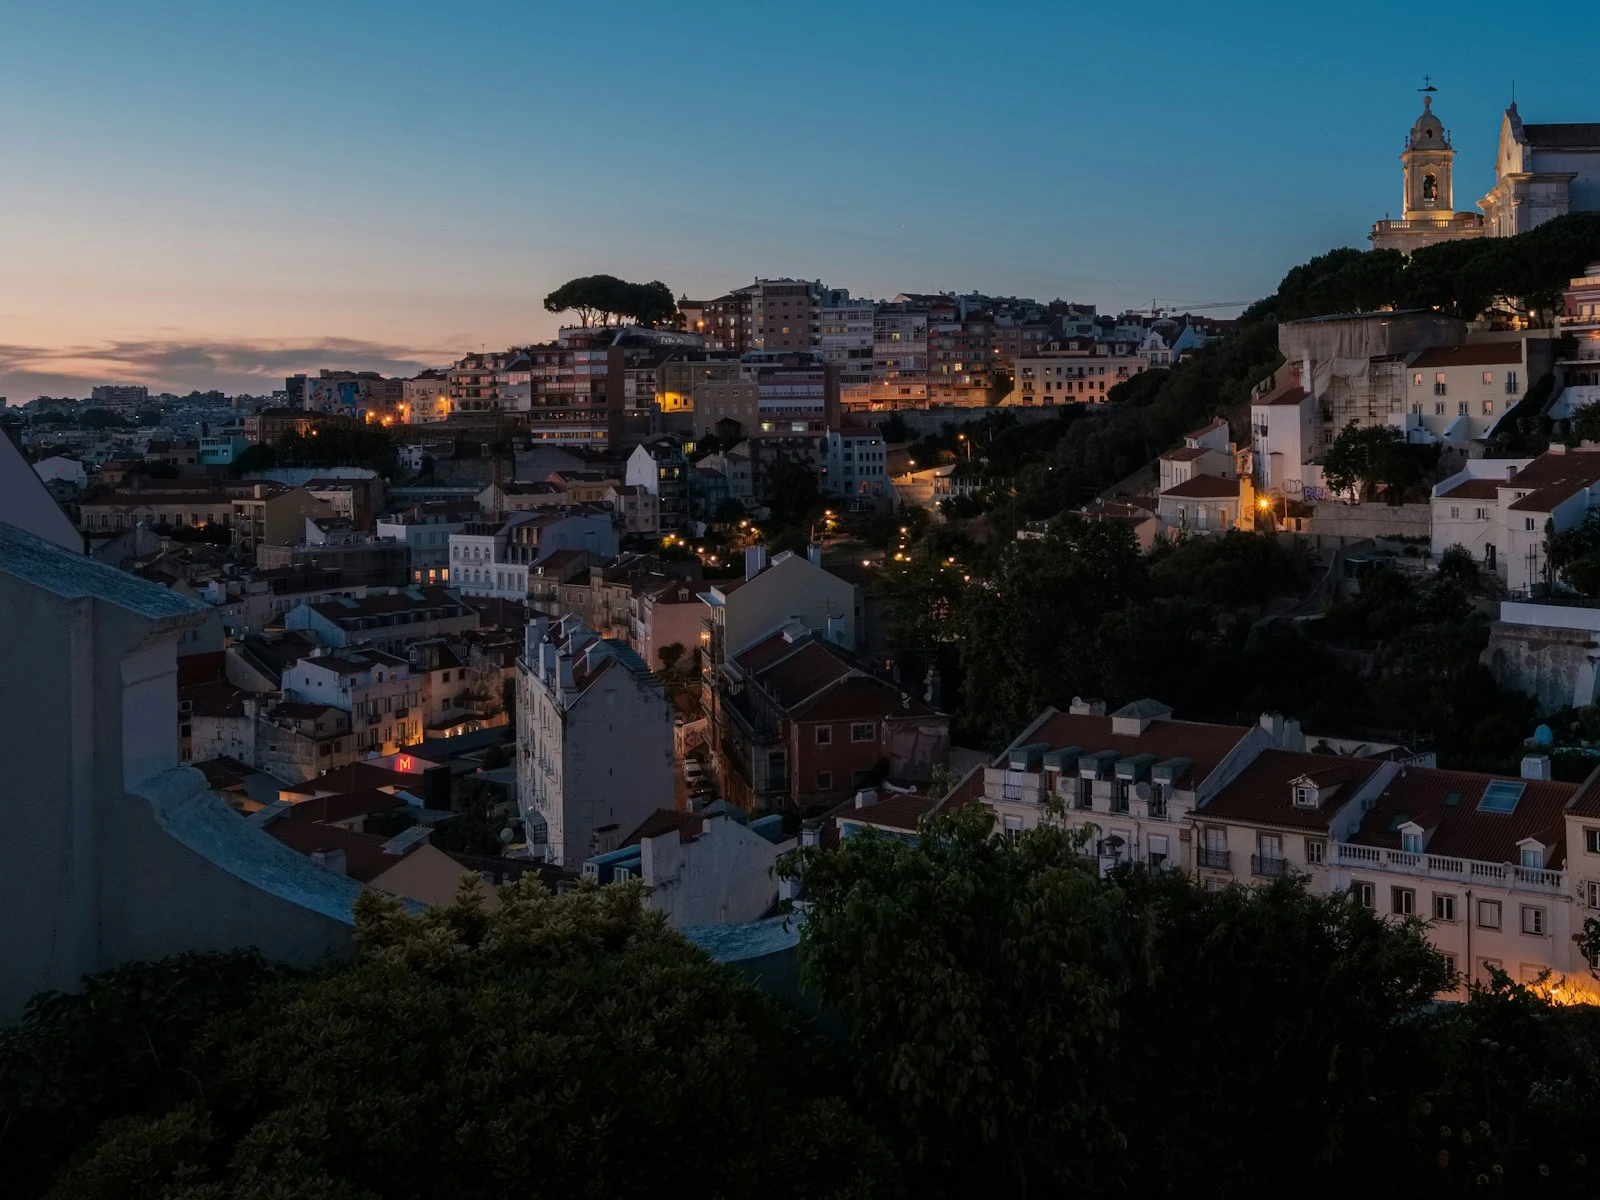
Architectural and street photography benefit from harsh shadows that create geometric patterns and strong contrast.
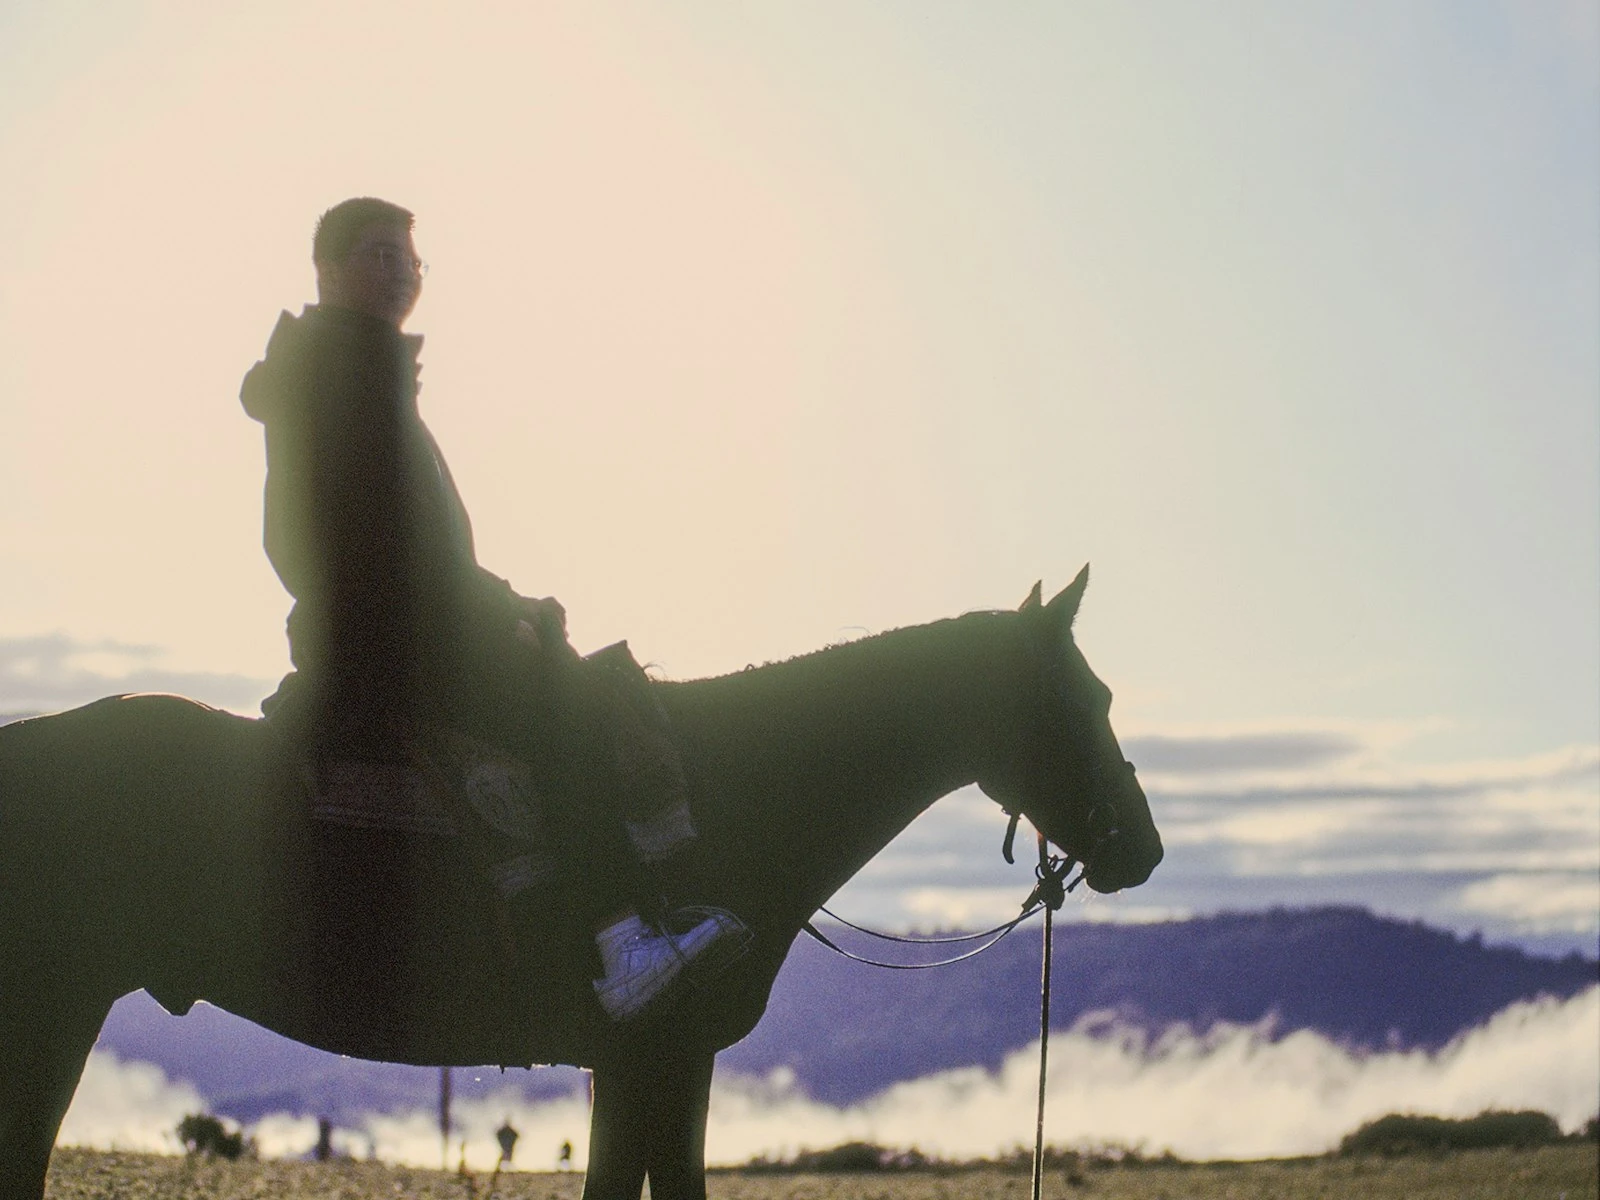
Silhouettes are the extreme version, with shadows covering the entire subject.
If you're going to use harsh shadows intentionally:
- Commit to it. Half-harsh looks like a mistake.
- Use the shadows compositionally. Where they fall matters.
- Watch for "accidental ugly," meaning harsh shadows that don't add meaning.
Intentional hard light is a creative choice. Accidental hard light is usually just a problem.
Solution 7: Fix It in Post
Post-processing isn't the ideal approach, but it's sometimes necessary.
Lift shadows. Modern camera sensors capture shadow detail that can be recovered. Pulling up shadows in Lightroom or similar software reduces contrast.
Limits: You can only recover what's there. Deep black shadows with no detail stay black. Lifted shadows also show more noise.
Better approach: Slight underexposure in camera to protect highlights, then lift shadows in post. This captures more usable shadow detail than letting shadows go pure black.
Selective adjustment. Brush-based adjustments let you lift specific shadow areas (under eyes, under nose) without affecting the whole image.
Post-processing is a rescue technique, not a primary strategy. Getting it right in-camera gives you more flexibility and better final results.
Reading Shadows: A Diagnostic Skill
When you see harsh shadows in your images, ask:
Where's the light coming from? Look at the shadow directions. Overhead? From the side? Multiple sources?
How hard is it? Check shadow edges. Razor-sharp means very hard light. Soft edges mean something was diffusing it.
What could I have changed? Could I have found shade? Waited for clouds? Used a reflector? Changed the angle?
This diagnostic habit turns problems into lessons. Each harsh shadow teaches you something for next time.
Quick Reference
| Problem | Fastest Solution |
|---|---|
| Midday sun portraits | Find open shade |
| Eye socket shadows | Turn subject toward light |
| Hard nose shadows | Lower sun angle or open shade |
| Unflattering texture | Soft/diffused light |
| Too much contrast | Add fill with reflector |
| Can't move, can't wait | Block sun with diffuser |
| Intentional drama | Embrace and commit |
Harsh shadows are controllable. Once you understand they come from hard light, you can choose to avoid it, soften it, fill it, or use it.
Key Takeaways
- Harsh shadows come from small light sources (like direct midday sun), so the fastest fix is moving your subject into open shade where the sky becomes the light source.
- Rotate your subject relative to the light so shadows fall in flattering directions rather than creating dark eye sockets and nose shadows.
- Use reflectors or nearby light-colored surfaces to bounce light into shadow areas and reduce the contrast between lit and unlit sides.
- Hard shadows are not always bad; embrace them intentionally for dramatic portraits, texture emphasis, and graphic compositions.
More in This Guide
Continue exploring lighting techniques.