Natural light photography is about making decisions with whatever light exists right now.
The sun is doing something, clouds are doing something, and walls, windows, and trees are all shaping the light around you. Your job is to read what's happening, then position yourself and your subject to make it work.
You already know what natural light is since it comes from the sun. This guide, one of the starting points in our full lighting guide, is about what to do with it. We'll talk about hard light, soft light, fill light, and other concepts that might be new. The photography glossary has definitions for all these lighting terms if you want a quick reference.
The First Question: What Do I Have?
Before you shoot, answer this: what kind of light am I working with?
You're asking about two things: quality (hard or soft) and direction (where it's coming from). These two factors determine everything else.
Hard light means sharp shadows. Look at the ground. If shadows have crisp edges, you have hard light. The sun is hitting your subject directly without anything softening it.
Soft light means gradual shadows or almost no visible shadows. Look at the ground. If shadow edges are blurry or barely visible, you have soft light. Something is diffusing the sun (clouds, shade, bounce).
Direction means identifying where the light source is. On a sunny day, that's the sun's position. In shade, it's the open sky or the brightest reflected surface. The direction determines where shadows fall on your subject.
Once you can answer "hard or soft" and "coming from where," you can start making decisions instead of just accepting conditions.
Decision One: Work With It or Reposition?
Every lighting situation presents a choice: embrace what you have, or move to change it.
Scenario: Harsh midday sun, photographing a person outside.
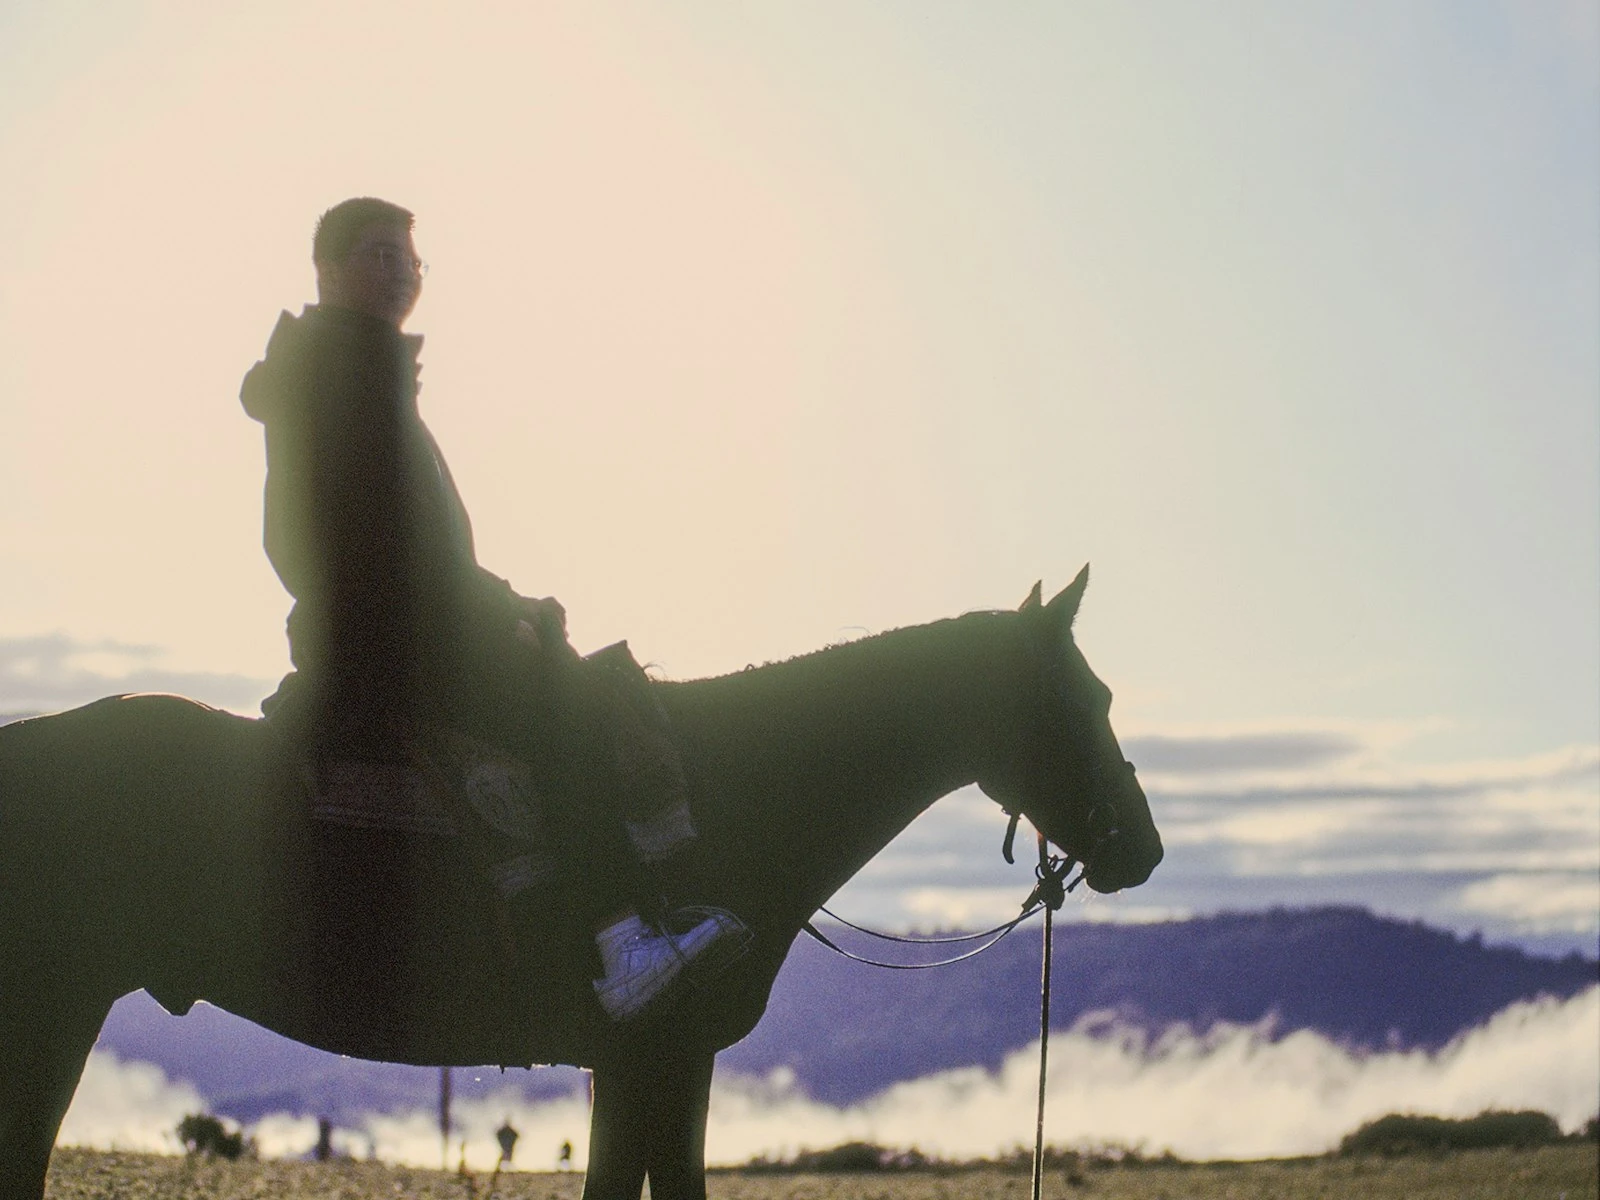
Option A: Work with it. Find an angle where the hard light becomes intentional. Maybe silhouette them against the sky, or use the harsh shadows for a dramatic effect.
Option B: Reposition. Move them to open shade (under a tree, awning, or building) where the light becomes soft. The background changes, the mood changes, but the light becomes workable for flattering portraits.
Neither is wrong. But choosing Option A when you wanted Option B's result leads to frustration. Choosing Option B when you wanted drama gives you safe but boring.
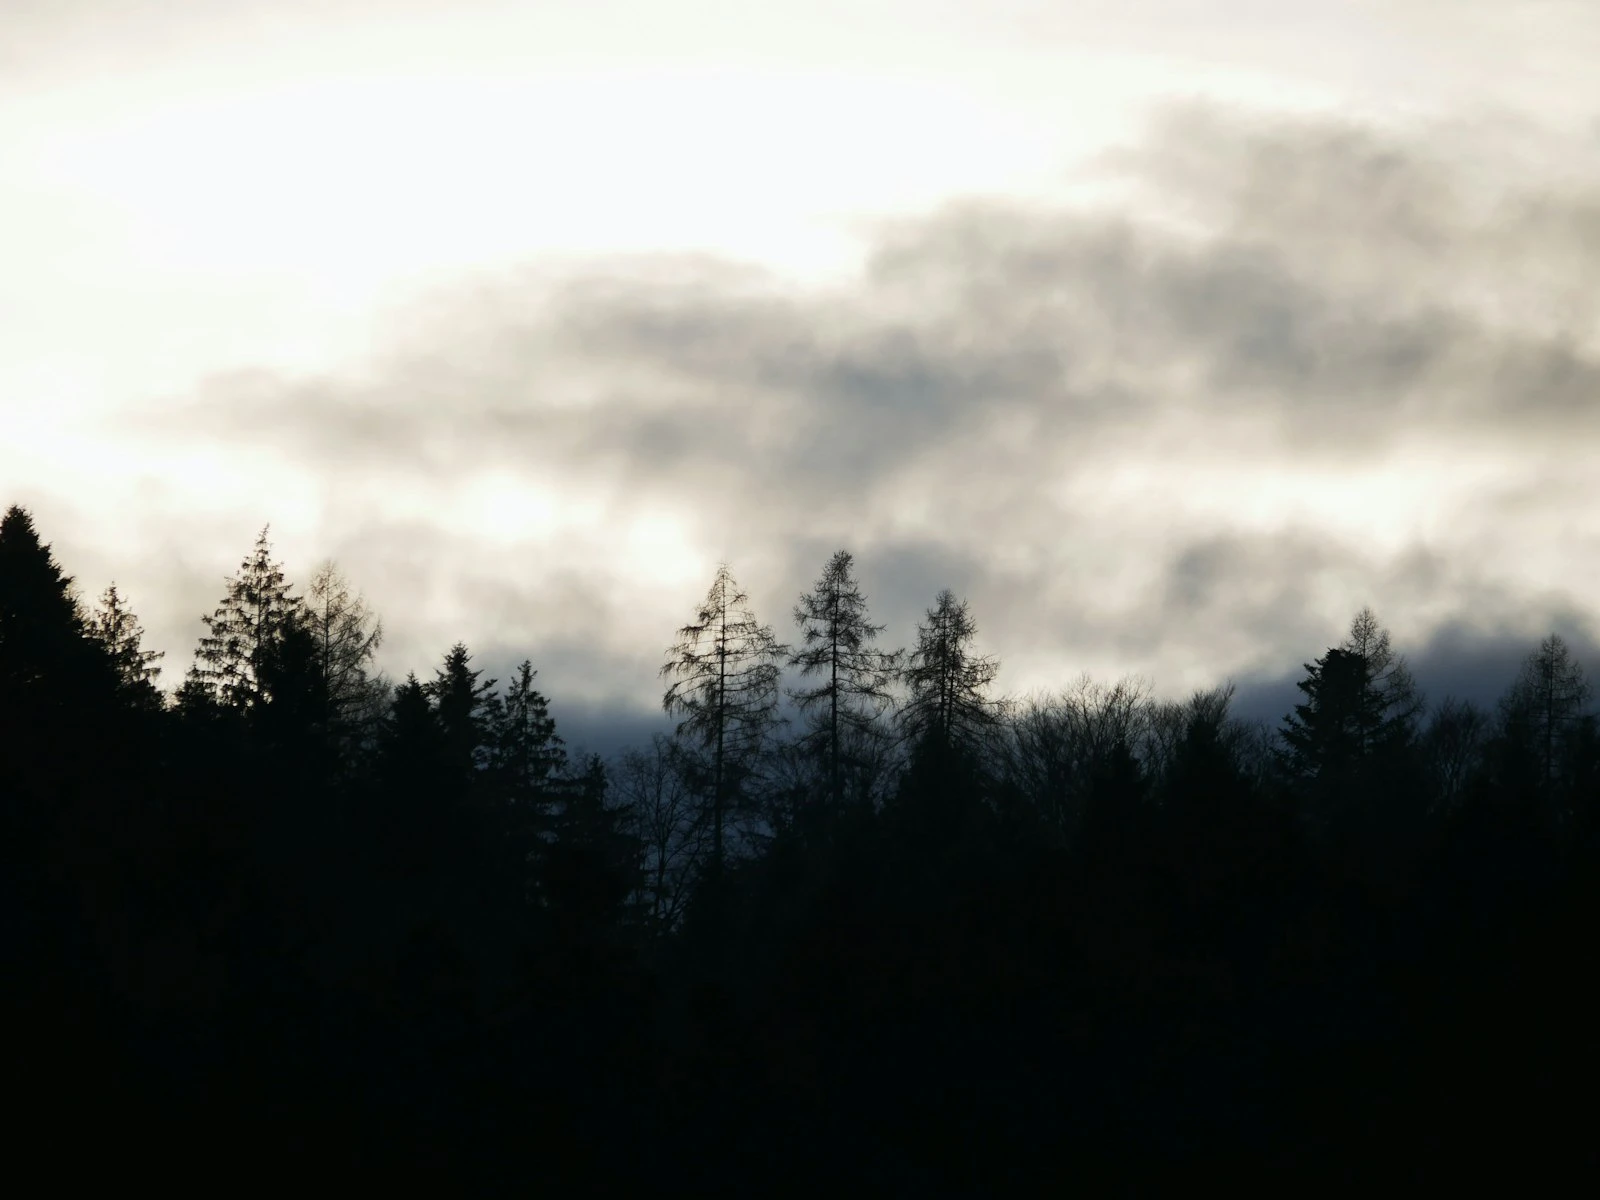
Scenario: Overcast afternoon, photographing a landscape.
Option A: Work with it. Soft light is excellent for forests, waterfalls, and detailed close-ups. Embrace the muted tones and even illumination.
Option B: Wait. If the image needs dramatic light (sweeping vista, strong shadows defining terrain), this isn't the moment. Come back at golden hour or when clouds break.
Option C: Reframe. Maybe the sweeping vista isn't the shot today, but the intimate detail shot works perfectly. Change your goal to match your light.
The decision framework is always whether you can make this light work for what you want. If yes, how do you position for it? If no, what can you change among your position, your subject's position, your goal, or your timing?
When to Chase Light vs. Work With What You Have
Chasing light means planning your shoot around optimal conditions like golden hour, blue hour, and dramatic weather. Working with what you have means making good images regardless of when you're shooting.
Chase light when:
- You have control over timing
- The location deserves its best light
- You're creating portfolio or print-worthy work
- The subject benefits dramatically from specific conditions
Work with what you have when:
- You're there now and won't be back
- The moment matters more than the light
- The subject is mobile and can be repositioned
- Good light exists (you just need to find it)
Most photography happens in imperfect light, and that's an uncomfortable truth worth accepting. Vacations, events, and everyday moments don't wait for golden hour. The photographer who only shoots in perfect light misses most of life.
The photographer who learns to find workable light in any condition never misses anything.
Finding Good Light in "Bad" Conditions
"Bad light" usually means hard midday sun or flat overcast. But workable light exists in both. You just need to know where to look.
In Harsh Sun
Open shade is your friend. Step under any overhead structure like an awning, tree, or building overhang, and you're suddenly in soft light. The subject is shaded from direct sun, but the open sky provides even illumination.
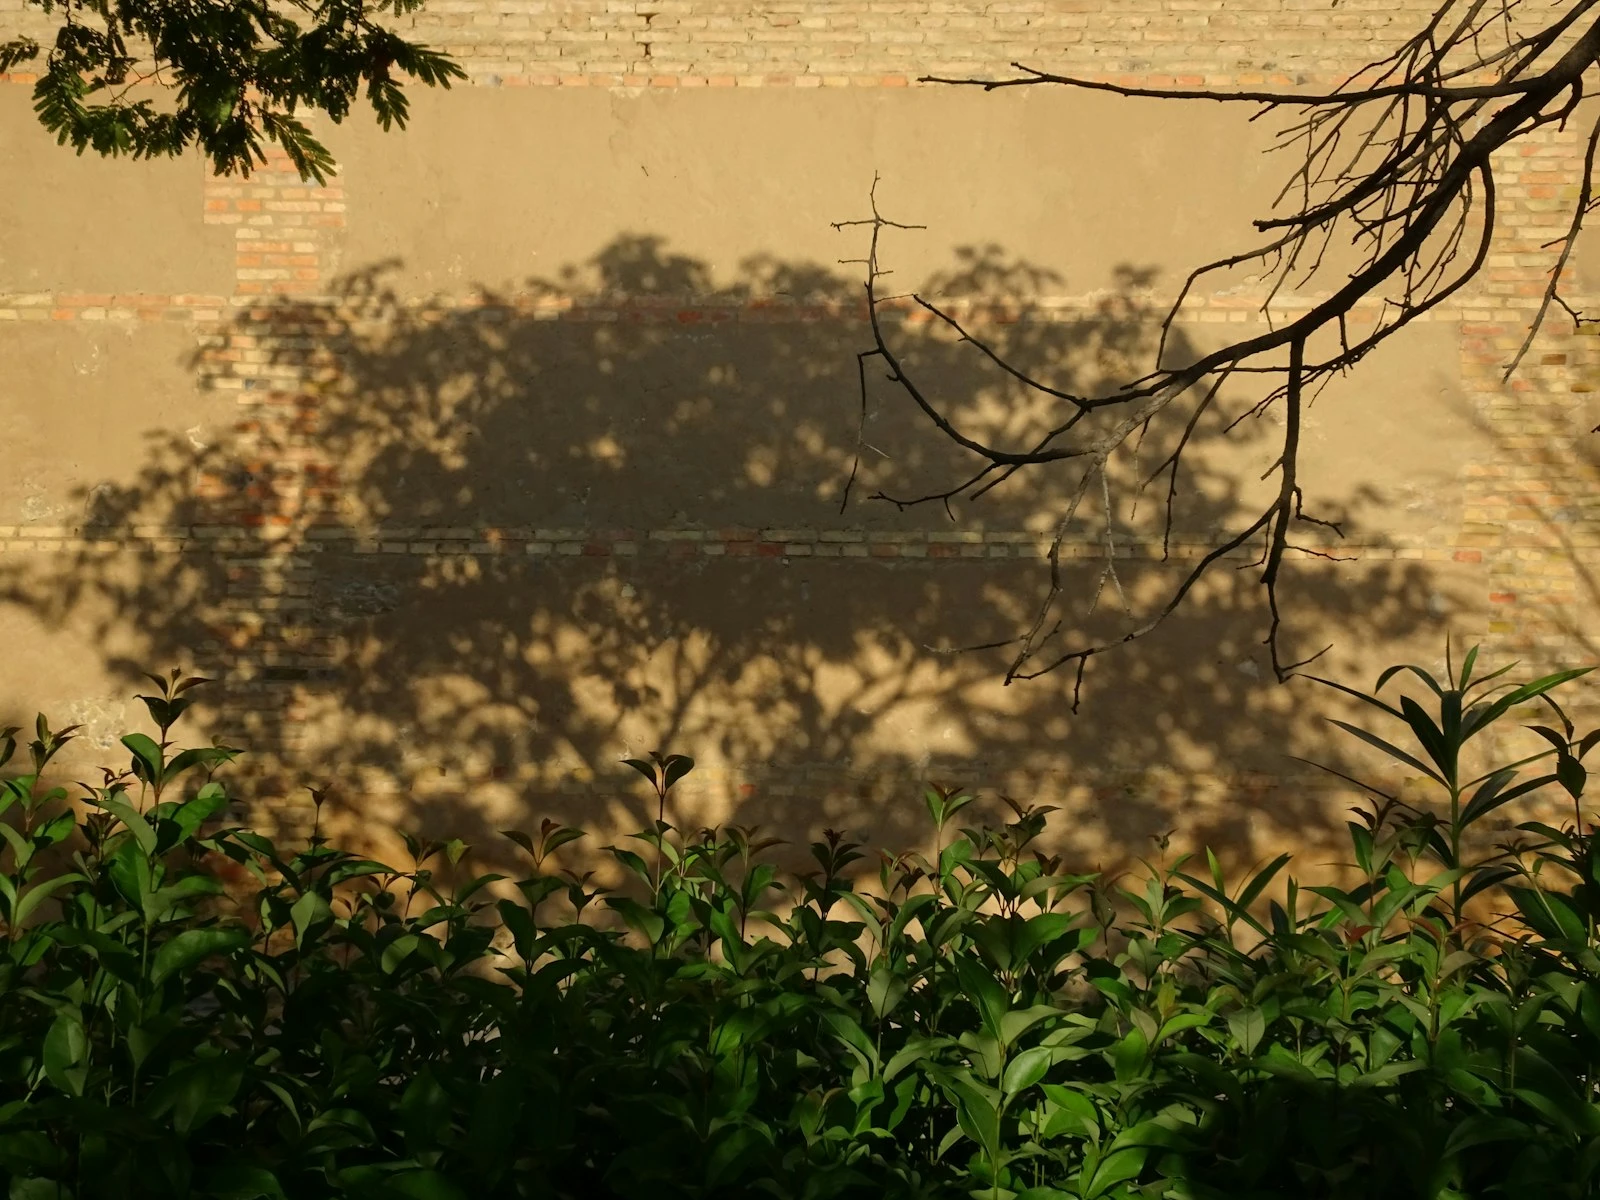
Look for reflected light. Light-colored walls and sidewalks bounce sun into shaded areas. A subject in shade near a sunlit white wall gets beautiful, soft fill light.
Use the hard light intentionally. Silhouettes, strong shadows, and high contrast can be powerful. If you can't beat it, make it the point.
Find pockets. Doorways, alleys, and gaps between buildings work well, anywhere the overhead sun is blocked but open sky illuminates. These pockets exist everywhere on sunny days.
In Flat Overcast
Move close to the subject. Flat light lacks drama at a distance, but detail shots thrive. Flowers, textures, and intimate portraits all look beautiful in overcast light.
Look for natural contrast. A person in dark clothing against a light background. A red flower against green leaves. The light won't create contrast, so your subjects need to provide it.
Embrace the mood. Some images want moody, muted, ethereal light. Forests, rainy streets, and contemplative portraits all benefit from the specific quality of overcast light.
Watch for breaks. Overcast skies often have thinner and thicker areas. A slightly brighter patch of sky provides more direction to the light than uniform grey.
Positioning: The Simple Moves That Matter
You have three things you can move: yourself, your subject, and your focal length. Often you can't move the light (it's the sun). So positioning is your primary tool.
For Portraits
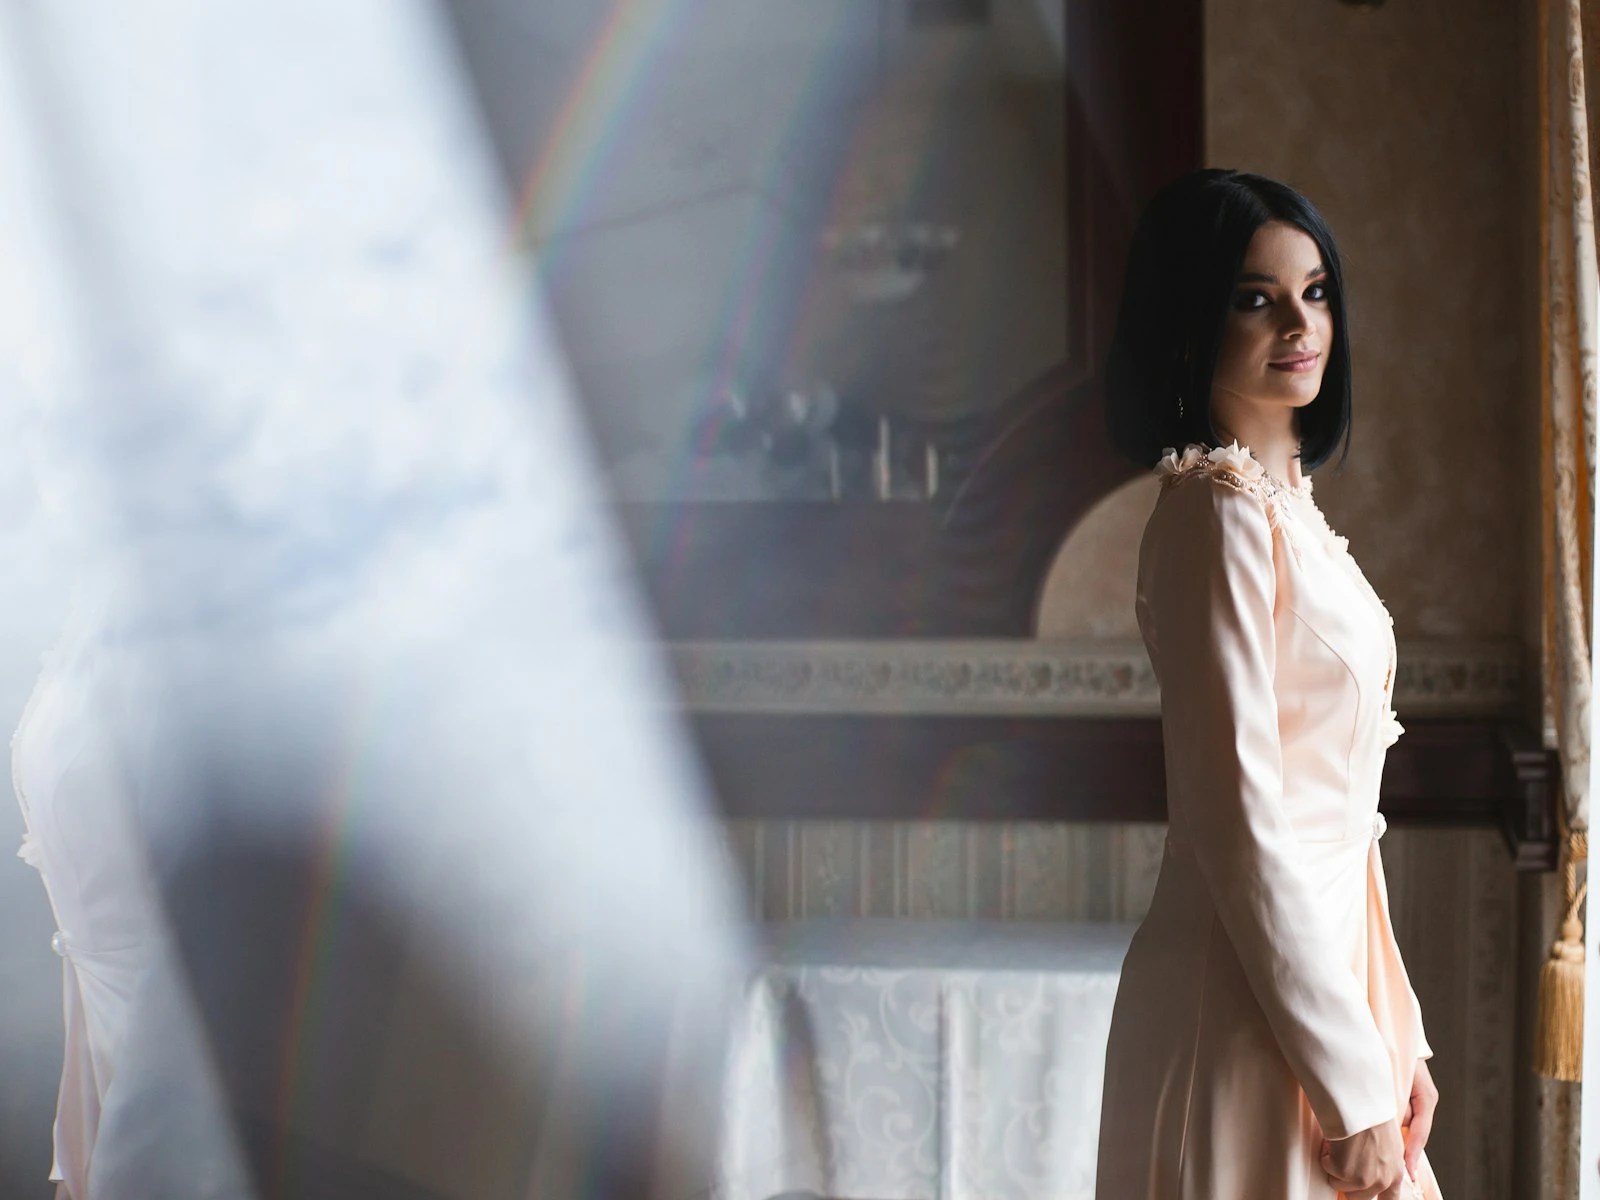
Facing the light source: Even, flattering, no harsh shadows. A safe choice that can sometimes feel flat.
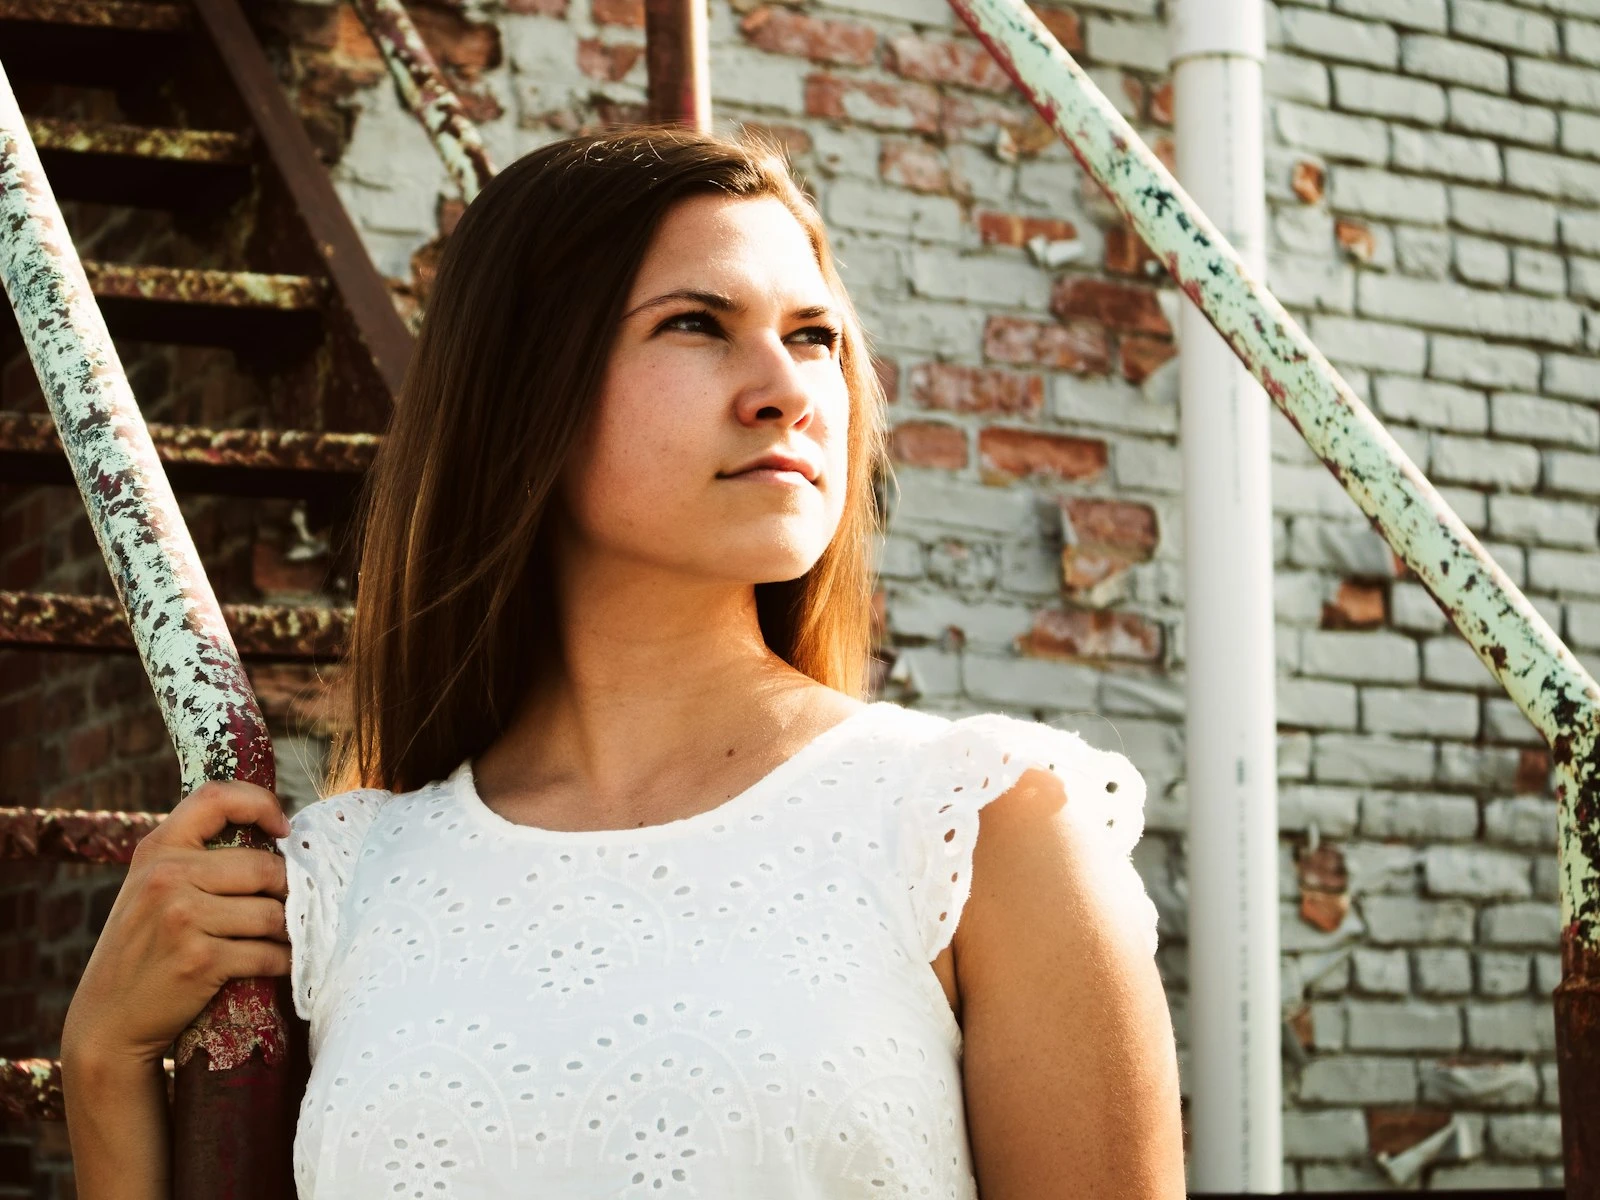
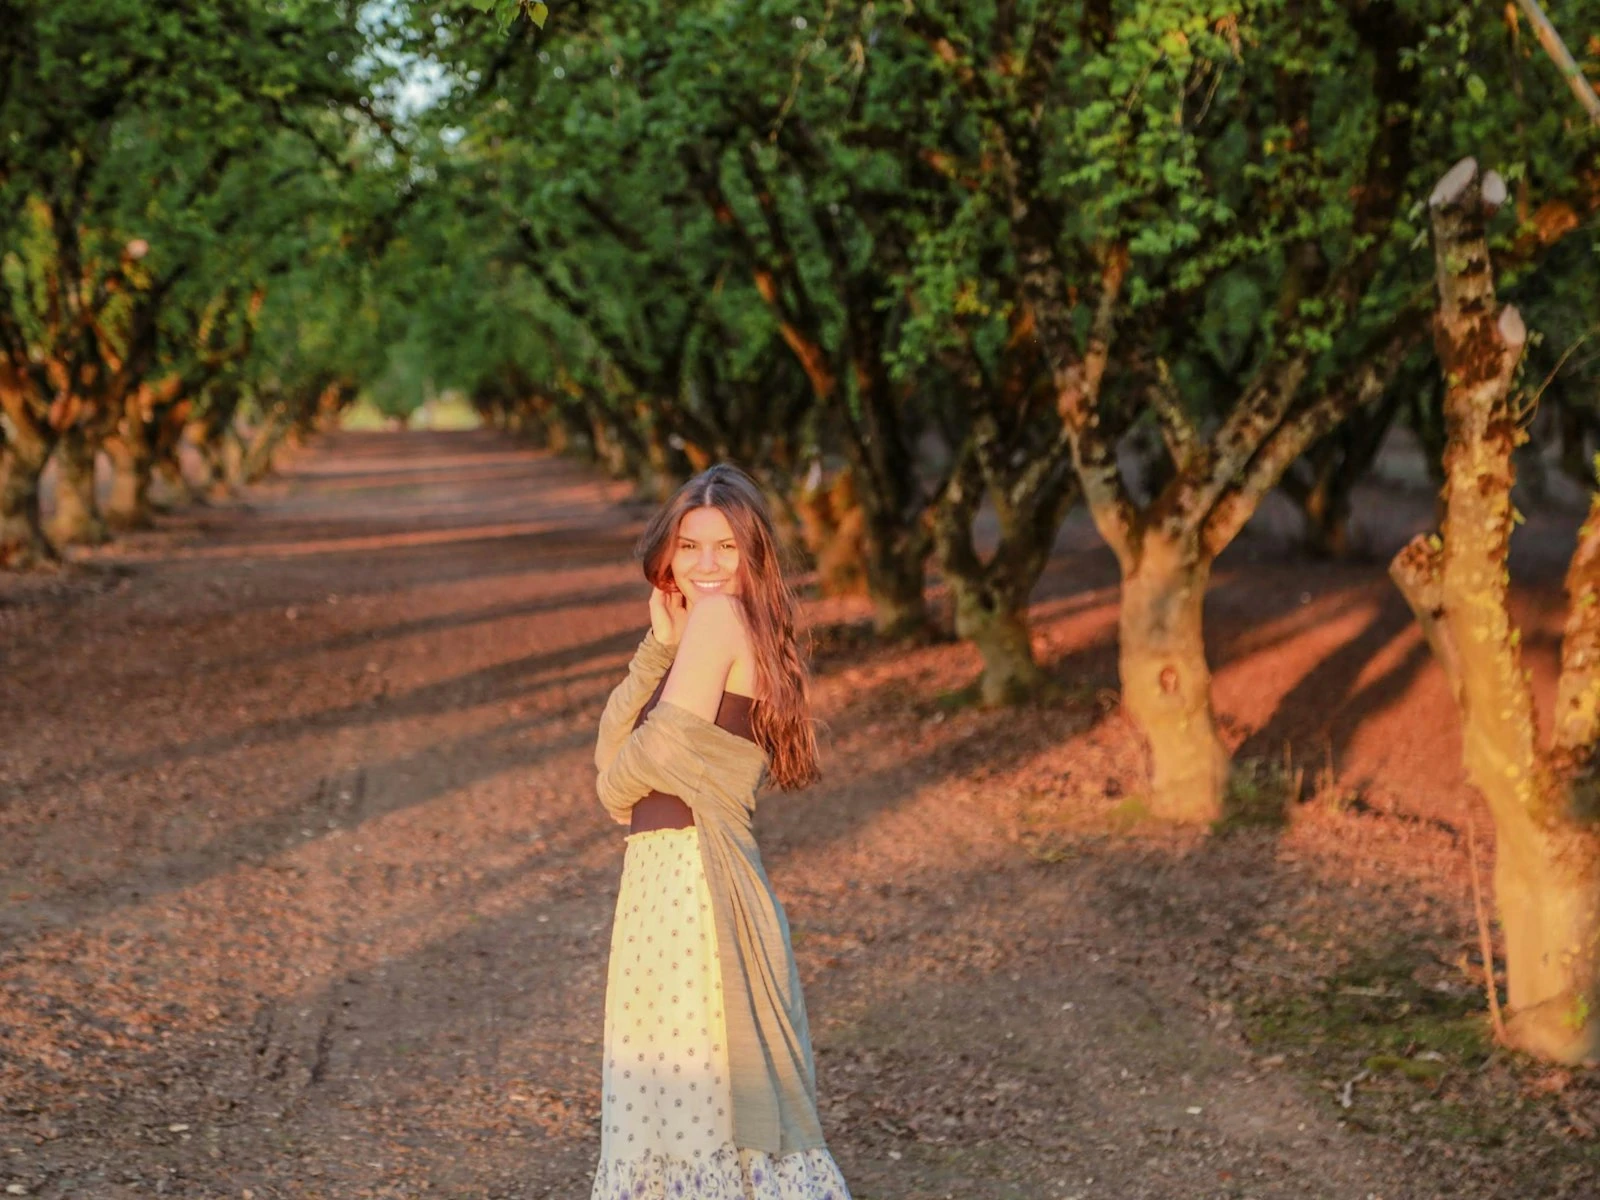
Turned 45 degrees: One side slightly brighter, subtle dimension. The classic portrait position.
Side light: Strong dimension, dramatic. One side lit, one side shadowed. Works best with soft light.
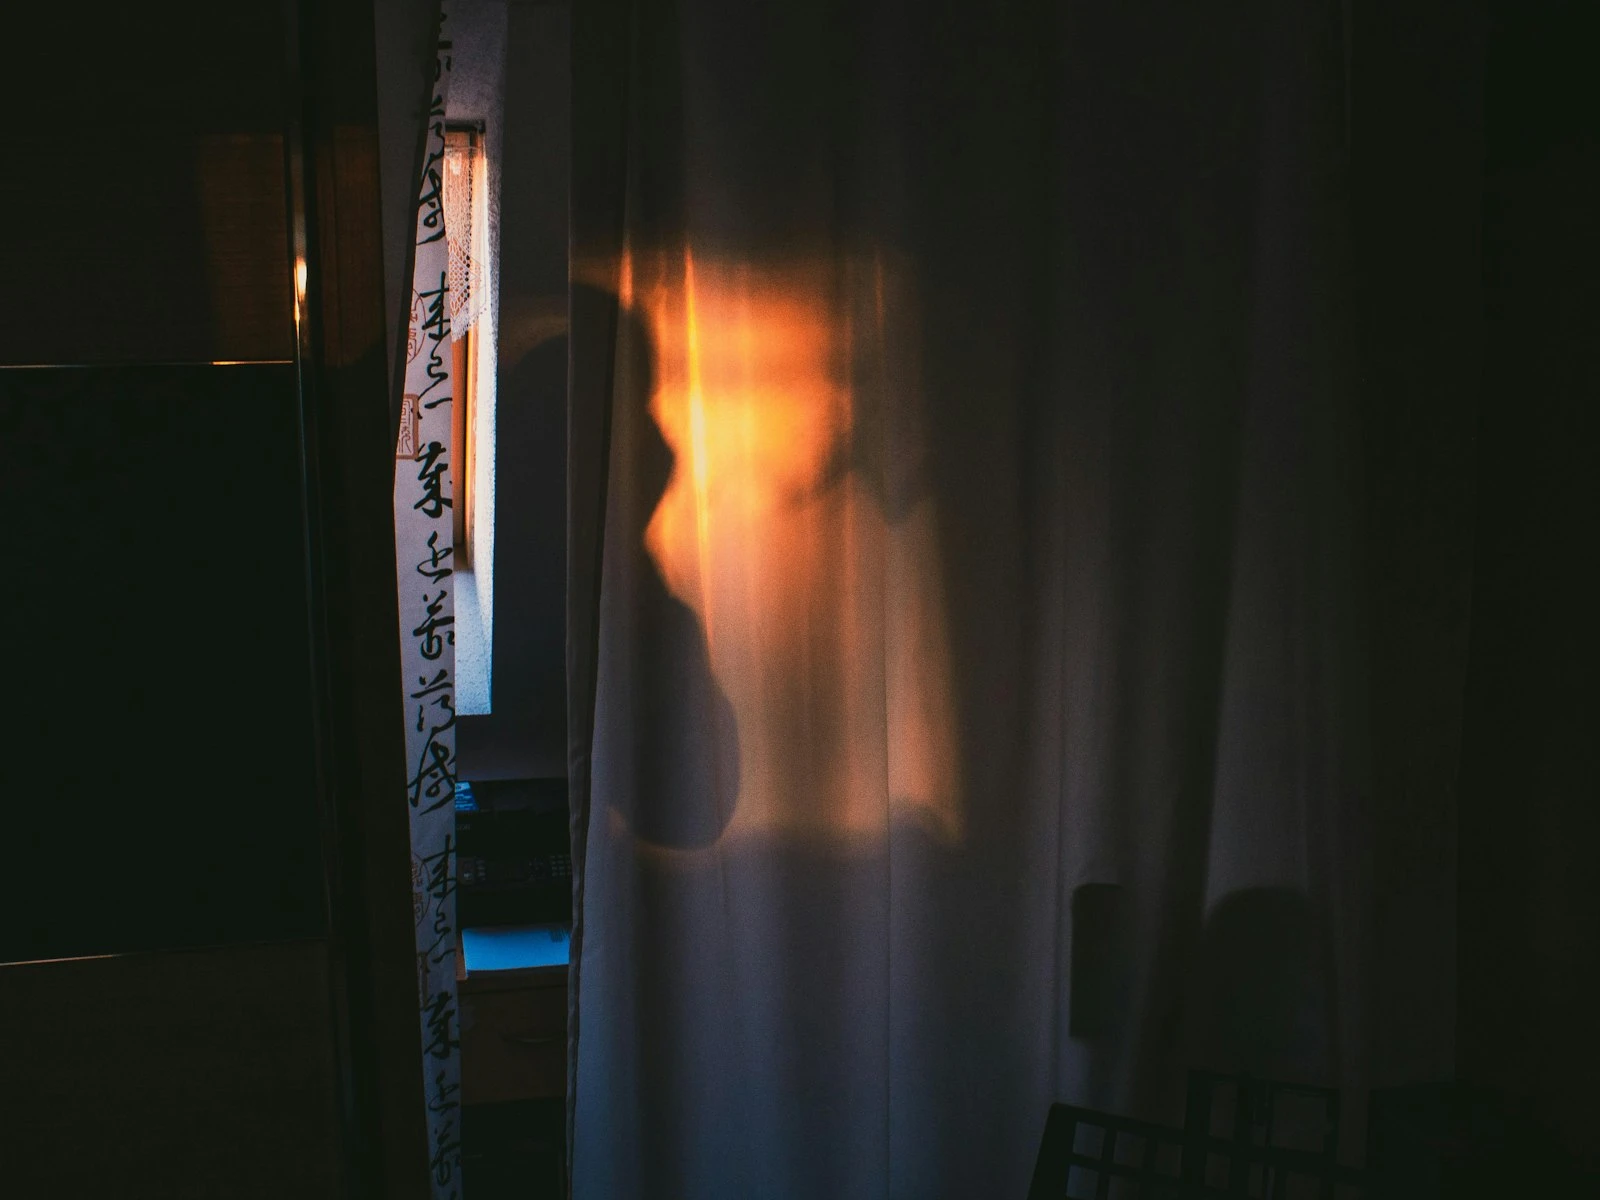
Backlit: Rim lighting, glowing hair, ethereal. Harder to expose, so either silhouette or open up for the face and let the background blow out.
The decision: How much drama do you want? More drama = more angle to the light = more shadow on the face.
For Landscapes
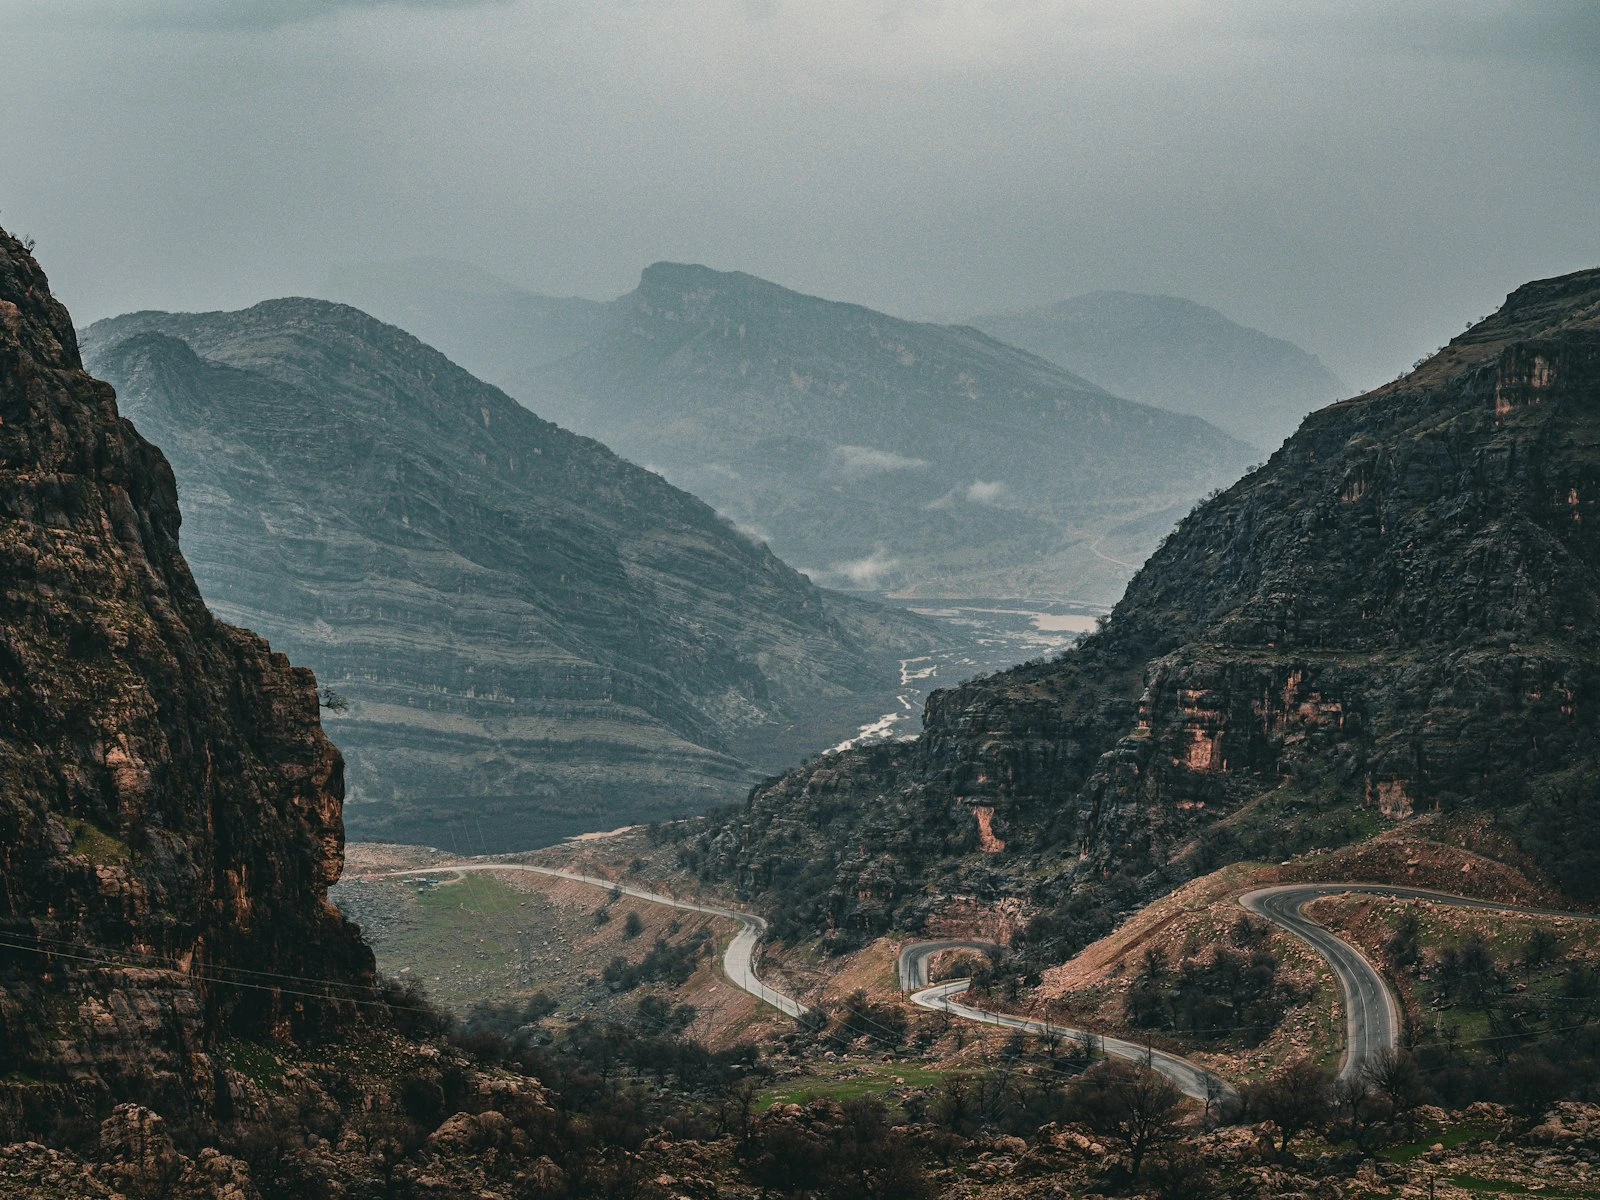
Sun behind you: Even front lighting, good for color saturation. Flat for showing terrain.
Sun to the side: Shadows define hills, textures pop, dramatic depth. Classic landscape light.
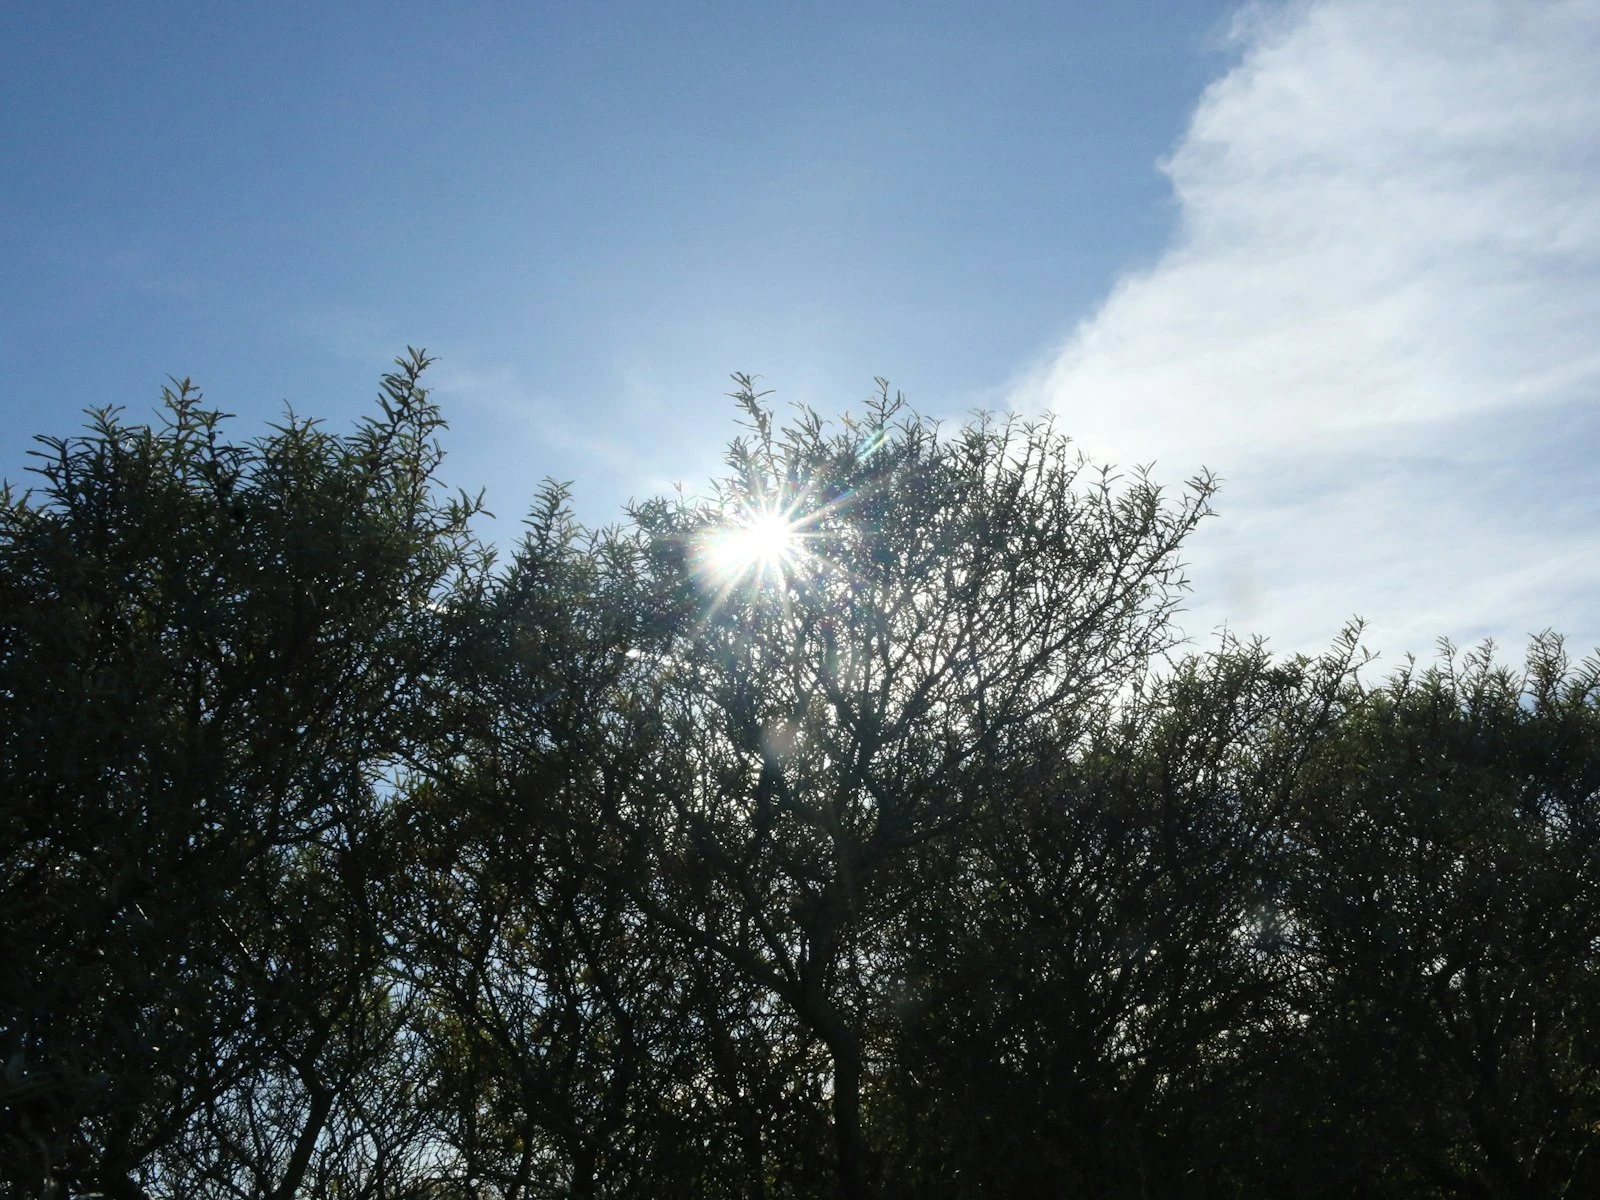
Sun in frame: Dramatic but challenging. Silhouettes, sunstars, lens flare. Needs careful exposure.
The decision: What are you trying to show? Form and texture need side light. Color and detail can work with front light. Mood often wants backlight.
For Any Subject
Walk around it. Seriously. Take 30 seconds to circle your subject and watch how the light changes from each angle. The "best" angle is often not where you started.
Change your height. Shooting down vs. eye level vs. shooting up changes the relationship between subject, light, and background.
Watch the background. Sometimes the perfect light on your subject puts a distracting hotspot behind them. Moving slightly changes both.
Camera Settings as Light Decisions
Your camera settings are light decisions in disguise.
Exposure compensation decides how bright or dark your image looks. In backlight, you're deciding between silhouette (expose for bright background) or illuminated subject (overexpose background), which is fundamentally a light decision.
Aperture controls depth of field, but also how much light hits the sensor. In bright sun, you might need f/8 when you wanted f/2.8. Your light decision (shooting in full sun) constrains your depth choice.
ISO is your flexibility dial. Higher ISO lets you work in lower light (shade, indoors, blue hour) without a tripod. It's what allows you to stay in that beautiful soft light instead of moving to harsh sun for more exposure.
White balance interprets the color of light. Shade is bluer than sun. Tungsten is orange. Your decision is whether to neutralize it (correct white balance) or lean into it (creative white balance).
Settings matter, but they follow from your lighting decisions, not the other way around.
The Three-Second Assessment
With practice, reading light becomes automatic. But here's the explicit process:
- Where's it coming from? (Look for shadows, follow them back to the source)
- Hard or soft? (Check shadow edges. Sharp or gradual?)
- Can I use this, or should I reposition? (Does this light serve my goal?)
Three seconds. Then you're making informed decisions instead of random guesses.
Common Situations, Quick Decisions
Family gathering, midday backyard: Find the shade. Under the patio cover, north side of the house, anywhere not in direct sun.
Street photography, harsh afternoon: Embrace the contrast or hunt for pockets. Doorways, awnings, alley shade.
Portrait in a park: Look for open shade at treeline edge, shaded from direct sun but facing open sky.
Landscape at midday: Consider going vertical (canyons, forests, waterfalls) instead of horizontal (no shadows to define terrain).
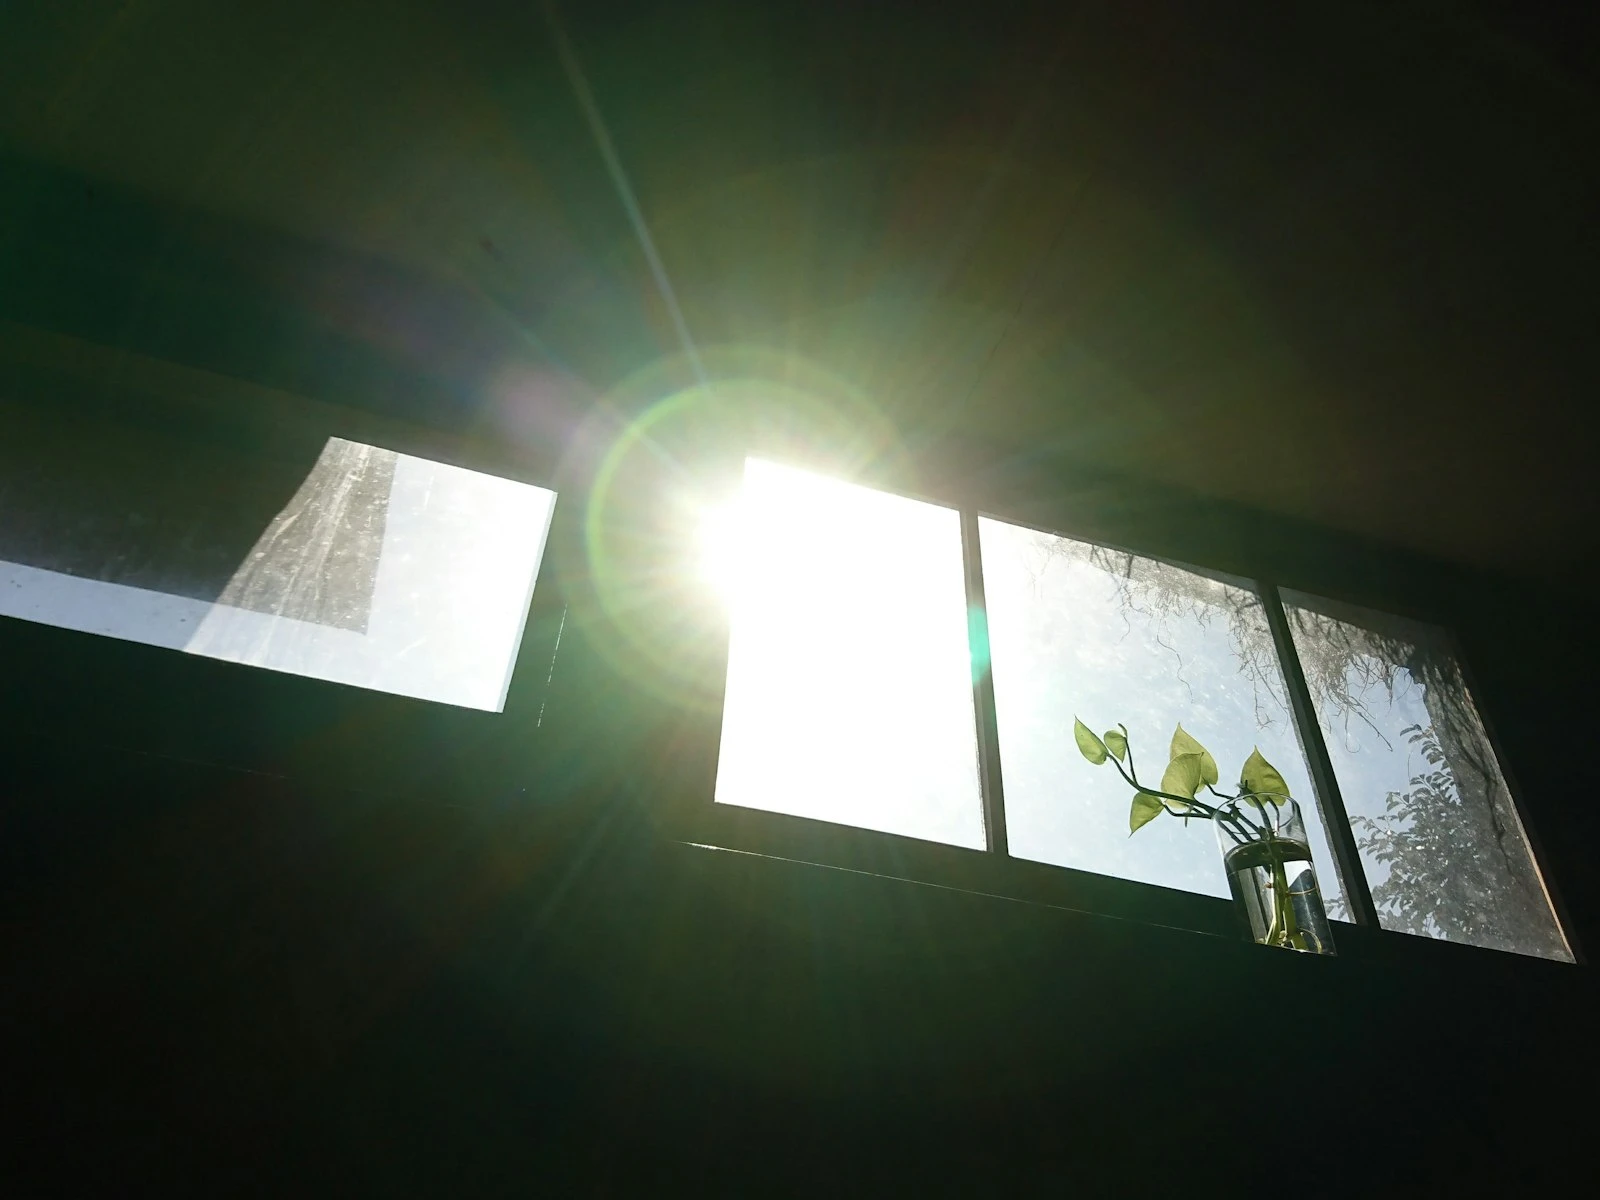
Indoor natural light: Find the biggest window, position subject facing it or at an angle. Distance from window controls contrast.
Event photography: Scout the space for good light pockets. Return to them throughout the event.
Building the Instinct
Natural light photography is pattern recognition. The more situations you encounter, the faster you recognize what you're dealing with and what your options are.
Start by noticing light when you don't have a camera. How does the light fall at breakfast? In your car? Walking down the street? Where are the bright spots and shadow areas?
When you have your camera, shoot the same subject from multiple positions and see how dramatically the light changes when you move, building the mental library.
Review your images with light in mind. Not just "I like this" or "I don't," but why? What was the light doing? Where was it coming from? That's how you learn to recreate successes.
Natural light is free, infinite, and constantly changing. Your job is to see it clearly enough to make decisions with it.
Key Takeaways
- Before shooting, identify the light quality (hard or soft) and direction, then decide whether to work with the existing conditions or reposition your subject.
- Move subjects to better light rather than fighting bad conditions with camera settings, since a few steps into open shade can transform a portrait.
- Use reflected light from walls, pavements, and other surfaces as a free fill light to soften shadows and reduce contrast.
- Different subjects need different light: soft and directional for portraits, hard and raking for texture, and even and wrapping for products.
More in This Guide
Continue exploring lighting techniques.