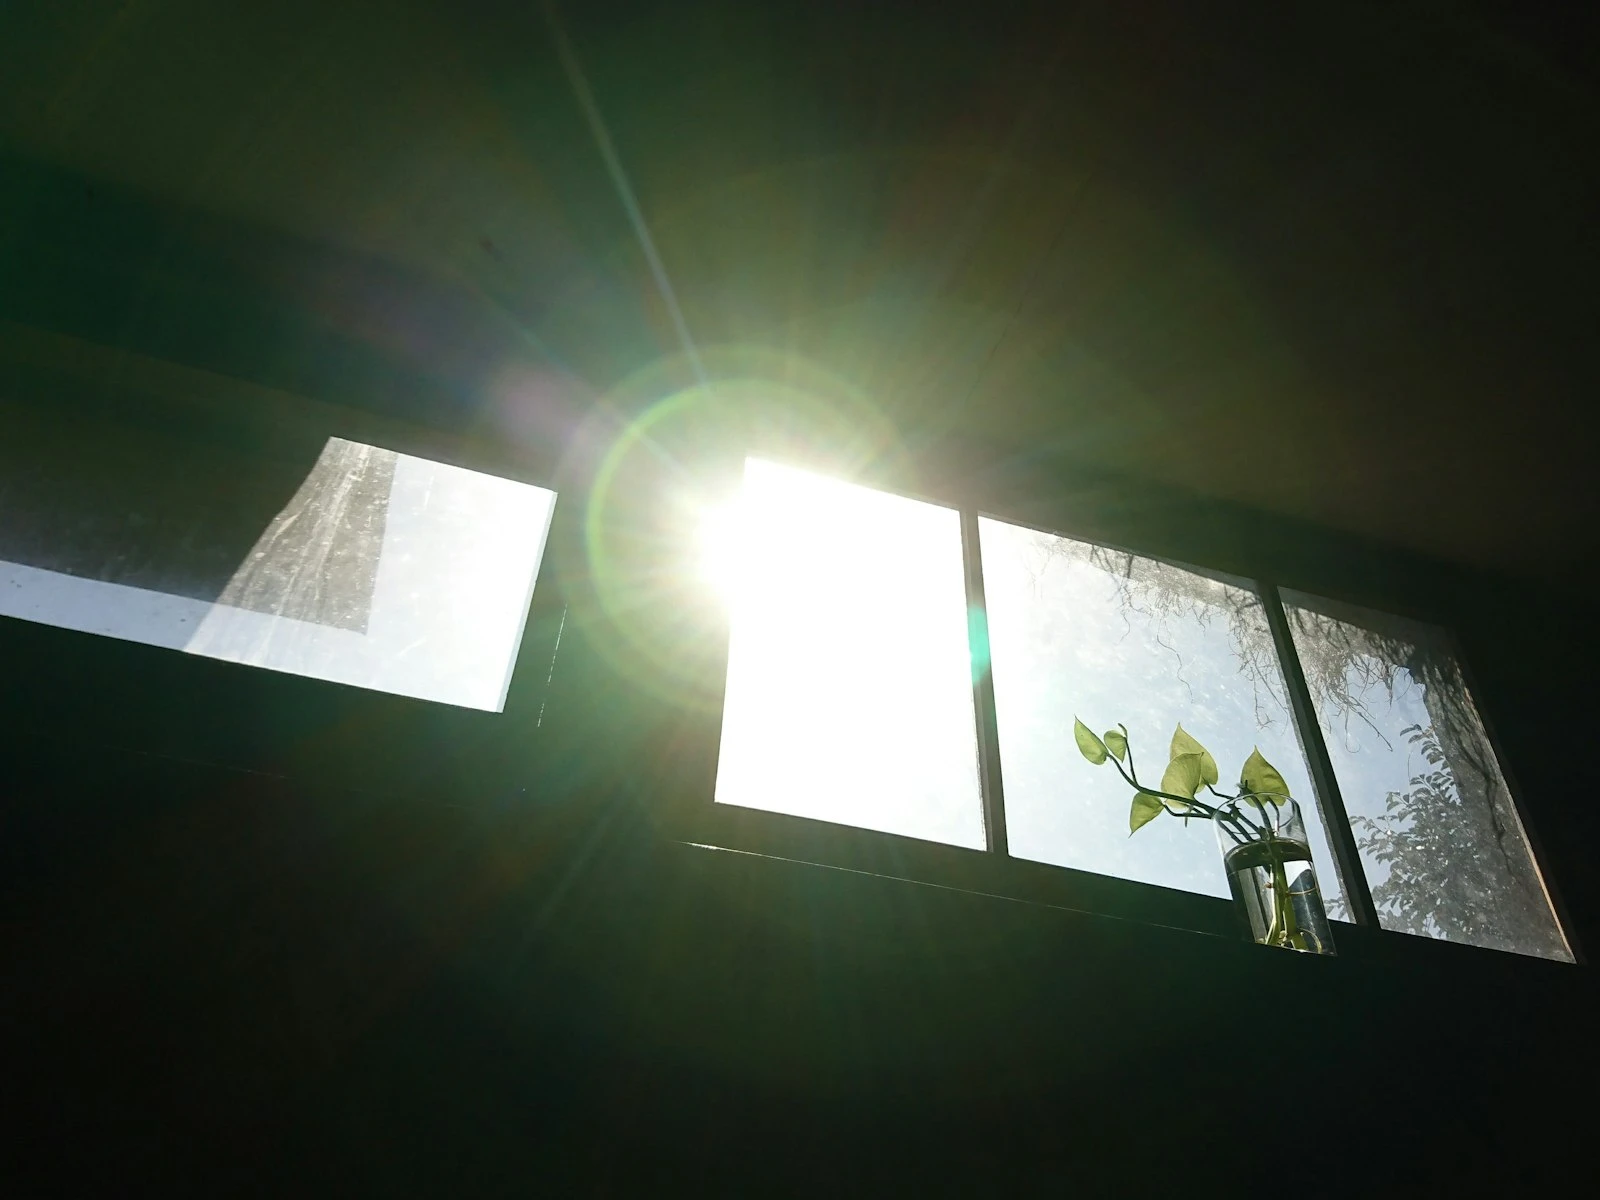
Every building has free studio lighting built in. They're called windows.
A window is a light source with predictable, controllable qualities. It creates soft, directional light that flatters faces without equipment or complexity. Professional photographers pay thousands for softboxes that try to recreate what a window does naturally.
This guide is about treating windows as the lighting tools they are. It's one of the most practical topics in our lighting guide, covering how windows work, where to position subjects, and how to control the results.
Why Windows Create Such Good Portrait Light
Windows work for portraits because of basic physics that happen to flatter human faces.
They're large relative to the subject. A typical window is 3-4 feet wide. At portrait distance (3-6 feet from the subject), that's a big light source. Big light sources wrap around subjects, creating soft shadows with gentle edges.
They're directional. Unlike overhead lighting, a window provides light from the side or front. This angle creates dimension on faces, with some areas lit and some areas shadowed, without the unflattering under-eye and under-chin shadows of overhead light.
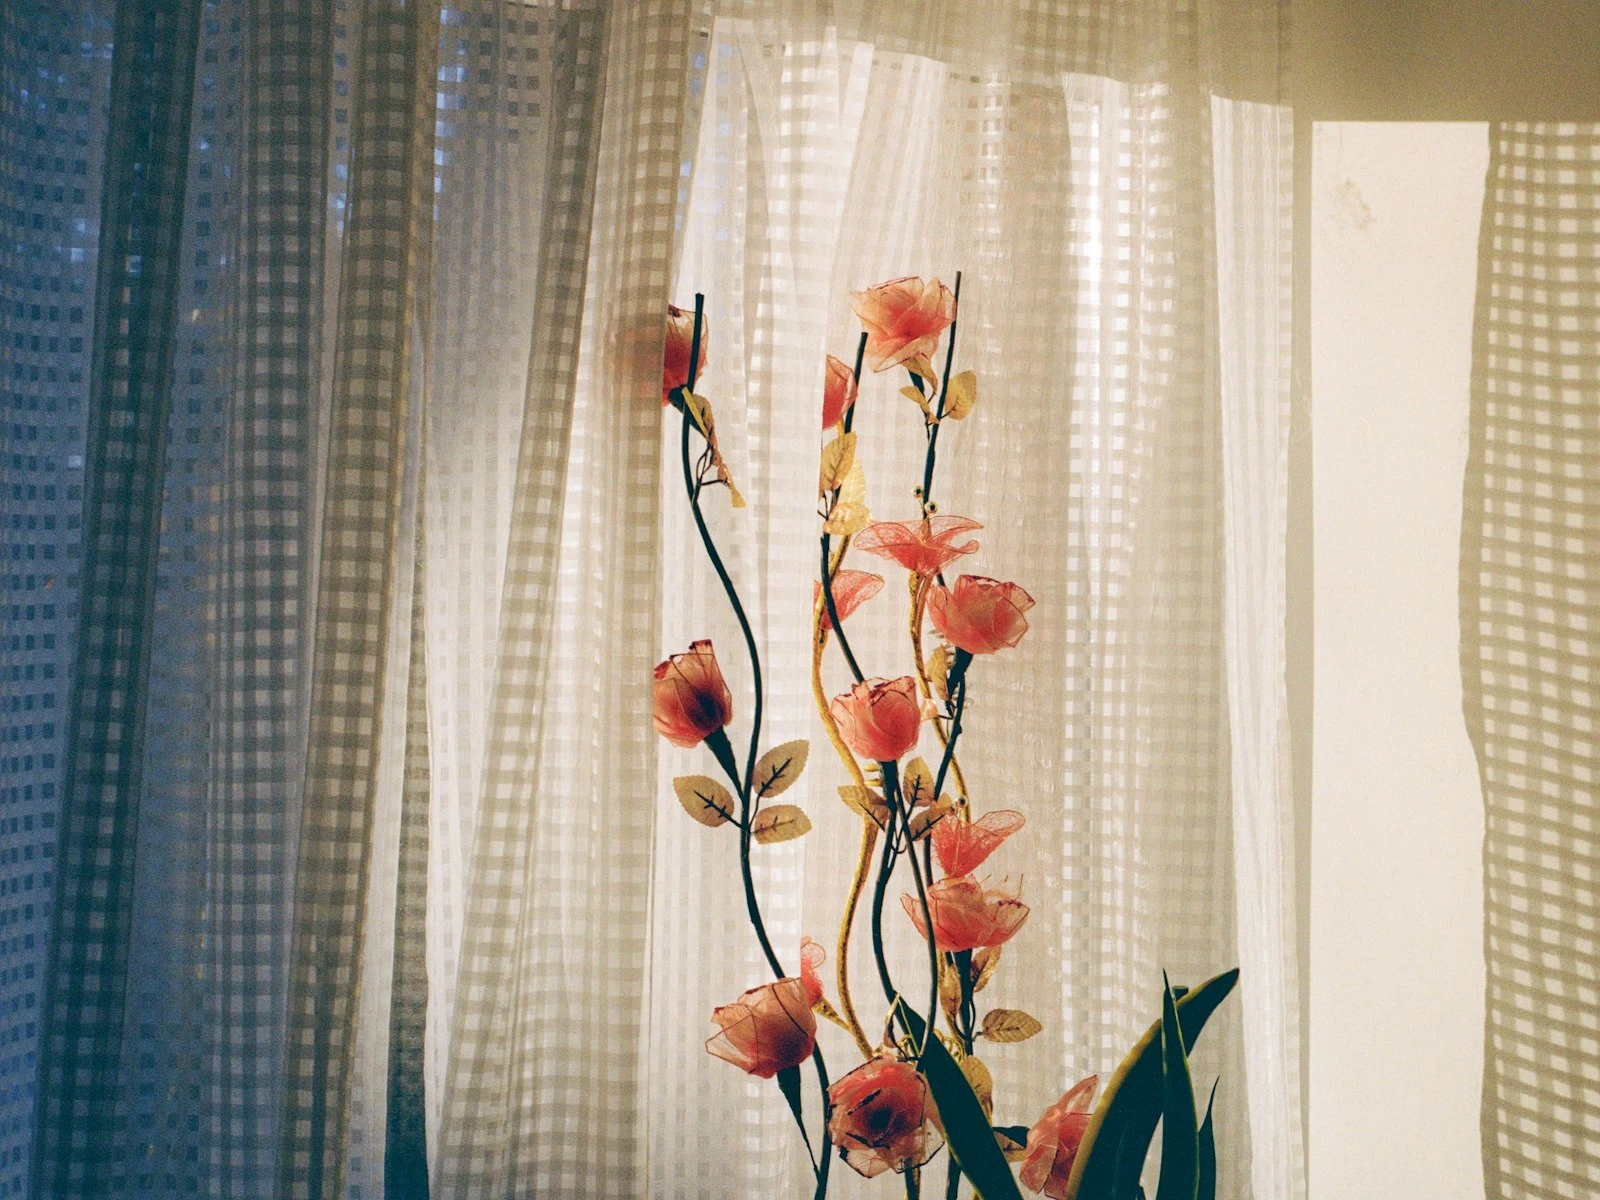
The light is already diffused. Window glass softens direct sunlight slightly. If there's a cloudy sky, the window becomes even softer. If there's a white curtain or shade, softer still. You get diffused light without a diffuser.
They're consistent. Unlike outdoor conditions that change as clouds pass and the sun moves, a north-facing window provides consistent light all day. Even windows facing other directions offer predictable light during overcast conditions.
All of this adds up to flattering, dimensional, forgiving light for almost any face.
Reading Your Window
Not all windows are equal. Before positioning anyone, understand what your window is offering.
Size matters. Larger windows create softer light. Floor-to-ceiling windows are beautiful. Small windows can still work but produce slightly harder light with more defined shadows.
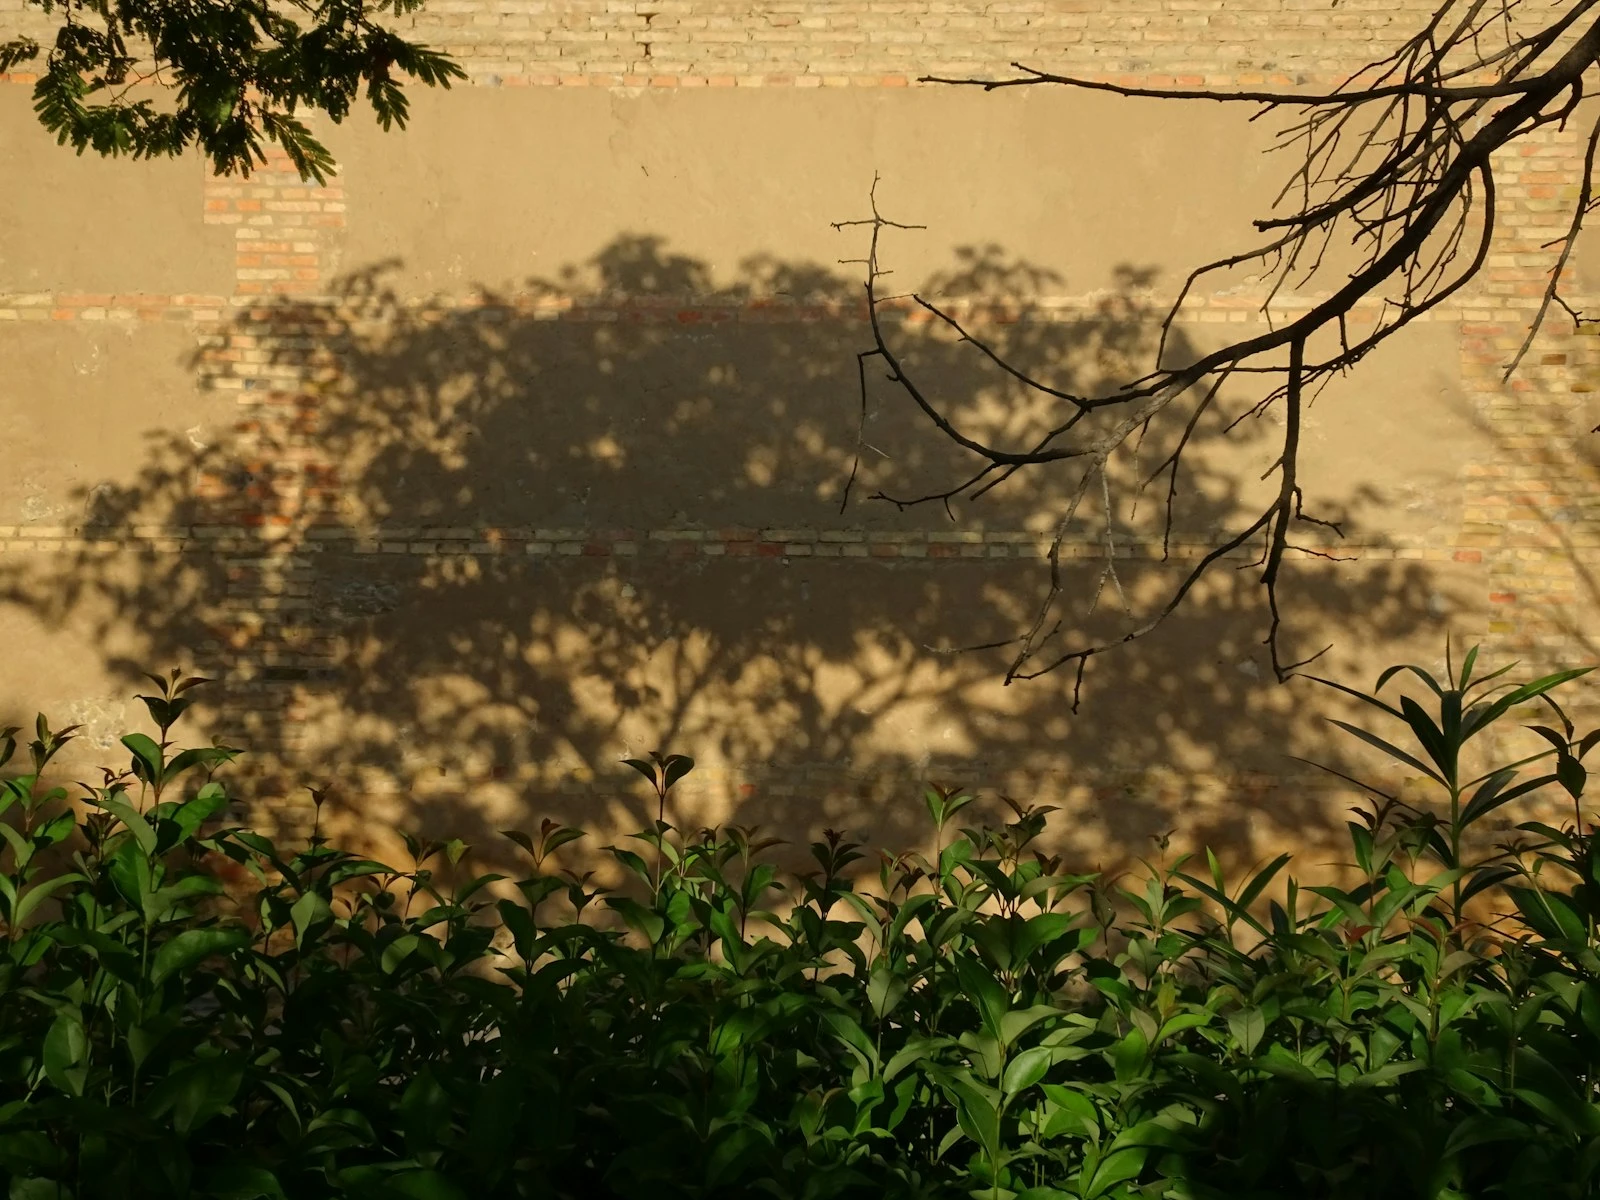
What's outside matters. A window facing open sky creates different light than one facing a brick wall. Open sky is brighter and slightly cooler. A nearby building can reduce light or add color cast depending on its color.
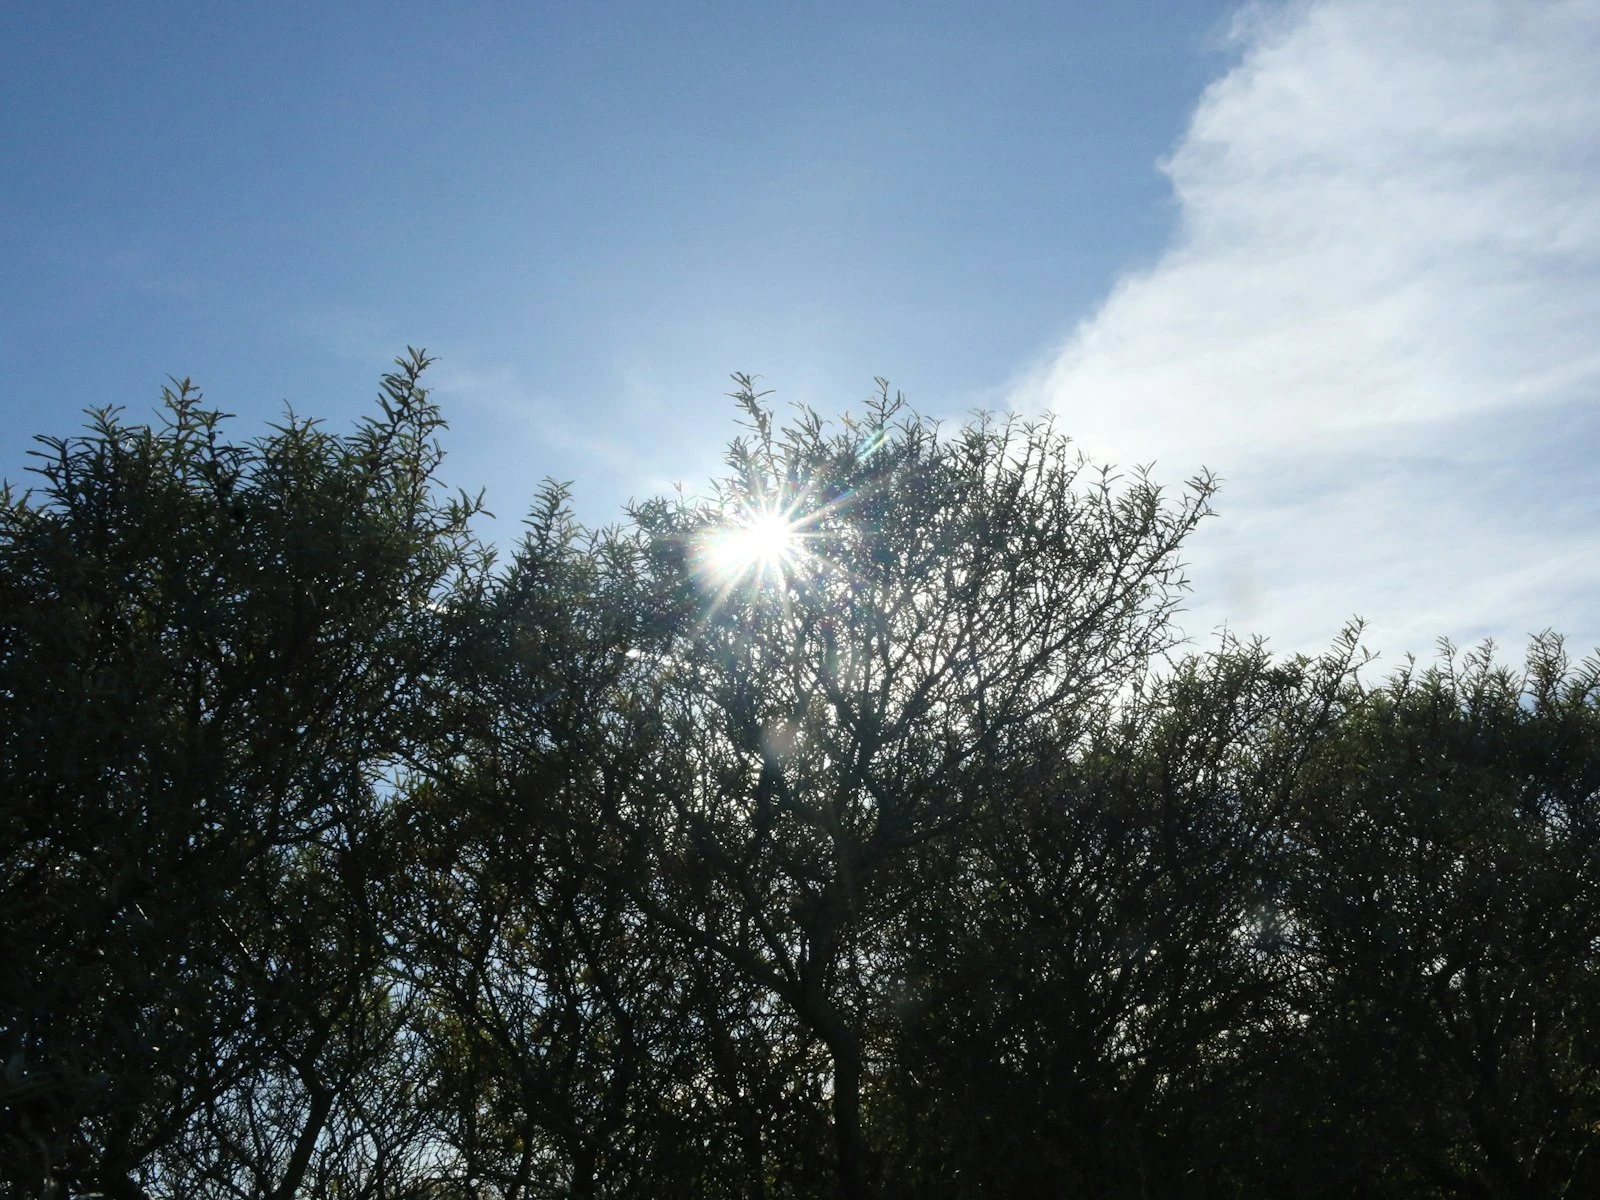
Direct sun vs. shade. Is direct sunlight coming through? That's actually harder light to work with, creating bright hot spots and harsh shadows. Overcast days or north-facing windows (in the northern hemisphere) provide more even illumination.
Distance from floor matters. Light from a window high on the wall angles down more than light from a window at eye level. Higher windows can create more overhead-like shadows.
Coverings change everything. Sheer curtains diffuse and soften. Thick curtains block. Blinds create patterns. Clean glass is different from dirty glass. All of these modify the light.
Walk up to the window and look out. Hold your hand up and see what kind of shadow it casts. You're gathering information about your light source.
Basic Positions: Where to Put Your Subject
The relationship between subject and window creates your portrait's look. Here are the fundamental positions.
Facing the Window (Flat Light)
Setup: Subject faces the window directly. Camera between subject and window (you're shooting toward the room, not the window).
Result: Even, flat lighting with both sides of the face equally illuminated, minimal shadows, and a very flattering, very safe look.
Best for: Beauty shots, anyone self-conscious about wrinkles or skin texture (flat light minimizes texture), clean corporate headshots.
Drawbacks: Lack of dimension can feel boring, with no drama and a face that can look flat.
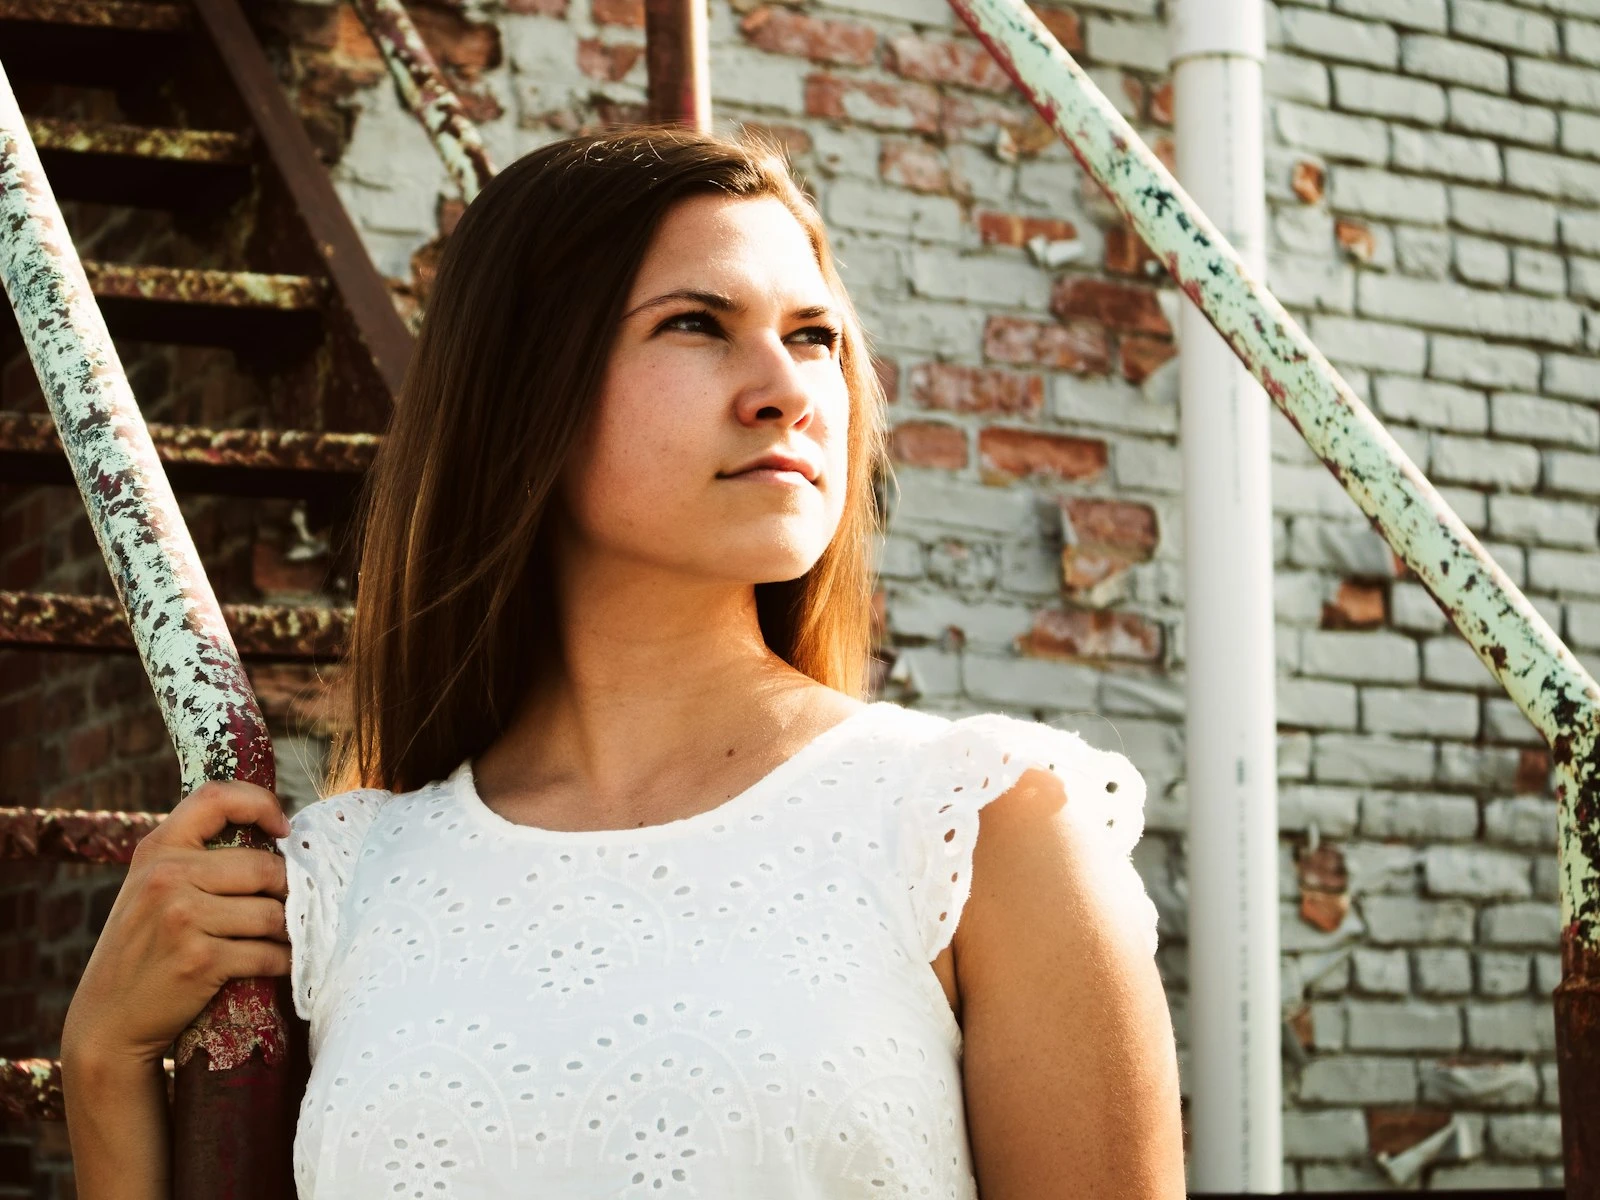
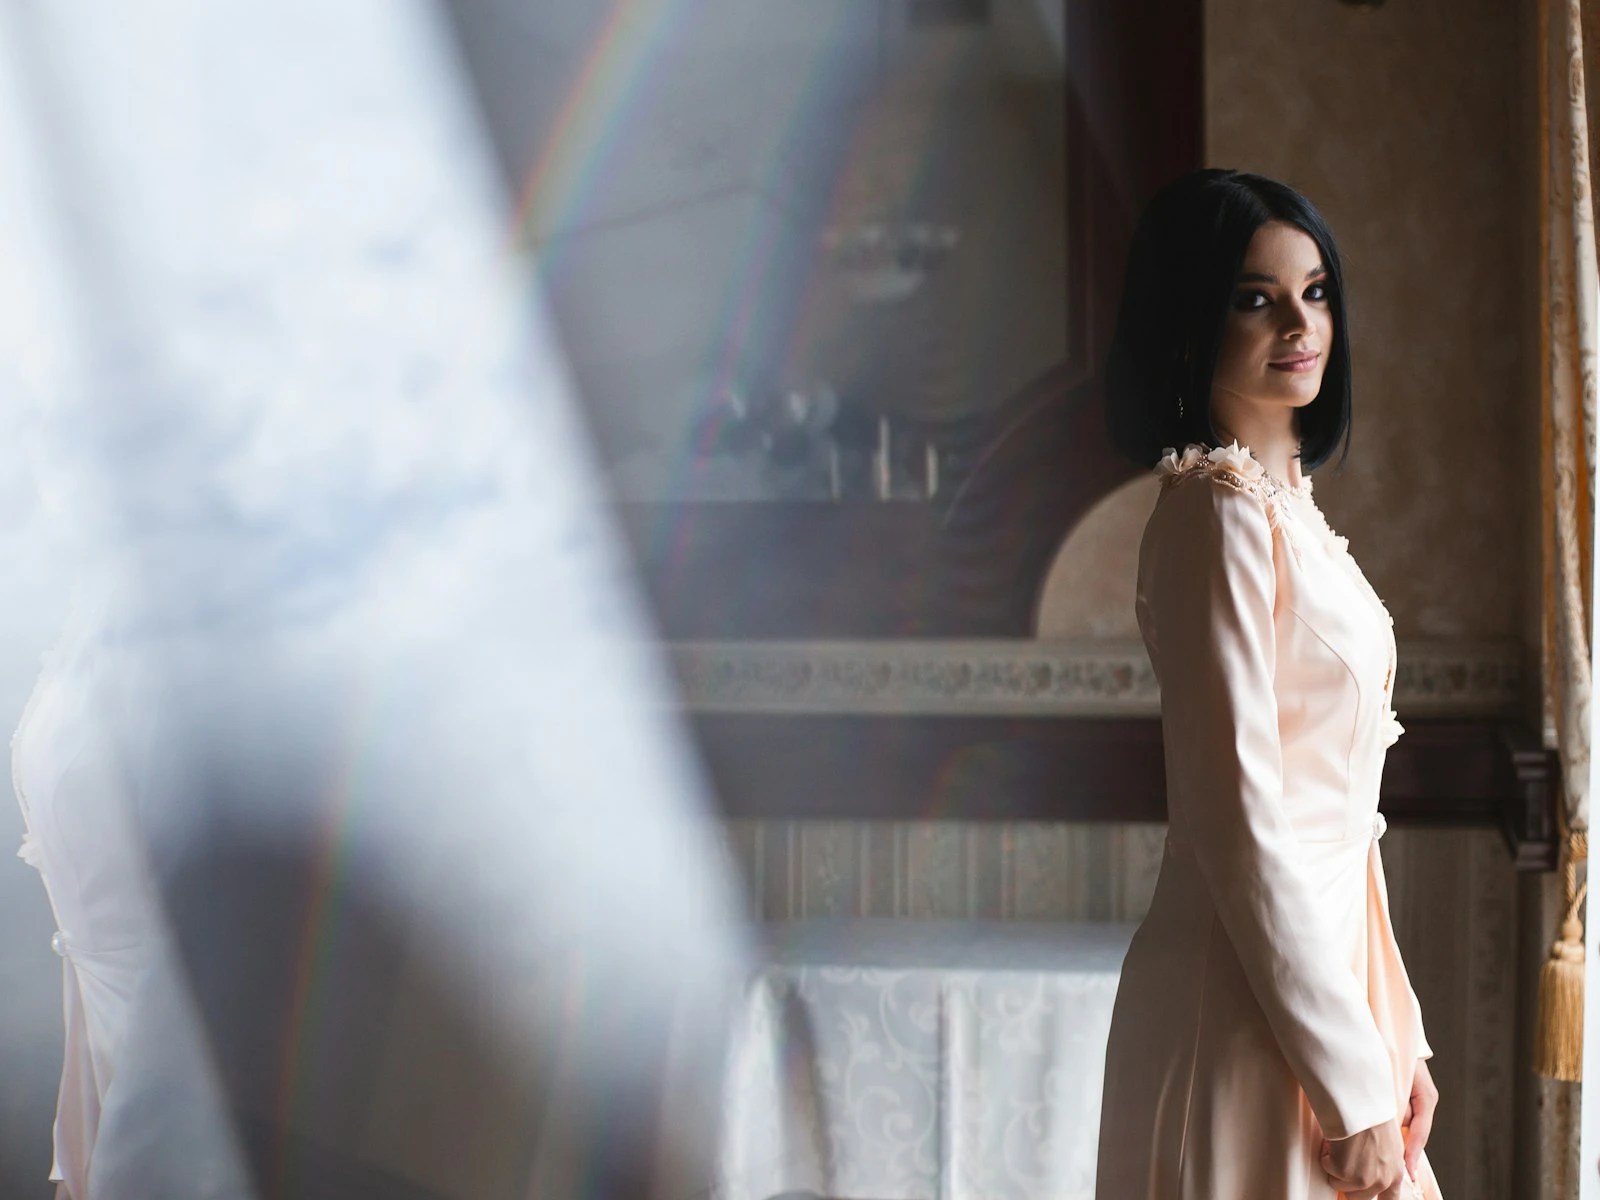
45 Degrees to the Window (Classic Portrait Light)
Setup: Subject's body faces 45 degrees away from the window. Their face can turn toward you (and the window), creating the classic short-light or broad-light patterns.
Result: One side of the face receives more light while one side falls into gentle shadow, creating dimension and depth that's still flattering but more interesting.
Best for: Most portrait situations. It's the workhorse position that rarely fails.
Adjustments: Have them turn their nose toward the window (short light, more dramatic and slimming) or toward you (broad light, more open and less sculpted).
90 Degrees to the Window (Split Light)
Setup: Subject's body is perpendicular to the window, with the window directly to one side.
Result: Half the face is lit, half falls into shadow. Dramatic, moody, high-contrast.
Best for: Artistic portraits, dramatic effect, subjects with strong features you want to emphasize.
Drawbacks: Can be too dramatic for some purposes. The shadowed side may go too dark without fill.
Back to the Window (Silhouette or Rim Light)
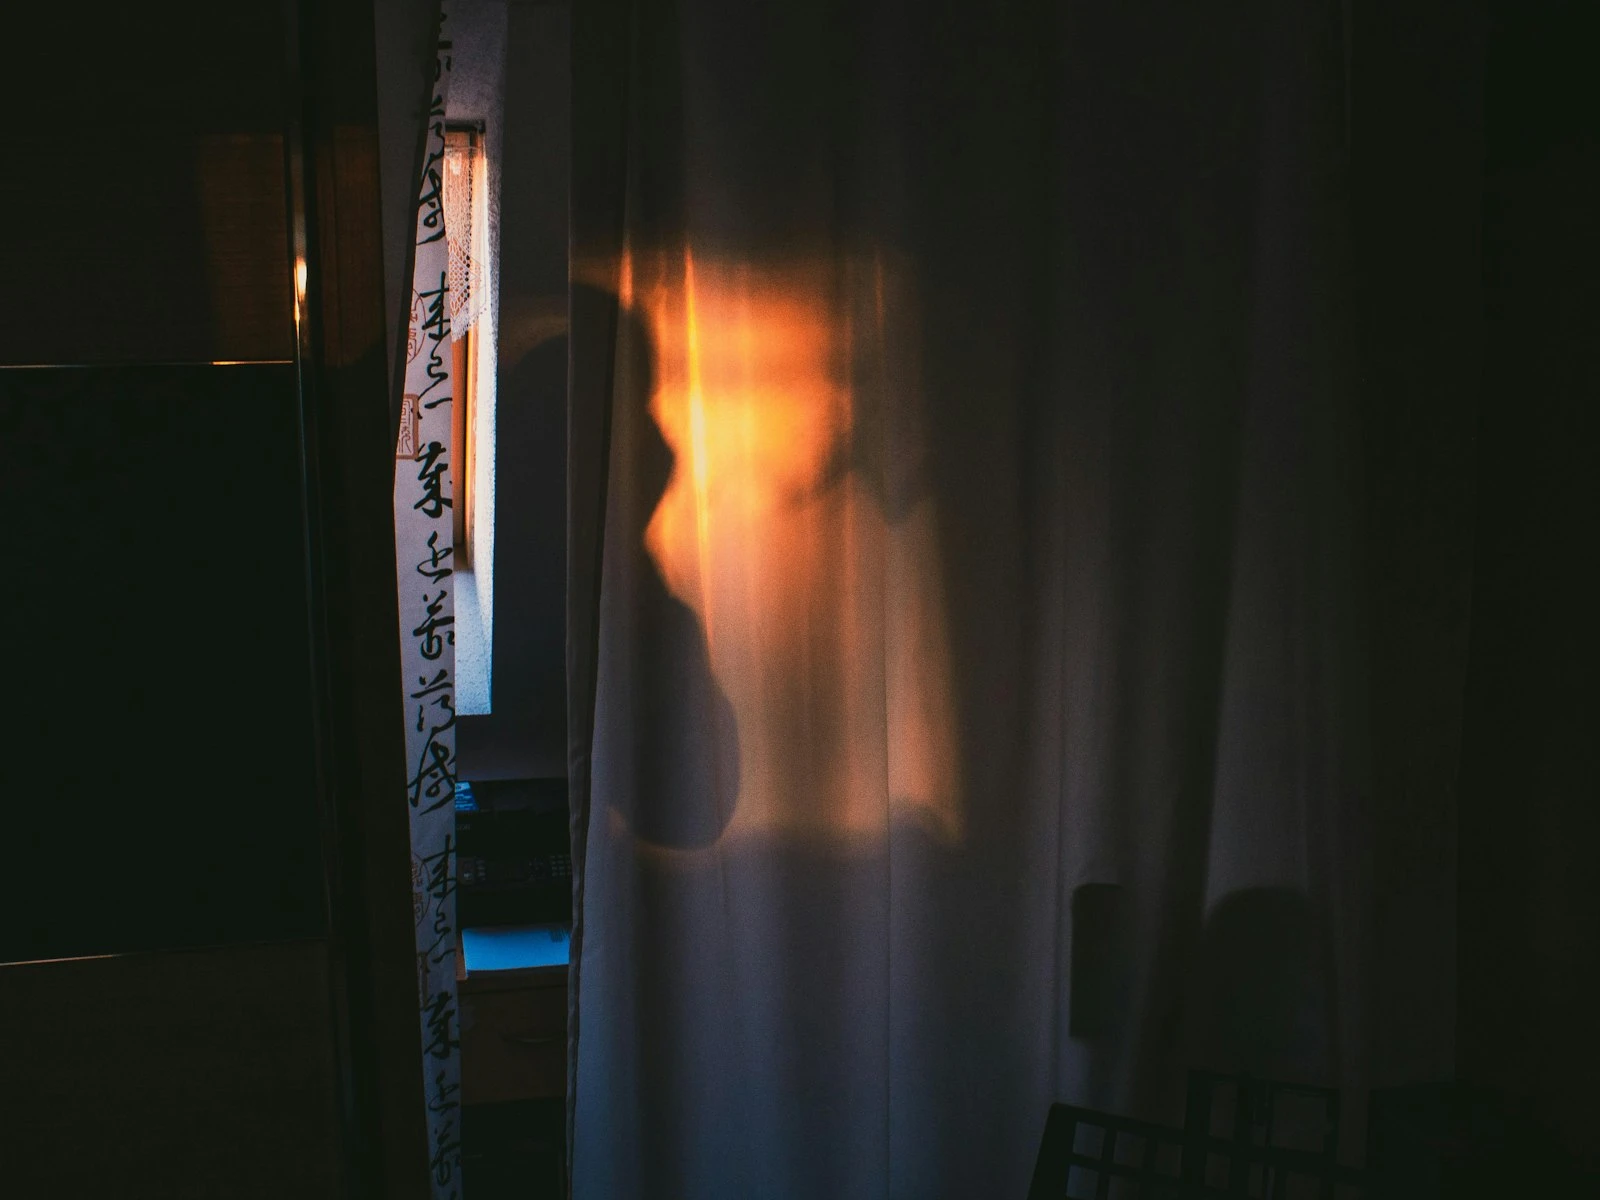
Setup: Subject faces away from the window, toward you. Window is behind them.
Result: If you expose for the face, the window blows out to white and you get soft, glowing rim light around their edges. If you expose for the window, you get a silhouette.
Best for: Artistic shots, rim lighting on hair, ethereal mood, silhouettes with window as backdrop.
Challenges: Exposure is tricky because the background is either blown or the subject is a silhouette, so pick one.
Distance from the Window
How far from the window you place your subject controls two things: light intensity and contrast.
Close to window: Brighter, higher contrast. The light doesn't have far to travel, so it's stronger. The shadows are darker because there's less room for light to bounce and fill.
Far from window: Dimmer, lower contrast. Light spreads and bounces around the room, and shadows are lighter because reflected light fills them, creating a more even and less dramatic result.
The practical range: For most portraits, 2-6 feet from the window works well, with closer positions offering more punch and farther positions offering more softness. Much farther and you lose the directional quality that makes window light special, and it becomes ambient room light.
Managing Shadows: Fill Techniques
Sometimes the shadow side of a face goes too dark. Here's how to control that without adding artificial light.
White reflector: A piece of white foam core, a white sheet, even a white wall on the shadow side bounces some window light back into the shadows. The closer and larger the reflector, the more fill. This is the classic solution.
Move them back: Increasing distance from the window lets more ambient room light fill the shadows while softening the overall light.
Move them toward the window: A more face-on angle to the window reduces how much of the face is in shadow.
Post-processing: If the shadow detail is there (not pure black), you can lift shadows in editing. But getting it right in-camera is better.
Practical Window Portrait Walkthrough
Here's a step-by-step for setting up a window light portrait:
-
Find your window. North-facing or overcast light is easiest. If direct sun is coming through, wait for clouds or use a sheer curtain to diffuse.
-
Clear the space. You'll need room to position your subject and yourself. Move furniture if needed.
-
Position subject at 45 degrees. Start with the classic position. Face them 45 degrees from the window, a few feet away.
-
Set their eye line. Have them turn their face toward you until you see good catchlights (reflections of the window) in both eyes. This usually means face turned slightly more toward the window.
-
Check the shadows. Are they flattering? Too deep? Adjust distance from window or add a reflector.
-
Watch the background. What's behind them? The room will be darker than the subject if you expose for their face. Is it a clean, uncluttered background?
-
Set your camera. You'll likely need moderate to high ISO depending on light level. Wide aperture (f/1.8-f/2.8) gives you background blur and lets in more light. Shutter speed fast enough to avoid motion blur (1/100th or faster for portraits).
-
Fine-tune. Make small adjustments to position. An inch can change the light on their face noticeably. Check catchlights, check shadows, check expression.
Common Problems and Solutions
Problem: Shadows are too dark. Solution: Add a reflector on the shadow side, move subject farther from window, or angle them more toward the window.
Problem: Direct sunlight creating hot spots. Solution: Wait for clouds, add a sheer curtain, or move subject to where direct sun doesn't hit them (but diffused window light does).
Problem: Unflattering catchlights (reflections in eyes). Solution: Make sure they're positioned to see the window. Small catchlights or no catchlights make eyes look dead.
Problem: Background is distracting. Solution: Use wide aperture to blur it, move subject farther from background, or rearrange the space.
Problem: Color cast from walls or outside elements. Solution: Correct white balance in camera or post. If green grass or orange brick outside is reflecting into the window, you may need to neutralize that color cast.
Problem: Not enough light. Solution: Open aperture, raise ISO, move closer to window, wait for brighter moment in the day.
Beyond Basic Portraits
Once you understand window light fundamentals, you can apply them beyond headshots.
Full-body shots: Move subject farther from window to avoid dramatic light falloff from face to feet. Or embrace the falloff for a dramatic effect.
Groups: Position everyone at similar distances from the window. Those closer will be brighter. Large windows work better than small for groups.
Products: Window light creates beautiful product shots too. The same principles apply: softness, direction, and distance control.
Self-portraits: Set up your tripod, put a stand-in (chair, lamp) where you'll be, set focus and exposure, then swap yourself in. Window light works perfectly for self-portraits.
Video calls: Position your desk so you face the window. You'll look dramatically better than colleagues with overhead lighting or windows behind them.
Window Light Throughout the Day
The window changes character as the day progresses.
Morning (east-facing window): Direct sun early, transitioning to reflected/ambient as the sun moves. Warmer color temperature in direct morning light.
Midday: North-facing windows stay consistent. South-facing might get direct sun overhead. East and west are in reflected/ambient light.
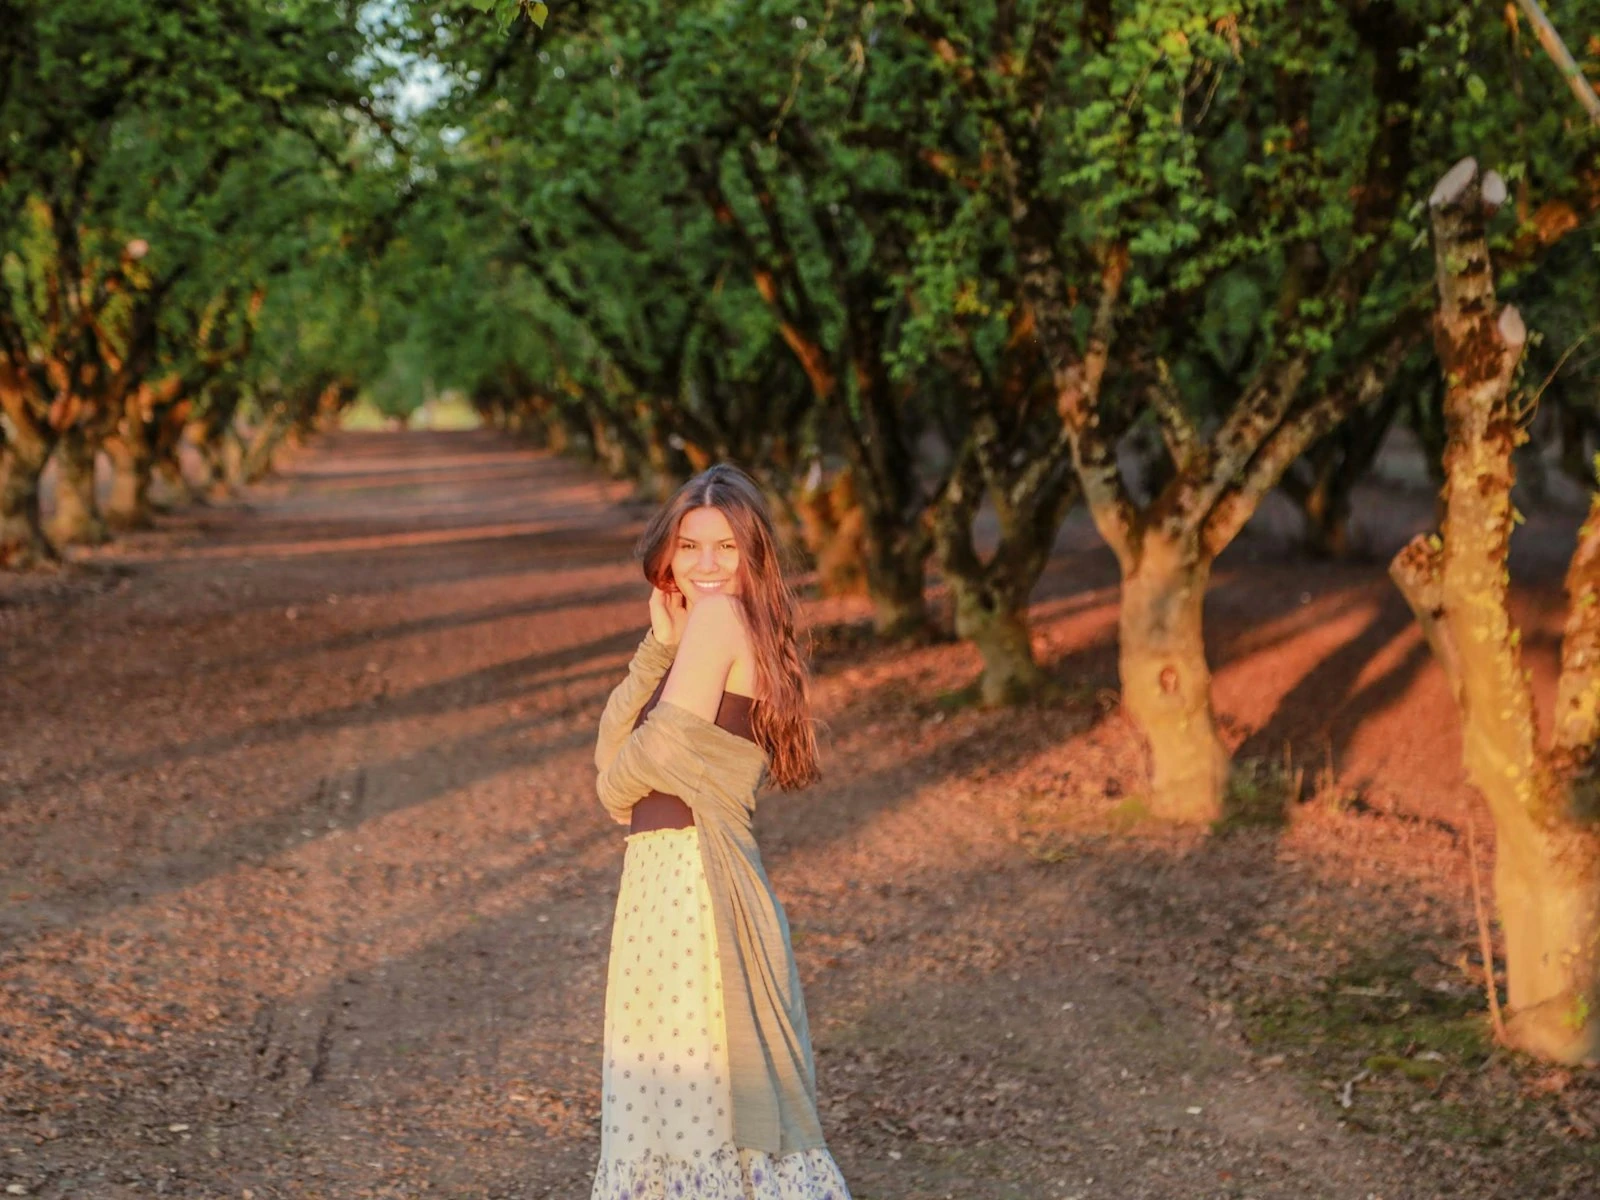
Afternoon (west-facing window): Direct sun later in the day. Warm color temperature during golden hour.
Evening: Light levels drop. You'll need higher ISOs. Color temperature goes warm, then cool as you approach blue hour.
Overcast anytime: Consistent, soft light regardless of window direction. Often the easiest condition for window light portraits.
Know your window's personality at different times to plan your shoots accordingly.
Key Takeaways
- Position your subject 2-4 feet from the window and angle their face toward the light at 45 degrees for the most flattering portrait illumination.
- Use north-facing windows or overcast days for consistent, soft light that avoids harsh direct sunlight streaming in.
- Place a white surface (board, sheet, wall) on the shadow side of your subject to bounce window light back and reduce contrast on faces.
- The closer your subject stands to the window, the softer and more wrapping the light becomes; moving farther away creates harder, more directional light.
More in This Guide
Continue exploring lighting techniques.