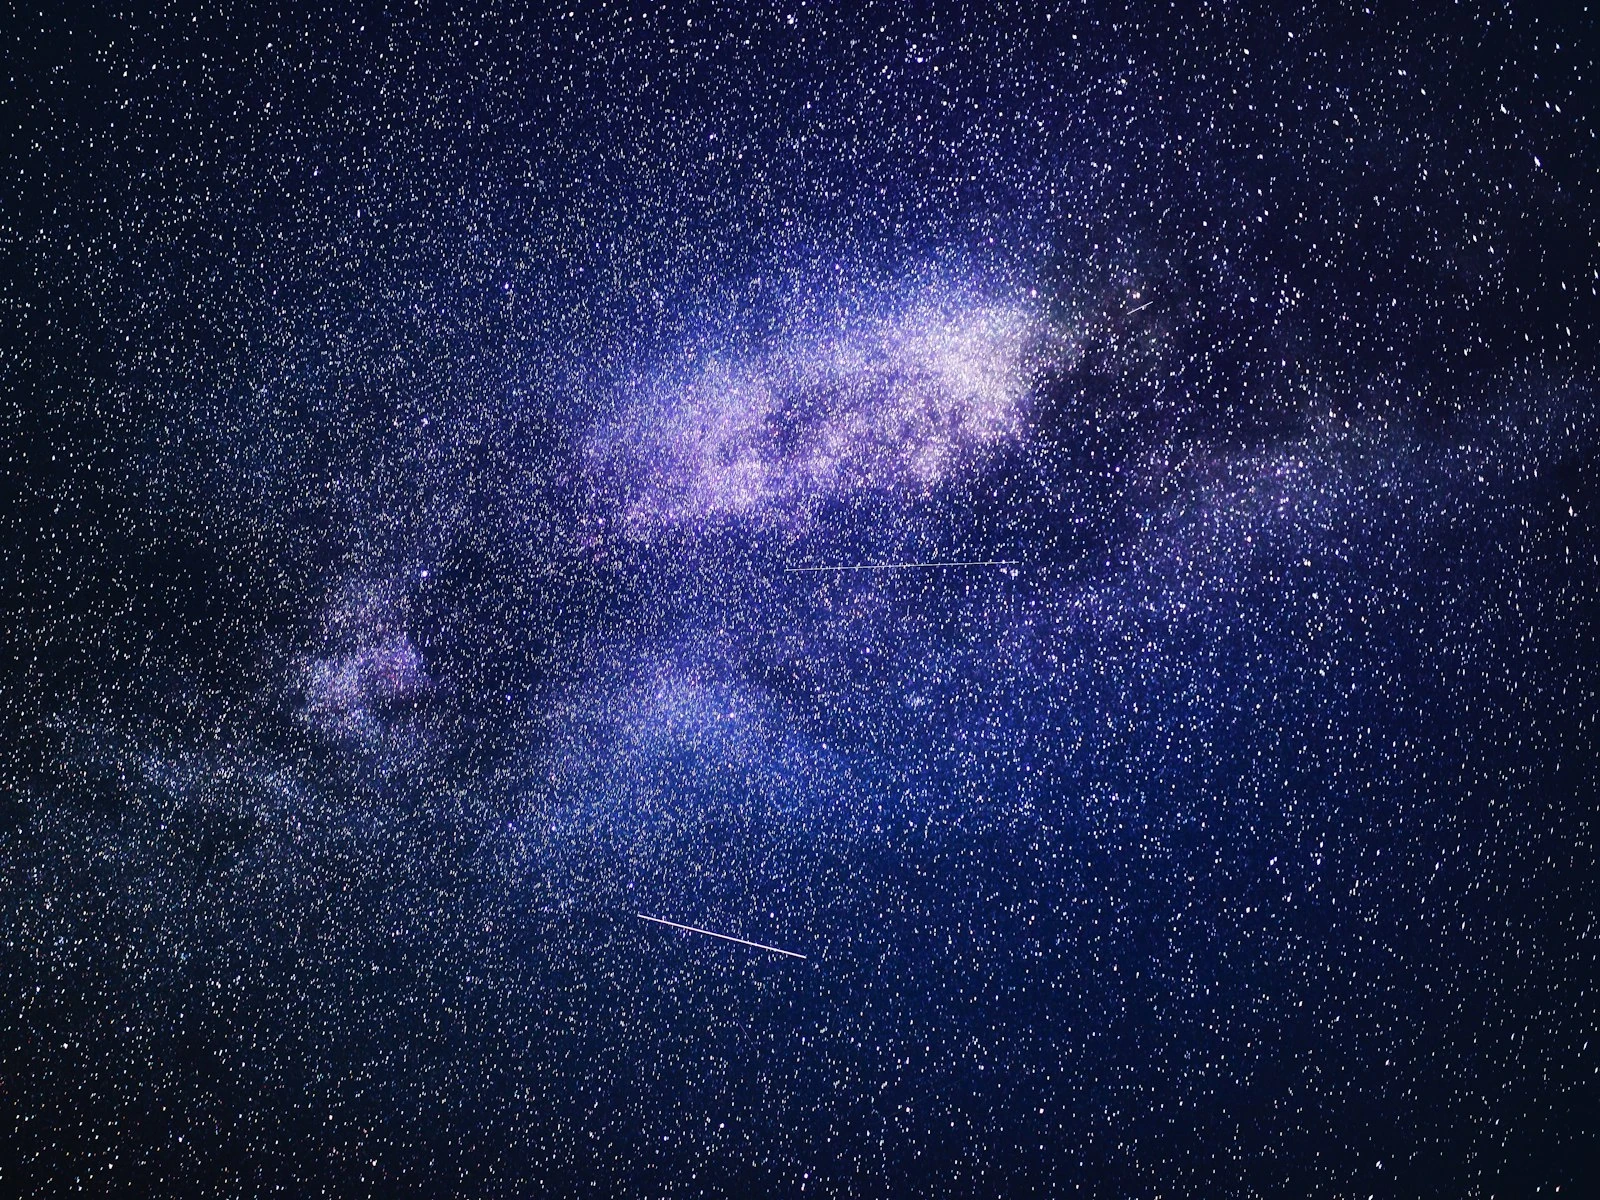
The Milky Way is the most stunning subject you can photograph for free.
It is also the most planning-dependent. You cannot just grab a camera and walk outside expecting to capture the galactic core. The moon has to be cooperative. The sky has to be dark. The core has to be above the horizon. You have to be far enough from city lights to actually see it. And once all of that lines up, you have maybe a 90-minute window before twilight starts to wash out the stars.
This guide is the practical version of all of that. What gear you actually need (less than the forums tell you). How to figure out when and where to shoot. The exposure math that gets you sharp stars without trails. How to focus on something you can barely see. And what to do in editing once you get home.
It is part of our low light photography hub, and pairs closely with the outdoor night photography guide and the star trails calculator for working out exact shutter limits.
Why Milky Way Photography Is Different
The Milky Way is technically just a low-light subject, but it presents a specific combination of challenges that most other low-light photography does not.
The light source is barely there. Even on a clean, moonless night under a dark sky, the Milky Way emits a fraction of the light that a single city street lamp gives off. Your eyes need 20 to 30 minutes to dark-adapt before they can really see it, and your camera needs to gather that light over many seconds.
Earth is rotating. Stars look fixed to your eyes, but over even a 30-second exposure they move enough to record as visible streaks. The longer you expose, the more they trail. This single physical fact constrains every shutter speed decision you make.
Light pollution kills the result. Even moderate urban skyglow erases the galactic core almost completely. Successful Milky Way photography requires getting away from cities, ideally to a Bortle 3 sky or darker (more on that below).
Everything depends on planning. You cannot improvise Milky Way photography. You have to know the moon phase, the time the core rises, where it sits in the sky, and what direction you need to face. Get any of that wrong and you have made a long trip for nothing.
Gear You Actually Need
A starter Milky Way kit is more affordable than people think.
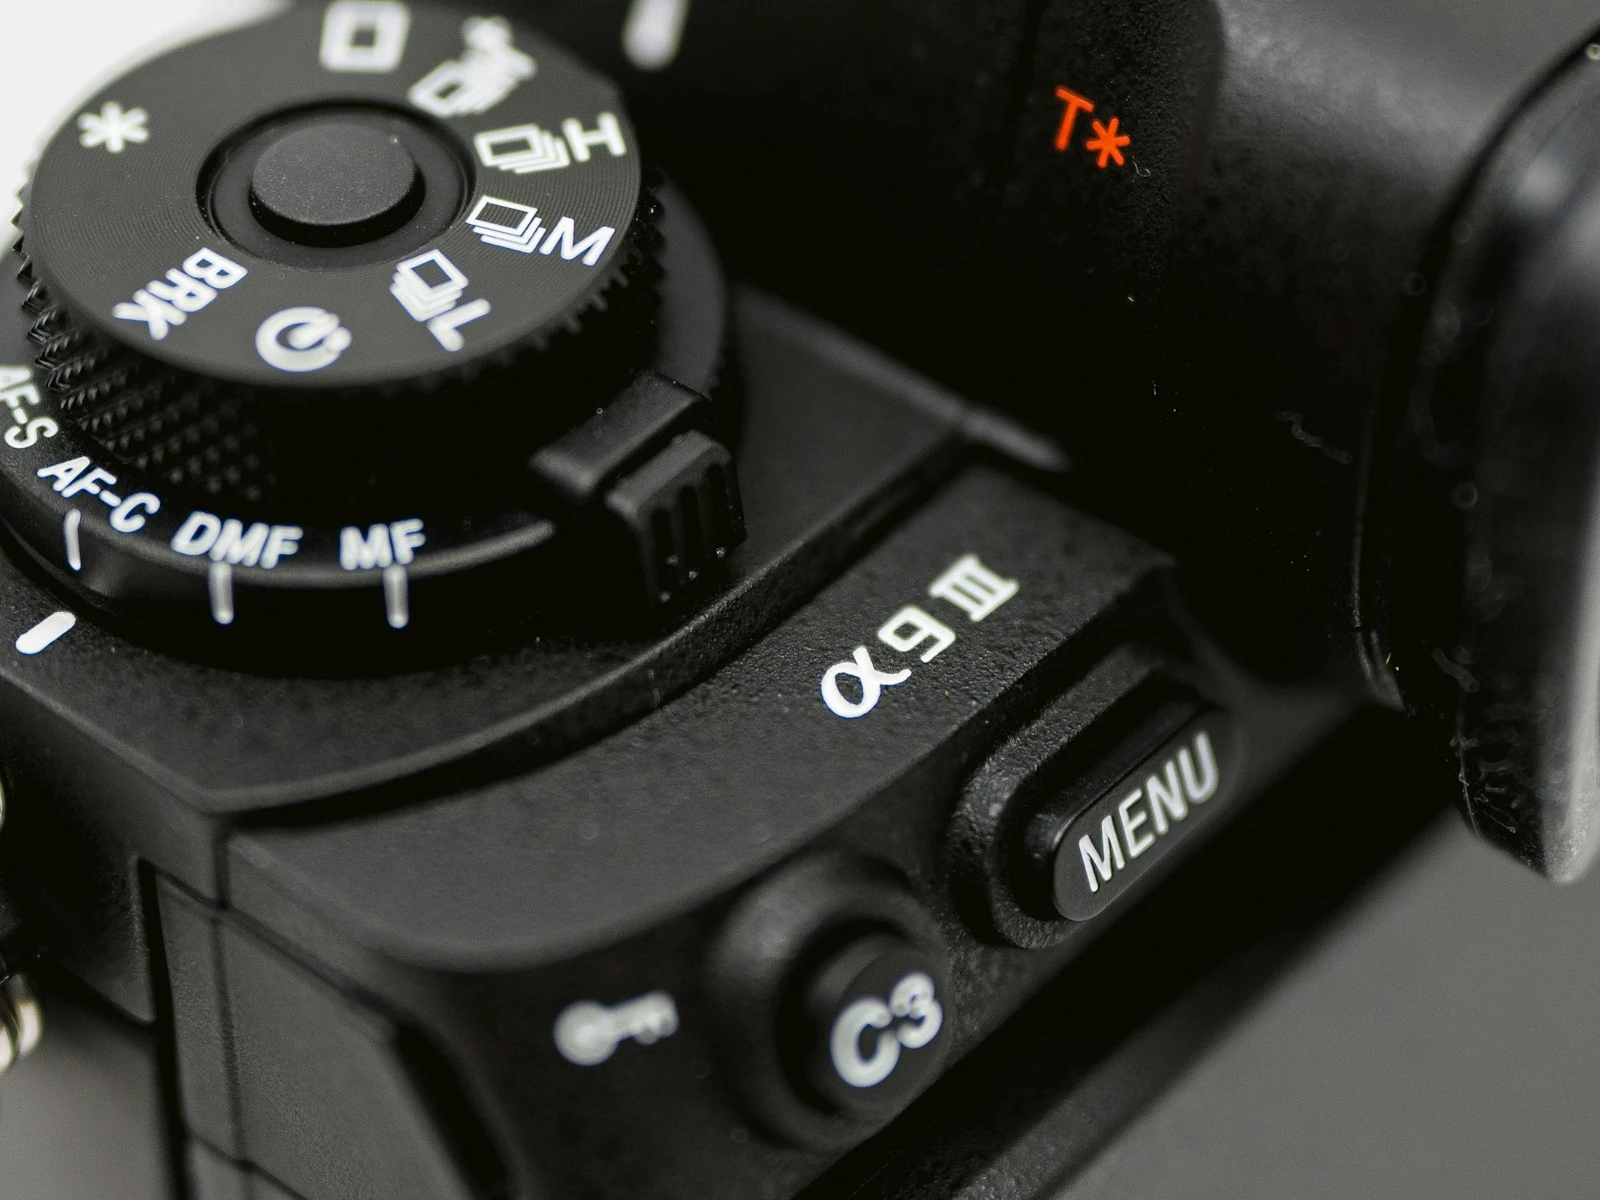
Camera with manual mode and decent high-ISO performance. Most cameras made in the last 10 years can handle this. You will be shooting at ISO 3200 to 6400, so the cleaner the sensor at those ISOs, the better. Full-frame helps but is not required. APS-C and Micro Four Thirds both work; they just need a bit more noise reduction in post. See how high you can push ISO on your specific camera.
Wide, fast lens. The two specs that matter are focal length and maximum aperture.
- Focal length should be wide. 14mm to 24mm on full frame, or roughly 10mm to 16mm on APS-C. Wide lenses let you fit more of the sky in one frame, and they let you use longer shutter speeds before stars trail.
- Maximum aperture should be fast. f/2.8 is the standard target. f/1.8 or f/1.4 is better. Slower than f/4 makes Milky Way work much harder.
You do not need an expensive name-brand lens. Samyang, Rokinon, Viltrox, and other third-party brands make excellent fast wide-angle primes for under $300 that work well for astrophotography.
Sturdy tripod. Non-negotiable. Any handheld attempt will fail because the exposures are too long. A heavy aluminum or carbon-fiber tripod beats a flimsy plastic travel one every time. If your tripod wobbles when you tap it, it is not stable enough.
Remote shutter release or 2-second timer. Touching the shutter button introduces enough vibration to soften your stars. A wired remote, wireless remote, or the camera's 2-second timer all solve this for free.
Red headlamp. White light destroys your night vision in seconds and takes 20 minutes to recover from. A headlamp with a red mode lets you see your camera controls and avoid tripping over rocks without ruining your dark adaptation.
Optional but useful: spare batteries (cold drains them fast), lens warmer or hand warmers attached to the lens with rubber bands (prevents dew on the front element), and an intervalometer if you want to do star trails or time lapses.
When and Where to Shoot
Milky Way photography is mostly planning. Once you have the conditions right, the actual shooting is straightforward.
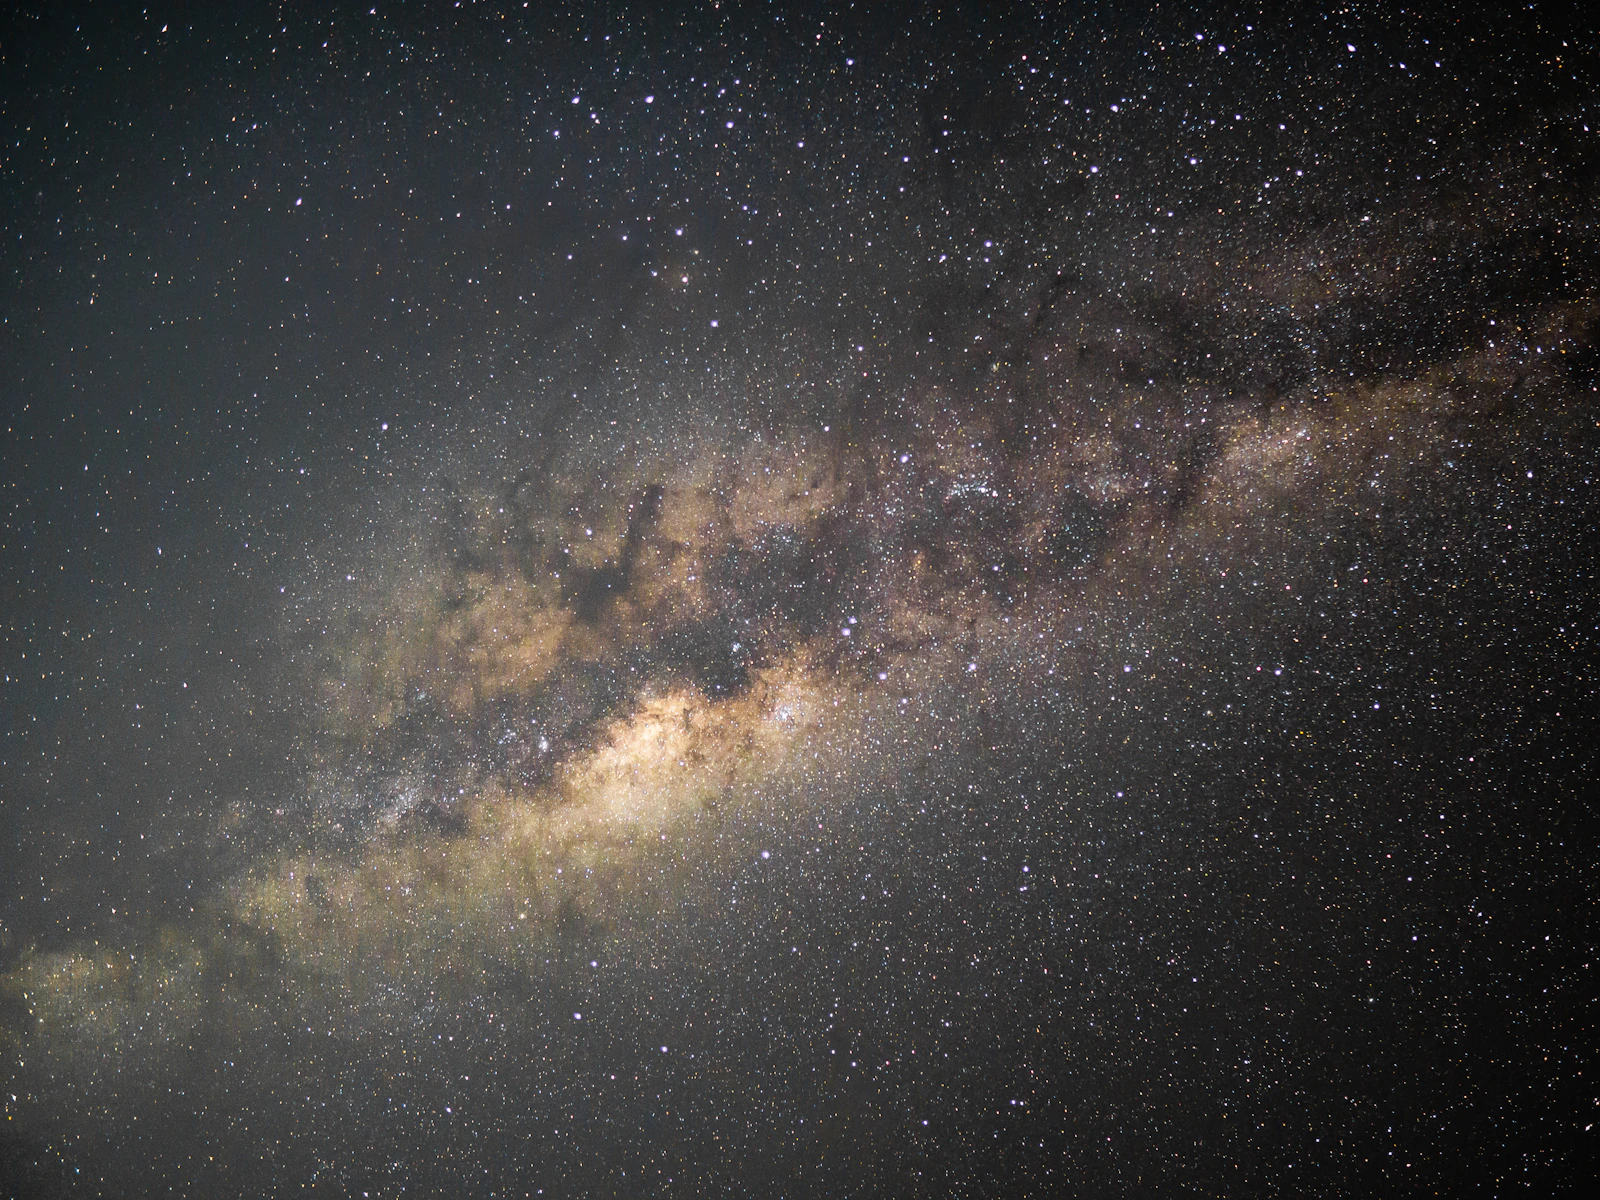
The Galactic Core Season
The bright, recognizable part of the Milky Way you see in photographs is the galactic core, which sits near the center of our galaxy in the constellation Sagittarius. It is only above the horizon from a given latitude for part of the year.
For most of the Northern Hemisphere, the core is visible roughly from late February (pre-dawn) through October (after sunset). The peak season is May through August, when the core is high in the sky during practical hours. From November through January, the core is below the horizon at night, and Milky Way work is effectively impossible.
The Southern Hemisphere sees the core higher and for longer (it sits much higher in southern skies), with peak visibility from March through October.
Use a planning app like Stellarium or The Photographer's Ephemeris to see exactly where and when the core will be for any date and location.
The Moon Phase
The moon ruins Milky Way photos. Even a half moon brightens the sky enough to wash out the galactic core entirely. You need essentially no moon for clean shots.
The ideal window is new moon plus or minus 4 days. A 15% illuminated crescent that sets before astronomical twilight ends is workable. A 50% half moon, anywhere in the sky, is not.
Planning around moon phase is the single most important habit in Milky Way photography. Mark new moons on your calendar a year in advance and plan around them.
Dark Skies
Light pollution is the silent killer of Milky Way photography. Most populated areas have so much skyglow that the core is invisible to both the eye and the camera, even in long exposures.
The standard is the Bortle scale, a 1-to-9 rating of sky darkness. Bortle 1 is a remote desert. Bortle 9 is downtown New York. For useful Milky Way work, you want Bortle 4 or darker. Bortle 3 produces dramatic results. Bortle 2 or 1 is what you see in the magazine shots.
Tools for finding dark skies:
- DarkSiteFinder world map. Color-coded light pollution map with Bortle ratings.
- Light pollution map apps for your phone.
- National parks, especially designated International Dark Sky Parks.
If you live in a city, expect to drive at least 1 to 2 hours to reach Bortle 4 skies. For Bortle 2 or 1, it is often a 3-plus hour drive or a deliberate trip to the desert or mountains.
Time of Night
The Milky Way is visible during astronomical night, which begins when the sun is more than 18 degrees below the horizon. In summer at mid-latitudes, this is usually 90 to 120 minutes after sunset and ends 90 to 120 minutes before sunrise.
Plan to arrive at your location at sunset so you can scout compositions in daylight, set up your tripod before it gets fully dark, and wait through twilight. Once astronomical night begins, you have maybe 90 minutes to 4 hours of usable shooting time depending on the season and your location.
Helpful tools for the timing:
- Golden hour calculator for sunset and twilight times.
- Sun position planner for where the sun (and therefore the core direction) sits relative to your composition.
Weather
Clear skies are obvious. What is less obvious: high humidity reduces star contrast and produces a hazy glow even on otherwise clear nights. Cold, dry mountain air or desert air gives the sharpest, deepest skies. Check humidity forecasts in addition to cloud cover.
Camera Settings for the Milky Way
There is no single "right" set of settings, but the starting point is similar for almost every modern camera.
The Starting Point
Mode. Manual (M). Auto modes have no idea what to do with this scene.
File format. Raw, always. JPEG bakes in noise reduction and white balance that make editing much harder.
Aperture. Open as wide as your lens allows. f/2.8 is the standard target. f/1.8 or f/1.4 if you have it. Slower than f/4 is workable but requires longer exposures and higher ISO.
ISO. Start at 3200. Increase to 6400 if needed. Most modern full-frame cameras handle 6400 well; most APS-C cameras handle 3200 well. Note that "well" still requires noise reduction in post.
Shutter speed. Long enough to gather light, short enough that stars are not visibly trailed. The two common rules:
- The 500 Rule. Divide 500 by your focal length to get your maximum seconds. So 500/24mm = ~20 seconds. Easy to remember, mediocre at high resolution.
- The NPF Rule (or some variant). More accurate, accounts for pixel pitch and declination. Hard to do mentally. The star trails calculator handles the math for you.
For a 24mm lens on full-frame, 15 to 20 seconds is a common starting point. Wider angles give you more time (a 14mm lens can often go to 30 seconds). Longer focal lengths force shorter exposures (a 35mm lens drops you to about 10 seconds).
White balance. Set manually. Auto white balance will swing wildly. A starting point of 3800 to 4200 Kelvin produces neutral-looking skies. Adjust to taste in post.
Long exposure noise reduction. Off. It doubles every exposure time (the camera takes a "dark frame" of the same length and subtracts noise), which doubles your wait. Better to handle noise in editing.
High ISO noise reduction. Off for raw shooters. It only affects the JPEG preview and adds processing time, but does nothing to the raw file.
Image stabilization. Off. On a tripod, stabilization sometimes introduces small movements that soften long exposures.
Take a Test Shot
Take one shot at your starting settings. Check the result.
If the histogram leans hard against the left edge and the image looks black, raise ISO or open aperture if you have not already. The exposure needs to be bright enough that the histogram shows the bulk of the data in the left third (not slammed against the edge).
If stars are visibly trailing (not points), shorten the shutter speed and compensate with more ISO. Zoom in on the LCD to 100 percent. Stars should look like points, not short dashes.
If the sky looks orange, magenta, or noticeably off-color and you cannot fix it in post, you probably have light pollution drifting in from somewhere. Check direction. The Milky Way is brightest when you point away from the nearest population center.
Focusing in the Dark
Autofocus does not work on stars. Manual focus is the only option, and infinity is not always the right setting on the focus ring.
The Bright Star Method
Most accurate, works for any lens.
- Switch to manual focus.
- Enable live view on your camera screen.
- Aim at a bright star (or a distant light, like a far-off house light or street lamp).
- Magnify the view as much as your camera allows. 10x is common.
- Slowly turn the focus ring until the star is the smallest possible point.
- Confirm by tapping in different parts of the frame.
- Tape the focus ring so you do not bump it during the night.
The Daylight Pre-Focus Method
If you are setting up before dark, you can pre-focus during daylight and lock it in.
- Focus on a distant object (mountains, treeline) using autofocus.
- Switch to manual focus to prevent the camera from refocusing.
- Note exactly where the focus ring sits and tape it.
- Do not change it once it is dark.
This is faster but less accurate than the live view method, especially in winter when temperatures change focus distance slightly on some lenses.
Why "Infinity" on the Lens Is Not Always Right
Many modern lenses focus past infinity by design (to allow for temperature compensation). The infinity mark is approximate. Rely on it as a starting point only, then fine-tune with the bright star method.
Composition for Milky Way Photos
The Milky Way is dramatic on its own, but the strongest Milky Way photos usually include something earthly in the frame. A horizon. A tree. A mountain. A person.
Foreground Matters
A sky-only photo is striking the first time you see it. After that, every Milky Way photo with just sky looks the same. What separates the memorable shots from the generic ones is a strong foreground element that gives the viewer a sense of scale and place.
Look for:
- Rock formations, large boulders, geological features.
- A lone tree or interesting silhouette.
- A cabin, lighthouse, or other small structure.
- A mountain ridge or distinct horizon shape.
- A person standing still long enough to be sharp (a 20-second exposure with a person in it will work if they hold completely still).
Where to Put the Core
The galactic core is the dramatic, dense, bright part of the Milky Way. You usually want it in the upper third or center of the frame, not bisected by the horizon and not pinned against an edge. The exact placement depends on where the core happens to be at the time of your shoot.
Apps like Stellarium let you preview the sky for any date, time, and location, so you can plan compositions before you arrive.
Light Painting the Foreground
Long exposures gather sky light beautifully but often leave the foreground completely black. A subtle light paint with a low-power flashlight during the exposure can lift the foreground out of darkness.
The technique:
- During the exposure, briefly sweep a low-power LED across the foreground for 1 to 3 seconds.
- Use the lowest brightness setting and move quickly. Less is more.
- Practice will help you find the right intensity. Most beginners overdo it.
Or skip light painting entirely and shoot a separate, longer exposure of just the foreground after the sky shot, then blend them in editing.
Avoid Wind
Wind shakes your tripod and produces star streaks even at short shutter speeds. Shoot in calm conditions when possible. If wind is unavoidable, weight the tripod with your bag and shield it with your body.
Stacking for Cleaner Results
A single Milky Way shot at high ISO is noisy. You can dramatically reduce that noise by shooting multiple frames and stacking them in software.
The basic idea: take 5 to 20 identical shots in rapid succession, then load them into a tool like Sequator (free, Windows), Starry Landscape Stacker (paid, Mac), or DeepSkyStacker. The software aligns the stars (which moved slightly between frames due to Earth's rotation) and averages them together. Noise, which is random, gets canceled out. Stars and the Milky Way, which are consistent, get reinforced.
The result is a much cleaner final image with detail you simply cannot get from a single frame.
For stacking to work, all frames need to be identical in framing, exposure, and focus. Shoot them back-to-back with a remote or intervalometer.
Editing Milky Way Photos
The raw file out of camera always looks underwhelming. The Milky Way is a faint glow in the original frame. Editing is where it becomes the image you imagined.
A basic edit:
- White balance. Pull toward cool, around 3800 to 4200 Kelvin, then adjust to taste. Some prefer slightly warmer for an aesthetic look.
- Exposure. Lift slightly if needed.
- Contrast and clarity. Increase to bring out the dust lanes in the core. Be careful not to overdo clarity, which introduces halos and a crunchy look.
- Whites and highlights. Pull whites down slightly to control the brightest stars. Highlights can come up to brighten the core.
- Shadows. Lift modestly to recover foreground detail without making the sky look gray.
- Dehaze. A small amount adds punch and brings out structure in the core. Heavy dehaze introduces noise and color shifts.
- HSL. Reduce orange and yellow saturation if you have light pollution glow. Cool the blues for a more dramatic sky.
- Noise reduction. Apply strong luminance noise reduction (40 to 70). Modern AI denoise tools work especially well here.
If you stacked frames, do the basic editing on the stacked output instead of the single raw, and the noise problem largely solves itself.
For a deeper walkthrough by a working astrophotographer, Lonely Speck's Milky Way tutorial and Capture the Atlas's Milky Way guide both cover advanced techniques worth reading once you have the basics down.
Common Mistakes With Milky Way Photography
A few patterns that catch most beginners.
Mistake. Shooting Under the Moon
A 50% moon, even low in the sky, brightens the entire sky enough to wipe out the galactic core. Beginners assume "no clouds" means "good conditions" and shoot under the moon. The result is a bright blue sky with a few visible stars and no Milky Way.
Fix. Plan around the new moon. Check the moon phase for your shoot date and only shoot within roughly 4 days of new moon, or when the moon has already set.
Mistake. Trusting Autofocus
You point at a star, half-press the shutter, and the camera hunts forever or locks on something random. The result is soft stars and a wasted trip.
Fix. Manual focus only. Use the bright star method described above. Tape the focus ring once you nail it.
Mistake. Shutter Speed Too Long
You used the 500 Rule, got 20 seconds for a 24mm lens, but your stars still look like dashes when you zoom in.
Fix. The 500 Rule is generous. For high-resolution sensors, divide by 350 to 400 instead, or use the star trails calculator, which accounts for your specific sensor and declination.
Mistake. Not Letting Eyes Adapt
You step out of a lit car, point the camera roughly at where you think the core is, take a shot, and call it good. The result is a poorly framed image because you literally could not see what you were shooting.
Fix. Give yourself 20 minutes of dark adaptation before serious shooting. Use red light only. The longer you wait, the more you can actually see, and the better your compositions will be.
Mistake. Shooting Into Light Pollution
You picked a dark sky location but pointed the camera toward the nearest city. The lower half of the sky has an orange glow that completely overwhelms the Milky Way.
Fix. Point away from any city or light source. Check the dark sky map and note which direction is darkest from your location. Compose toward that direction.
Mistake. Forgetting About Dew
You arrived at sunset, the lens was warm, the air cooled rapidly after dark, and an hour into shooting your front element is fogged. Every shot after that point is soft and hazy.
Fix. Use a lens warmer (battery-powered) or strap hand warmers around the front of the lens with rubber bands. In humid environments this is essential, not optional.
Key Takeaways
- The Milky Way is a planning game first and a shooting game second. Moon phase, location, time of year, and direction all have to align before you ever set up the tripod.
- Shoot at the widest aperture your lens offers (f/2.8 or wider), ISO 3200 to 6400, and a shutter speed short enough to keep stars as points (use the star trails calculator for the exact limit).
- Manual focus on a bright star using live view at maximum magnification. Tape the focus ring. Do not trust the infinity mark.
- Stack multiple identical exposures in software like Sequator or Starry Landscape Stacker for dramatically cleaner results than any single frame can give you.
More in This Guide
Continue building your low-light photography skills.


Related Guides