Your iPhone has camera features you might not know about, and some you've seen but don't fully understand. These features affect how your camera handles light, captures detail, and renders your final image.
Some features help in certain situations and hurt in others. Understanding what each one does helps you make better decisions about when to use them. It's one of the more technical topics in our phone photography guide.
Important note: Feature availability varies by iPhone model and iOS version. This guide covers features as they exist on recent iPhones (iPhone 12 and later running iOS 15+). If you have an older model or different iOS version, some features may work differently or not be available.
Exposure Compensation
What it does: Adjusts how bright or dark the image is relative to what the camera automatically selects.
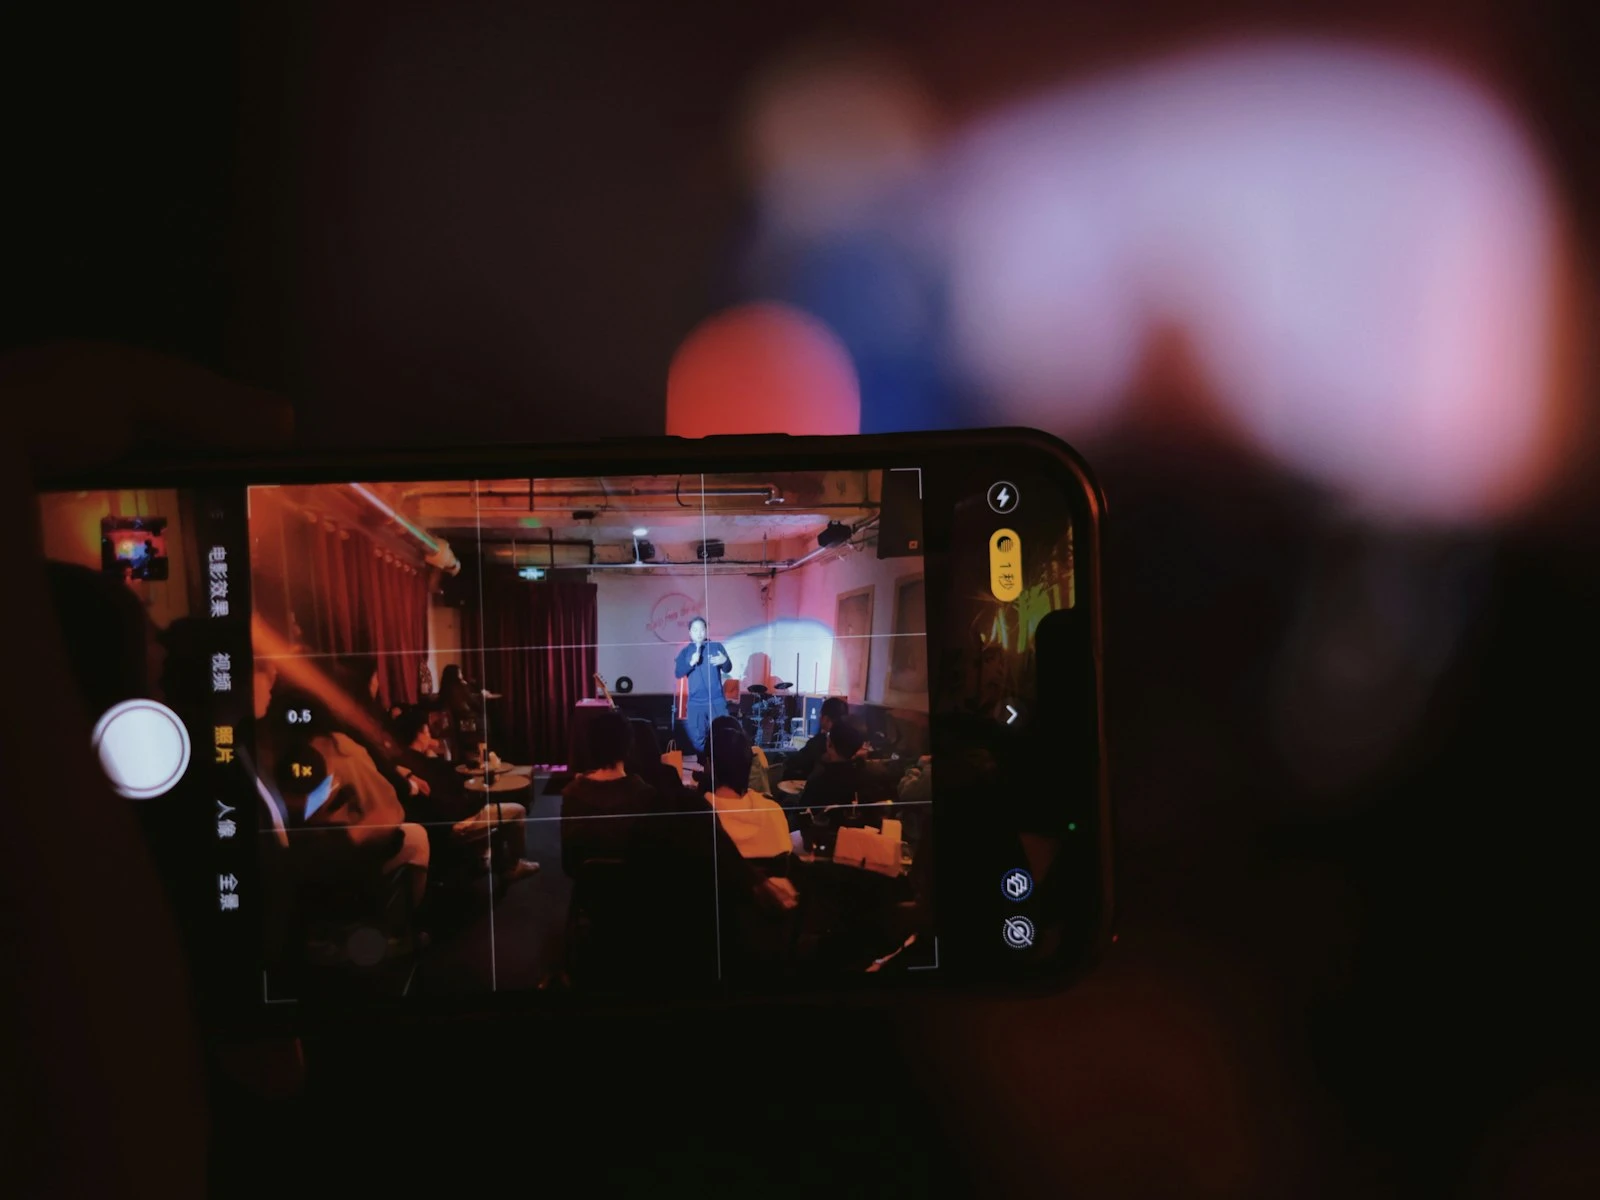
Where to find it: Tap the screen to focus, then drag your finger up (brighter) or down (darker) on the yellow sun icon that appears.
Available on: All iPhones with the native camera app.
When to Use Exposure Compensation
Scenes that consistently overexpose:
- Bright snow or sand
- Backlit subjects where you want background detail
- Scenes with large bright areas
Decision: Drag down to darken.
Scenes that consistently underexpose:
- Dark subjects against bright backgrounds
- Faces in shadow
- Scenes where you want to capture shadow detail
Decision: Drag up to brighten.
Scenes where mood matters:
- Moody, dramatic lighting you want to preserve
- Sunset/sunrise where you want rich colors
Decision: Usually drag down slightly. Underexposure often produces richer colors.
Exposure Compensation Decision Tree
Is the preview too bright or washed out?
├── Yes → Drag down to darken
│   └── Check: Are important shadows too dark now?
│       └── If yes, adjust back up slightly
└── No → Is the preview too dark?
    ├── Yes → Drag up to brighten
    │   └── Check: Are highlights blown out now?
    │       └── If yes, adjust back down slightly
    └── No → Leave it alone
Pro Tip: Lock Your Exposure
After adjusting exposure, press and hold on your focus point until you see "AE/AF LOCK" appear. This locks both focus and exposure, preventing the camera from readjusting as you reframe.
Useful when: You want consistent exposure across multiple shots of the same scene.
Smart HDR / HDR
What it does: Automatically captures and combines multiple exposures to preserve detail in both highlights and shadows.
Where to find it: Settings > Camera > Smart HDR (toggle on/off). When enabled, it's automatic.
Available on:
- Smart HDR 4: iPhone 12 series and later
- Smart HDR 3: iPhone 11 series
- Smart HDR: iPhone XS/XR
- Auto HDR: Older iPhones
Understanding HDR Behavior by Model
| iPhone Model | HDR Type | User Control |
|---|---|---|
| iPhone 14/15/16 series | Smart HDR 4/5 | Very limited, on by default, minimal override |
| iPhone 12/13 series | Smart HDR 3/4 | Can toggle in Settings |
| iPhone 11 series | Smart HDR 3 | Can toggle in Settings |
| iPhone XS/XR/X | Smart HDR/Auto HDR | More user control available |
| Older iPhones | Basic HDR | Full manual control |
When HDR Helps
High contrast scenes:
- Bright sky with darker foreground
- Windows in interior shots
- Backlit subjects
- Sunset/sunrise landscapes
Result: More detail visible in both bright and dark areas.
Faces in mixed lighting:
- People standing in dappled light
- Subjects with sun behind them
- Indoor portraits near windows
Result: Better facial detail without blown highlights.
When HDR Can Hurt
Scenes with intentional contrast:
- Dramatic silhouettes
- Moody low-light images
- Artistic high-contrast scenes
Problem: HDR fills in shadows and tames highlights, destroying the mood.
Scenes with movement:
- Sports and action
- Children and pets
- Wind-blown elements
Problem: Multiple-frame capture can create ghosting or blur.
Already flat lighting:
- Overcast days
- Evenly lit interiors
- Scenes without significant highlight/shadow difference
Problem: HDR processing without benefit, potentially adding artifacts.
HDR Decision Tree
Does your scene have extreme highlight/shadow contrast?
├── Yes → HDR will likely help
│   └── Is there significant motion in the scene?
│       ├── Yes → HDR might create ghosting. Consider disabling if possible.
│       └── No → Let HDR work
└── No → Is the lighting flat/even?
    ├── Yes → HDR probably unnecessary
    └── No → Minor contrast scenes. HDR is fine but not critical.
Controlling HDR (When Possible)
On older iPhones or with specific settings:
- Go to Settings > Camera
- Toggle "Smart HDR" off to get manual control
- In the camera app, tap HDR to toggle per-shot
On newer iPhones, Smart HDR is deeply integrated and largely automatic. Your control is limited to overall enable/disable in Settings.
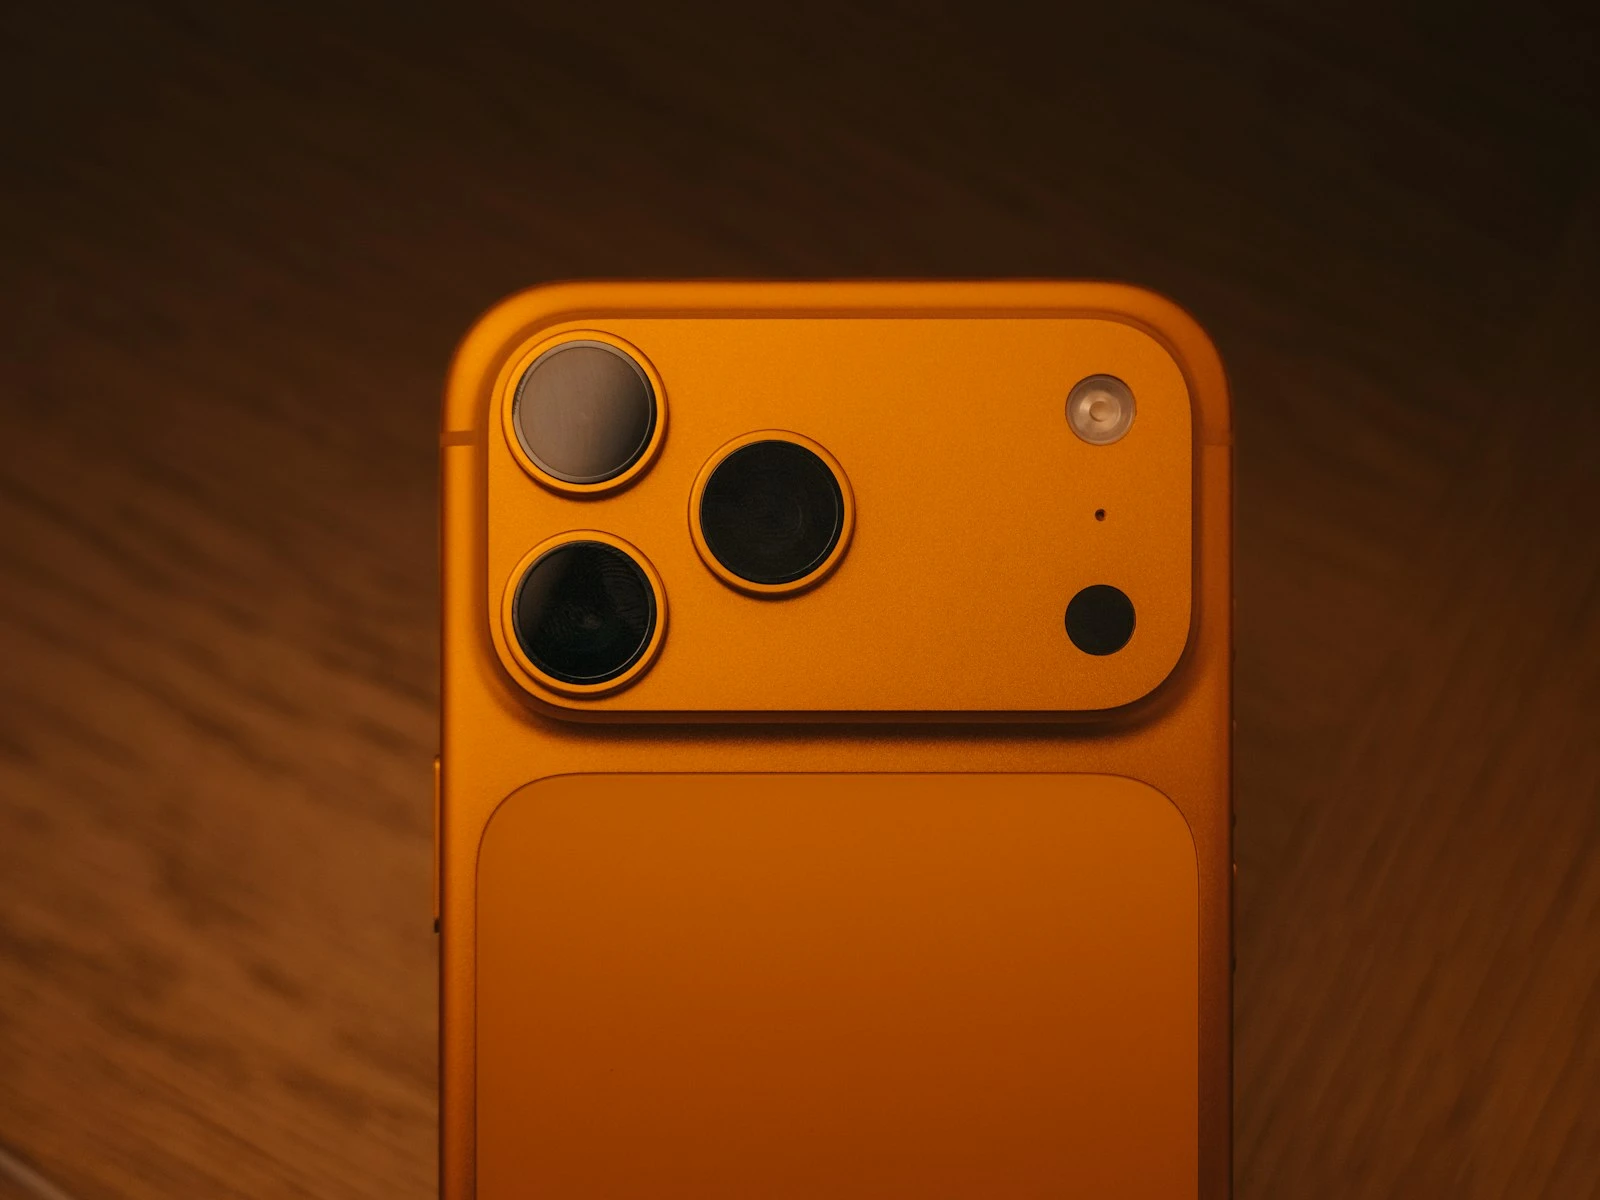
Lens Switching (Multi-Camera iPhones)
What it does: Lets you choose between different focal lengths using separate camera lenses.
Where to find it: In the camera app, tap the lens selector (0.5x, 1x, 2x, 3x, etc.)
Available on: iPhone 7 Plus and later dual/triple camera models.
Lens Options by Model
| iPhone Model | Wide (Main) | Ultra Wide | Telephoto |
|---|---|---|---|
| iPhone 16 Pro/Max | 1x (24mm) | 0.5x (13mm) | 5x optical (120mm) |
| iPhone 15 Pro/Max | 1x (24mm) | 0.5x (13mm) | 3x/5x (77mm/120mm) |
| iPhone 14 Pro/Max | 1x (24mm) | 0.5x (13mm) | 3x (77mm) |
| iPhone 13/14 (non-Pro) | 1x (26mm) | 0.5x (13mm) | None |
| iPhone 12/13 Pro/Max | 1x (26mm) | 0.5x (13mm) | 2.5x/3x (65mm/77mm) |
| iPhone 11 series | 1x (26mm) | 0.5x (13mm) | 2x (52mm) |
Note: Numbers are approximate equivalents. Specific values vary slightly by model.
Which Lens to Use When
Ultra Wide (0.5x) Best for:
- Architecture and interiors
- Landscapes where you want to include foreground
- Creative perspective distortion
- Tight spaces where you can't back up
Avoid for:
- Portraits (distorts faces)
- Distant subjects
- Low light (smaller sensor, less light gathering)
Main Wide (1x) Best for:
- General photography
- Portraits (best quality, good face rendering)
- Low light (largest sensor, best performance)
- Any situation where quality matters most
- Your default choice when you're unsure which lens to use
Telephoto (2x, 3x, 5x) Best for:
- Portraits (compression flatters faces)
- Distant subjects
- Compressed perspective effects
- When you can't get closer physically
Avoid for:
- Low light (smaller sensor)
- Scenes requiring maximum detail (main lens is usually sharper)
Lens Selection Decision Tree
How far away is your subject?
├── Very close (within arm's reach) → Main (1x) or Ultra Wide (0.5x)
├── Normal conversation distance → Main (1x) for best quality
├── Across the room → Main (1x) or Telephoto if available
└── Far away → Use optical telephoto. Avoid digital zoom.

Is this a portrait/face shot?
├── Yes → Use Main (1x) or Telephoto. Never Ultra Wide.
└── No → Any lens appropriate to distance.

How is the lighting?
├── Bright daylight → Any lens works well
├── Indoor/moderate → Main (1x) preferred
└── Low light → Main (1x) strongly preferred
Understanding Digital vs. Optical Zoom
Optical zoom: Uses actual lens hardware. Quality remains high. Digital zoom: Crops and enlarges the image, and quality degrades.
On most iPhones:
- 0.5x, 1x, and the telephoto setting (2x, 3x, or 5x depending on model) are optical
- Anything between those numbers or beyond the max telephoto is digital
Rule: Stick to optical zoom levels. If you need more reach, move closer physically or accept that you'll crop later with more control.
Photographic Styles (iPhone 13 and later)
What it does: Applies persistent tone and color adjustments to your images at capture time.
Where to find it: Settings > Camera > Photographic Styles, or swipe up in camera app and tap the Styles icon.
Available on: iPhone 13 series and later.
Available Styles
- Standard: Default balanced processing
- Rich Contrast: Darker shadows, richer colors, more dramatic
- Vibrant: Brighter, more saturated, punchier colors
- Warm: Overall warmer color temperature
- Cool: Overall cooler color temperature
When to Use Photographic Styles
Rich Contrast: Good for landscapes, architecture, dramatic scenes. Creates more visual punch.
Vibrant: Good for colorful subjects, travel photos, when you want energy. Can look overdone.
Warm: Good for portraits, golden hour, and cozy scenes, and particularly flattering for skin tones.
Cool: Good for modern/clinical looks, blue hour, and winter scenes, though it can look sterile.
Standard: When you're unsure or will edit later.
Important: Styles Are Baked In
Unlike filters, Photographic Styles process the image data at capture. You can't fully remove the style afterward.
Recommendation: Stick with Standard if you plan to edit significantly. Use styles when you want consistent, ready-to-share results.
ProRAW (iPhone 12 Pro and later)
What it does: Captures RAW image data while retaining some computational photography benefits.
Where to find it: Settings > Camera > Formats > Apple ProRAW (toggle on). Then in camera, tap RAW.
Available on: iPhone 12 Pro series and later Pro models.
When ProRAW Makes Sense
Maximum editing flexibility: RAW files contain more data for exposure and color correction. This is especially useful for flat phone photos that need contrast restored.
Challenging exposure situations: Recovering highlights and shadows is easier with RAW.
Professional workflow: If you'll edit in Lightroom or other professional software.
Critical images: When quality matters more than convenience.
When ProRAW Doesn't Make Sense
Storage concerns: ProRAW files are 10-12x larger than HEIF. You can check expected sizes to see how fast your storage will fill up.
Quick sharing: Files need editing; they look flat out of camera.
Good lighting: Standard processing often produces excellent results.
Casual documentation: Not worth the file size for everyday shots.
ProRAW Decision Tree
Will you edit this image significantly?
├── Yes → ProRAW gives more flexibility
│   └── Do you have storage space?
│       ├── Yes → Use ProRAW
│       └── No → Standard is fine, edit what you can
└── No → Standard is more convenient and looks better unedited
Preserve Settings
What it does: Remembers your camera settings between sessions instead of resetting to defaults.
Where to find it: Settings > Camera > Preserve Settings
Options to preserve:
- Camera Mode (Photo, Video, Portrait, etc.)
- Creative Controls (filters, lighting)
- Macro Control
- Exposure Adjustment
- Night Mode
- ProRAW
- Live Photo
What to Preserve
Exposure Adjustment: Useful if you consistently prefer slightly under or over exposed images.
ProRAW: If you want to shoot RAW by default or never shoot RAW.
Night Mode: If you prefer it always on or always off.
Camera Mode: If you consistently shoot in one mode.
What Not to Preserve
Settings you change frequently are better left at defaults, so you consciously choose each time.
Quick Settings Access
Swipe up on the camera viewfinder to access quick settings:
- Flash
- Night Mode
- Live Photo
- Photographic Styles
- Aspect Ratio
- Exposure Compensation
- Timer
- Filters
Knowing these exist and practicing access makes adjustments faster when moments matter.
Frequently Asked Questions
Why can't I turn off HDR on my new iPhone?
Apple has increasingly integrated Smart HDR into the core processing pipeline. On newer iPhones, it's more of a default behavior than a toggle. Limited control is available in Settings > Camera.
Should I always shoot in ProRAW?
No. ProRAW is for situations where you need maximum editing flexibility. For everyday photos, standard capture produces excellent results with smaller file sizes.
Which lens has the best quality?
The main (1x) lens on all iPhones. It has the largest sensor and best overall performance, especially in low light.
Do Photographic Styles affect RAW files?
On ProRAW, styles are recorded as metadata and can be adjusted or removed in compatible editing software. On standard captures, they're baked in.
Key Takeaways
- Use exposure compensation (tap then drag the sun icon) to override the automatic exposure when scenes are too bright or too dark.
- Keep HDR on for most situations, but turn it off when you want natural contrast or when the scene has simple, balanced lighting.
- Use the 2x telephoto lens for portraits to reduce wide-angle distortion on faces, and the ultra-wide for environmental context.
- Lock focus and exposure (long press until "AE/AF Lock" appears) when you want consistent results across multiple shots of the same scene.
More in This Guide
Continue improving your phone photography.