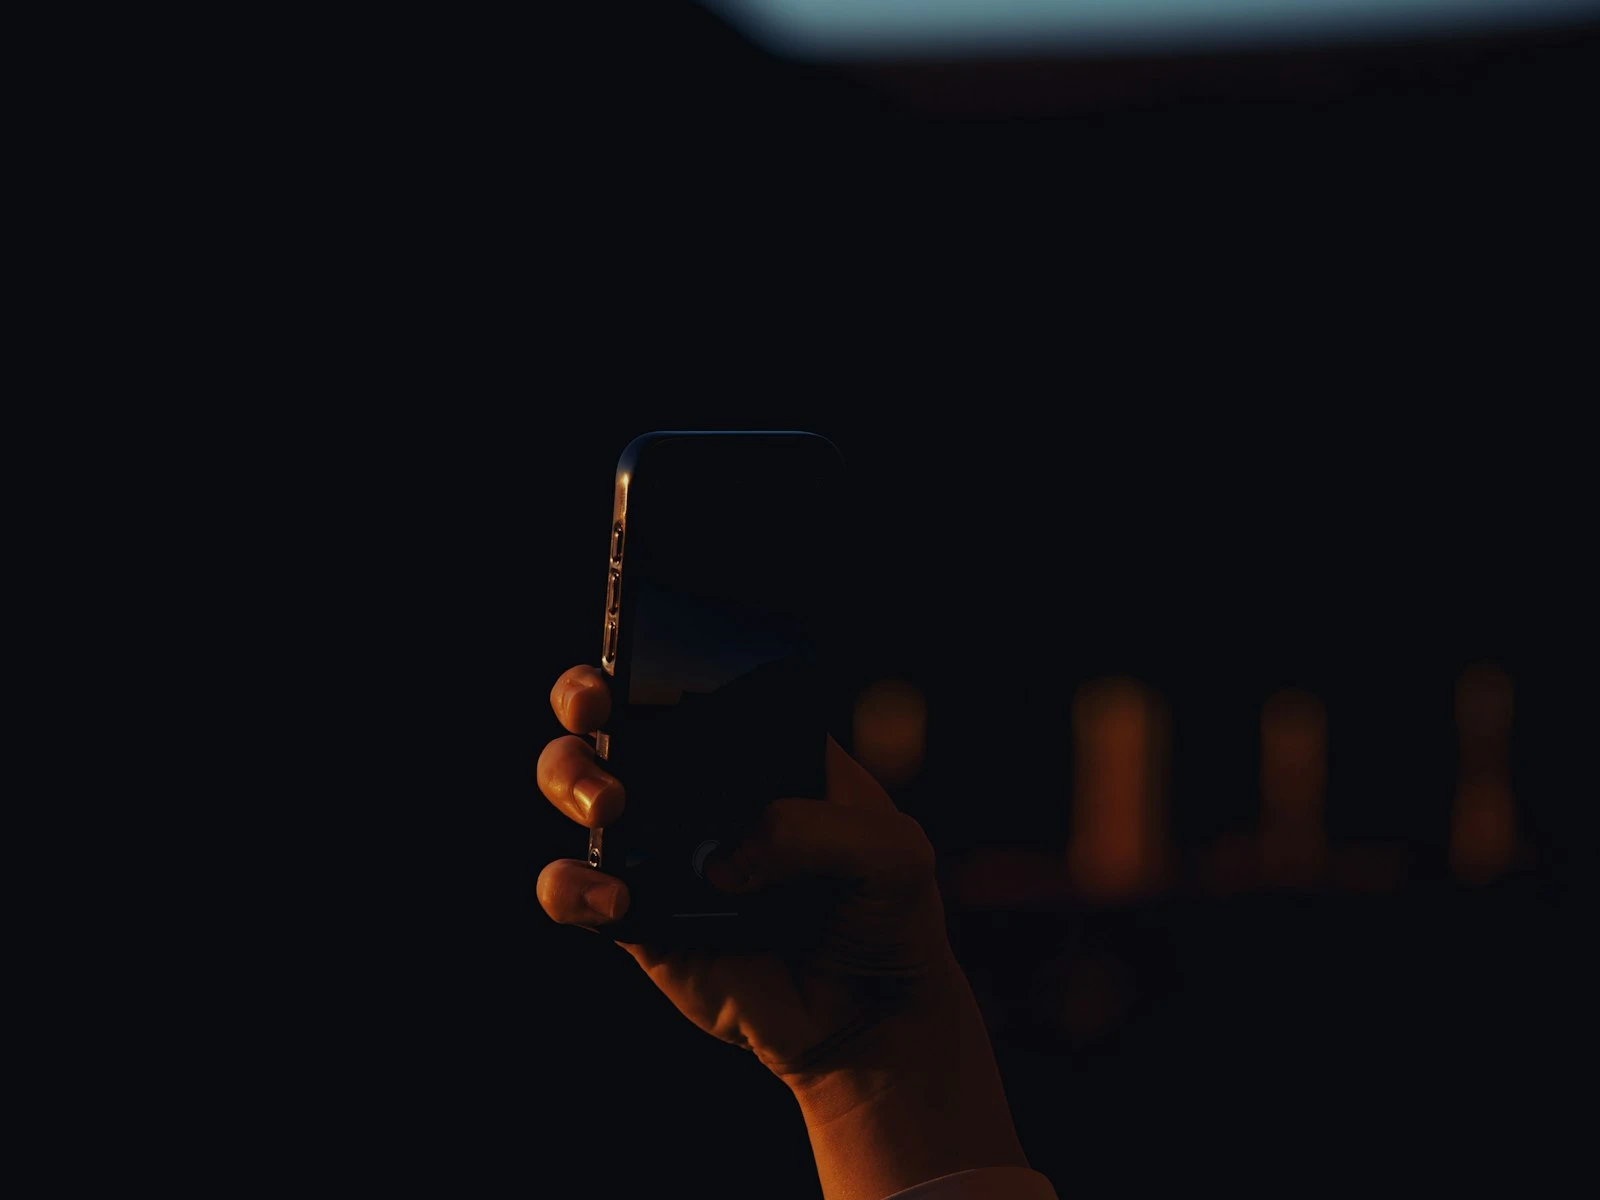
iPhone Night Mode can produce stunning low light photos that seem impossible from a phone. It can also create ghosted subjects, unnatural brightness, and images that look nothing like what you experienced.
The difference is knowing when to use it, when to override it, and how to work with its computational magic rather than against it.
This guide covers Night Mode across different iPhone models, explains what it's actually doing, and helps you decide when to let it work and when to turn it off. It's one of the most specialized topics in our phone photography guide.
What Night Mode Actually Does
Night Mode is computational photography that combines multiple frames captured over several seconds.
When Night Mode activates:
- The iPhone captures multiple images over 1-10 seconds (or longer with stabilization)
- Algorithms analyze each frame for sharpness, motion, and detail
- The best parts of each frame are combined
- Noise reduction processes the combined data
- Final sharpening and tone adjustments are applied
- The result is a single processed image
This process can brighten scenes dramatically, reduce noise, and preserve detail better than any single long exposure could.
But it requires time, stability, and cooperation from your subject.
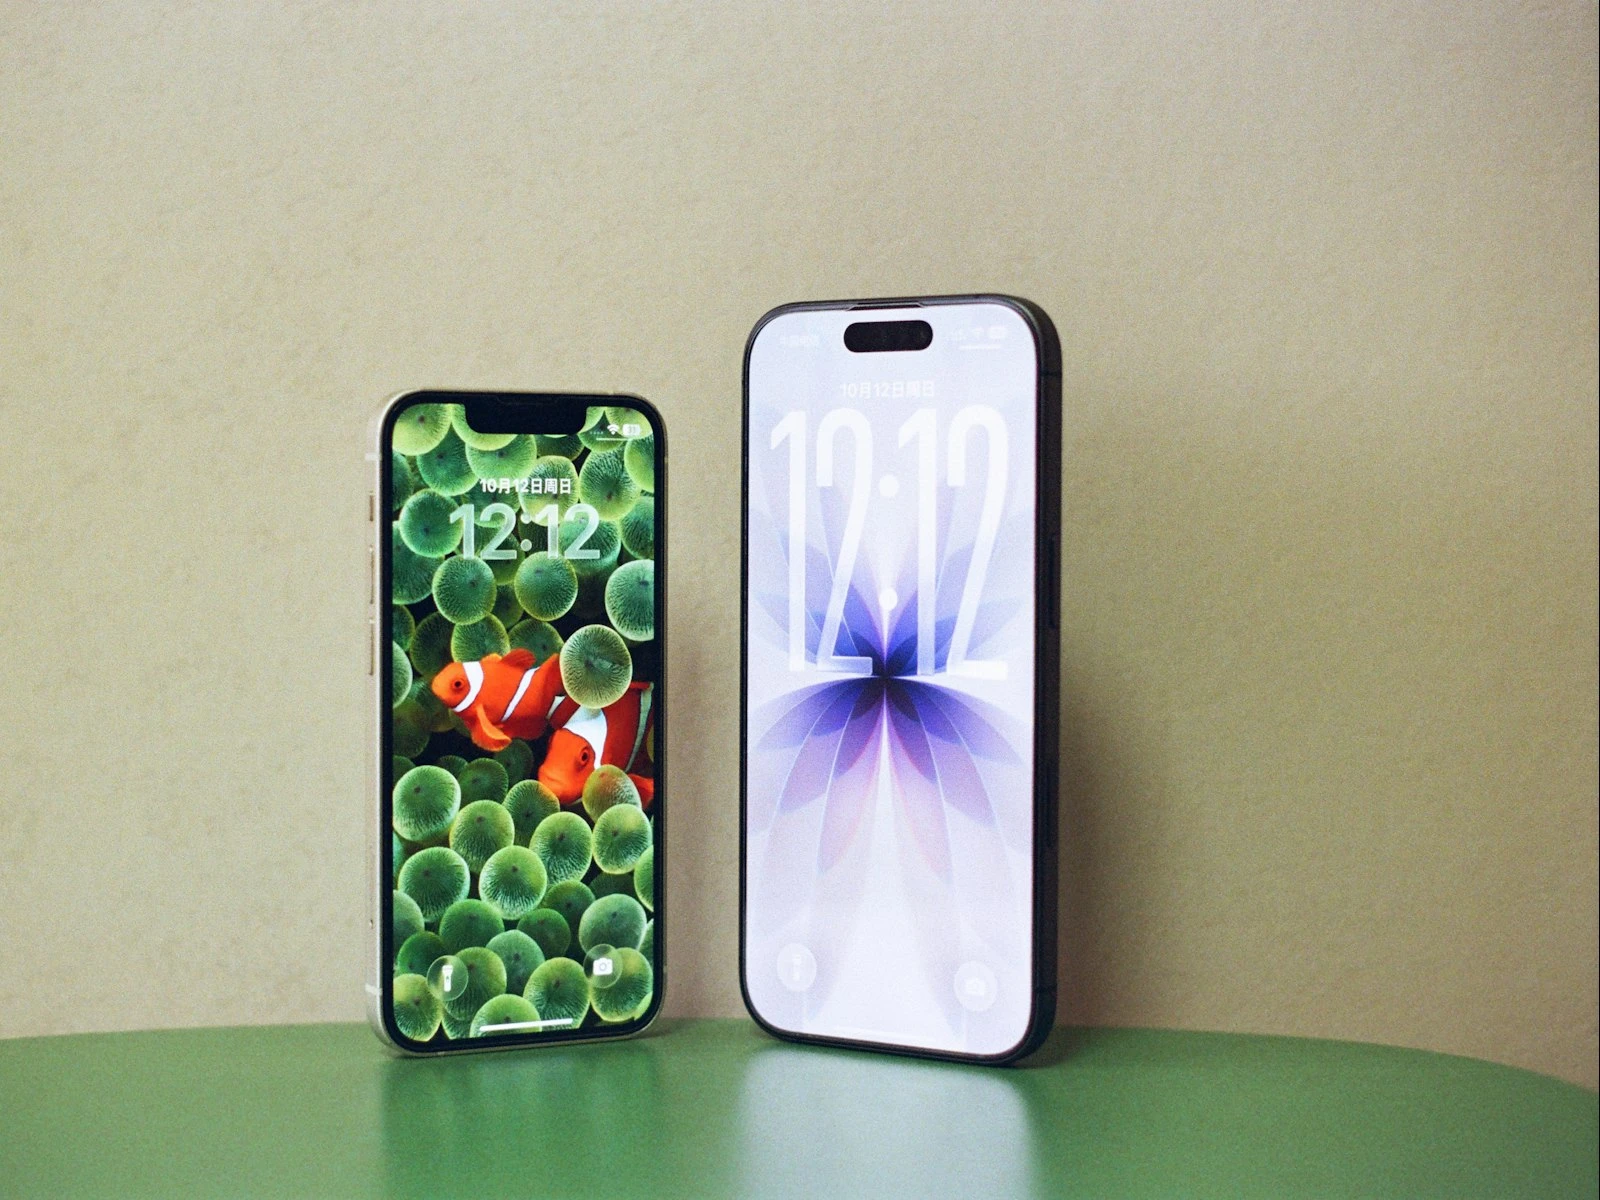
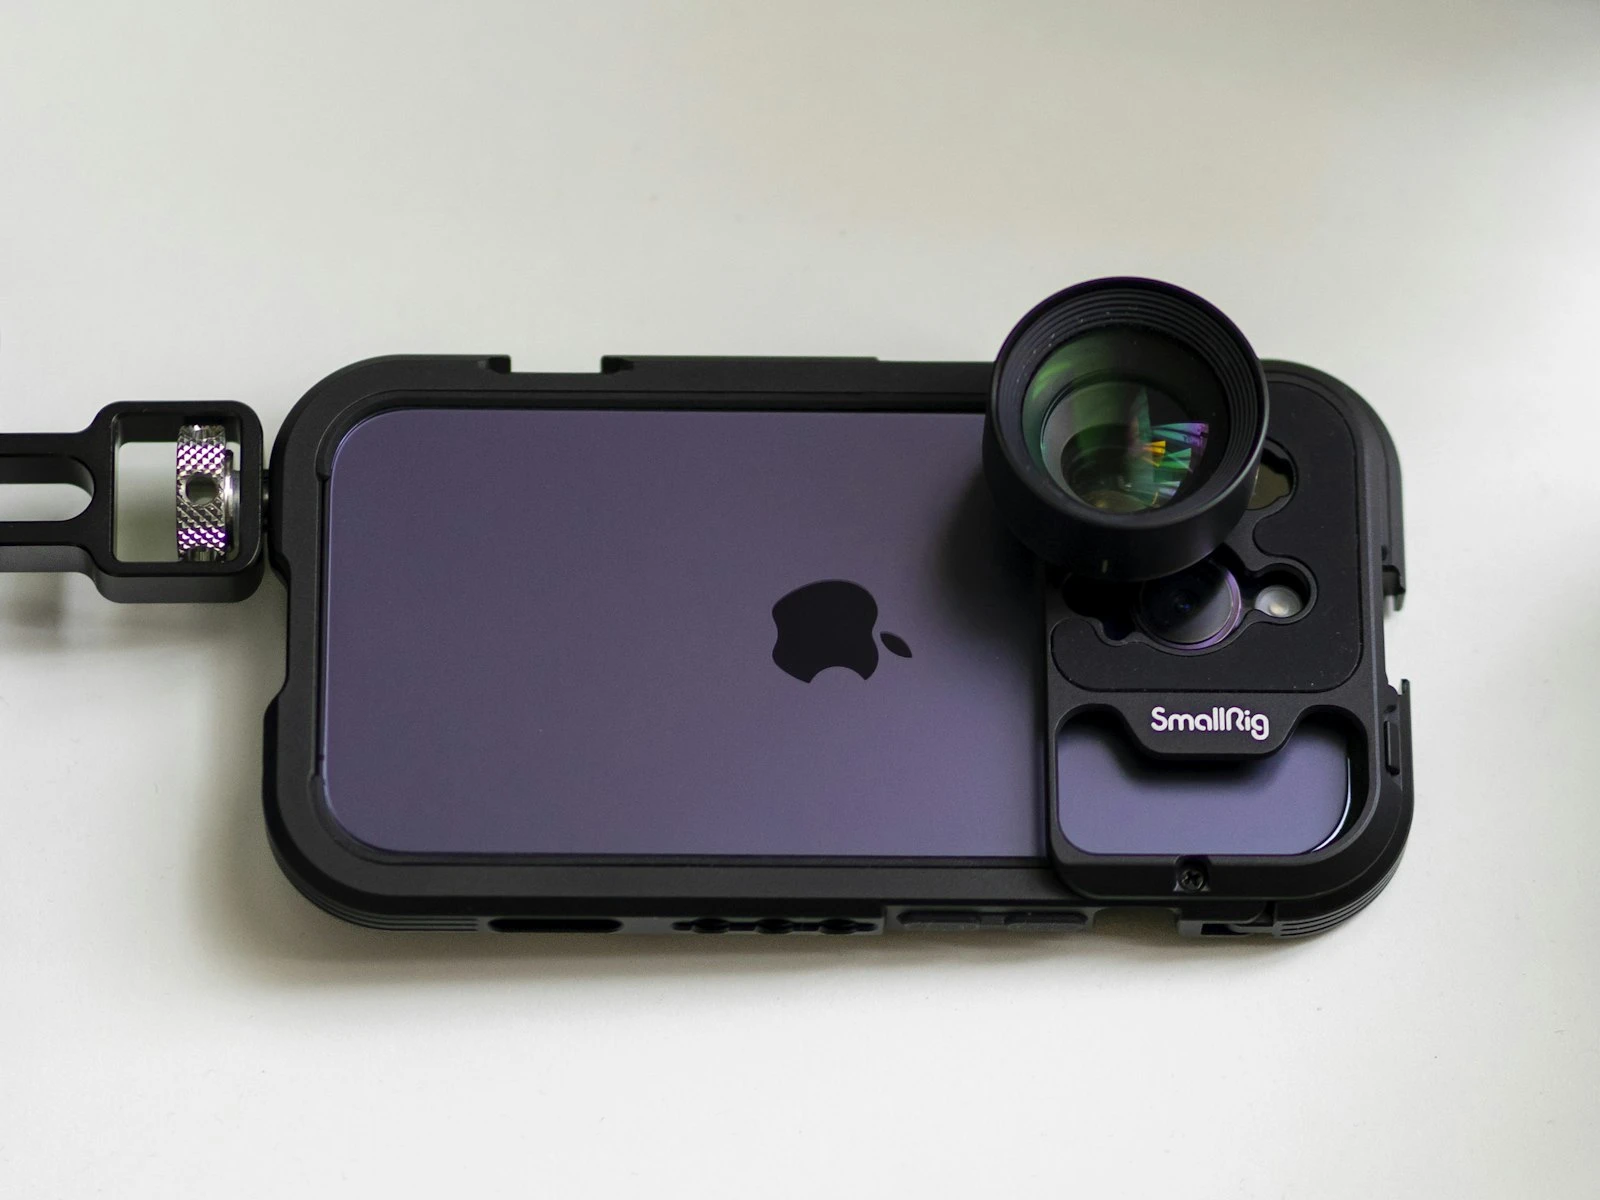
Night Mode Availability by iPhone Model
Not all iPhones have Night Mode, and capability varies by model and camera lens.
| iPhone Model | Night Mode Support |
|---|---|
| iPhone 16 series | All cameras including selfie |
| iPhone 15 series | All cameras including selfie |
| iPhone 14 series | All cameras including selfie |
| iPhone 13 series | All cameras including selfie |
| iPhone 12 series | Wide and Ultra Wide cameras |
| iPhone 11 series | Wide camera only (11 Pro/Max: Wide + Ultra Wide) |
| iPhone SE (3rd gen) | No Night Mode |
| iPhone XS/XR and older | No Night Mode |
Key insight: Night Mode works best on the main wide camera, which has the largest sensor. Ultra Wide and Telephoto lenses have smaller sensors and Night Mode is less effective on them. The iPhone features guide covers which lens to choose for different situations.
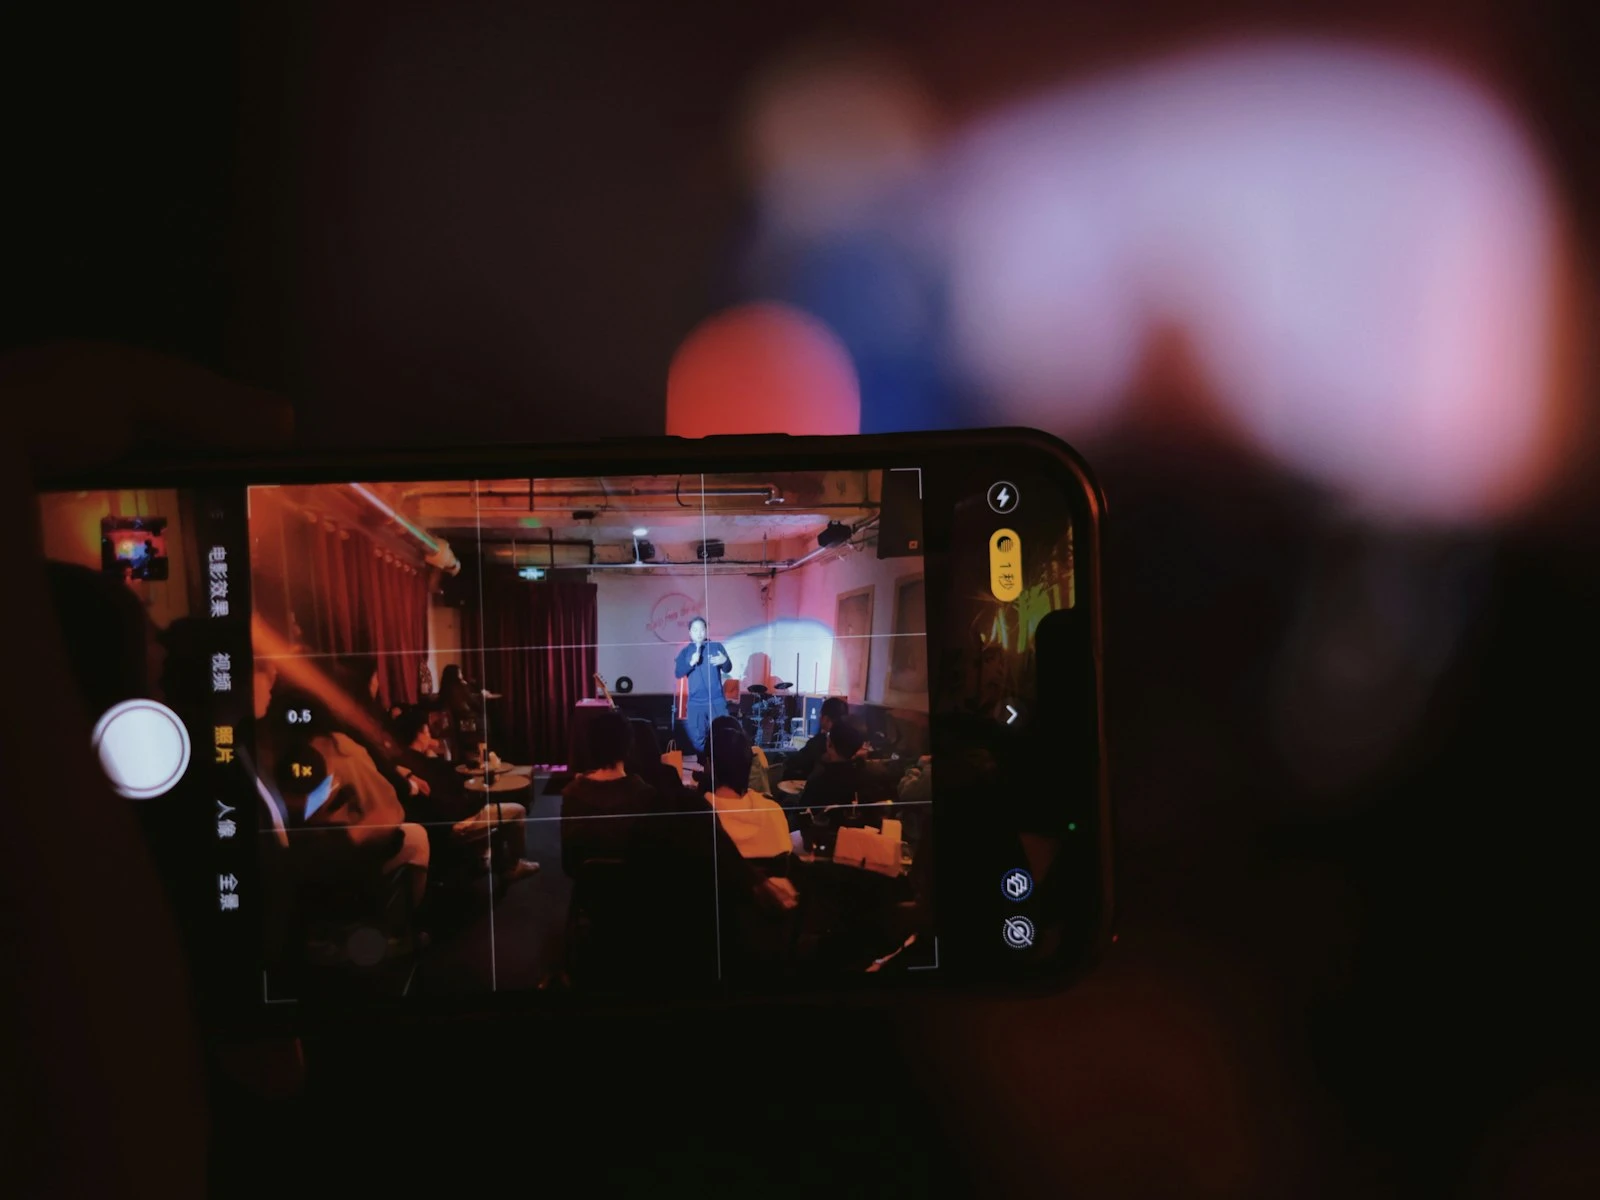
When Night Mode Activates
Night Mode activates automatically when the iPhone detects low light conditions. You'll see a yellow Night Mode icon appear in the camera interface.
The icon shows:
- A crescent moon symbol
- A number indicating the capture time (e.g., "3s")
The automatic timer adjusts based on:
- Available light (darker = longer)
- Hand stability (steadier = longer possible)
- Use of a tripod (detected = much longer possible)
Automatic vs. Manual Control
Automatic behavior: Night Mode turns on when the iPhone decides it's needed. The timer is set automatically.
Manual control: Tap the Night Mode icon to:
- Adjust the capture time (shorter or longer)
- Turn Night Mode off entirely
- Let the iPhone choose (Auto)
On newer iPhones: Night Mode is integrated into the standard camera experience and is harder to disable. The icon may appear as a slider rather than an on/off toggle.
Night Mode Decision Tree
Is the scene dark enough that Night Mode activates?
├── No → Use standard capture
└── Yes → Ask: Is the subject static?
    ├── No (people moving, action) → Reduce Night Mode time or disable
    │   └── Motion will cause blur/ghosting
    └── Yes (still subject, landscape, architecture) → Let Night Mode work
        └── Ask: Can you stabilize the phone?
            ├── No → Keep time short (1-3 sec), brace yourself
            └── Yes (tripod, resting on surface) → Use longer time for better results
When Night Mode Helps
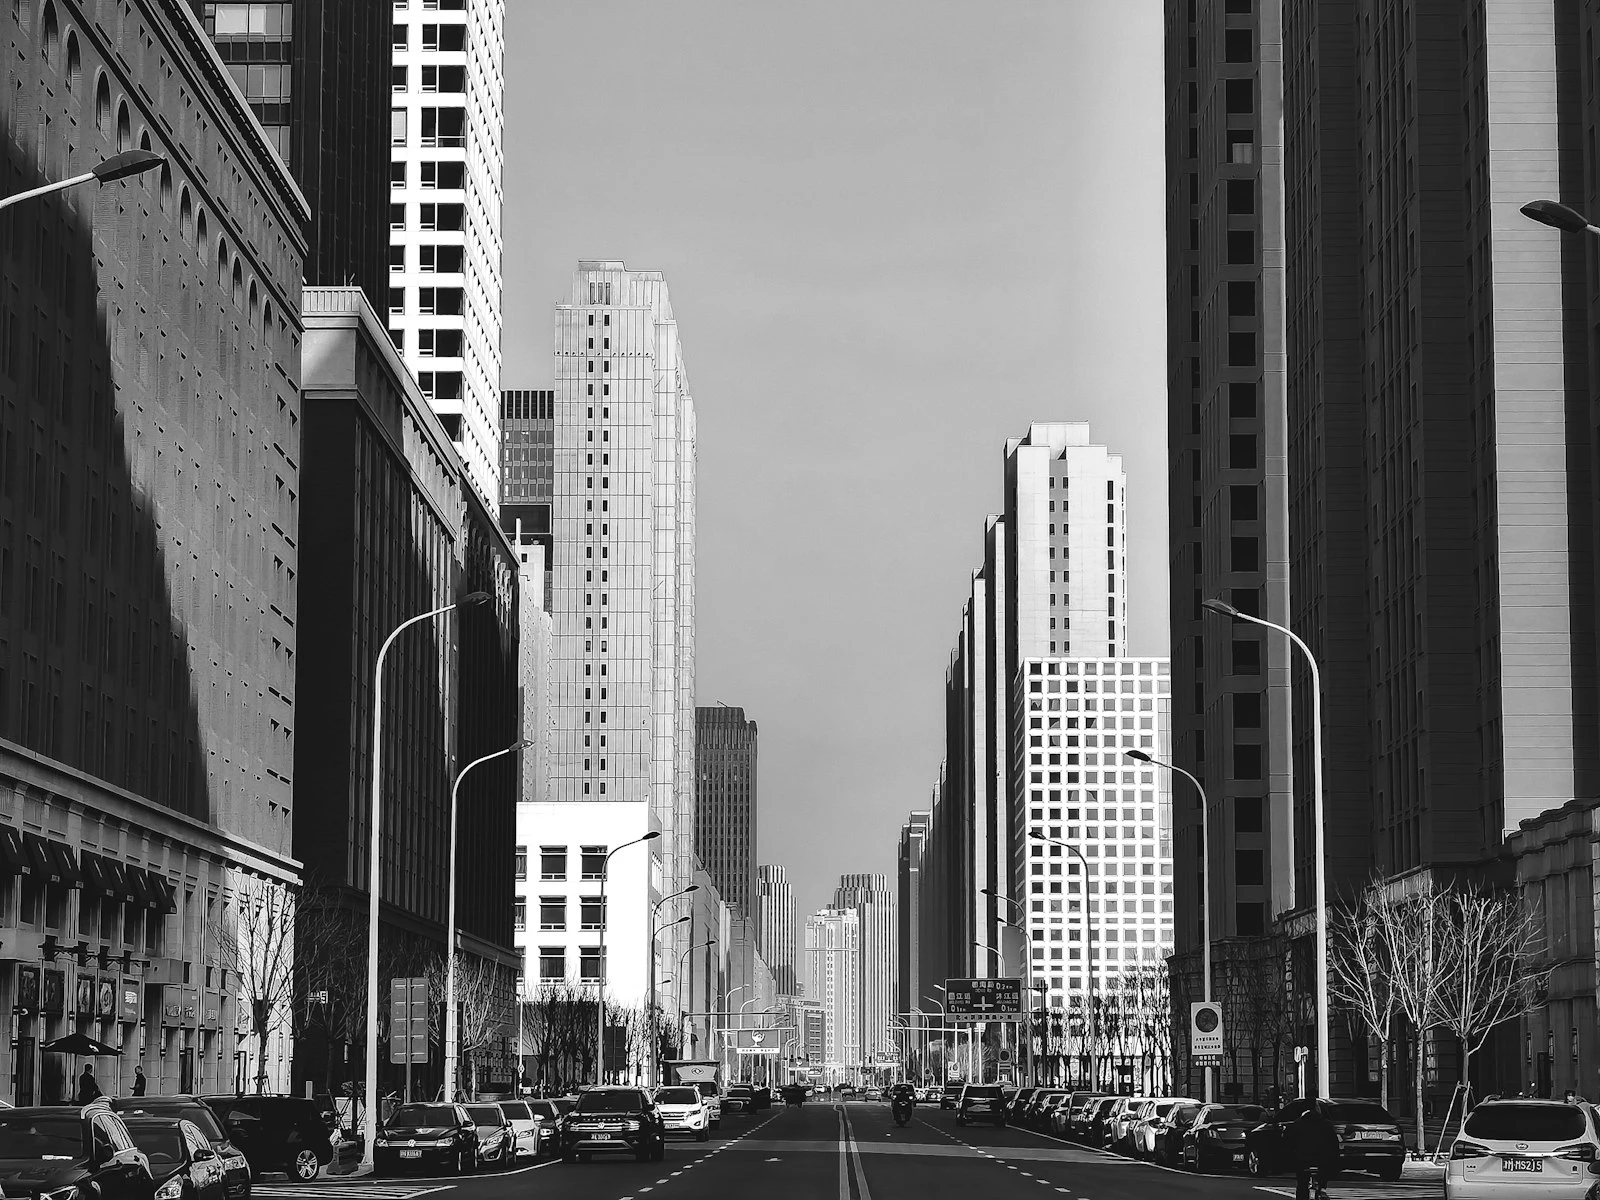
Landscapes and Architecture at Night
Static subjects benefit enormously from Night Mode. City skylines, buildings, and night landscapes can look impressive.
Technique: Rest your phone on a surface or use a tripod. Let Night Mode use its maximum time. Results will be bright and detailed.
Interior Spaces
Restaurants, museums, and homes, anywhere with ambient lighting that's dimmer than the phone would prefer.
Technique: Keep the phone steady. 1-3 second captures usually work well handheld.
Dusk and Dawn
The transition times when there's some light but not enough for standard capture.
Technique: Night Mode brightens these scenes while maintaining natural colors. Usually short capture times work.
Moonlit Scenes
Scenes lit by moonlight where you want to see detail that your eyes can barely perceive.
Technique: Tripod or very stable surface. Maximum capture time. Results will be brighter than what you saw.
When Night Mode Hurts
Moving Subjects
This is Night Mode's biggest limitation. Because it combines multiple frames over time, anything that moves creates:
Ghosting: Semi-transparent duplicate images Blur: Motion blur from subject movement Missing elements: Moving objects may disappear partially
Solution: Turn Night Mode off or minimize the capture time. Accept that the image will be noisier but motion will be frozen.
When You Want to Preserve Darkness
Night Mode brightens scenes significantly. Sometimes this destroys the mood you experienced.
Dimly lit intimate restaurants, moody street scenes, and dramatic night skies can all end up looking like they were shot in bright indoor lighting.
Solution: Reduce Night Mode time or turn it off. Underexpose slightly by tapping a brighter area.
Fast-Changing Moments
Waiting 3-5 seconds for capture isn't always practical. Candid moments don't wait for computational photography.
Solution: Disable Night Mode for situations requiring quick capture. Better to get a noisier image than miss the moment.
Mixed Lighting with Movement
Scenes where some elements are static and others move, like a person standing in front of city traffic.
Solution: Minimize capture time. The static background will be noisier but the person won't ghost. Or, have the person hold very still for a longer capture.
Night Mode Technique
Maximizing Quality
Stabilize the phone. This is the single most important factor. Even small movements during capture degrade results, and the same sharpness fundamentals apply here.
- Rest on a surface whenever possible
- Brace against solid objects
- Use a tripod for maximum time
- At minimum, tuck elbows and control breathing
Wait for the countdown. The screen shows how long to hold still. Don't move until it completes.
Choose your timing. Tap the Night Mode icon to adjust capture time. Longer isn't always better, so match the time to your stability and the scene.
Adjusting Exposure in Night Mode
Tap the screen to set focus, then drag up or down to adjust exposure compensation. This affects Night Mode results in both directions.
Darker exposure: More natural night feeling, less noise from trying to brighten everything, faster processing.
Brighter exposure: More visible detail, but potentially more noise and longer capture times.
Often, Night Mode benefits from slight underexposure to maintain a natural night feeling rather than turning night into day.
Focus Considerations
Night Mode can struggle with autofocus in very dark scenes. Tap to focus on specific elements. Look for areas with some contrast or light for the autofocus to lock onto.
If focus hunts (searches without locking), try tapping a different area with more contrast.
Night Mode vs. Low Light Techniques
Night Mode is powerful but not always the best choice. Consider alternatives:
Standard capture: In moderate low light, standard capture with good technique (steady holding, exposure adjustment) might produce more natural results without the heavy processing of Night Mode.
Flash: For close subjects, flash provides instant capture and frozen motion. Results are less natural but sometimes necessary.
Better lighting: If you can add light or move to a better-lit area, that often produces better results than Night Mode in very dark conditions. Even window light can be enough to avoid Night Mode entirely.
External lighting: A small phone-mounted LED light or even a friend's phone flashlight can provide enough light to avoid Night Mode's compromises.
Editing Night Mode Photos
Night Mode photos can benefit from careful editing, but they're already heavily processed.
What helps:
- Slight exposure reduction (Night Mode often overbrightens)
- Minor contrast adjustment
- Careful noise reduction in shadow areas
- Subtle color correction
What usually hurts:
- Heavy editing on top of heavy processing
- Significant exposure increases (reveals processing artifacts)
- Strong sharpening (enhances existing artifacts)
The best Night Mode photos often need minimal editing. If you're fighting the image in post-processing, better capture conditions might be the real solution.
Astrophotography Mode
On iPhone 12 and later, mounting the phone on a tripod in very dark conditions unlocks extended capture times for astrophotography.
How it works:
- Phone must be completely stable (tripod required)
- Scene must be very dark
- Capture times extend to 15-30 seconds
- Results capture star detail impossible with shorter exposures
Requirements:
- Tripod or completely stable mount
- Dark sky (away from city lights)
- Clear sky conditions
- Patience
This is specialized use, but it demonstrates what Night Mode can achieve with proper stabilization.
Quick Reference: Night Mode Settings
1-3 seconds: Handheld with good bracing. Some motion acceptable.
3-5 seconds: Rested on surface. Subject must be still.
5-10 seconds: Tripod or stable mount. Maximum detail for static scenes.
10+ seconds: Astrophotography situations only.
Off: Moving subjects, quick candids, when you want to preserve darkness.
Frequently Asked Questions
Why does Night Mode make my photos look too bright?
Night Mode is designed to brighten scenes. It often overcompensates. Use exposure compensation (tap and drag down) to maintain a more natural night feeling.
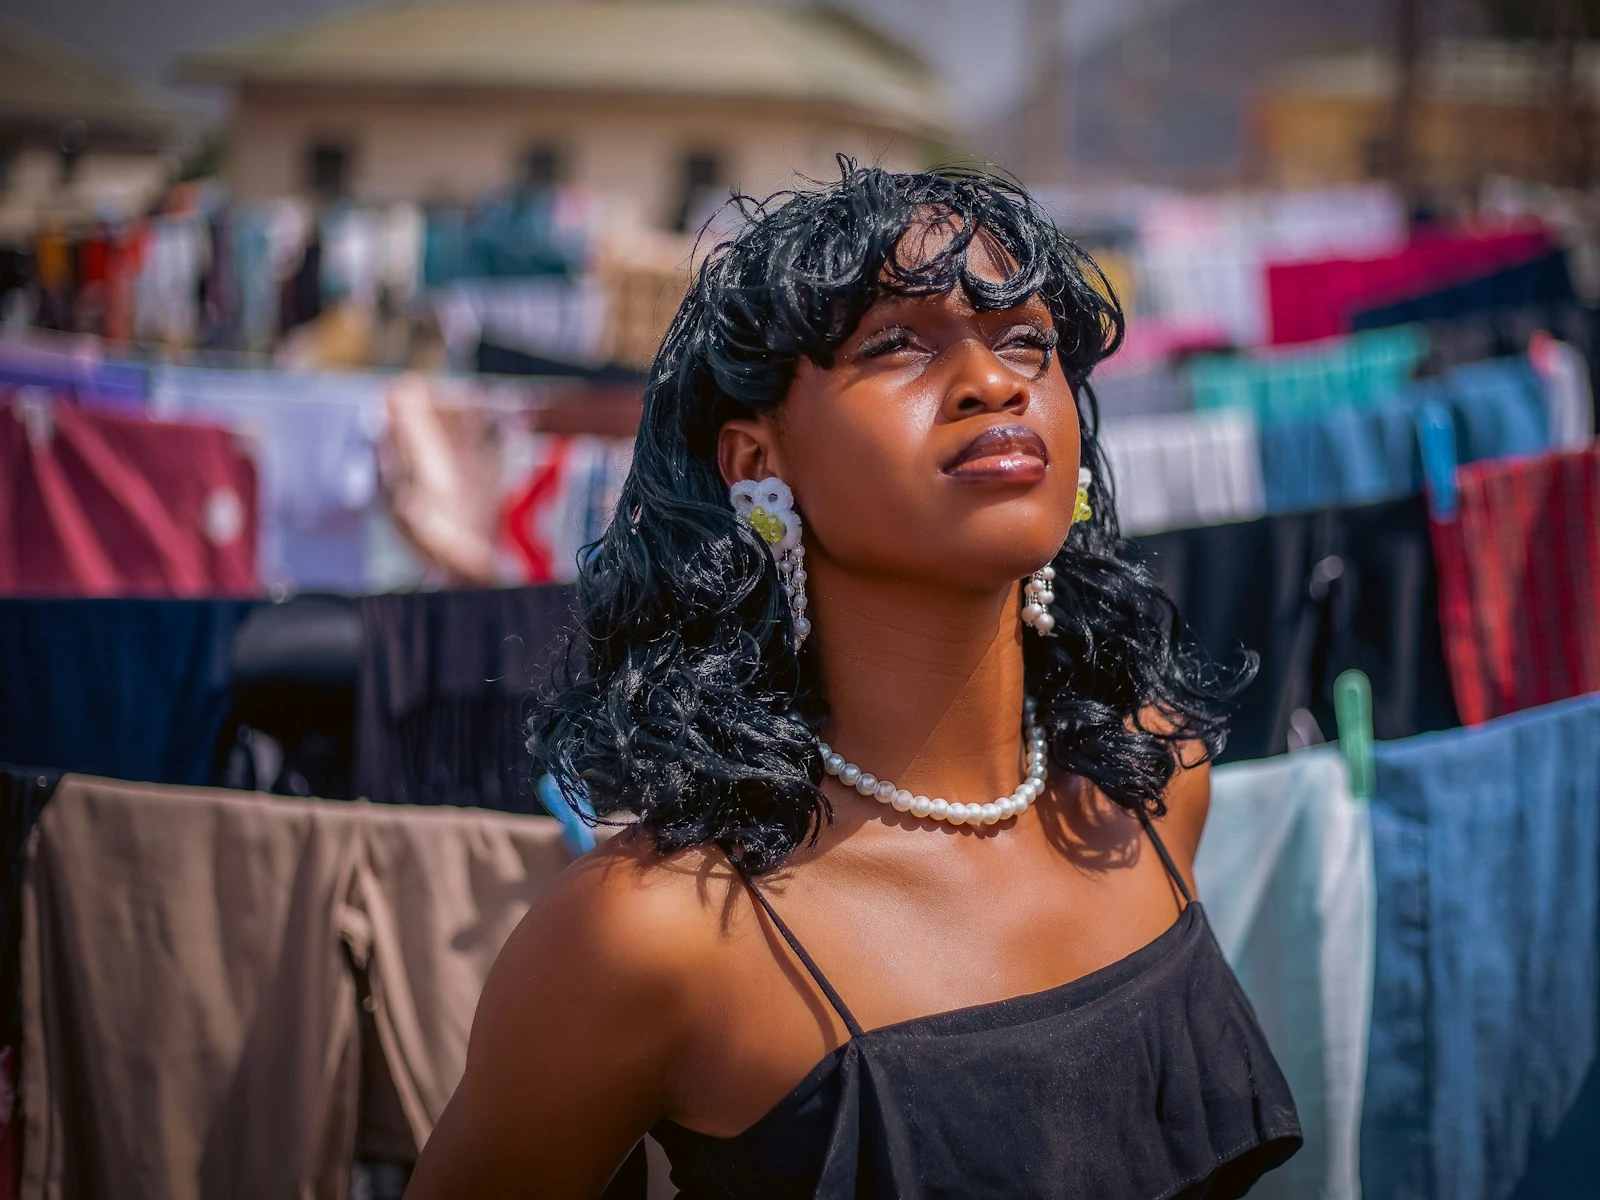
Can I use Night Mode for portraits of people?
Yes, but they must stay very still for the capture duration. Even small movements like breathing, blinking, and swaying can cause blur. Reduce capture time and have subjects hold their breath.
Does Night Mode work with the front camera?
On iPhone 12 and later, yes. Earlier models don't support front camera Night Mode.
Why does Night Mode turn off automatically sometimes?
If the scene gets bright enough (like pointing at a well-lit area), Night Mode may disable because it's not needed. It should reactivate when you return to low light.
Is there a way to force Night Mode on in brighter conditions?
Not easily. Night Mode is designed to activate automatically in low light. In brighter conditions where you want long exposure effects, consider third-party apps that offer manual control.
Key Takeaways
- Night Mode works best with stationary subjects and a steady phone; moving subjects will ghost or blur during the multi-second capture.
- Brace your phone against a solid surface to let Night Mode use longer exposures for cleaner, sharper results.
- Turn off Night Mode when you want to preserve the natural darkness and mood of a scene, since it can make dim environments look unrealistically bright.
- Night Mode combines multiple frames computationally, so keeping still during the full exposure countdown is essential for sharp results.
More in This Guide
Continue improving your phone photography.