Your iPhone is more capable than you're probably using it, and that's an opportunity.
Most people treat iPhone photography as point-and-shoot. They open the camera, tap the shutter button, and hope for the best. Sometimes it works, but often the results are disappointing compared to what they saw with their eyes.
The difference between mediocre iPhone photos and genuinely good ones usually comes down to a handful of techniques and habits that take minutes to learn and immediately improve results.
This guide covers what actually matters and is one of the most popular articles in our phone photography guide. No obscure settings, no expensive accessories, no pretending your phone is something it isn't. Just practical techniques that work across iPhone models and produce visibly better photos.
Clean Your Lens First
This sounds absurd as a "tip," but it might be the single most impactful thing you can do.
Your iPhone lives in your pocket or bag. The lens touches fabric, fingers, and surfaces constantly. That thin film of oils and dust is softening every photo you take, reducing contrast and creating subtle haze.
Get in the habit of wiping your lens with a soft cloth before any photo that matters. Use your shirt in a pinch. The difference can be dramatic, especially in backlit situations where lens contamination creates obvious flare.
Check your lens right now. If you see smudges, every photo you've taken today was affected.
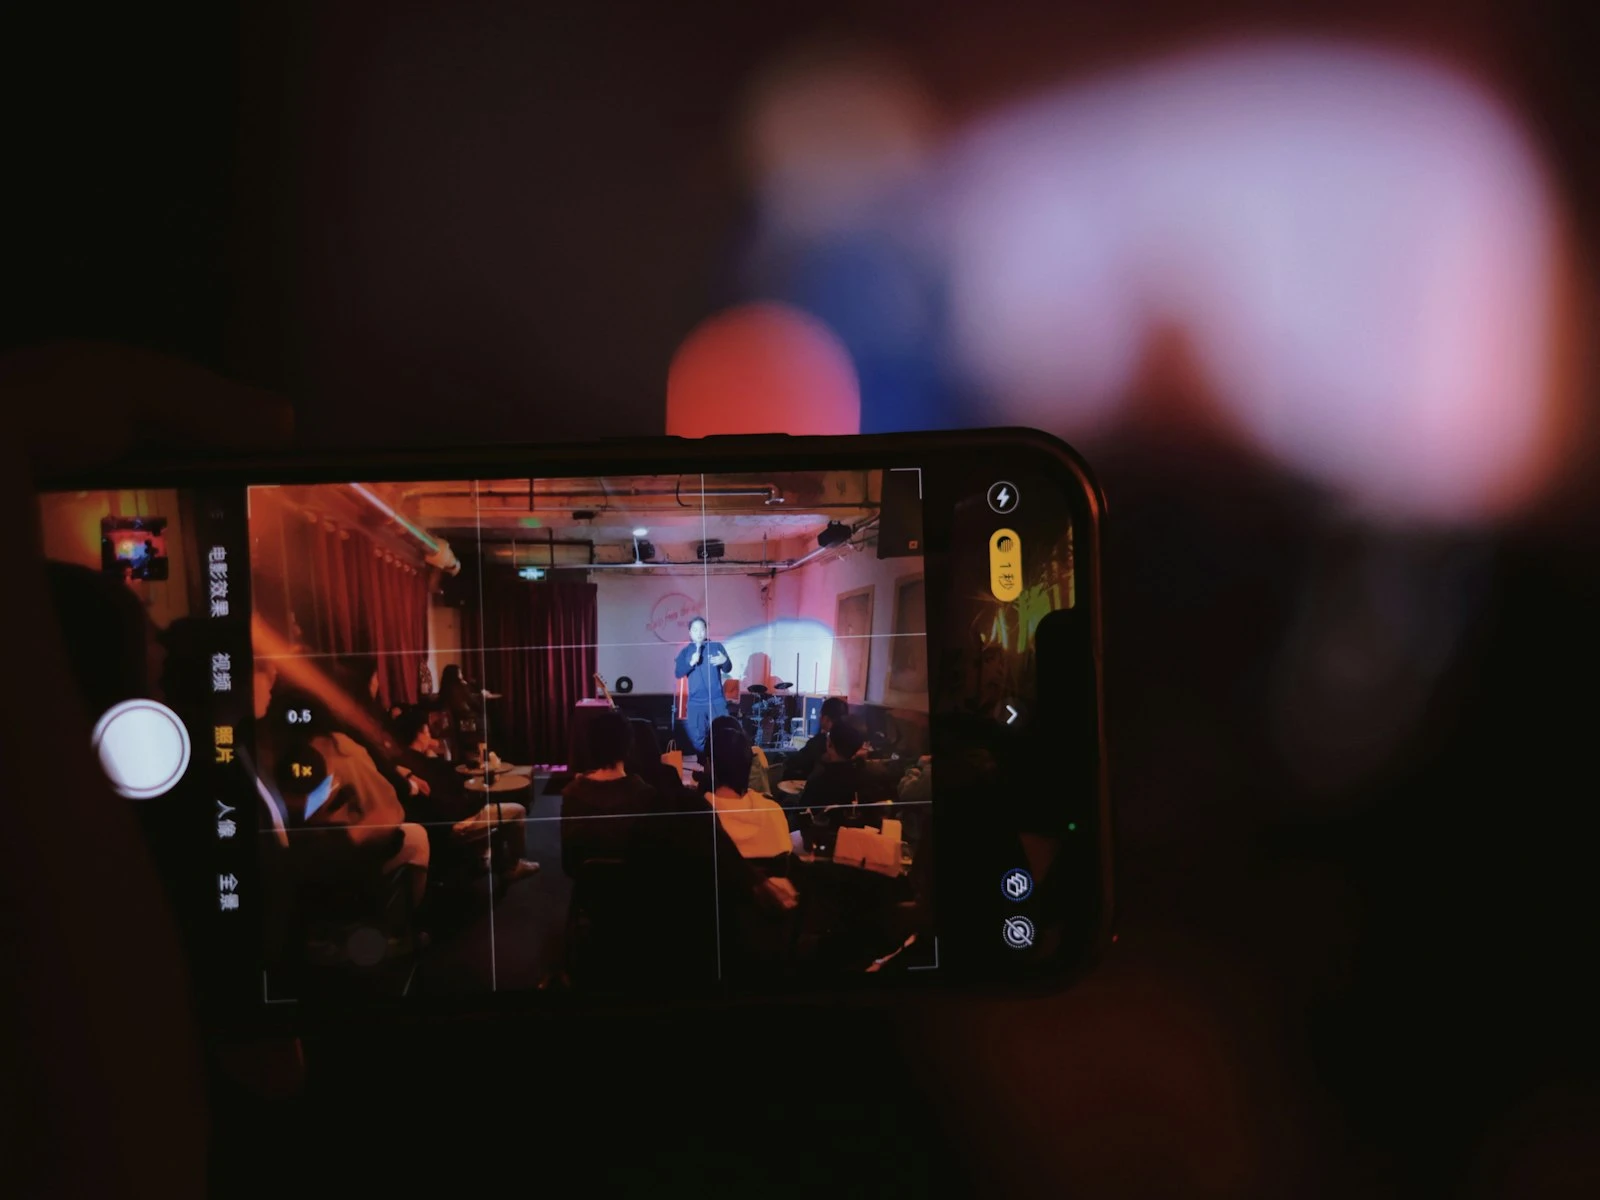
Master Tap to Focus and Expose
The single most important iPhone photography skill is controlling where the camera focuses and how it sets exposure.
When you tap on the screen, two things happen:
- The camera focuses on that point
- The camera adjusts exposure for that area
This gives you significant control over your final image.
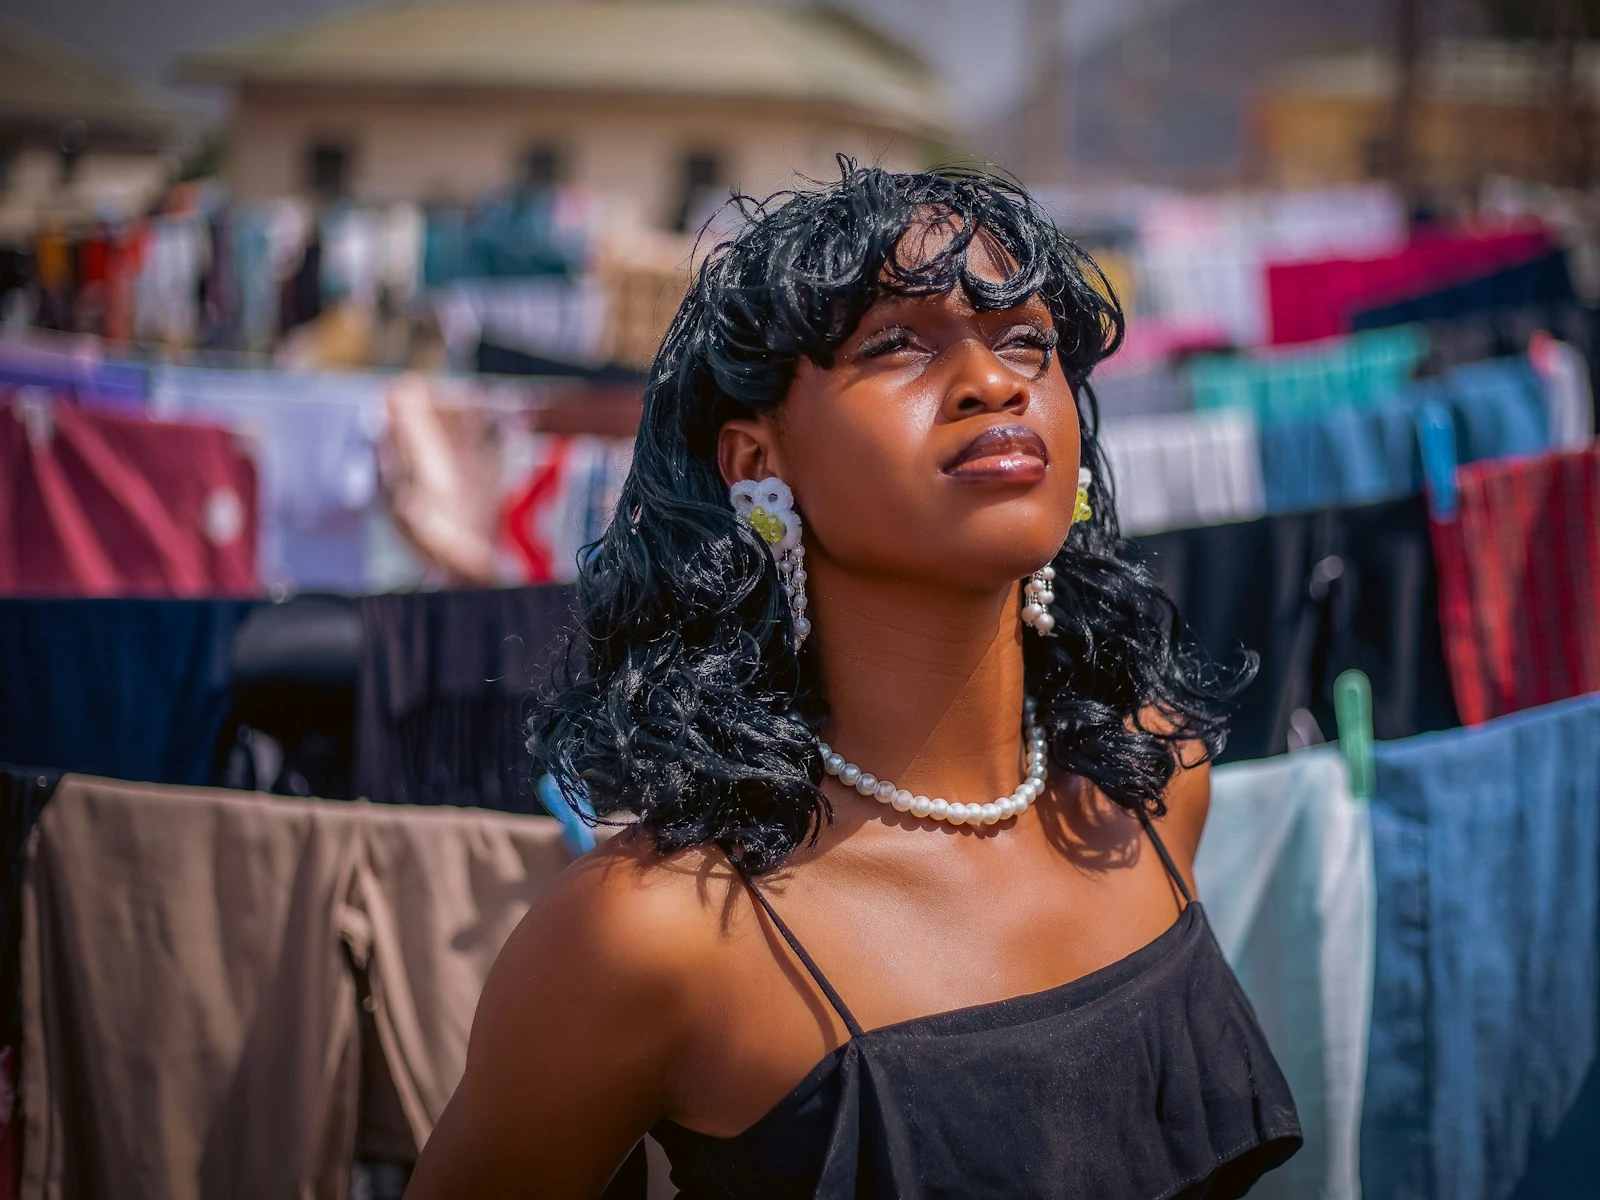
For portraits: Tap on the person's face. The iPhone will focus on them and expose for their skin tones, even if the background is brighter or darker.
For landscapes: Tap on the area you want properly exposed. If the sky is too bright, tap on it to darken the exposure. If the foreground is too dark, tap on it to brighten things up.
For backlit subjects: Tap on your subject. The background will likely blow out, but your subject will be properly exposed.
Using Exposure Compensation
After tapping to focus, you can drag your finger up or down on the screen to adjust exposure. This is called exposure compensation, and it's incredibly useful.
- Drag up to brighten the image
- Drag down to darken the image
This lets you fine-tune the automatic exposure. If a scene looks too bright or too dark on your screen, adjust it before you shoot rather than trying to fix it later.
A common technique is to tap to focus, then drag down slightly. Many iPhone photos are slightly overexposed by default. Darkening a bit often produces richer colors and better highlight detail.
Get Physically Closer
iPhones have wide-angle main cameras. The framing that looks fine on your screen often feels distant and empty in the final photo. Important details become small. The subject gets lost in the surroundings.
The simplest solution is to move closer.
Before you tap the shutter, take two steps toward your subject. Then evaluate again. Often, those two steps transform a forgettable snapshot into an image with actual impact.
This applies especially to people, food, and small objects. What feels like a comfortable distance while shooting usually means the subject is too small in the frame.
When to Use Zoom vs. Moving Closer
If you have a multi-lens iPhone, you might be tempted to zoom instead of moving.
Move closer when:
- You're using the main wide camera
- Digital zoom would be involved
- The perspective change would help the composition
- Nothing prevents you from getting physically closer
Use optical zoom when:
- Your telephoto lens covers the distance
- Compression would benefit the shot (faces look better at longer focal lengths)
- Physical barriers prevent moving closer
- You want to remain unobtrusive
Never use digital zoom (the kind that requires pinching past your optical zoom limits). It just crops and degrades your image. You can crop later with more control.
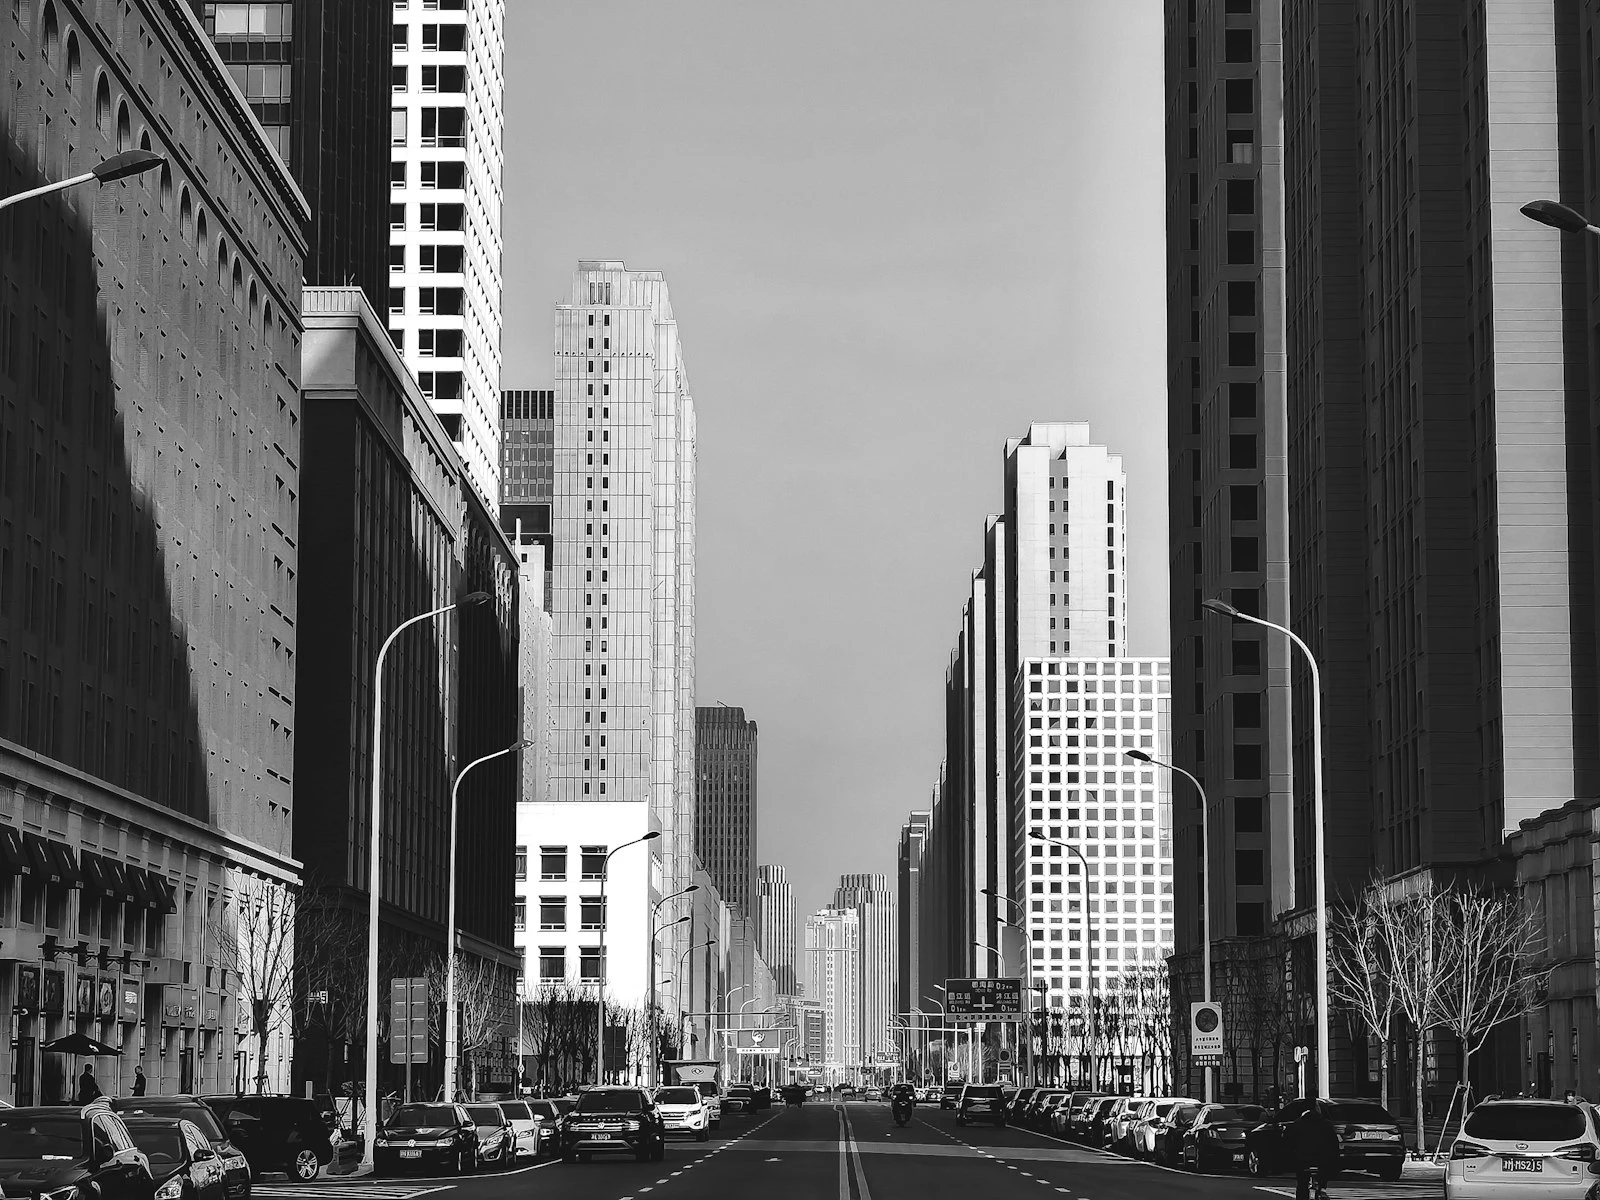
Shoot in Good Light
This is the factor that matters most, and the one photographers most often ignore.
Phone cameras perform dramatically better in good light. The images are sharper, colors are more accurate, noise is lower, and computational processing has less work to do (which means fewer artifacts).
What makes "good light" for phone photography:
Bright but diffused. Overcast days, open shade, light from large windows. Harsh direct sun creates contrast that phones struggle to handle well.
Directional but soft. Light from one direction creates depth and dimension. The golden hours around sunrise and sunset provide beautiful quality.
Front or side lighting. Backlight is possible, but front and side lighting are easier to expose correctly and produce more flattering results.
Consistent. Mixed lighting (like shade with sunbright spots) confuses the camera's processing. Uniform light produces cleaner results.
Before reaching for your iPhone, ask yourself whether the light is good enough. If you're indoors in dim light or outside in harsh midday sun, consider whether waiting for better light or moving to a better location would produce dramatically better results, because often it would.
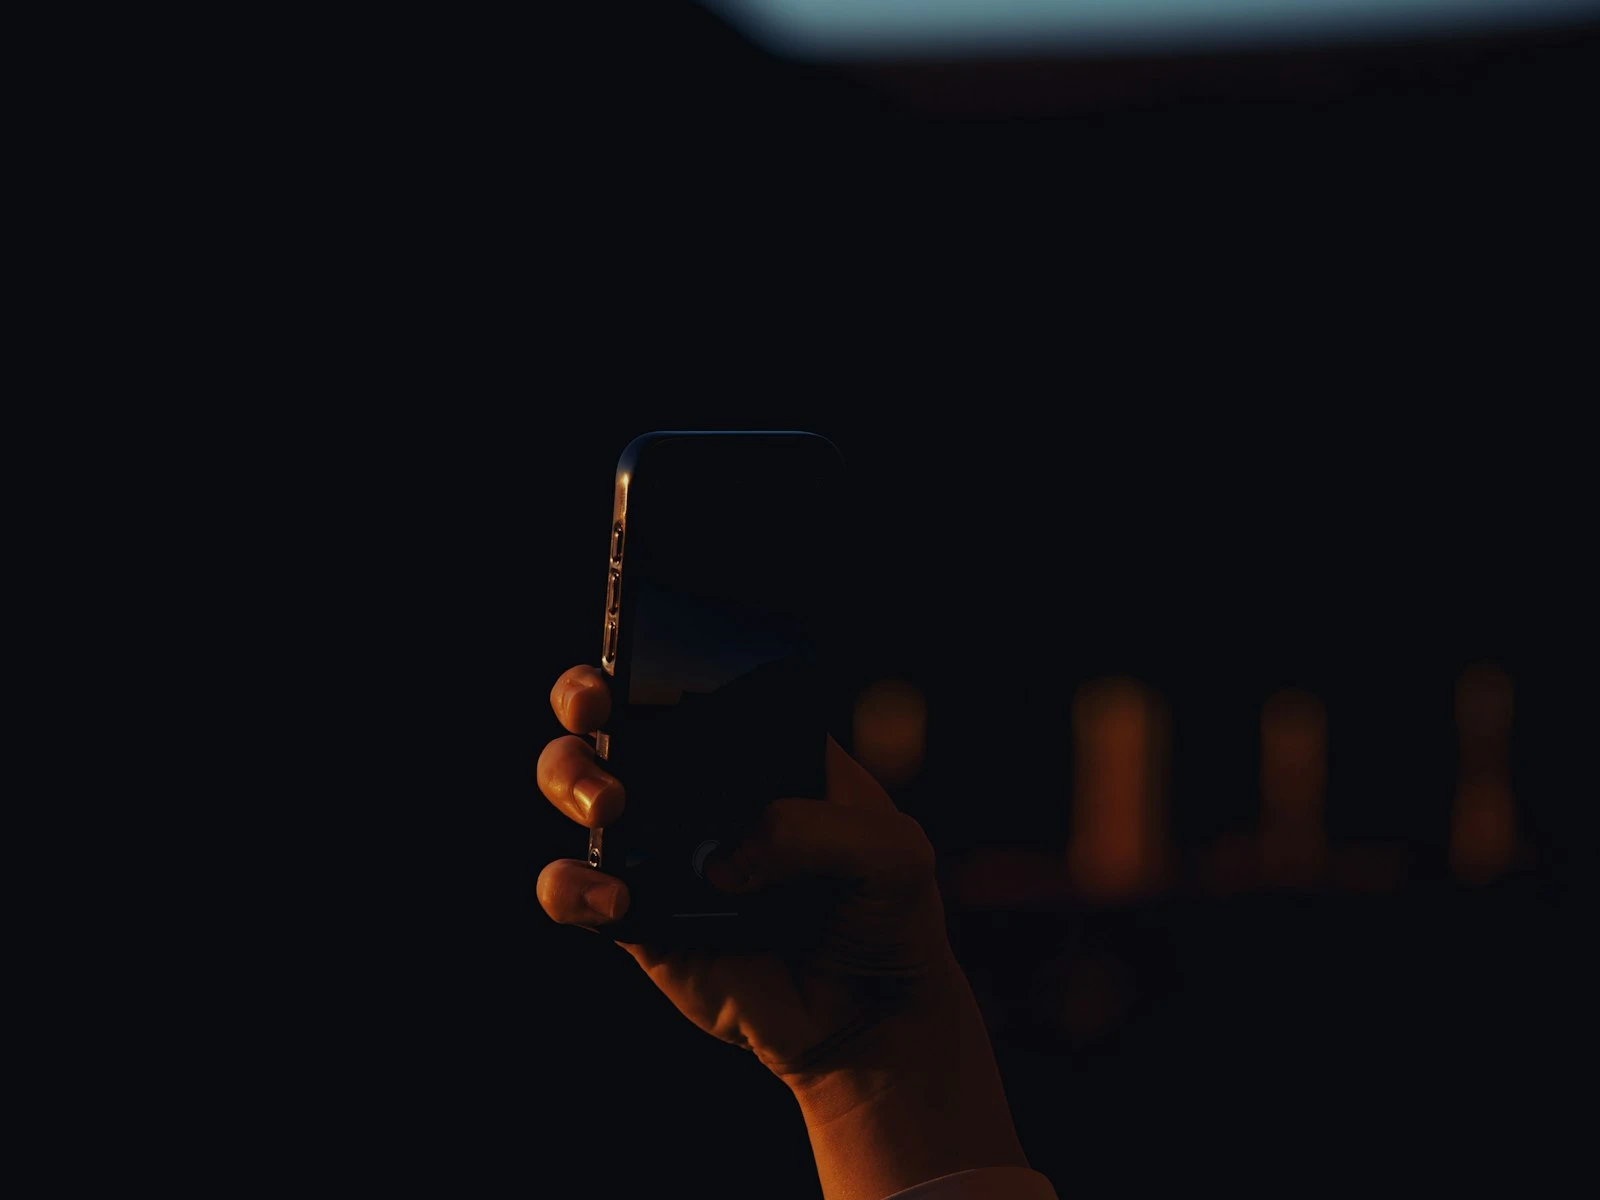
Hold Your iPhone Steady
iPhones are light and easy to jostle. Camera shake softens images, especially in anything less than bright light when the camera needs longer exposures.
Techniques for steadier shooting:
Tuck your elbows. Press your elbows against your sides to create a more stable platform.
Lean on something. Rest your body against a wall, tree, or railing to add stability.
Use both hands. The two-handed horizontal grip is more stable than one-handed shooting.
Brace the phone. In low light, set your iPhone on a surface like a table, rock, or ledge rather than handholding.
Use the volume buttons. You can trigger the shutter with the volume buttons, which often causes less shake than tapping the screen.
Try a short timer. The 3-second timer lets any shake from pressing the button settle before capture.
Steady technique matters more as light gets dimmer. In bright daylight, the camera uses fast shutter speeds that freeze shake. In dim conditions, those longer exposures reveal every tremor. The same sharpness principles apply whether you're shooting on a phone or a dedicated camera.
Compose Deliberately
The ease of iPhone photography encourages careless composition. You can shoot dozens of frames in seconds, so why think carefully about any single one?
Because thoughtful composition makes dramatically better photos, and it only takes a few extra seconds.
Use the grid. Enable the grid overlay in Settings > Camera. Use it to level horizons and apply basic compositional guidelines.
Simplify the frame. Move around to eliminate distracting elements. Change your angle to hide the trash can, power lines, or random person who doesn't belong in the shot.
Watch your edges. The edges of your frame matter as much as the center. Before shooting, scan the edges for partial objects, distracting elements, or unintentional crops.
Consider vertical vs. horizontal. Horizontal is default, but vertical often works better for portraits, tall subjects, and social media sharing. Decide deliberately rather than defaulting.
Get low or high. Eye-level is boring. Shooting from a low angle or finding a higher vantage point creates more interesting perspectives.
Good composition costs nothing, adds minimal time, and makes the biggest visual difference in your photos. It's the single skill that transfers across all cameras and situations.
[Composition fundamentals](/start-here/) covers these principles in more depth, and the phone composition guide adapts them specifically for mobile shooting.
Use Burst Mode for Action
When photographing anything that moves, burst mode dramatically increases your chances of capturing the perfect moment.
On recent iPhones, hold down the shutter button and slide left to capture a burst. On older iPhones, simply holding the shutter captures a burst.
Burst mode is valuable for:
- Children and pets (who never hold still)
- Sports and action
- Candid moments
- Jump shots
- Any situation where timing is unpredictable
After shooting, review your burst and select the best frame. Delete the rest to save storage.
The key is anticipation. Start your burst slightly before the peak action and continue through it. The best moment is rarely exactly when you expect it.
Know What Your iPhone Can't Do
Understanding limitations helps you avoid disappointment and make better decisions.
Distant subjects. Optical zoom only goes so far, and digital zoom degrades quality rapidly. If your subject is far away, get closer or accept that the image will be limited.
True shallow depth of field. Portrait mode simulates background blur through software. It can look good, but it's not the same as the optical blur from larger cameras. It has edge detection issues, especially around hair and complex shapes.
Low light without noise. Night mode works impressively well for a phone, but don't expect clean, noise-free images from dim scenes. Larger cameras will always have an advantage here.
Fast action in dim light. Phones need decent light to freeze motion. In dim conditions, fast-moving subjects will blur.
Raw control over processing. The iPhone makes aesthetic decisions automatically. You have limited control over how it processes your images.
Accepting these limitations is practical, because it helps you choose appropriate subjects and situations, and manage expectations about results.
Simple Editing That Helps
iPhone photos benefit from minor editing, but heavy-handed adjustment usually makes them worse.
A typical beneficial edit:
- Slight exposure adjustment (often darkening a bit)
- Minor contrast increase
- Subtle vibrance boost
- Maybe cropping for better composition
What to avoid:
- Maxing out sliders
- Heavy saturation increases
- Extreme contrast adjustments
- Filters that dramatically alter the mood
The iPhone's built-in editing tools are capable enough for most purposes. Open a photo, tap Edit, and use the adjustment sliders carefully.
The goal is enhancement that looks natural rather than processing that announces itself. The same restraint applies to any editing workflow.
Quick Reference: Before You Shoot
Run through this mental checklist before important photos:
- Lens clean? Wipe if needed.
- Light good? If not, move or wait.
- Close enough? Take two steps closer.
- Focused correctly? Tap on your subject.
- Exposure right? Adjust by dragging up/down.
- Composed carefully? Check the edges.
- Holding steady? Brace yourself.
This takes seconds but catches most common problems before they ruin your shot.
What to Work On First
If you want to improve your iPhone photography starting today:
-
Start cleaning your lens habitually. Make it automatic before any important shot.
-
Practice tap-to-focus and exposure compensation. Spend a week consciously using this on every photo.
-
Get closer to your subjects. Resist the urge to stand back.
-
Notice light quality. Before shooting, evaluate whether the light is working for or against you.
-
Take an extra second to compose. Enable the grid and use it.
These fundamentals transfer to any camera and improve every photo you take.
Frequently Asked Questions
Should I shoot in RAW on my iPhone?
For most situations, no. iPhone HEIF/JPEG processing produces good results, and the files are more convenient to work with. RAW (ProRAW on recent models) makes sense when you want maximum editing flexibility and don't mind the larger files and extra processing time.
Do I need any accessories for better iPhone photos?
Not usually. Good technique matters far more than accessories. If you shoot in low light frequently, a small phone tripod can help. Beyond that, most accessories add complexity without proportional benefit.
How do I take better photos in Portrait mode?
Portrait Mode works best with good lighting, appropriate distance, and simple backgrounds.
Why do my iPhone photos look different than what I saw?
The iPhone processes images heavily, and its sensor sees the world differently than your eyes do. The expectation gap between human vision and phone capture is a real phenomenon worth understanding.
Key Takeaways
- Clean your lens before important photos, since fingerprint oils and dust soften every image and create flare in backlit situations.
- Tap to focus on your subject and drag the sun icon to adjust exposure, rather than letting the phone auto-expose for the wrong part of the scene.
- Use the grid overlay and position subjects on the thirds intersections for more intentional, balanced compositions.
- Get closer to your subject physically rather than using digital zoom, which just crops and degrades quality.
More in This Guide
Continue improving your phone photography.