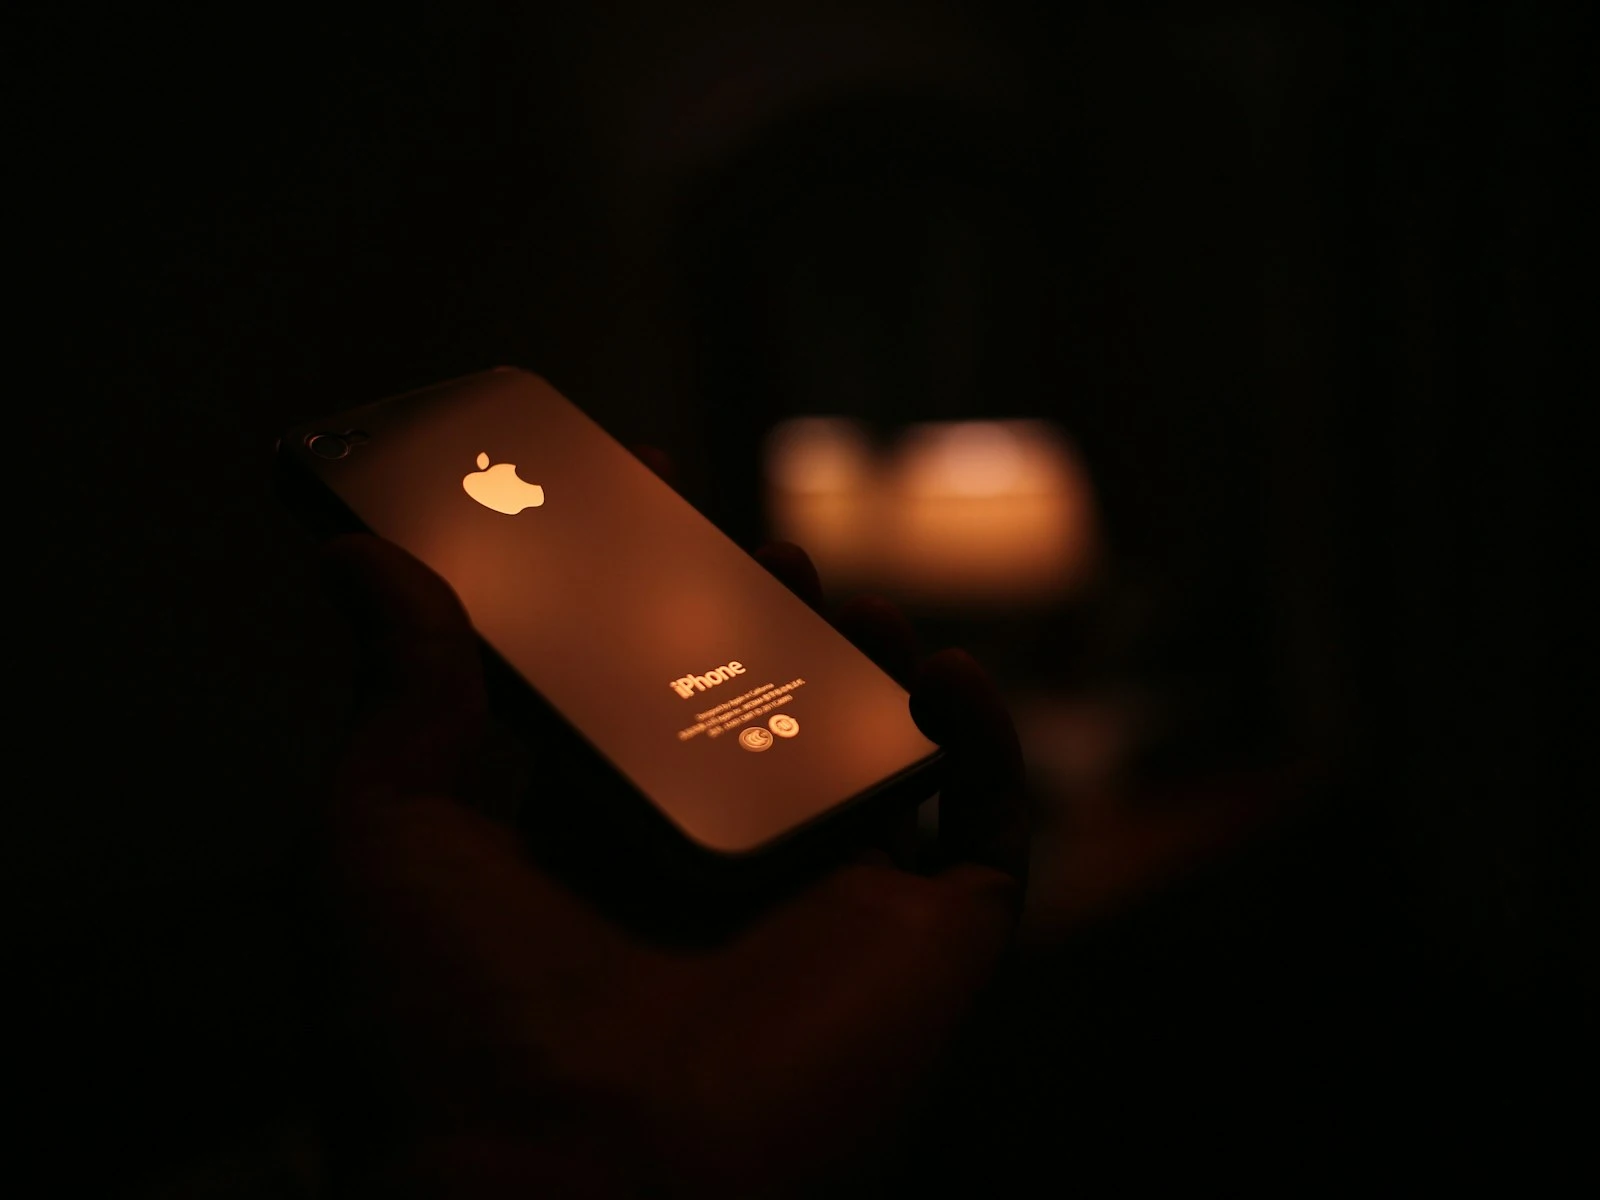
Low light is where phone cameras struggle most. No marketing language or computational magic changes the fundamental physics, because small sensors simply can't gather light like larger ones.
But "struggle" doesn't mean "fail." With the right techniques and realistic expectations, you can get genuinely usable photos in challenging light. The key is understanding what's possible and what isn't, then working within those boundaries.
This guide covers practical approaches to phone low light photography, focusing on techniques that actually produce better results. It's one of the most challenging topics in our phone photography guide.
Why Phones Struggle in Low Light
Understanding the problem helps you work around it.
Small Sensors, Less Light
Your phone's sensor is tiny compared to dedicated cameras. A smaller sensor has smaller photosites (the individual light-gathering elements). Smaller photosites capture less light, which means more noise and less detail.
This is a physics limitation that software can't change, only work around.
Noise and Noise Reduction
When sensors don't get enough light, the signal (your actual image) becomes weak relative to random electronic noise. The result is grainy, speckled images.
To combat this, phones apply aggressive noise reduction. This smoothing removes grain but also removes fine detail, creating that characteristic waxy, processed look in low light phone photos.
It's a tradeoff between grain and smearing, and neither is ideal.
Longer Exposures, More Blur
In dim conditions, the camera needs more time to gather sufficient light. Longer exposures mean any movement, whether from your hands or your subject, creates blur.
Optical image stabilization helps with hand movement but can't freeze a moving subject. The sharp photos guide covers why shutter speed and stability matter so much.
Processing Intensifies
Night modes and low light processing combine multiple frames, adjust exposure, reduce noise, and sharpen edges. All this processing is visible in the final image as artifacts, halos, or unnatural rendering.
Heavy processing is why some low light phone photos look impressive at first glance but strange on closer inspection.
Set Realistic Expectations
Before diving into techniques, calibrate your expectations.
What phones can do in low light:
- Capture usable documentation of scenes and events
- Produce images that look good on phone screens and social media
- Handle moderately dim conditions reasonably well
- Create atmospheric images where some grain and softness is acceptable
What phones can't do:
- Match dedicated cameras in noise performance
- Capture clean detail in very dim conditions
- Freeze fast action in low light
- Produce print-quality images from dark scenes
Accepting these limitations helps you make better decisions about when to use your phone and what results to expect.
Find More Light
The single most effective low light technique is finding more light. This sounds obvious, but it's often overlooked in favor of settings and techniques that deliver marginal improvements.
Move Toward Light Sources
Before reaching for Night Mode, look around. Is there a lamp you can move closer to? A window with ambient light? A well-lit area nearby?
Moving your subject three feet closer to a light source often improves results more than any camera technique.
Use Available Light Creatively
Street lights, shop windows, car headlights, phone screens, and candles can all become your key light.
Position your subject so available light falls on them rather than behind them, whether that means facing toward a lit window, standing under a street lamp, or using the glow from a storefront.
Add Light When Possible
Sometimes you can add light without making it obvious:
- Turn on more room lights
- Open curtains during twilight
- Ask someone to use their phone flashlight (not as main light, but to fill shadows)
- Move to a spot with better ambient lighting
Stabilize Your Phone
Camera shake destroys low light photos. When the camera needs longer exposures, every small movement becomes visible blur.
Physical Bracing
Rest your phone on something. A table, ledge, rock, or any stable surface dramatically improves results.
Brace your body. Tuck elbows into your sides, lean against a wall, or kneel and brace your elbow on your knee.
Use both hands. Two-handed grip is significantly more stable than one-handed.
Alternative Shutter Triggers
Tapping the screen can jostle the phone right as it captures.
Use volume buttons. Most phones let you trigger the shutter with physical buttons, which causes less movement.
Use a timer. A 3-second delay lets any shake from pressing the button settle before capture.
Use voice commands. "Hey Siri, take a photo" or equivalent Android commands work without touching the phone.
Use earbuds as remote. Many earbuds can trigger the phone's shutter, keeping your hands off the phone entirely.
Improvised Tripods
In challenging low light, even casual stabilization helps:
- Stack books to create a phone rest
- Lean the phone against something solid
- Use a water bottle or bag as a beanbag rest
- Carry a small phone tripod if you shoot in low light regularly
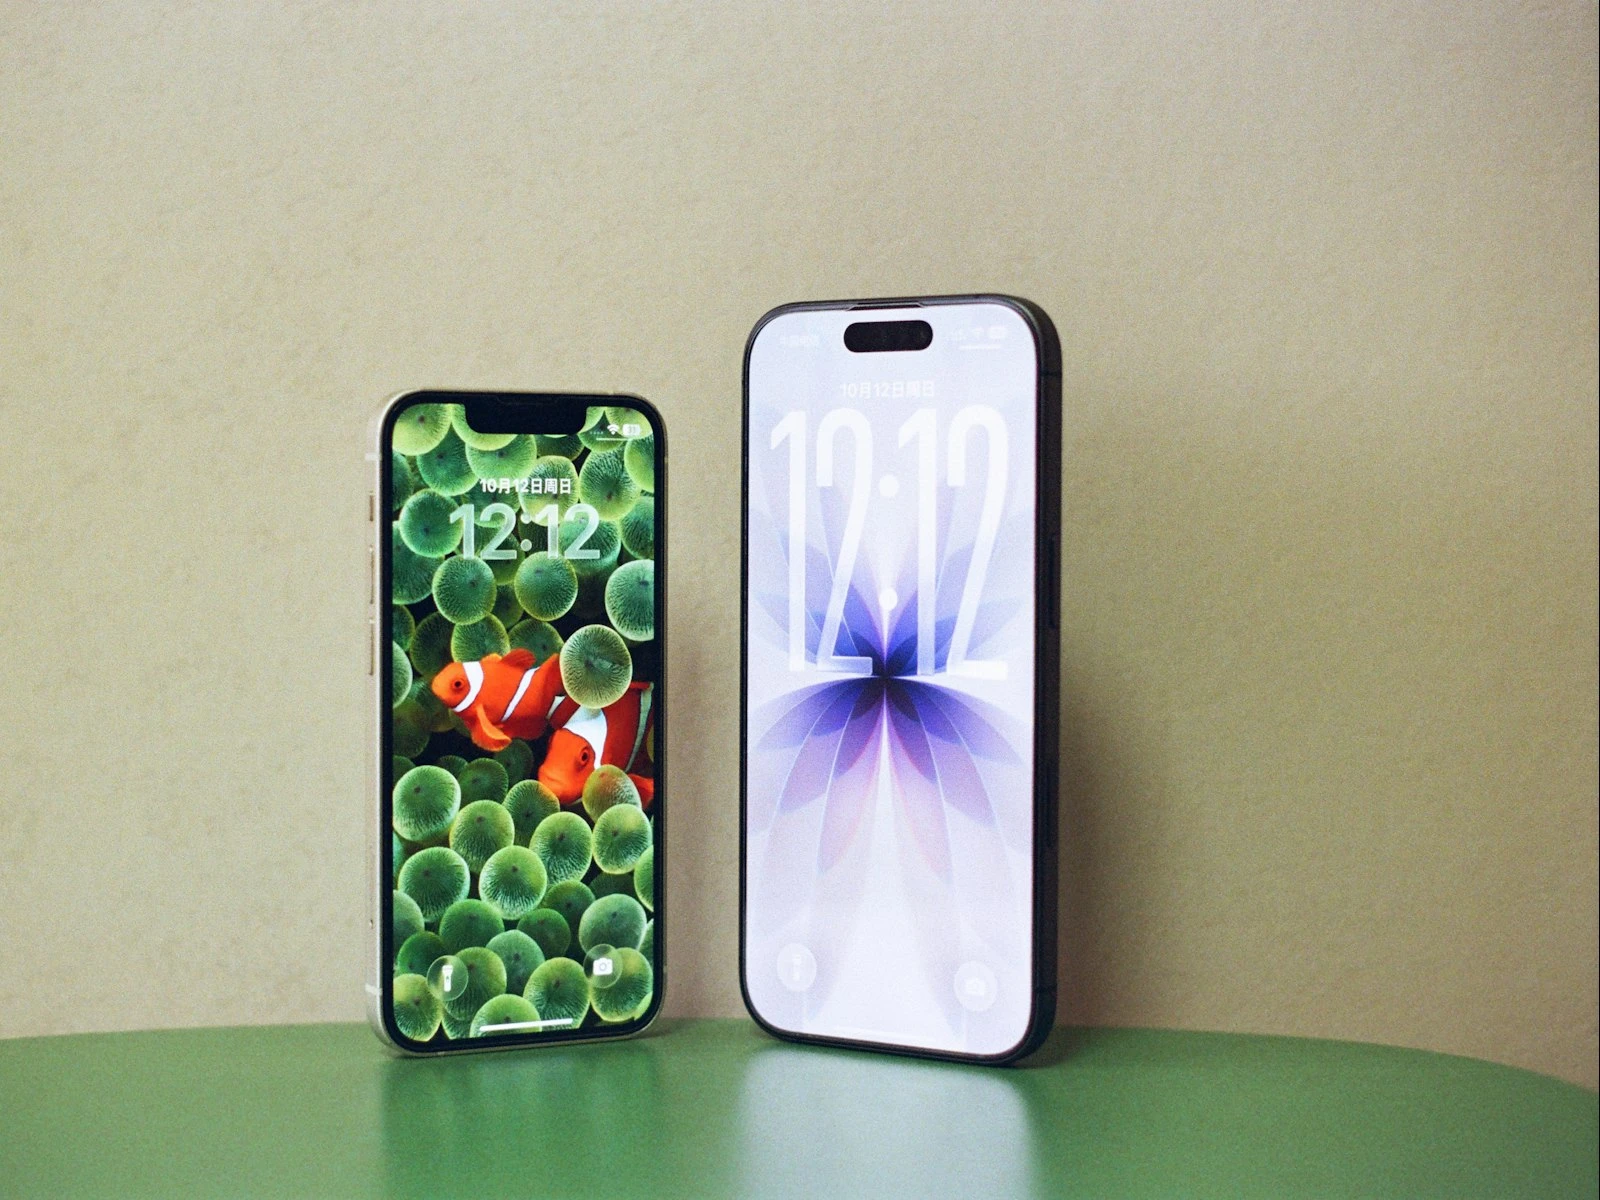
Using Night Mode Effectively
Modern phones have Night Mode (or equivalent) that captures and combines multiple frames for brighter, cleaner low light results.
When Night Mode Helps
- Static scenes with no moving subjects
- When you can hold steady or stabilize the phone
- Scenes dark enough that regular capture is unusable
- When you want the scene brighter than it appears
When Night Mode Hurts
- Moving subjects (they'll blur or ghost)
- When you want to preserve the mood of darkness
- Quick candid shots where you can't hold still long enough
- Mixed light scenarios that confuse the processing
Night Mode Technique
Hold very still. Night Mode typically captures for 1-3 seconds or longer. Any movement during this time creates blur.
Watch the countdown. The screen shows how long to hold still. Don't move until it finishes.
Brace or rest the phone. The longer the capture time, the more important stabilization becomes.
Let it process. Night Mode images take a moment to process after capture. Don't expect the preview to represent the final result.
Adjust exposure. Many phones let you tap to adjust how Night Mode exposes. Tap on darker areas if you want more detail there.
Night Mode on iPhone covers iPhone-specific settings and techniques.
Manual Controls If Available
Some phones offer manual or "pro" modes with direct control over settings.
ISO Sensitivity
Higher ISO amplifies the image signal, brightening your photo but also introducing more noise. In low light, you're balancing:
- Higher ISO = usable shutter speed but grainy image
- Lower ISO = cleaner image but risk of blur from longer exposure
General approach: Use the lowest ISO that gives you a fast enough shutter speed to avoid blur.
Shutter Speed
Longer shutter speeds gather more light but risk blur.
Rule of thumb: For handheld phone photography, aim for at least 1/30 second with good bracing, 1/60 or faster if possible.
If your phone shows shutter speed is dropping below 1/30, you need more light, better stabilization, or higher ISO.
Focus
Autofocus struggles in low light. The camera may hunt or focus on the wrong thing.
Tap to focus manually. Don't rely on automatic detection.
Focus on edges and contrast. The autofocus system needs contrast to work. Tap on an edge or boundary rather than a uniform area.
Subject-Specific Low Light Tips
People in Low Light
- Position them near light sources
- Have them stay still during capture
- Use Night Mode only if they can hold steady
- Expect some softness in faces because it's unavoidable. Phone headshots covers how to position people near light.
- Front lighting is easier than side or back lighting
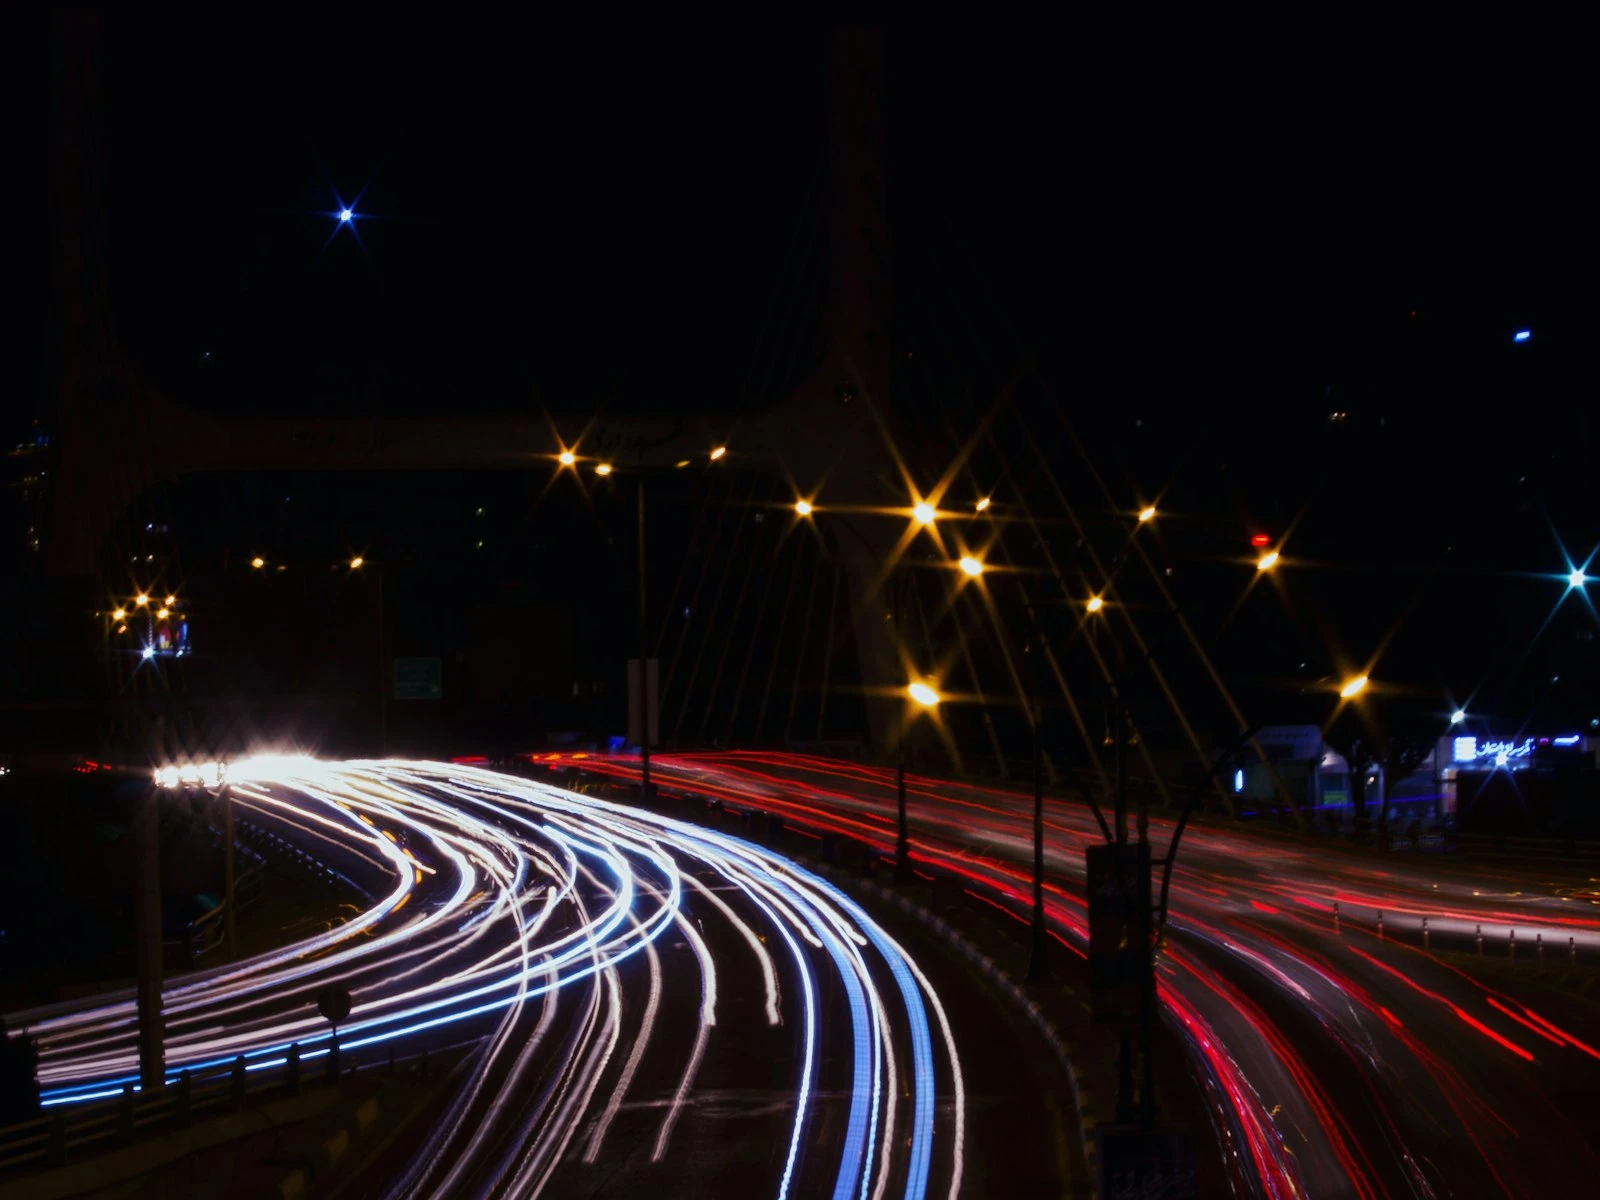
Night Cityscapes
- Stabilize the phone on a surface
- Use Night Mode for enhanced city lights
- Tap on bright areas to avoid overexposure
- Include some street-level light for depth
Indoor Events
- Get close to reduce reliance on zoom
- Position yourself near light sources
- Accept that fast movement will blur
- Burst mode for action, selecting the sharpest frame
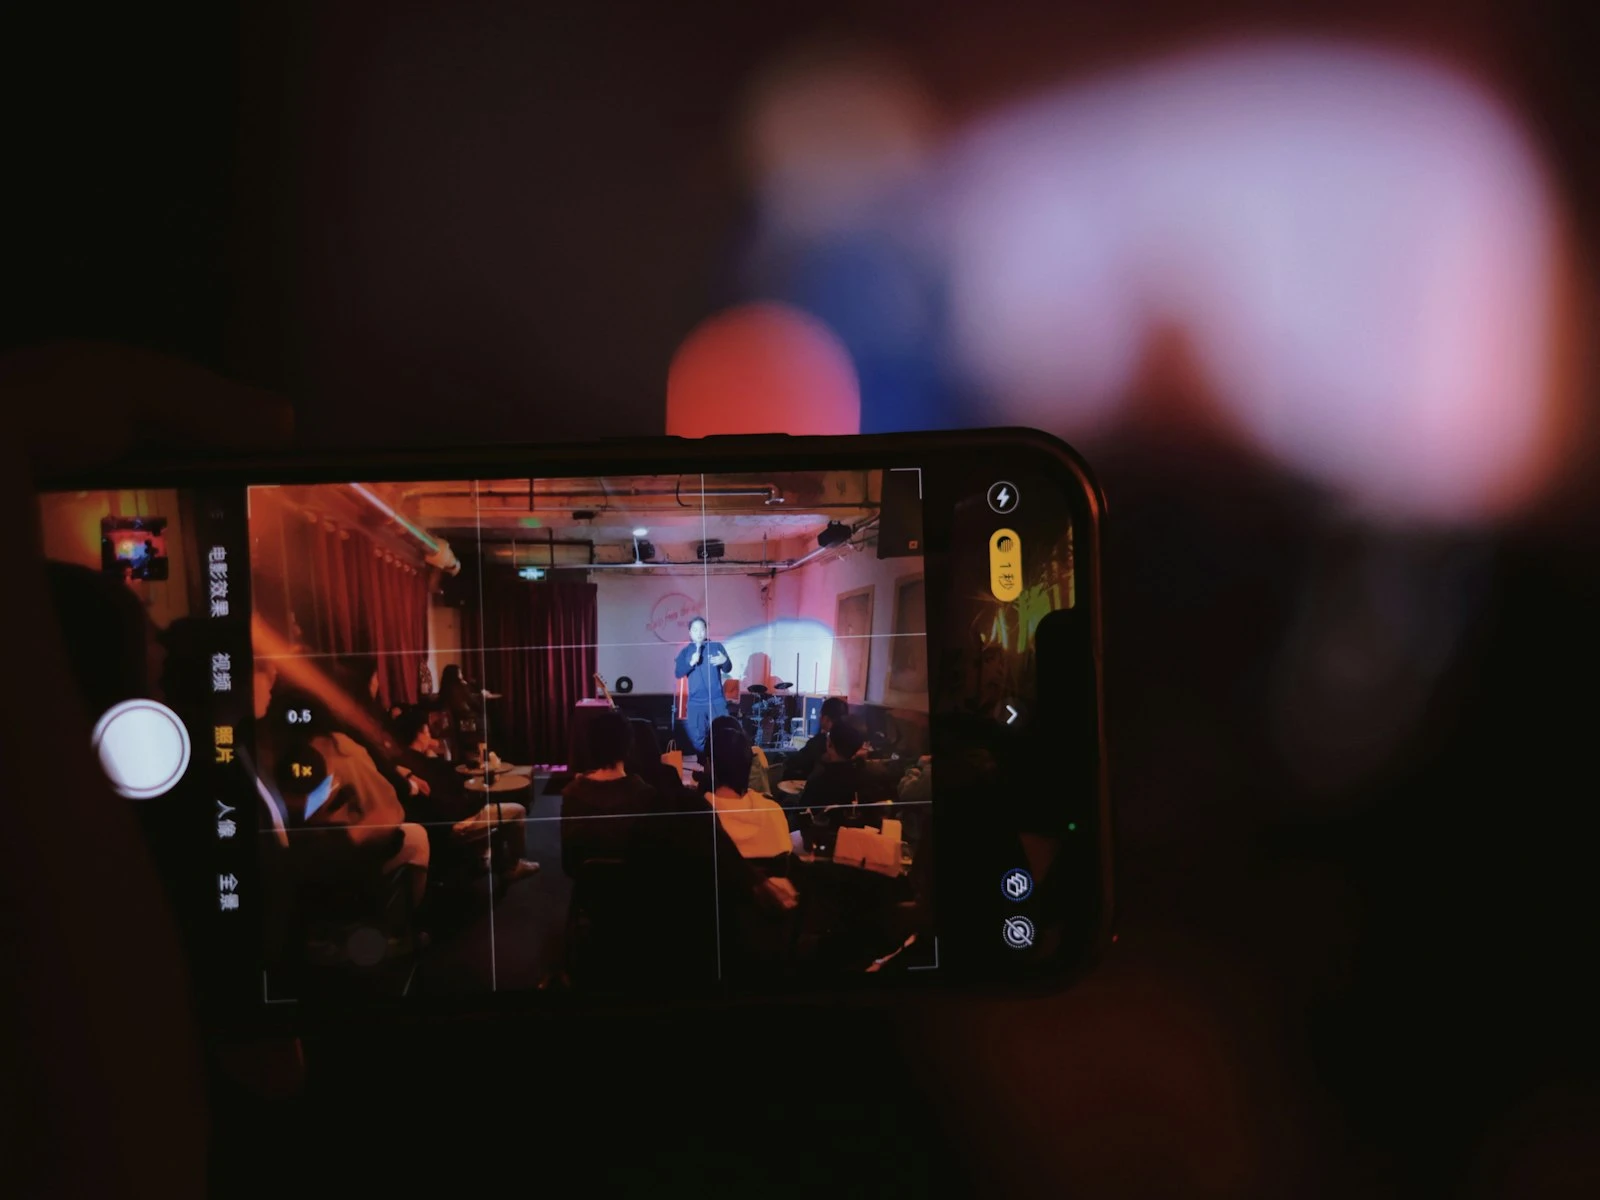
Concerts and Performances
- These are extremely challenging for phones
- Results will be noisy and potentially blurry
- Get close rather than zooming
- Time shots to moments of stillness
- Lower expectations significantly
Post-Processing Low Light Photos
Editing can help, but heavy editing often makes things worse.
What Helps
Slight exposure reduction. Low light photos are sometimes overexposed by processing. Darkening a bit can look more natural.
Subtle noise reduction. Careful noise reduction can clean grain without destroying too much detail. The phone editing guide covers how to keep adjustments natural.
Targeted brightening. Lifting shadows in specific areas rather than overall exposure.
Black point adjustment. Deepening blacks slightly can restore contrast lost to processing.
What Makes Things Worse
Heavy noise reduction. Makes images waxy and destroys remaining detail.
Significant exposure increases. Amplifies noise and reveals artifacts.
Heavy sharpening. Accentuates noise and processing artifacts.
Dramatic filter effects. Often look worse on already-compromised low light images.
The goal is subtle improvement, and if the capture is badly compromised, editing won't save it.
When to Use Flash
Phone flash has a bad reputation, mostly deserved. But it has appropriate uses.
When Flash Helps
- Fill light for backlit subjects (combining with ambient)
- Very close subjects where flash intensity isn't overwhelming
- When capturing information matters more than aesthetics
- As a way to freeze motion that would otherwise blur
When to Avoid Flash
- Distant subjects (flash doesn't reach, just flattens foreground)
- Reflective surfaces (mirrors, glasses, windows)
- Situations where natural mood matters
- When any ambient light is workable
Better Flash Technique
Bounce if possible. Hold a white card or napkin to diffuse and redirect flash.
Reduce intensity. Some phones allow flash power adjustment.
Use slow sync if available. Combines flash with longer ambient exposure.
Accept its limitations. Direct phone flash rarely looks natural. Use it for function, not beauty.
Know When to Put the Phone Away
Sometimes the honest answer is that the situation exceeds your phone's capabilities.
Signs you're past phone limits:
- Very dim conditions with moving subjects
- Critical images where quality really matters
- Situations requiring shallow depth of field in low light
- Events or moments you can't recreate
In these cases, either accept significantly compromised results, bring a capable camera, or focus on experiencing the moment rather than documenting it. Knowing your limits is one of the most valuable mistakes to avoid.
There's no shame in recognizing limits. The best camera is the one you have with you, but sometimes what you have isn't the right tool.
Frequently Asked Questions
Do phone camera night modes actually work?
Yes, impressively well for static scenes. They combine multiple frames to produce images that would be impossible from single captures. But they require steady hands and still subjects.
Why do my low light photos look grainy even with Night Mode?
Night Mode reduces noise but can't eliminate it. The small sensor still has fundamental limits. Some grain is unavoidable in challenging light.
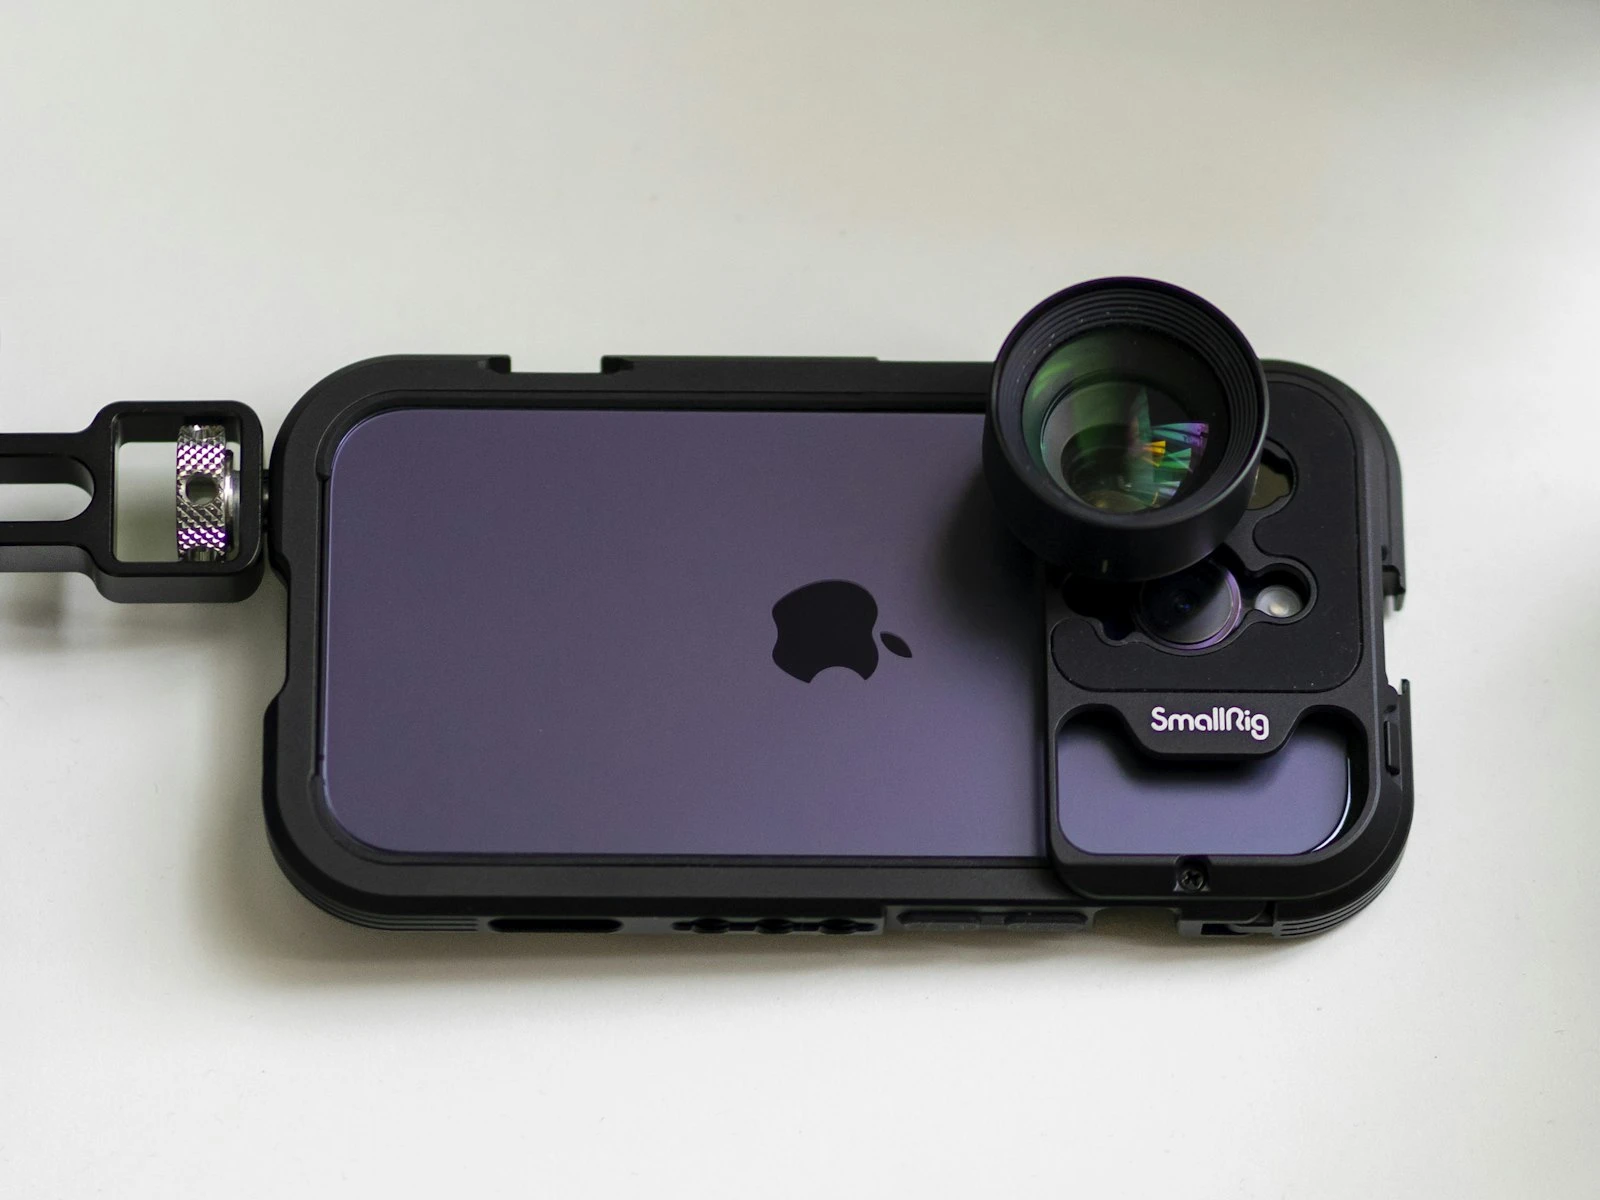
Is it worth buying accessories for low light phone photography?
Small phone tripods are genuinely useful if you shoot in low light frequently. Clip-on lights can help for close subjects. Beyond that, most accessories have limited impact.
Key Takeaways
- Move toward the strongest light source (windows, lamps, street lights) and position subjects in that light rather than trying to brighten dark areas with settings.
- Brace your phone against a solid surface or hold it with both hands and elbows tucked for maximum stability in low light.
- Use Night Mode for stationary scenes but turn it off for moving subjects, since the multi-second capture will blur anything that moves.
- Accept that phone low light photos will have more noise and less detail than daylight shots, and work within those constraints rather than over-editing to compensate.
More in This Guide
Continue improving your phone photography.