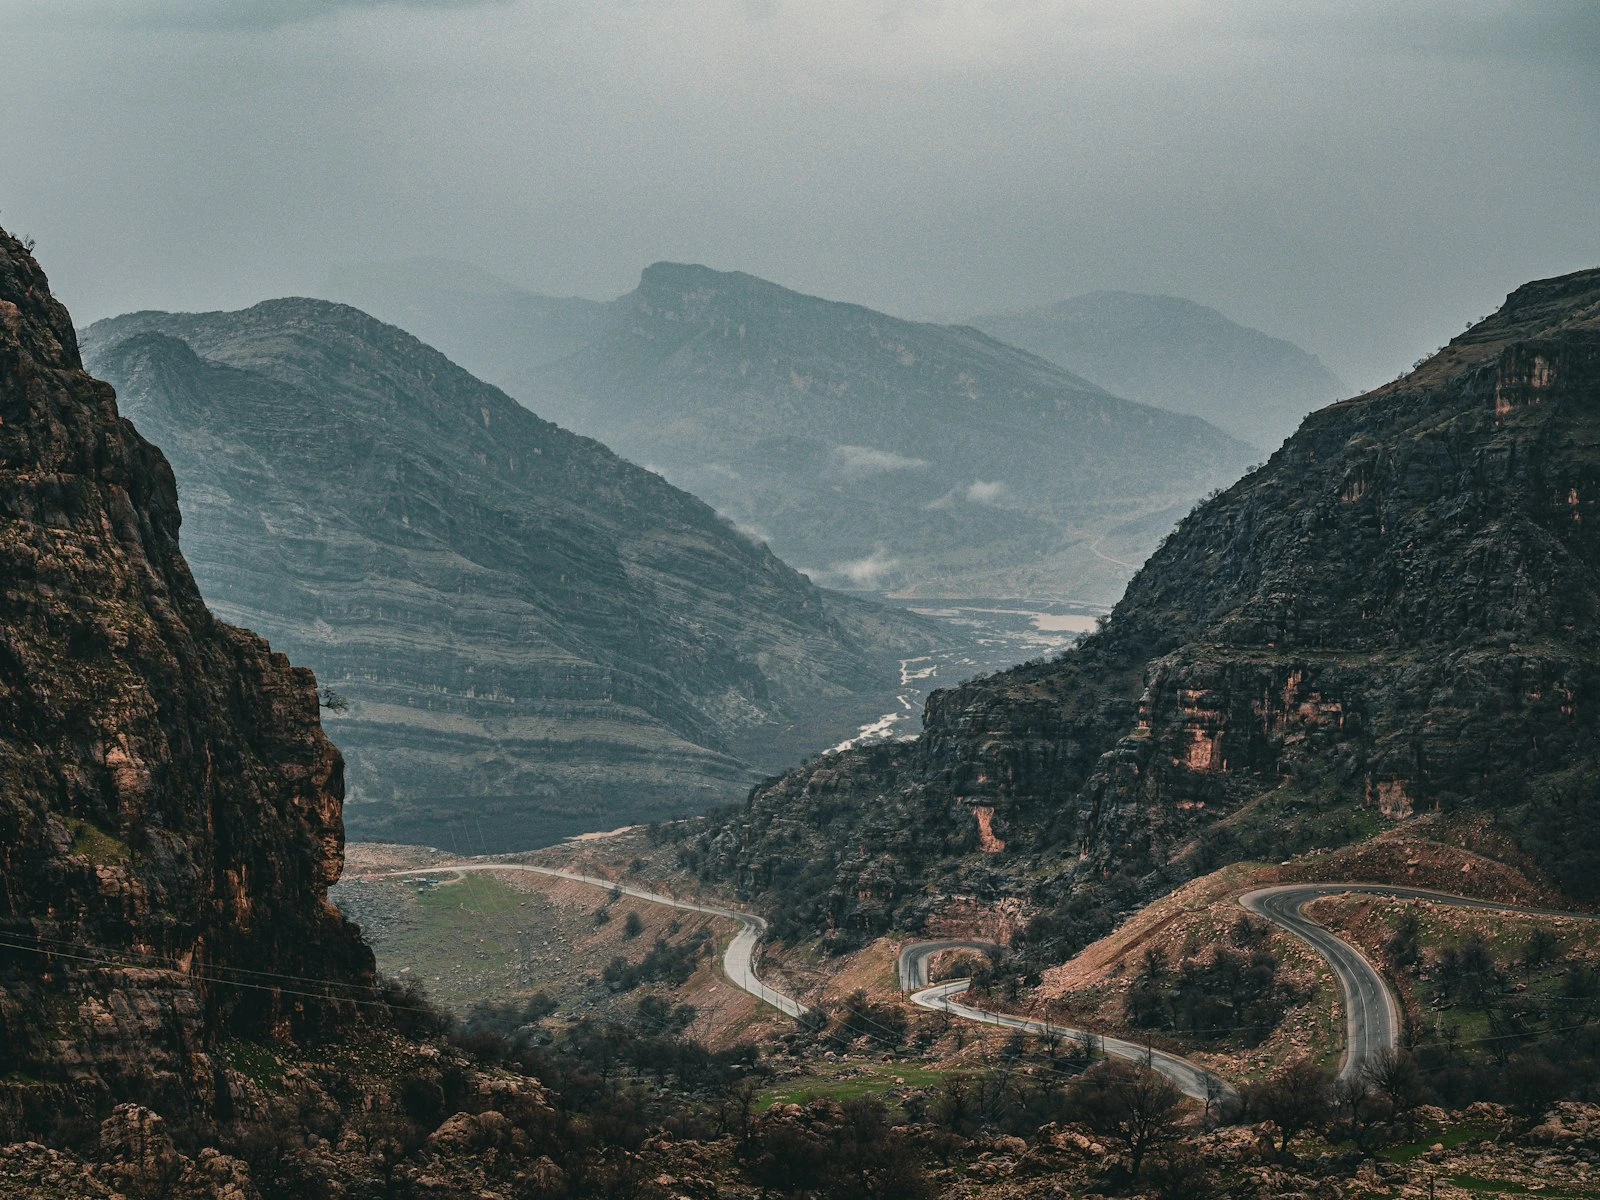
Landscape photography demands different things from your camera than almost any other genre. You want sharpness from the nearest rock to the distant mountain. You want rich detail in both bright skies and shadowed valleys. You want images that can be printed large without falling apart under scrutiny.
The settings that work for portraits, like wide apertures, faster shutter speeds, and higher ISOs, will sabotage your landscapes. Everything shifts when your subject is the scene itself.
This guide covers the specific camera settings that deliver sharp, detailed landscape images, including what aperture to choose, when shutter speed matters, how to nail focus across deep scenes, and how your workflow changes between tripod and handheld shooting. It's one of the most genre-specific topics in our full camera settings guide.
Why Landscape Settings Differ From Other Photography
Most photography is about isolating a subject. Portraits blur the background to make a face pop. Sports freeze a single moment of action. Product shots draw attention to one item.
Landscapes do the opposite, because the entire scene is your subject, from that foreground wildflower to the middle-ground river to the distant peaks. You want all of it sharp, with the viewer's eye free to wander and explore, finding detail everywhere it lands.
This fundamental difference drives every camera setting decision.
Depth of field becomes paramount. Where a portrait shooter might want inches of sharpness, you want miles.
Shutter speed becomes flexible. Your mountains are not moving. Your workflow can accommodate exposures that would be impossible for action photography.
ISO discipline pays dividends. Large prints and heavy cropping magnify noise that would be invisible in smaller outputs.
Focus placement requires strategy. Point-and-shoot autofocus will not give you edge-to-edge sharpness. You need to think about where to put your focus point.
Understanding these differences is the foundation, so let us get specific.
Aperture for Landscapes: The f/8-f/11 Sweet Spot
Every lens has an aperture range where it performs best, delivering maximum sharpness across the entire frame, from corner to corner. For most lenses, that sweet spot falls between f/8 and f/11.
This is where landscape photographers live.
Why f/8 to f/11 works:
- Sharpness peaks. Wide open (f/2.8, f/4), most lenses show some softness, especially in corners. Stopped down to f/8-f/11, that softness disappears.
- Depth of field is substantial. At these apertures, focus extends deep into the scene, often from just a few feet in front of the camera to infinity.
- Diffraction has not kicked in yet. Stop down further to f/16 or f/22, and light bending around the aperture blades actually reduces sharpness. The physics work against you.
My default: I start every landscape at f/11 and adjust from there. It is conservative but reliable. When I need more depth of field, I will go to f/13 or occasionally f/16. When light is limited and I am handheld, I might open to f/8.
When to Go Narrower Than f/11
Sometimes f/11 is not enough, because a close foreground element like a rock two feet from your lens combined with a distant background can exceed the depth of field f/11 provides.
In these situations, you have two options:
Option 1: Stop down to f/16. You will lose some absolute sharpness to diffraction, but you will gain depth of field. For most viewing conditions, the tradeoff works. A slightly soft image where everything is in focus beats a tack-sharp image where your foreground or background is blurry.
Option 2: Focus stacking. Take multiple shots at f/8 or f/11, each focused at different distances, then blend them in software. This delivers maximum depth of field without diffraction penalties. It requires a tripod, still subjects, and post-processing time, but when sharpness matters, it is the superior technique.
I treat f/16 as acceptable when necessary and f/22 as a last resort. Beyond f/16, diffraction becomes visually obvious in large prints.
When to Go Wider Than f/8
Not all landscape images need front-to-back sharpness.
Distant subjects only: If your entire scene is far away, such as mountains with no foreground, depth of field is not an issue. You could shoot at f/5.6 and everything would still be sharp. In limited light, this flexibility helps.
Intentional abstraction: Some landscape photographers deliberately use shallow depth of field to isolate elements, like a single flower against a blurred mountain backdrop, or a tree in morning mist. These are valid creative choices, not mistakes.
Handheld in poor light: If you are shooting handheld at golden hour without a tripod, you might need f/5.6 or f/4 to maintain a usable shutter speed. A slightly narrower depth of field beats motion blur.
The Depth of Field Priority
In landscape photography, depth of field is usually your primary constraint, and everything else works around it.
For portraits, aperture is a creative choice about background blur. For action, shutter speed is the non-negotiable that dictates everything else. For landscapes, depth of field comes first.
The decision sequence:
- How much depth of field do I need to keep everything sharp?
- What aperture delivers that depth of field at peak lens performance?
- What shutter speed can I use given that aperture and available light?
- Can I achieve that shutter speed at base ISO, or do I need to compromise?
Notice that ISO and shutter speed are downstream decisions. Aperture leads because depth of field is what makes or breaks a landscape image.
You choose aperture based on depth of field needs, and the other settings adapt around that choice.
Shutter Speed Considerations: Tripod vs Handheld
Landscape photographers have a luxury most other photographers do not, which is static subjects. Mountains do not move, rivers move predictably, and even trees in wind can be captured with long exposures that turn motion into pleasing blur.
This opens up the full range of shutter speeds, from fractions of a second to multiple minutes.
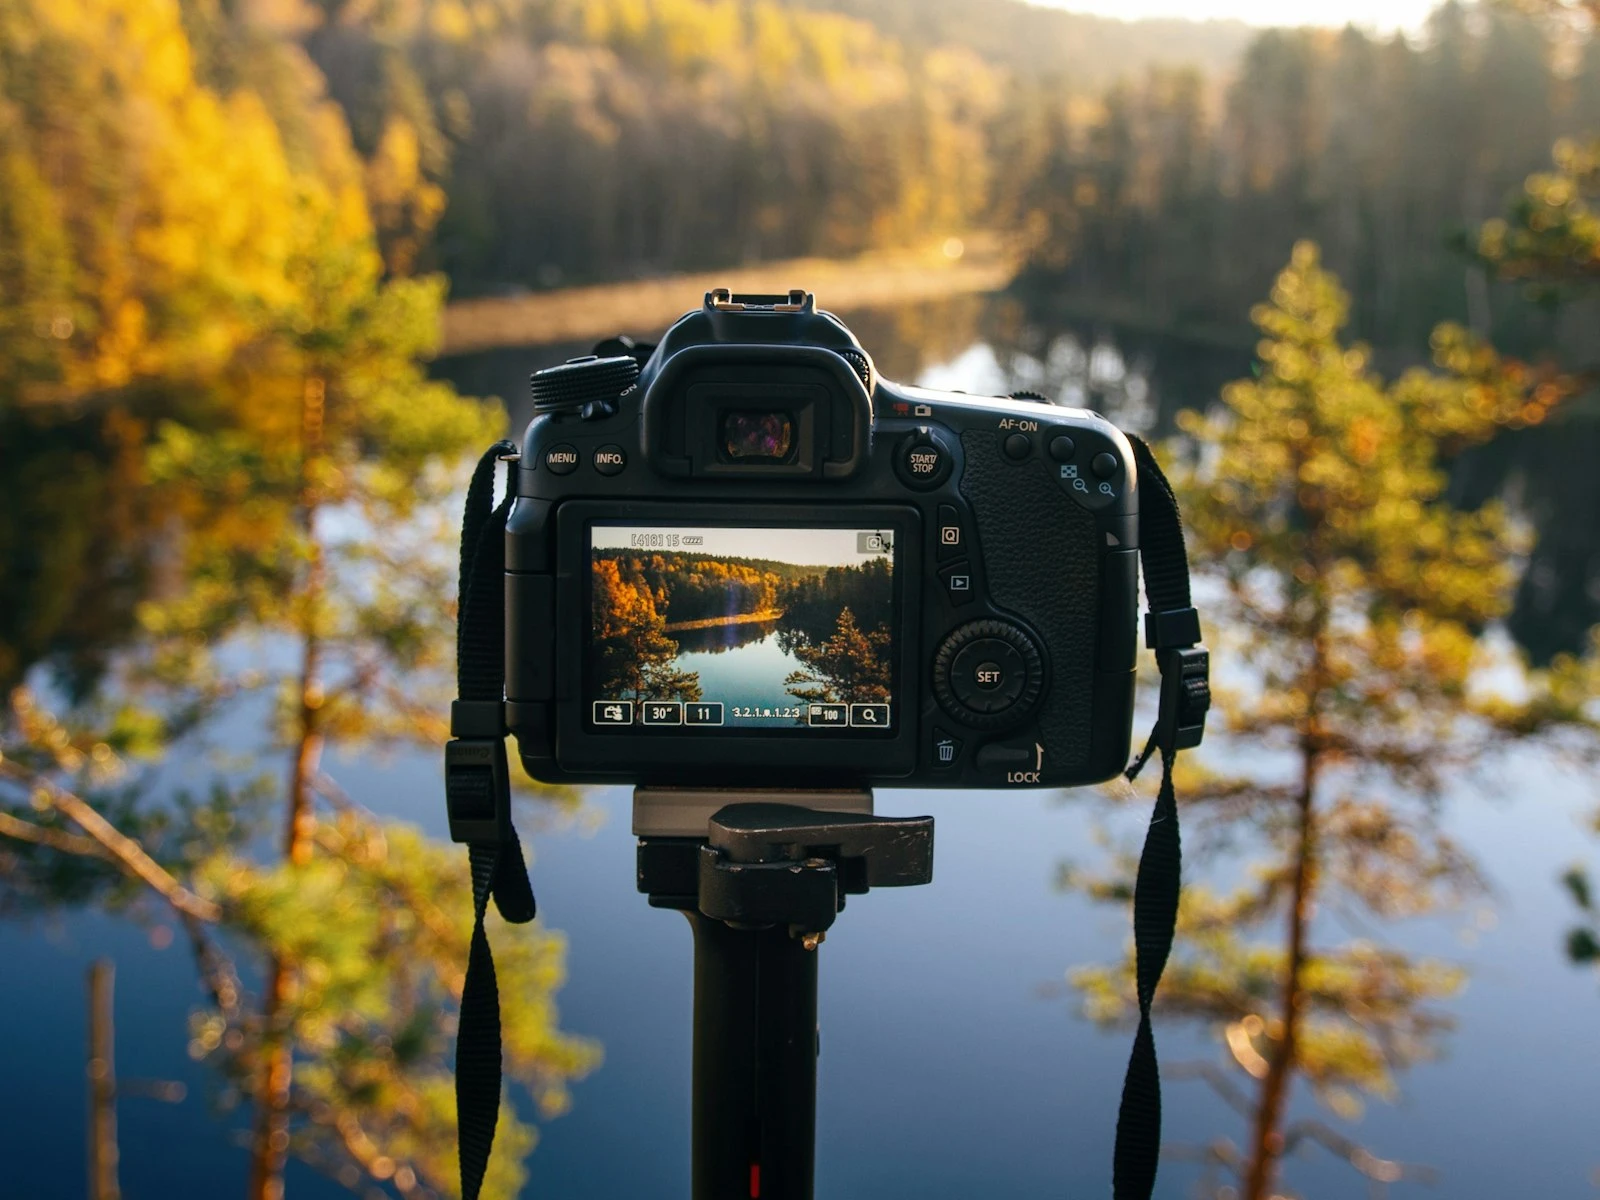
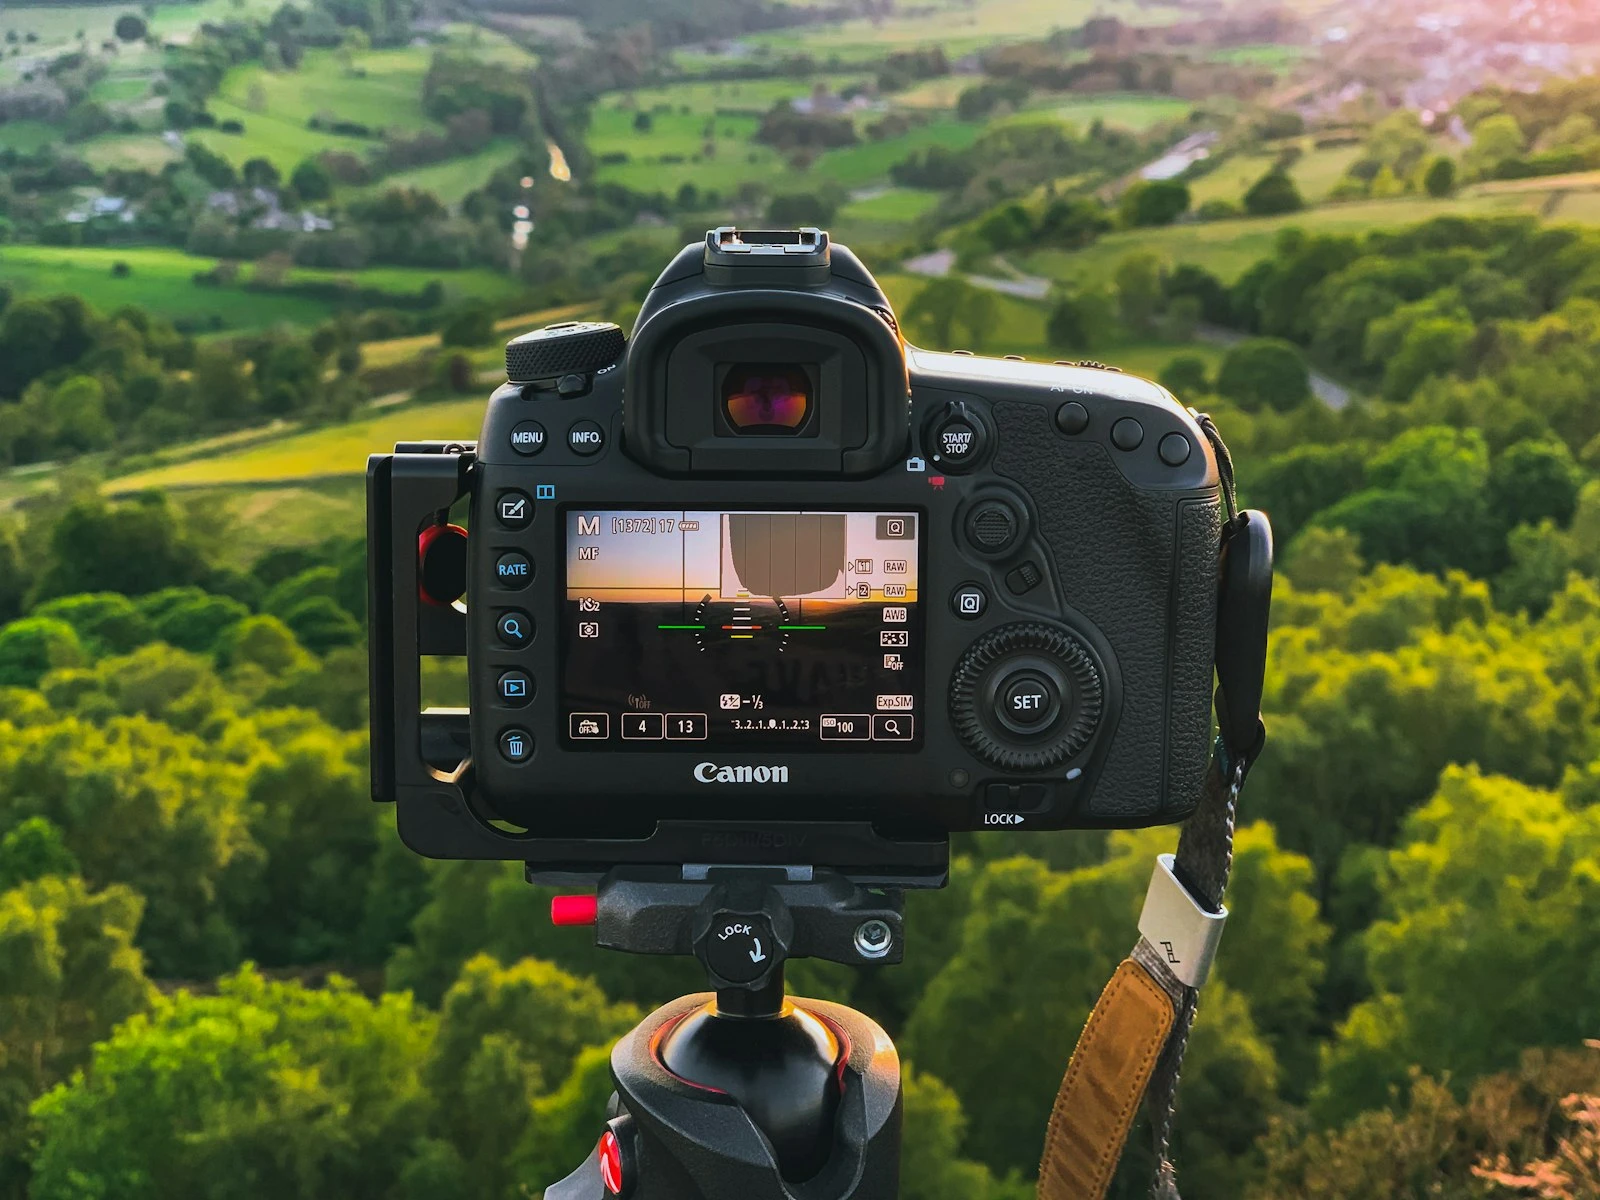
Tripod Shooting: Shutter Speed Is (Almost) Free
On a tripod with a static scene, shutter speed barely matters. You can use 1/500 second or 30 seconds and get equally sharp results. This freedom is transformative.
What this means practically:
- Set your aperture for optimal depth of field (f/8 to f/11)
- Set your ISO at base (100 or 200) for maximum image quality
- Let shutter speed fall wherever it needs to be
At golden hour, that shutter speed might be several seconds. At midday, it might be 1/60. It does not matter because nothing is moving and your camera is locked down.
The exceptions:
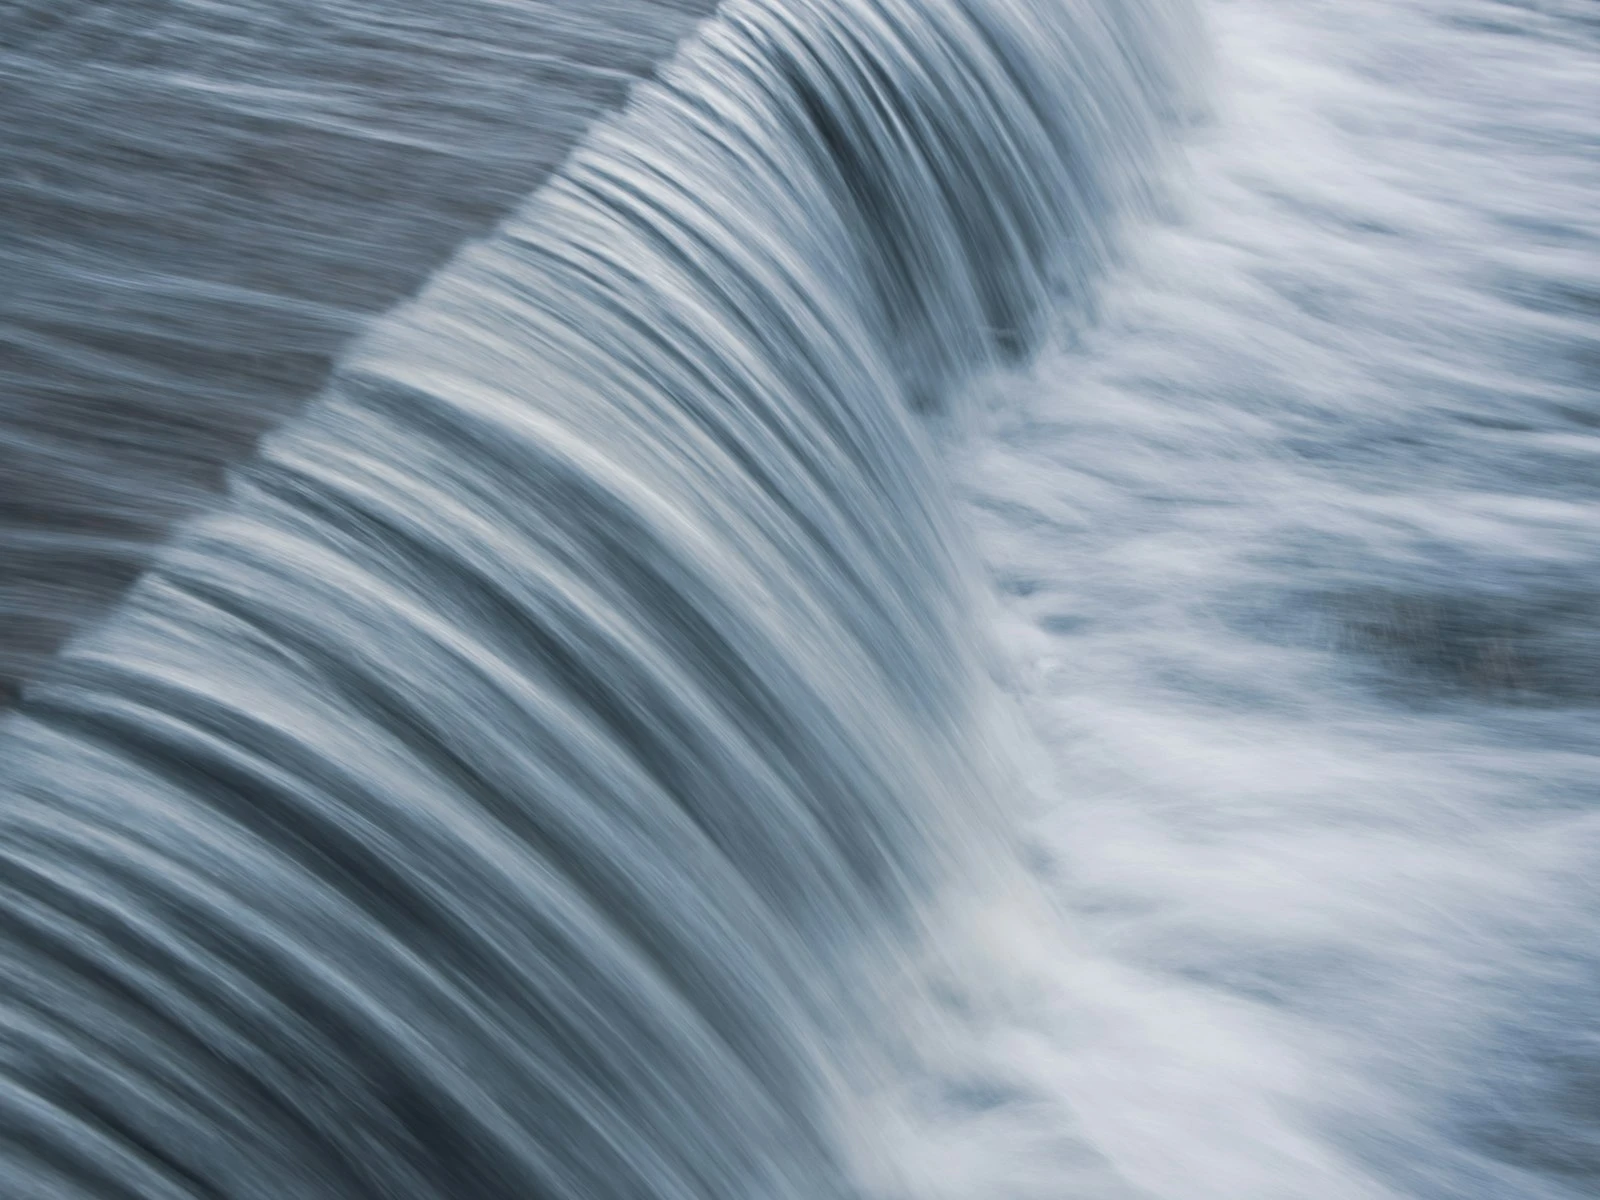
- Water and clouds. If your scene includes moving elements, shutter speed becomes a creative choice. Faster speeds freeze ripples and cloud texture. Slower speeds (1-30 seconds) create silky water and streaked clouds. Very long exposures (minutes) turn water glassy and clouds into smooth gradients. All are valid, and the choice depends on the mood you want.
- Wind. Plants, flowers, and grasses moving in wind will blur at slow shutter speeds. Sometimes this is pleasing (implied motion). Sometimes it is distracting. Watch for it and adjust.
- Camera stability. Some tripods vibrate in wind. Mirror slap (on DSLRs) can cause micro-vibrations. If you notice softness despite solid technique, try a faster shutter speed.
Handheld Shooting: Shutter Speed Constraints Return
Without a tripod, the rules change. Now shutter speed must be fast enough to avoid camera shake.
The baseline rule: Your shutter speed should be at least 1/focal length. At 24mm, that means 1/25 second minimum. At 70mm, 1/70 second minimum. I prefer to double this for margin: 1/50 at 24mm, 1/150 at 70mm.
Image stabilization extends this. Modern in-body or lens-based stabilization can give you 2-5 extra stops. That 1/50 minimum might become 1/15 or even slower with good stabilization and steady technique.
The handheld exposure tradeoff:
When light is limited and you cannot use a tripod, something has to give. Your options:
- Open the aperture. Go to f/5.6 or f/4. Accept slightly shallower depth of field for a faster shutter speed.
- Raise ISO. Accept some noise for a faster shutter speed. ISO 400-800 is often unnoticeable in the final image.
- Accept some blur. Controversial but real. If the choice is between a slightly soft image and no image, take the slightly soft image.
Most experienced landscape photographers avoid option 3. They would rather adjust aperture or ISO than accept motion blur. But sometimes it is the only option.
ISO Discipline: The Base ISO Goal
Landscape photography rewards low ISO more than most other genres, for several important reasons.
Large prints. Landscape images often end up as wall-sized prints. Noise that is invisible on Instagram becomes obvious when an image is printed at 24x36 inches and examined from two feet away.
Heavy cropping. Sometimes you cannot get close enough to your composition. Cropping magnifies noise along with detail.
Shadow recovery. Landscape scenes often have extreme dynamic range: bright skies, dark shadows. Lifting those shadows in post-processing amplifies whatever noise exists. Starting with a clean, low-ISO file gives you more editing headroom.
My approach: I treat base ISO (100 or 200, depending on camera) as the goal for tripod work. On a tripod, I have no reason to go higher because shutter speed can extend indefinitely.
When to Compromise on ISO
ISO discipline is a goal, not an absolute rule. There are legitimate reasons to go higher.
Handheld in limited light. If you need 1/50 second for stability and f/8 for depth of field, and the available light requires ISO 800 to make that work, use ISO 800. A sharp photo at ISO 800 beats a blurry photo at ISO 100.
Moving elements in the scene. If wind is blowing flowers or grass and you want them frozen rather than blurred, you need a faster shutter speed. If your aperture is already set for depth of field, ISO is the only variable left.
Fleeting light. Golden hour waits for no one. If the light is magical and fading fast, chase it. Technical perfection matters less than capturing the moment.
Modern high ISO performance. Current cameras handle ISO 400-800 beautifully. Even ISO 1600-3200 is usable for many purposes. Do not let fear of noise cost you good images.
The key is making ISO a conscious decision rather than a default. Start at base ISO. Raise it only when you have a specific reason.
Focus Techniques: Hyperfocal Distance Made Simple
Getting everything sharp in a landscape requires putting your focus point in the right place. This is not intuitive, and autofocus will not do it for you.
Why Autofocus Often Fails for Landscapes
Your camera's autofocus system finds contrast and locks on. In a landscape, that might mean it focuses on the distant mountains while your foreground goes soft. Or it latches onto a nearby branch while the main scene falls outside the depth of field.
For landscapes, you need to place focus deliberately.
Hyperfocal Distance: The Concept
Hyperfocal distance is the focus point that maximizes depth of field. It makes everything from some near distance to infinity acceptably sharp.
The exact distance depends on your focal length, aperture, and camera sensor. But here is the practical version that works in the field:
The one-third rule (simplified): Focus roughly one-third into your scene. Not on the nearest object. Not on the distant background. About one-third of the way from foreground to infinity.
For a typical landscape with foreground elements at 10 feet and mountains at infinity, that means focusing somewhere around 15-20 feet out.
This is an approximation, but it works remarkably well for most landscape compositions. If you want the exact number for your lens, plugging your settings in takes the guesswork out.
Practical Hyperfocal Method
- Compose your shot. Determine what foreground and background elements need to be sharp.
- Set your aperture. Usually f/8 to f/11.
- Switch to manual focus. This prevents the camera from refocusing when you press the shutter.
- Focus one-third into the scene. Use live view zoomed in to check sharpness at that distance.
- Check both foreground and background sharpness. Use depth of field preview if your camera has it, or take a test shot and zoom in on the LCD.
- Adjust if needed. If the foreground is soft, move your focus point closer. If the background is soft, move it further.
With practice, this becomes second nature. You learn to estimate the one-third point quickly, and your success rate climbs.
When Hyperfocal Is Not Enough
Very close foreground elements push the limits of what hyperfocal distance can achieve. If you have a flower two feet from your lens and mountains at infinity, single-shot hyperfocal technique at f/11 may not work.
Options:
- Stop down to f/16. Accept some diffraction for more depth of field.
- Focus stack. Take multiple shots at different focus distances and blend them.
- Reconsider the composition. Sometimes backing up slightly or raising the camera position makes the shot possible without extreme techniques.
Golden Hour vs Midday Settings
The quality and quantity of light changes dramatically throughout the day. Your settings should change with it.
Golden Hour Settings
Golden hour, the first hour after sunrise and last hour before sunset, delivers warm, directional light that landscape photographers prize. But it also presents challenges.
Light is lower. You may need to compromise somewhere in the exposure triangle.
Light is changing fast. What works at 6:30 may not work at 6:45.
Dynamic range is often extreme. Bright sky meets shadowed foreground.
Typical golden hour settings (tripod):
- Aperture: f/8 to f/11 (depth of field priority)
- ISO: Base (100-200)
- Shutter speed: Whatever the exposure requires, often 1/4 second to several seconds
Typical golden hour settings (handheld):
- Aperture: f/5.6 to f/8 (compromise for speed)
- ISO: 400-800 (clean enough, enables usable shutter speed)
- Shutter speed: 1/30 to 1/100 depending on focal length
Handling dynamic range: Consider graduated ND filters to darken the sky, or bracket exposures for later HDR blending. Golden hour scenes often exceed your camera's single-shot dynamic range.
Midday Settings
Midday light has a reputation for being bad for landscapes because it is harsh, overhead, and creates unflattering shadows. But it is not useless.
What works at midday:
- Overcast days (soft, even light)
- Canyon and forest scenes (directional light creates depth)
- Water and waterfalls (the light is often fine, and you may want the sun hidden)
- High contrast compositions that embrace strong shadows
Typical midday settings:
- Aperture: f/8 to f/11 (same as always)
- ISO: Base (100-200)
- Shutter speed: Fast, often 1/250 to 1/1000
The abundance of light at midday means you have complete flexibility with shutter speed. This is actually when handheld landscape photography works easiest.
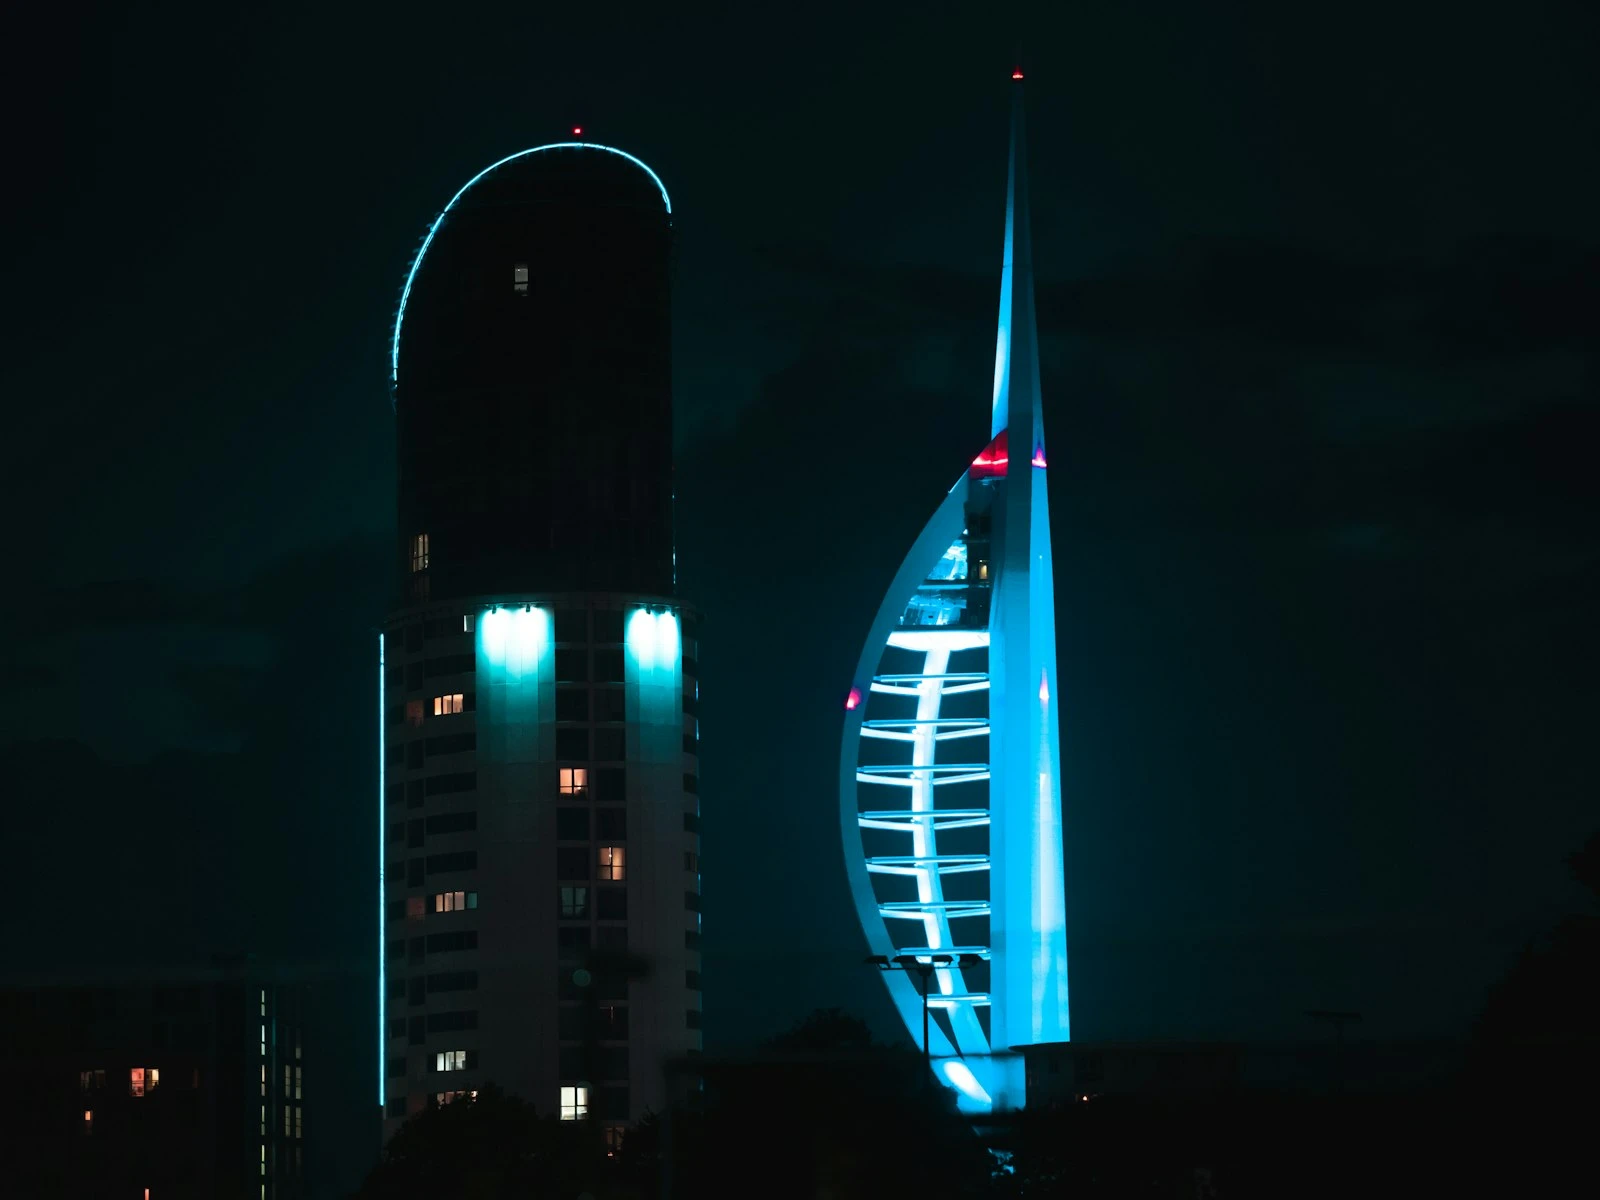
Blue Hour and Twilight
The time just before sunrise and after sunset offers deep blue skies and city lights beginning to appear. Light is very limited.
Tripod is essentially required. Exposures of 10-30 seconds are common.
Settings:
- Aperture: f/8 to f/11 (do not sacrifice depth of field)
- ISO: Base ideally, but 400-800 if needed to keep exposures under 30 seconds
- Shutter speed: Long, often 10-30 seconds, sometimes longer
At these exposure times, noise from high ISO and noise from long exposures can both be factors. Modern cameras handle both well, but keeping ISO low when possible helps.
Handheld vs Tripod Workflow Differences
These two approaches require different mindsets and techniques.
Tripod Workflow
A tripod changes how you work, forcing you to slow down, which often improves composition. It enables settings that would be impossible handheld.
Tripod workflow steps:
- Scout the location. Walk around before setting up.
- Find your composition. Know what you want in the frame before deploying the tripod.
- Set up stable. Extend the thickest leg sections first. Do not extend the center column unless necessary.
- Level the camera. Use a bubble level or the camera's electronic level.
- Compose precisely. Use live view for fine adjustments.
- Set aperture for depth of field (f/8 to f/11).
- Set ISO at base (100-200).
- Set shutter speed for correct exposure.
- Focus deliberately using hyperfocal or manual focus.
- Use a remote release or timer to avoid touching the camera during exposure.
- Take the shot. Review. Adjust and repeat.
This process takes time, so budget for it, since rushed tripod shooting defeats the purpose.
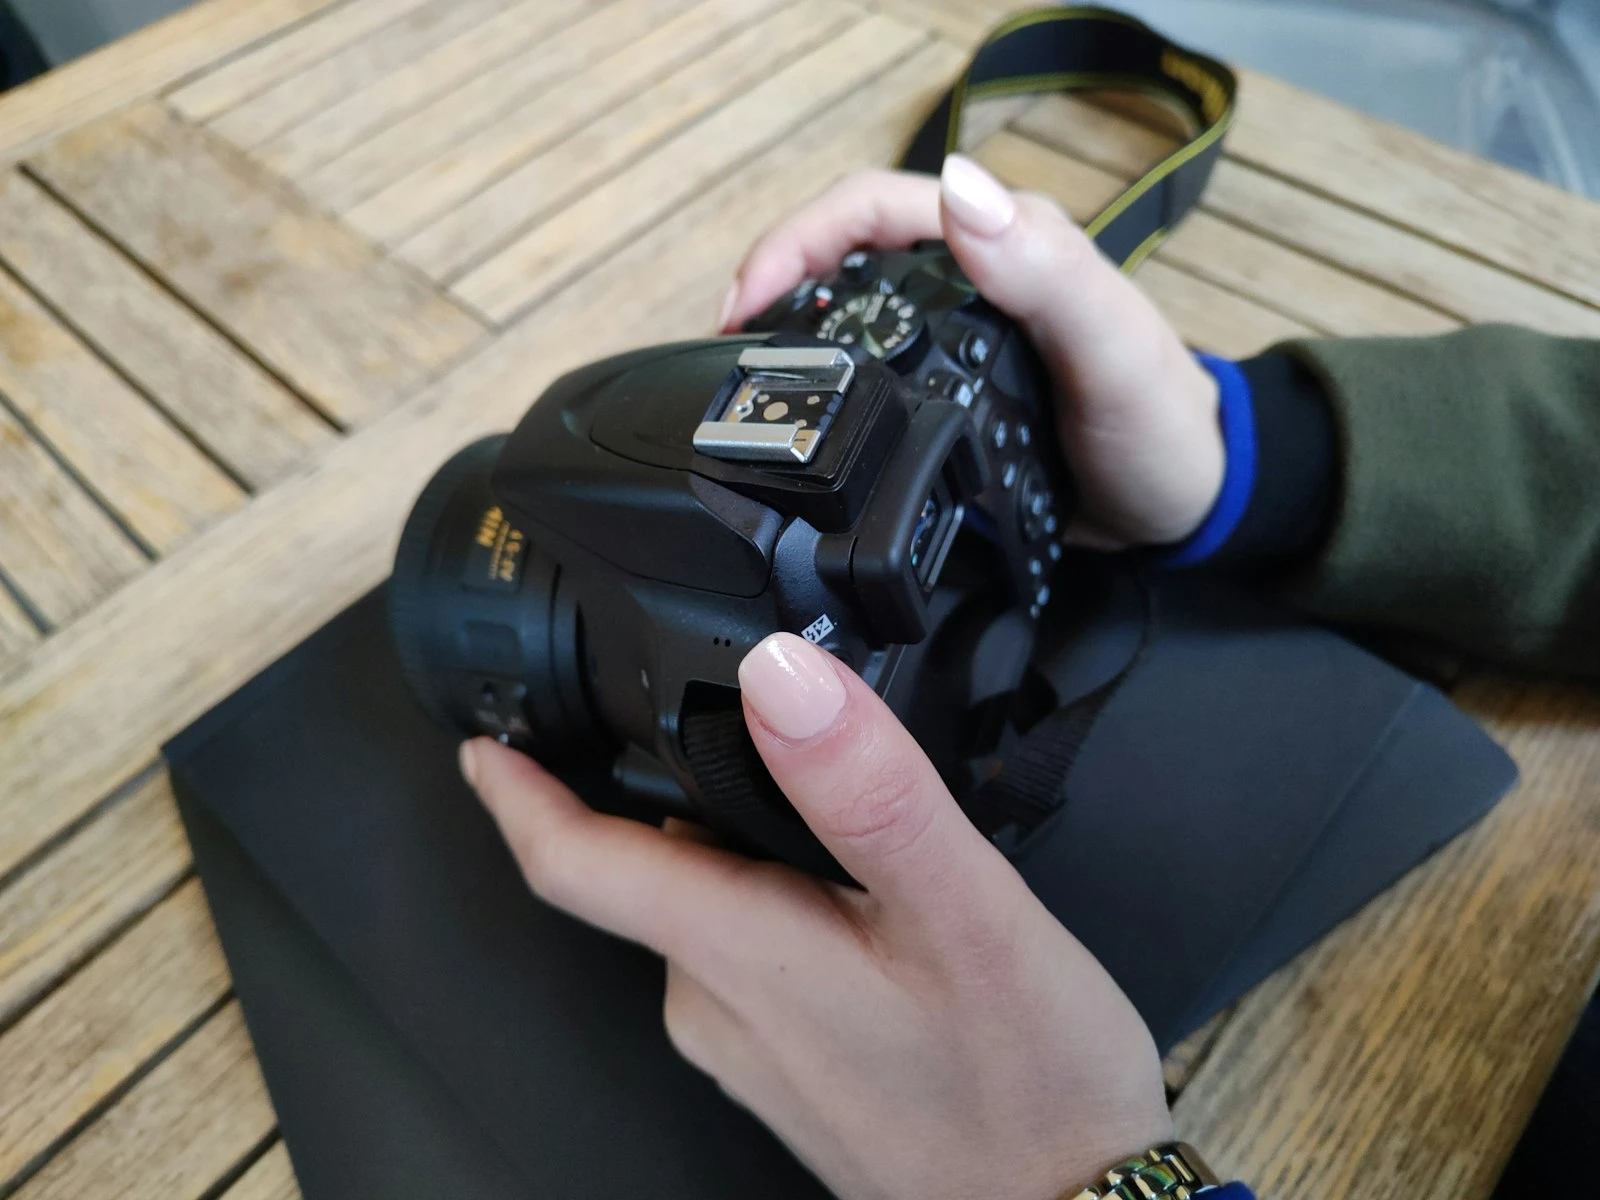
Handheld Workflow
Handheld landscape photography is faster and more spontaneous. It is ideal for hiking, travel, or when conditions do not allow a tripod setup.
Handheld workflow steps:
- Stabilize yourself. Brace against something if possible. Tuck elbows in.
- Set aperture for depth of field. f/8 is often the compromise choice, reasonably sharp and reasonably deep.
- Check shutter speed. Is it fast enough for your focal length and stability?
- Adjust ISO if needed. Raise it to achieve a safe shutter speed.
- Focus using single-point AF on a spot one-third into the scene.
- Shoot in bursts. Take 3-5 frames. One will likely be sharper than the others.
- Review immediately. Check for motion blur. Reshoot if needed.
The mindset is different because you are working within constraints rather than eliminating them.
When to use each:
- Tripod: When you have time, when light is limited, when maximum quality matters, when doing long exposures.
- Handheld: When hiking, when time is short, when conditions are changing rapidly, when a tripod is prohibited or impractical.
Neither is inherently better, as they serve different situations.
Putting It All Together
Landscape photography camera settings come down to a few core principles:
Depth of field is your primary constraint. Choose aperture first, based on what needs to be sharp.
Base ISO is your goal. Compromise only when you have a specific reason.
Shutter speed is flexible on a tripod, constrained handheld. Know which situation you are in and adjust accordingly.
Focus deliberately. Autofocus will not give you front-to-back sharpness. Use hyperfocal techniques.
Adjust for lighting conditions. Golden hour and midday require different approaches.
The specific numbers matter less than the decision framework. f/11, ISO 100, and whatever shutter speed the light requires will serve you well in most situations. From there, adjust based on what the specific scene demands.
The best landscape photographers I know do not overthink settings. They have internalized these principles to the point where choosing settings is automatic, freeing their attention for seeing the light, finding the composition, and being present in remarkable places.
That is the goal, technical competence in service of creative vision.
Key Takeaways
- Shoot landscapes at f/8 to f/11 for peak lens sharpness and deep depth of field, avoiding f/16+ where diffraction reduces overall sharpness.
- Use base ISO (100-200) on a tripod and let shutter speed be whatever the exposure requires.
- Focus one-third into the scene using manual focus for front-to-back sharpness, rather than relying on autofocus.
- For handheld landscape shooting, open up to f/5.6-f/8 and raise ISO to 400-800 to maintain a safe shutter speed.
- Choose aperture for depth of field first, then let ISO and shutter speed work around that creative decision.
More in This Guide
Continue building your camera settings knowledge with these related articles.