The portrait is perfect: great expression, sharp focus, beautiful composition. But the skin looks... wrong. Maybe it's orange, maybe it's gray, or maybe it has a sickly green cast. Something isn't right, and you can't quite figure out how to fix it.
Skin tone problems are among the most common editing challenges, and among the most frustrating. We're hardwired to notice faces, which means we're also hardwired to notice when skin color is off. Even subtle problems feel deeply wrong.
Fixing skin tones isn't complicated once you understand what's going wrong and which tools to use. It's one of the most detail-oriented topics in our photo editing guide.
Why Skin Tones Go Wrong
Understanding the problem helps you find the solution.
White balance issues: The most common cause. If your overall white balance is off, skin suffers the most visible consequences. Faces shot under tungsten light look orange. Faces in open shade look blue. Mixed lighting creates impossible-to-fix green or magenta casts.
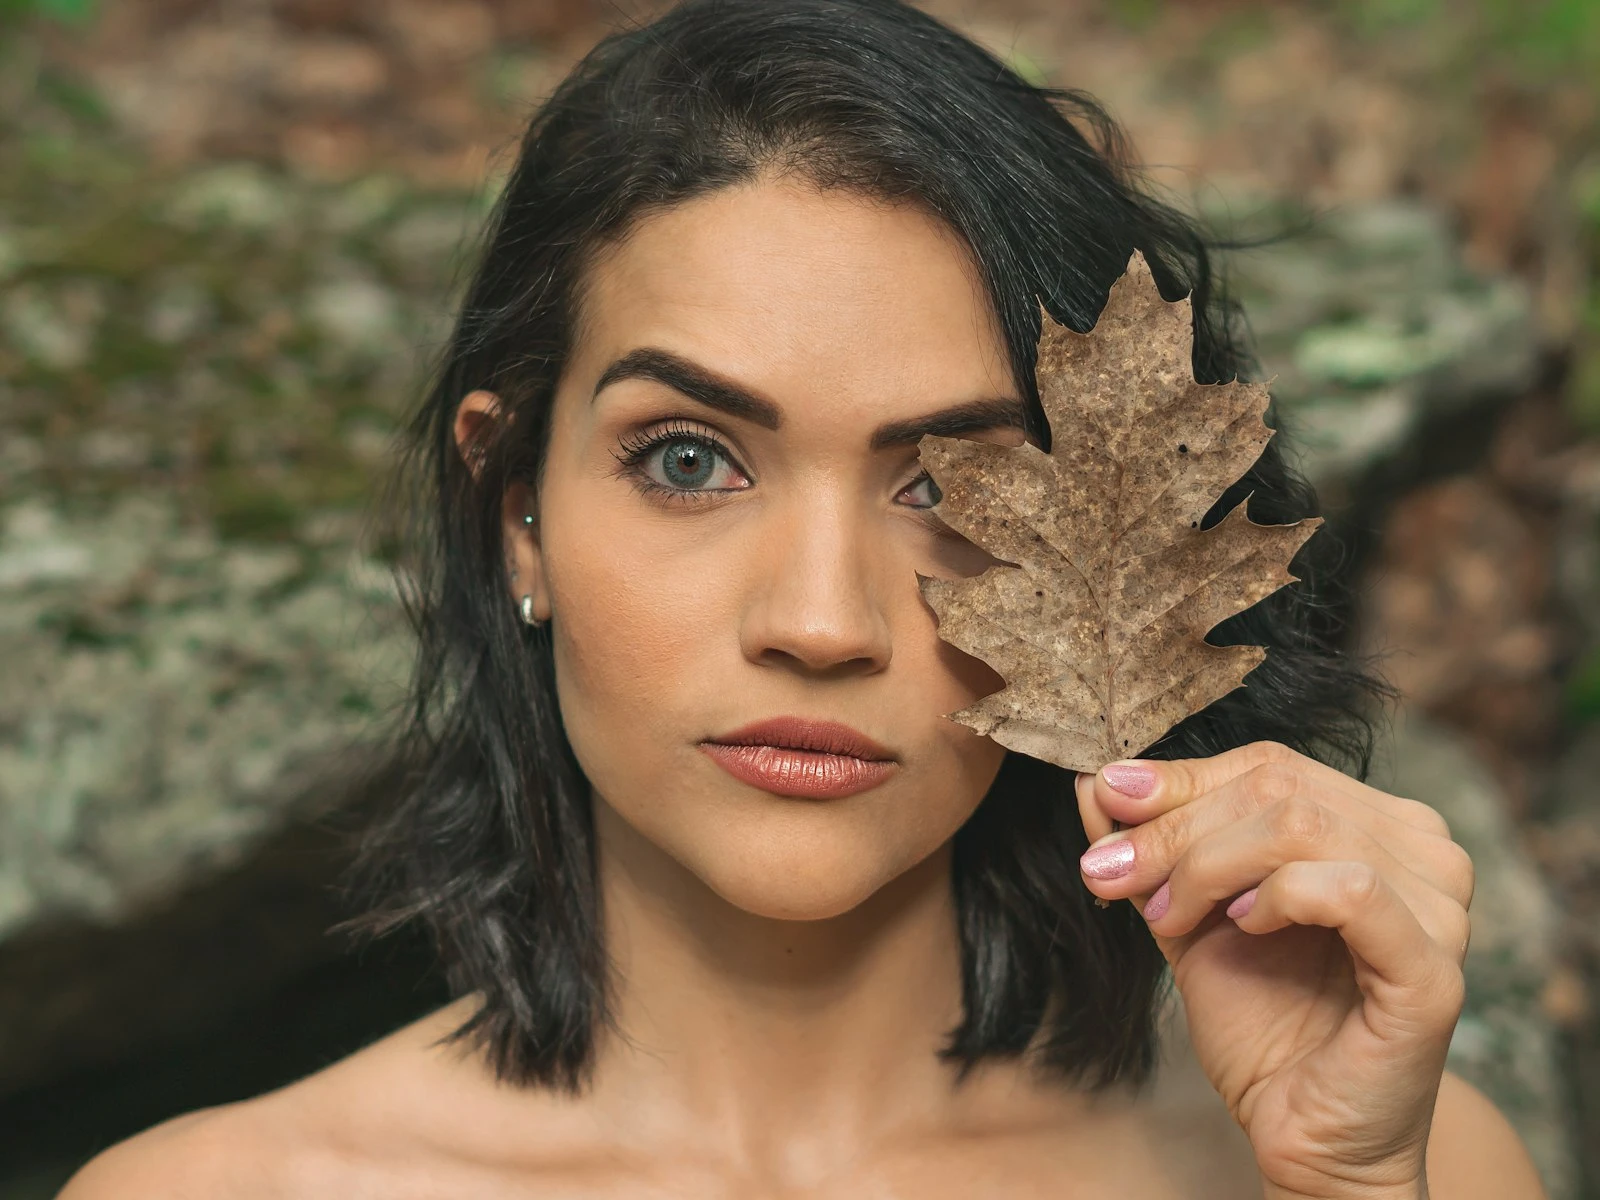
Reflected color: The environment reflects onto skin. A person standing near a green wall will have green bouncing onto their face. Red brick, yellow walls, and colorful clothing all contribute colors that mix with natural skin tones.
Camera profiles: Your camera's default color rendering might not be flattering for skin. Some cameras lean warm, others cool. Some oversaturate reds, making skin look ruddy.
Previous editing: Adjustments you made for other reasons (boosting Vibrance, shifting colors in HSL, applying presets) can push skin tones into unnatural territory.
Start with White Balance
Before doing anything skin-specific, get your white balance right. Skin tone problems are often overall color problems that show up most obviously on faces.
Use the eyedropper on something that should be neutral gray or white. The whites of eyes work well if they're visible and properly lit. A white shirt is even better. Let Lightroom set Temperature and Tint automatically.
Fine-tune manually if the eyedropper doesn't nail it. For skin, you're usually adjusting Temperature:
- Too orange? Move Temperature cooler (left)
- Too blue or gray? Move Temperature warmer (right)
- Green or magenta cast? That's Tint. Adjust until skin looks neutral
The goal is skin that looks natural in the context of the photo, which matters more than perfect technical accuracy. Sometimes slightly warm skin looks better than technically "correct" skin.
The HSL Approach for Stubborn Problems
When white balance alone doesn't fix things, the HSL panel (Hue, Saturation, Luminance) gives you targeted control.
Understanding Skin in HSL Terms
Skin tones live primarily in the Orange and Yellow channels, with some Red influence. This is true across all skin types. The proportions differ, but the underlying colors are similar.
This means you can adjust skin without significantly affecting blue skies, green foliage, or other colors in your image.
Targeted Hue Adjustments
If skin color is shifted:
Orange Hue slider: This is your primary skin control. Moving it left pushes skin toward red/pink. Moving it right pushes toward yellow. Small movements make significant differences.
Red Hue slider: Affects flush, lips, and any reddish areas of skin. Moving it right pushes reds toward orange, which can reduce ruddy or flushed appearance.
Yellow Hue slider: Affects olive undertones. Less impactful on most skin than Orange, but relevant for some situations.
Start with tiny movements (maybe +5 or -5) and see the effect before going further.
Saturation Adjustments
If skin looks too colorful or not colorful enough:
Orange Saturation: Reducing this calms overly saturated skin. Increasing it adds warmth and life. Most skin tone fixes involve this slider.
Red Saturation: Reducing this minimizes blotchiness and redness while leaving overall skin color intact.
Be careful with saturation. It's easy to go too far in either direction. Oversaturated skin looks sunburned or fake. Undersaturated skin looks gray and sickly.
Luminance for Glow
The Luminance sliders change how bright or dark specific colors appear.
Orange Luminance: Increasing this brightens skin, creating a "glowing" look. Decreasing it adds depth but can look dirty if overdone.
This is subtle but powerful for portrait work. A slight luminance boost on Orange makes skin look healthier without changing the color itself.
Local Adjustments for Specific Areas
Sometimes skin tone problems aren't uniform. Maybe the forehead picked up a color cast from a nearby wall, but the rest of the face is fine. Understanding how light falls on faces helps you predict where these problems will appear. Maybe hands are significantly more tanned than the face.
Use the Adjustment Brush for targeted corrections:
- Select the Adjustment Brush (K)
- Paint over the problematic area
- Adjust Temperature, Tint, or specific HSL settings for just that selection
- Feather the edges so corrections blend naturally
The key is subtlety. Local adjustments should fix problems, not create visible patches of different-colored skin.
Common Skin Tone Problems and Fixes
Orange Indoor Skin
The problem: Tungsten or warm LED lighting made everyone look like they have a spray tan.
The fix: Cool down Temperature significantly (try shifting 500-1500K cooler). Check that non-skin elements look right too. If the whole image looks better but skin is still slightly orange, reduce Orange Saturation in HSL.
Gray or Blue Skin
The problem: Open shade or overcast light created cold, lifeless skin.
The fix: Warm up Temperature (try shifting 200-500K warmer). Add a touch of Vibrance to restore life. If needed, boost Orange Saturation slightly in HSL.
Green Cast
The problem: Mixed lighting (fluorescent often causes this) or reflections from foliage gave skin a sickly tint.
The fix: Adjust Tint toward magenta (right). This often needs significant adjustment, around +10 to +30. If it's localized, use the Adjustment Brush on affected areas only.
Overly Red or Flushed
The problem: Natural flush, exercise, or heat made skin look uncomfortably red.
The fix: In HSL, reduce Red Saturation to calm blotchy areas. You might also shift Red Hue slightly toward orange (right) so remaining red looks more like healthy skin and less like a sunburn.
Flat, Lifeless Skin
The problem: Skin looks dull and gray despite technically correct color.
The fix: Boost Orange Luminance slightly. Add subtle Vibrance (+5 to +10). Check that you haven't crushed contrast too much in basic adjustments.
Patchy, Uneven Tone
The problem: Different parts of the face have noticeably different colors.
The fix: Use the Adjustment Brush to even things out. Paint over the problematic area and shift its color to match surrounding skin. This takes practice, so start with small adjustments.
What "Correct" Skin Tones Look Like
There's no universal "correct" because skin varies enormously, but there are guidelines.
Avoid pure colors. Skin should never be pure orange, pure red, or pure yellow. It's always a mix. If any one channel dominates completely, something's wrong.
Look for variety. Healthy skin has subtle variation: slightly pink cheeks, yellower forehead perhaps, different tones in shadows versus highlights. Uniform color looks artificial.
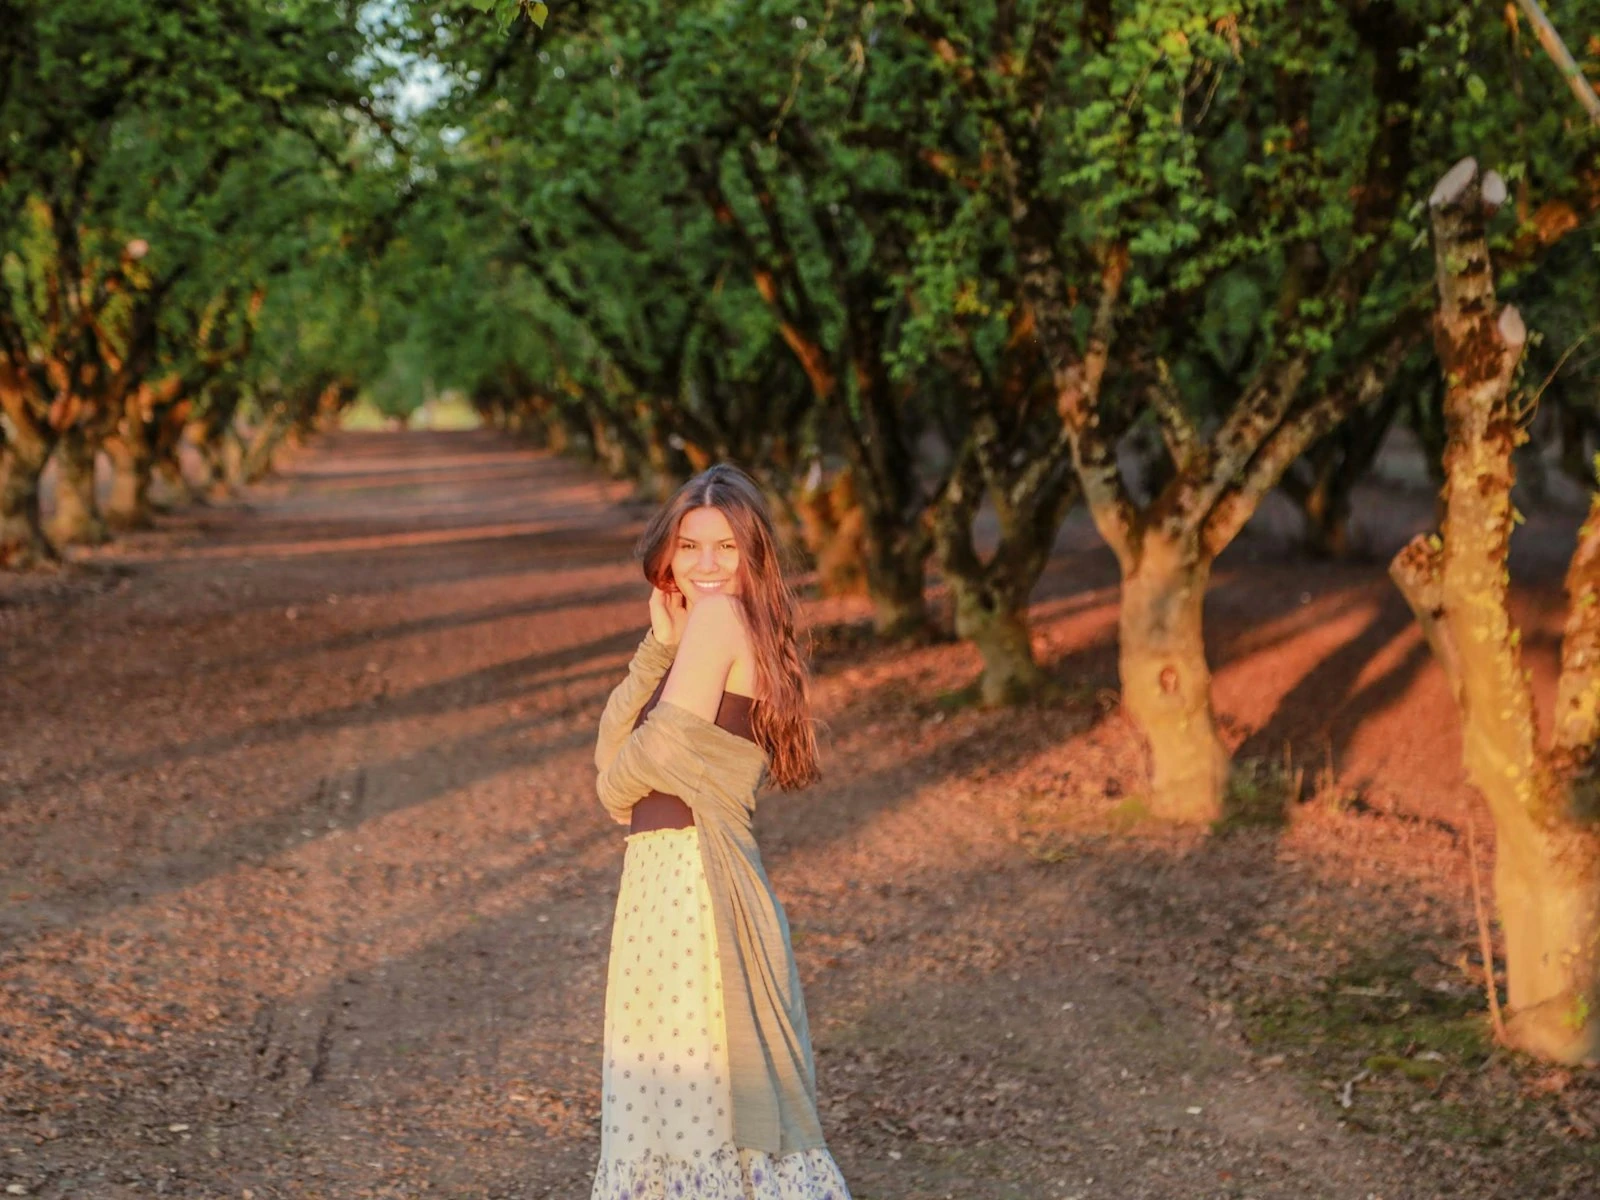
Check in context. Skin should make sense with the light in the scene. If the environment is warm (golden hour, tungsten light), slightly warm skin is appropriate. If light is cool (shade, overcast), cooler skin is fine.
Trust your eye. After technical adjustments, zoom out and ask: does this face look like a real person? If not, something's off regardless of what the sliders say.
Calibration Matters
One challenge with skin tone editing is that your monitor might not show colors accurately.
If you're consistently unhappy with skin tones in your final images but they looked good while editing, consider a few things.
- Checking your monitor's brightness (too bright makes everything look washed)
- Looking at your edits on multiple devices (phone, tablet, another computer)
- Getting a monitor calibration tool if you're serious about color accuracy
For most people, comparison across devices reveals if something's truly wrong versus just a monitor difference. You can also use the EXIF viewer to check what camera profile and white balance were applied to the original file.
Key Takeaways
- Fix global white balance first using the eyedropper on something neutral, since most skin tone problems are actually overall color cast issues.
- Use the Orange Hue and Orange Saturation sliders in HSL as your primary skin tone controls, because skin lives primarily in the Orange channel across all skin types.
- For stubborn localized problems like color reflected from nearby walls, use the Adjustment Brush to correct only the affected area.
- Slightly warm skin almost always looks more flattering than technically neutral skin, so aim for natural-looking rather than perfectly accurate.
More in This Guide
Continue exploring editing techniques.