There's a moment when you're taking a portrait that everything seems fine with a good location, cooperative subject, and nice background. Then you look at the image and see dark shadows cutting across the face, pooling in eye sockets, creating unflattering lines that make your subject look tired, older, or just wrong.
Harsh shadows on faces are one of the most common portrait problems. They happen quickly, they're hard to fix in editing, and they can ruin otherwise good images.
The good news is that avoiding harsh facial shadows is mostly about positioning, and it's one of the most practical skills in our portraits guide. You don't need studio equipment or reflectors. You need to understand where shadows come from and how to position yourself and your subject to minimize them.
Understanding Facial Shadows
Shadows on faces come from blocked light. When light hits a face from above, the brow blocks light from the eyes, the nose blocks light from one side, and the chin blocks light from the neck.
The hardness of those shadows depends on the light source.
Hard light (direct sun, bare bulbs, small light sources) creates sharp-edged shadows with distinct boundaries. These shadows have a clear line between light and dark.
Soft light (overcast sky, large windows, diffused sources) creates gradual shadows that fade slowly from light to dark. These shadows are forgiving.
The direction of the light determines where shadows fall.
Overhead light creates shadows in eye sockets ("raccoon eyes"), under the nose, and under the chin. This is why midday sun is unflattering.
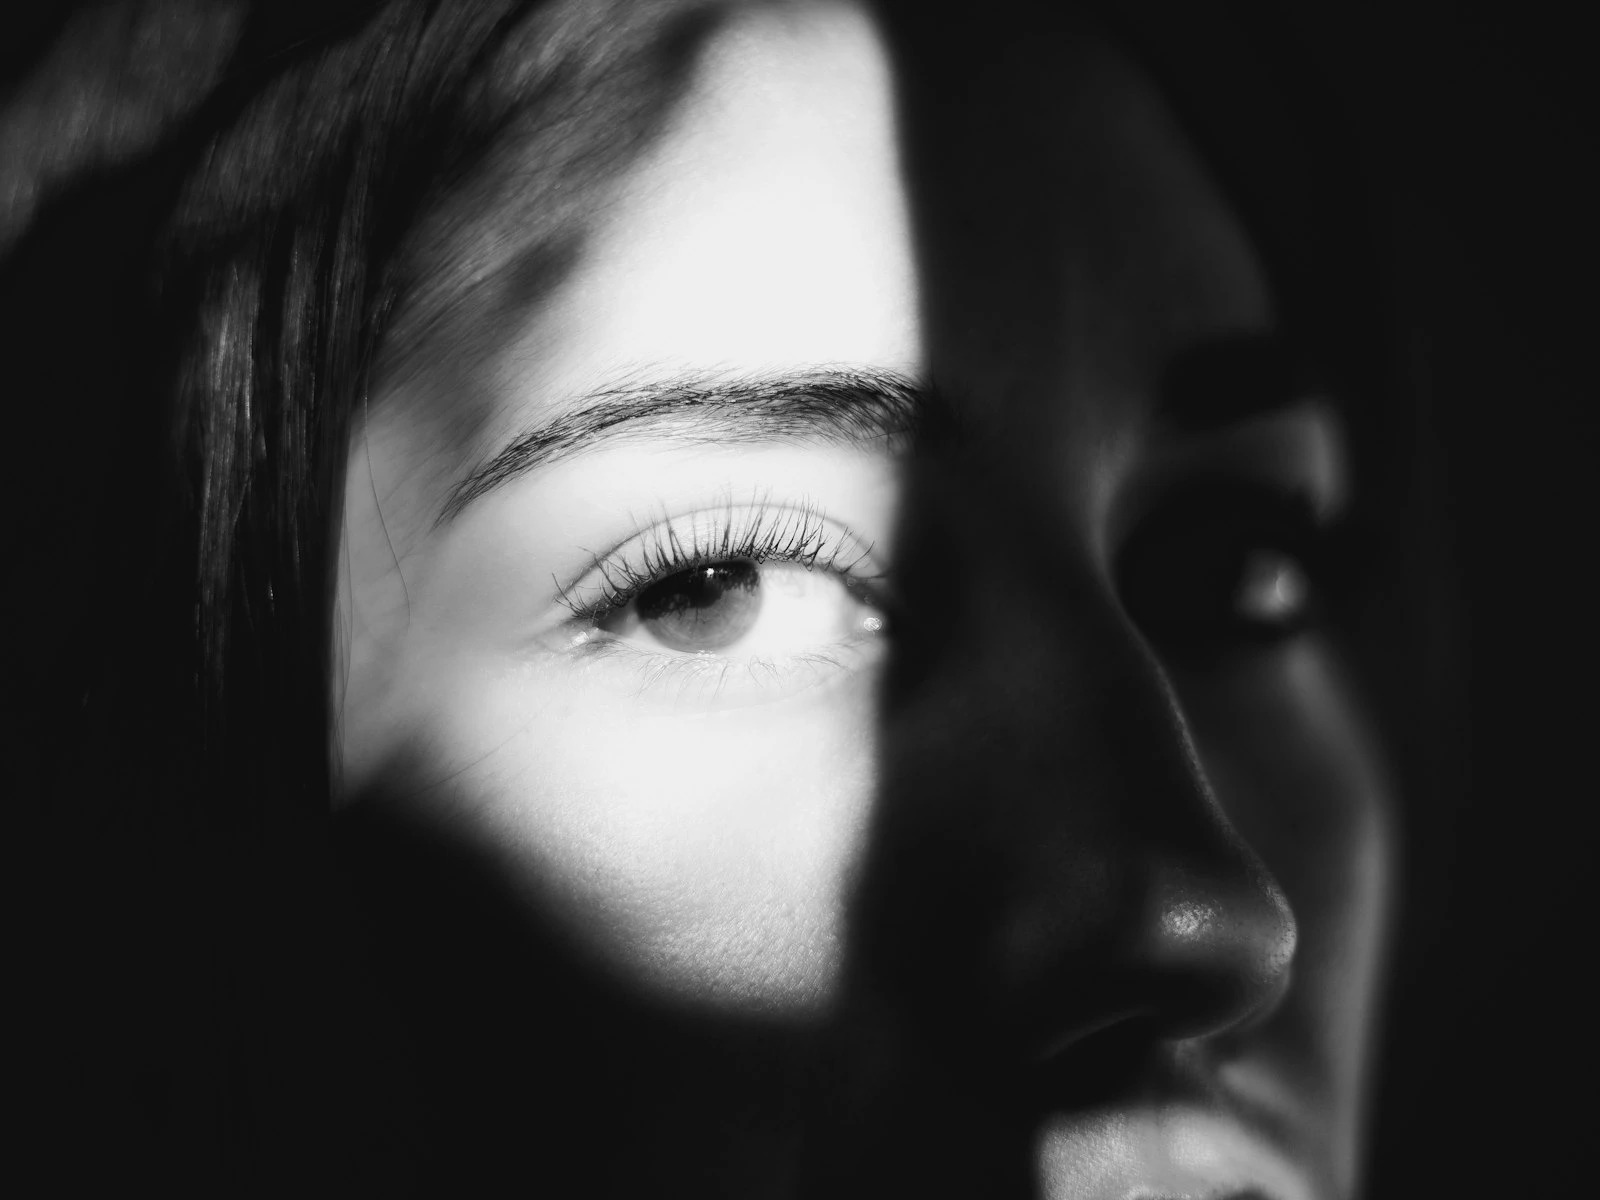
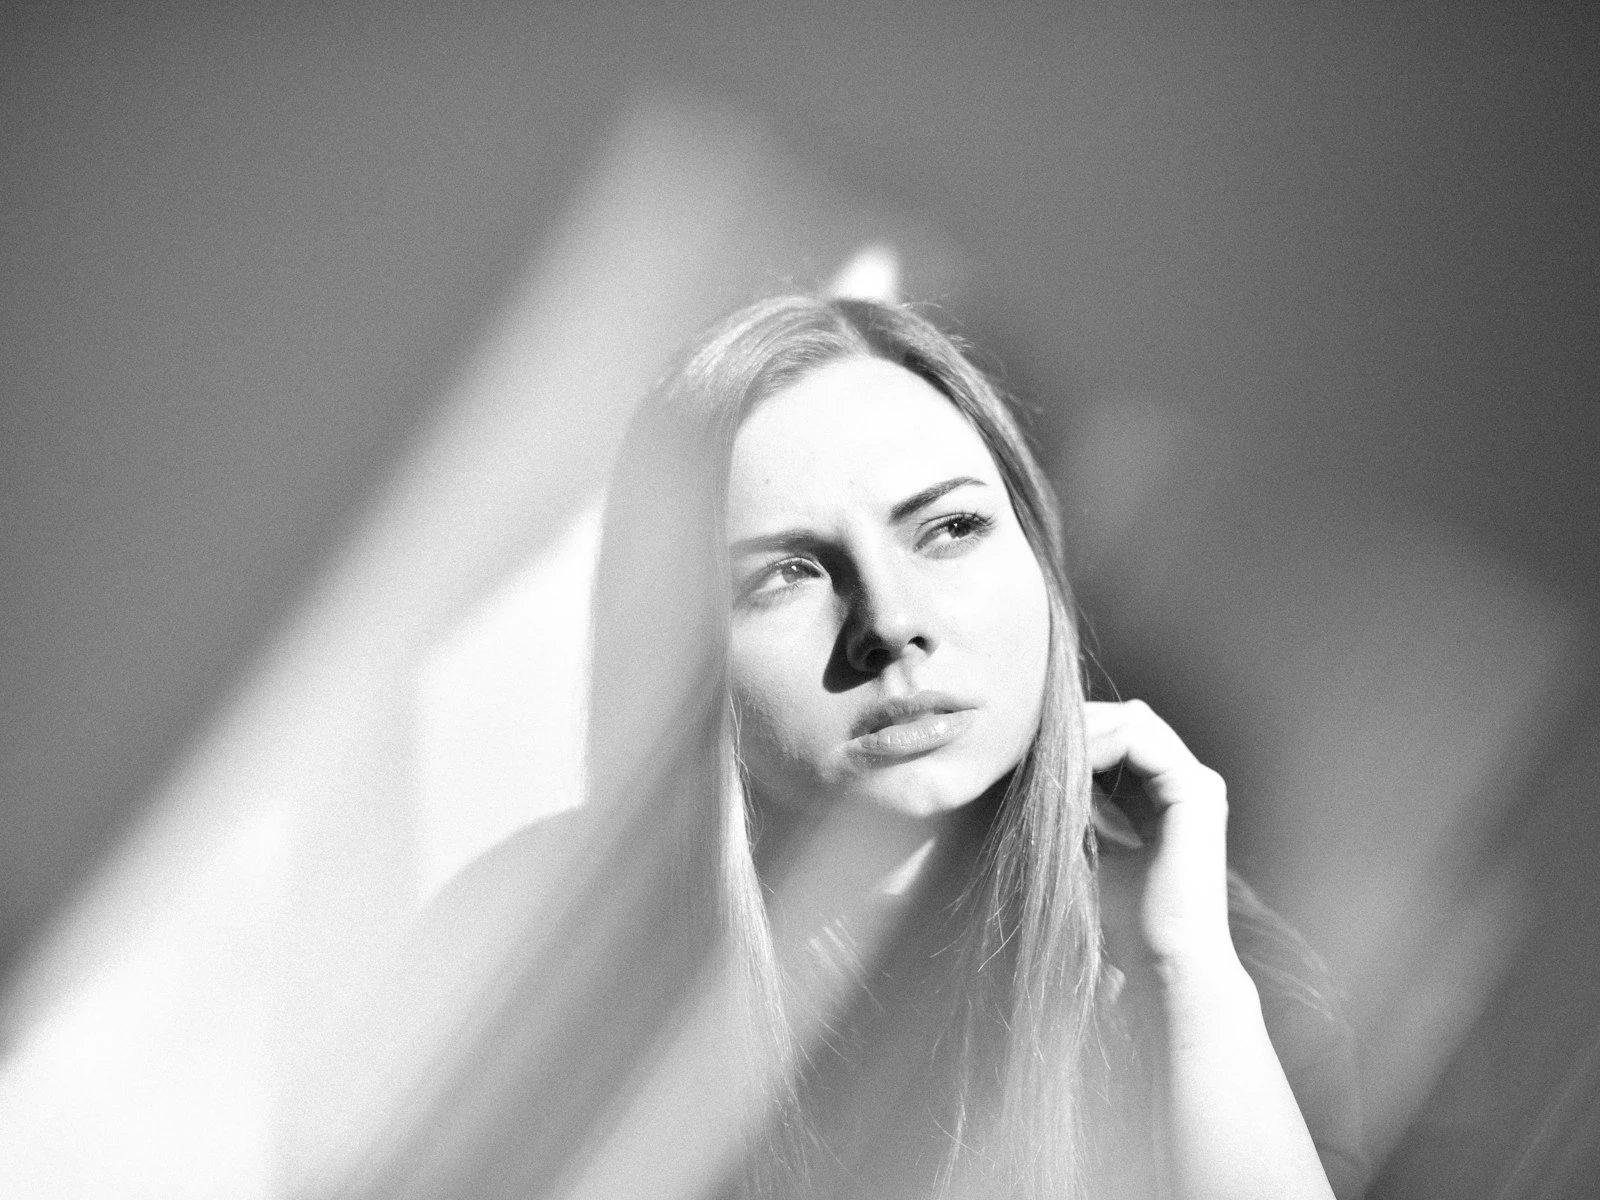
Side light creates shadows on one side of the face. Dramatic when intended, harsh when not.
Front light minimizes shadows by filling them in from the camera's direction. Flattering but potentially flat.
Low light (from below) creates the horror-movie effect, with shadows where highlights normally are and highlights where shadows normally are. Almost always unflattering.
The Primary Culprits
Certain lighting situations reliably create harsh facial shadows.
Direct Midday Sun
When the sun is high and direct, it creates all sorts of problems.
- Deep shadows in eye sockets
- Hard shadow under nose
- Harsh shadow under chin
- Squinting eyes
- Every skin texture emphasized
This is the most common cause of harsh facial shadows in amateur portraits. People want to take photos outside on nice days, so they photograph in full sun.
Dappled Light
Sunlight filtering through trees creates bright spots and shadows that fall randomly across faces. What looks charming in person becomes distracting patches of light and shadow in photos.
Overhead Indoor Lighting
Most ceiling lights cast light straight down, creating the same overhead shadow problems as midday sun, just indoors. Track lighting, recessed lights, and overhead fixtures all create this issue.
Mixed Light Sources
Multiple light sources from different directions create multiple shadows. A subject lit by both a window and an overhead light might have shadows going in two directions, which looks confusing and unflattering.
Solution One: Find Softer Light
The simplest solution to harsh shadows is moving to softer light. Soft light still creates dimension but with gentle gradations rather than hard edges.
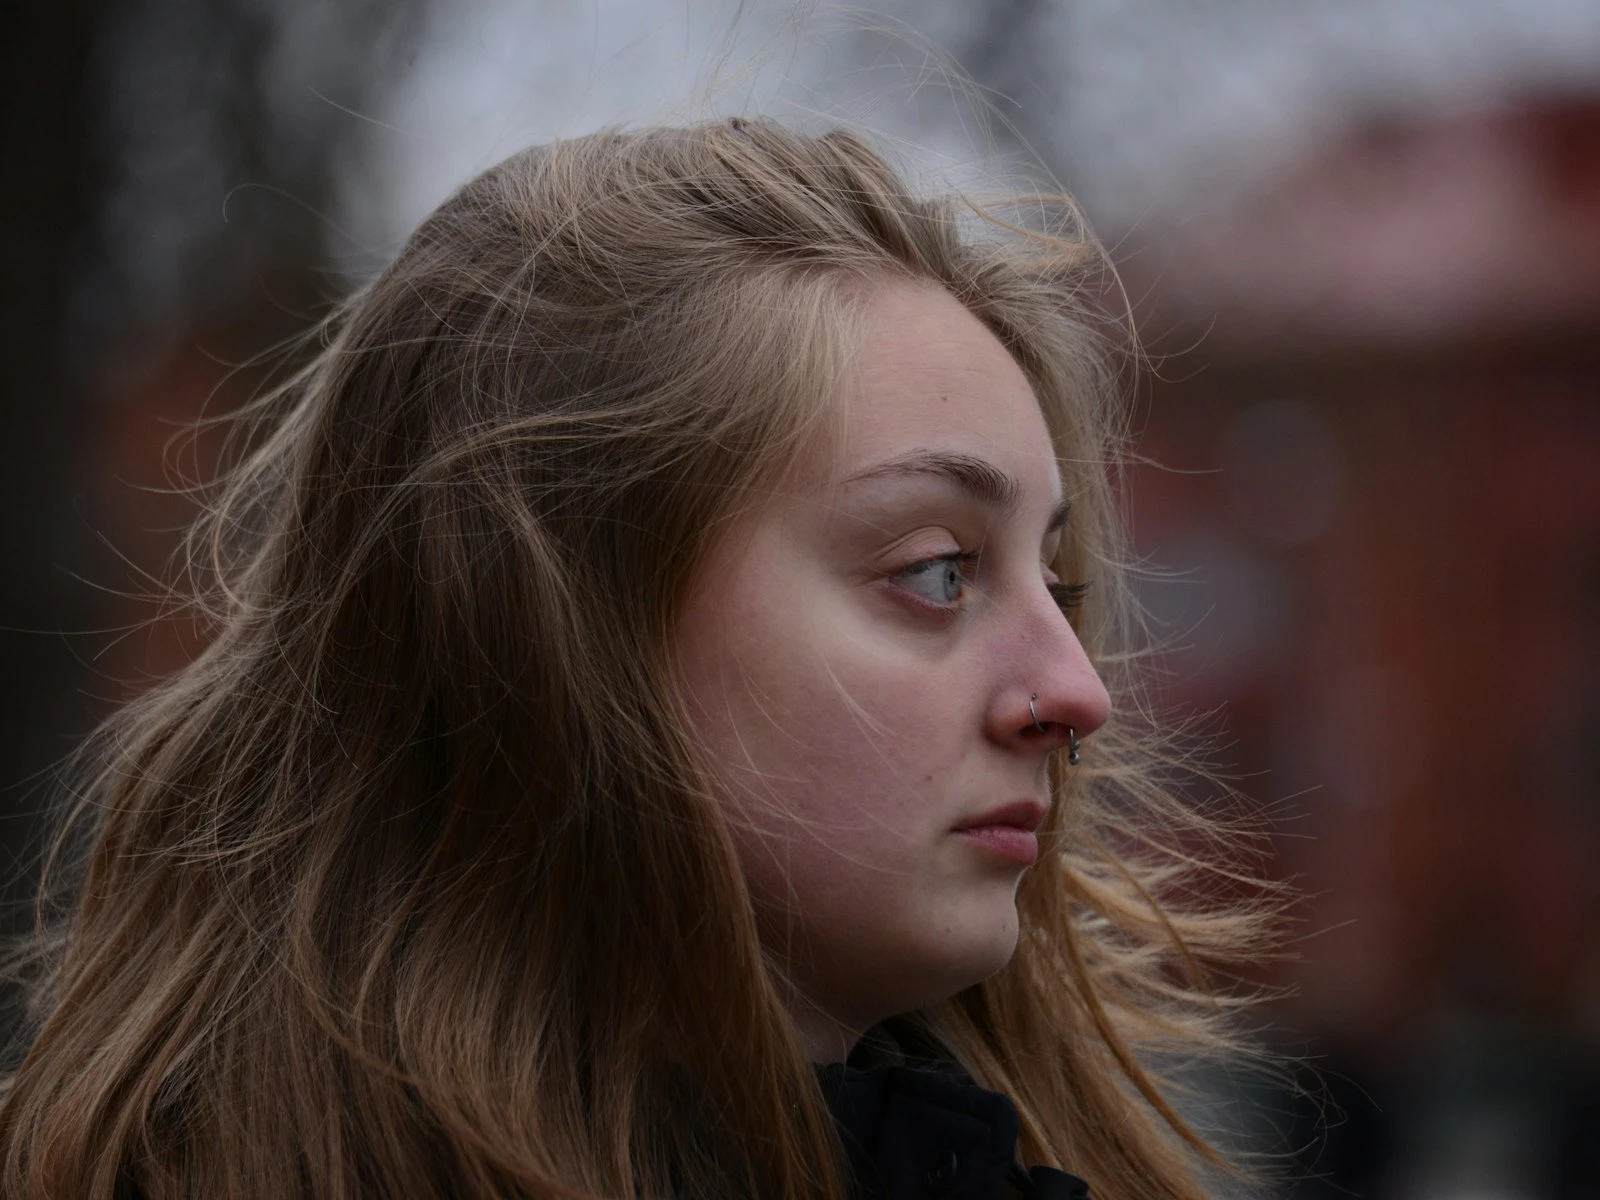
Open shade is the portrait photographer's best friend. Step just inside the shadow of a building, awning, or tree, and harsh sun becomes soft, directional light. The subject is shaded from direct sun but illuminated by the bright sky.
Overcast days are natural softboxes. Clouds diffuse the sun, creating soft, even light from the entire sky. The light still has some direction (brighter toward the sun) but without harsh shadows.
Large windows provide soft light indoors. The bigger the window, the softer the light. North-facing windows (in the northern hemisphere) never get direct sun and provide consistently soft light.
Reflected light is naturally softened. Light bouncing off walls, ceilings, or light-colored surfaces spreads out and becomes softer. A subject in shade near a sunlit white wall gets beautiful, soft fill light.
Moving from harsh light to soft light immediately solves most facial shadow problems.
Solution Two: Change the Light Direction
If you can't change the quality of light, you can often change its direction relative to your subject.
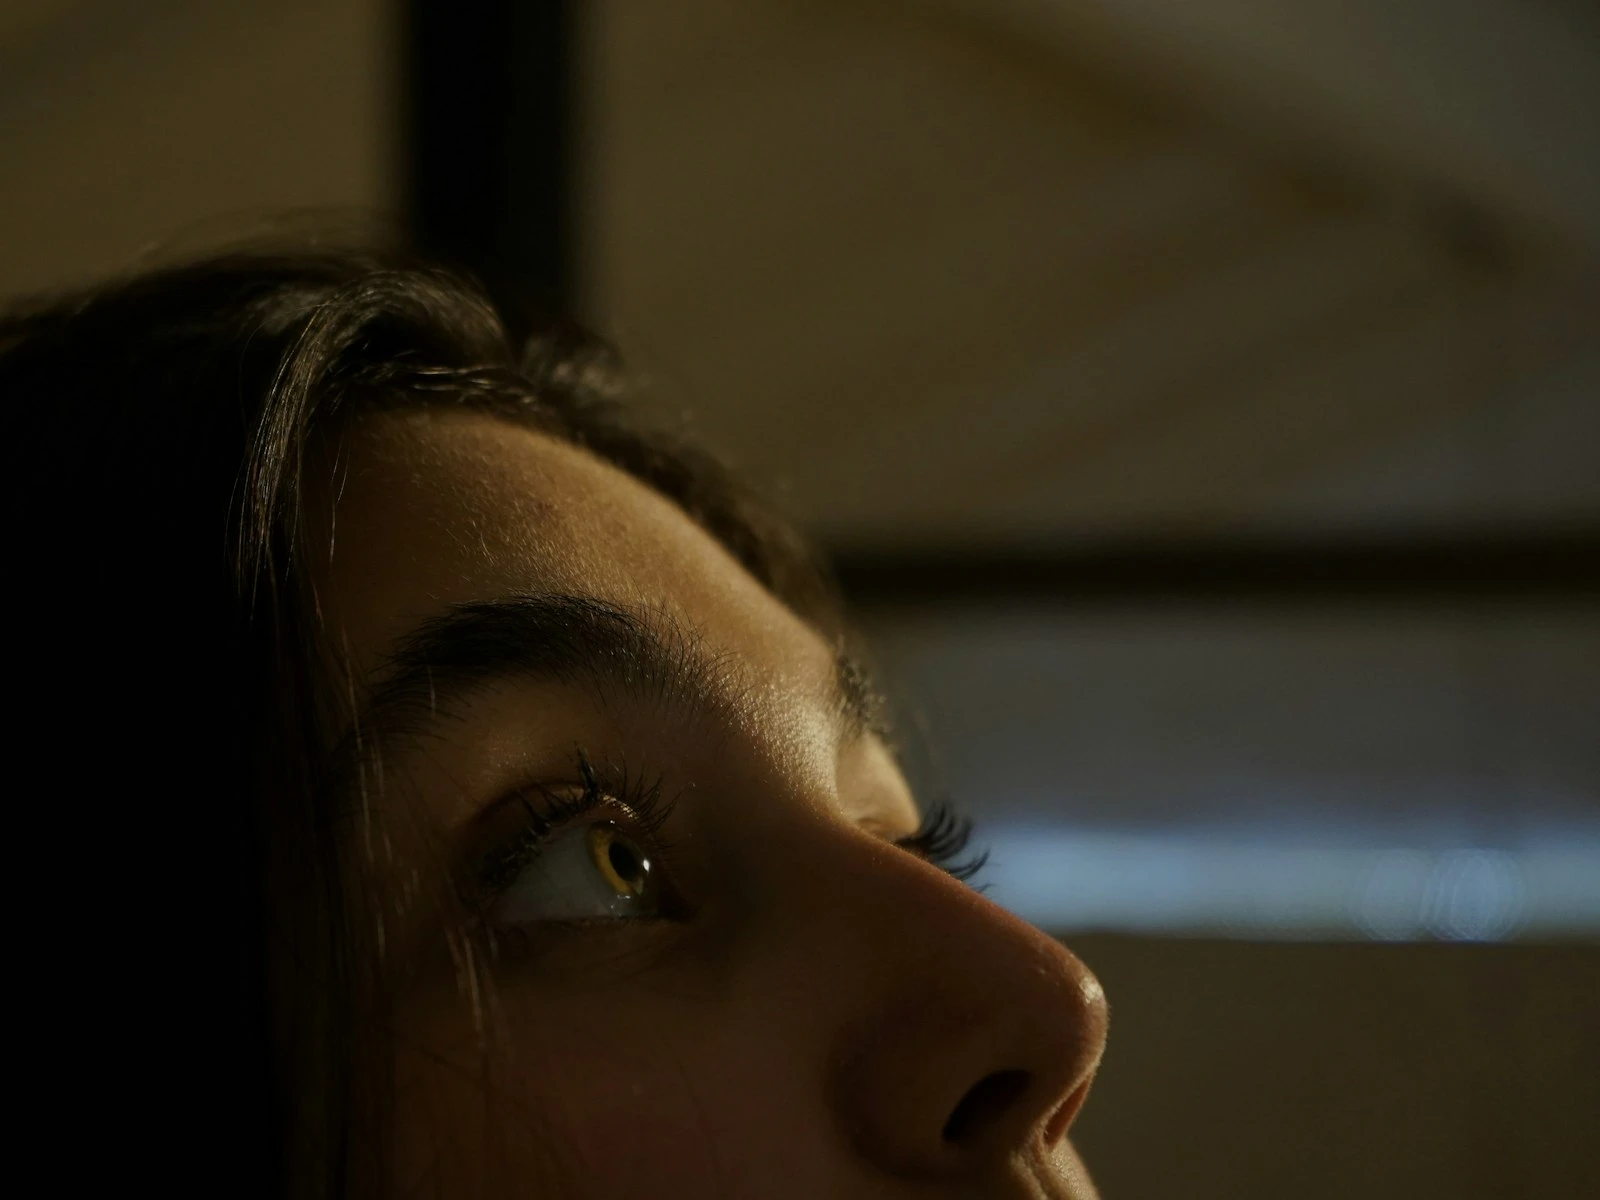
Rotate your subject. When overhead sun is creating eye shadows, turn the person slightly upward, chin lifted, face toward the light. The shadow angle changes.
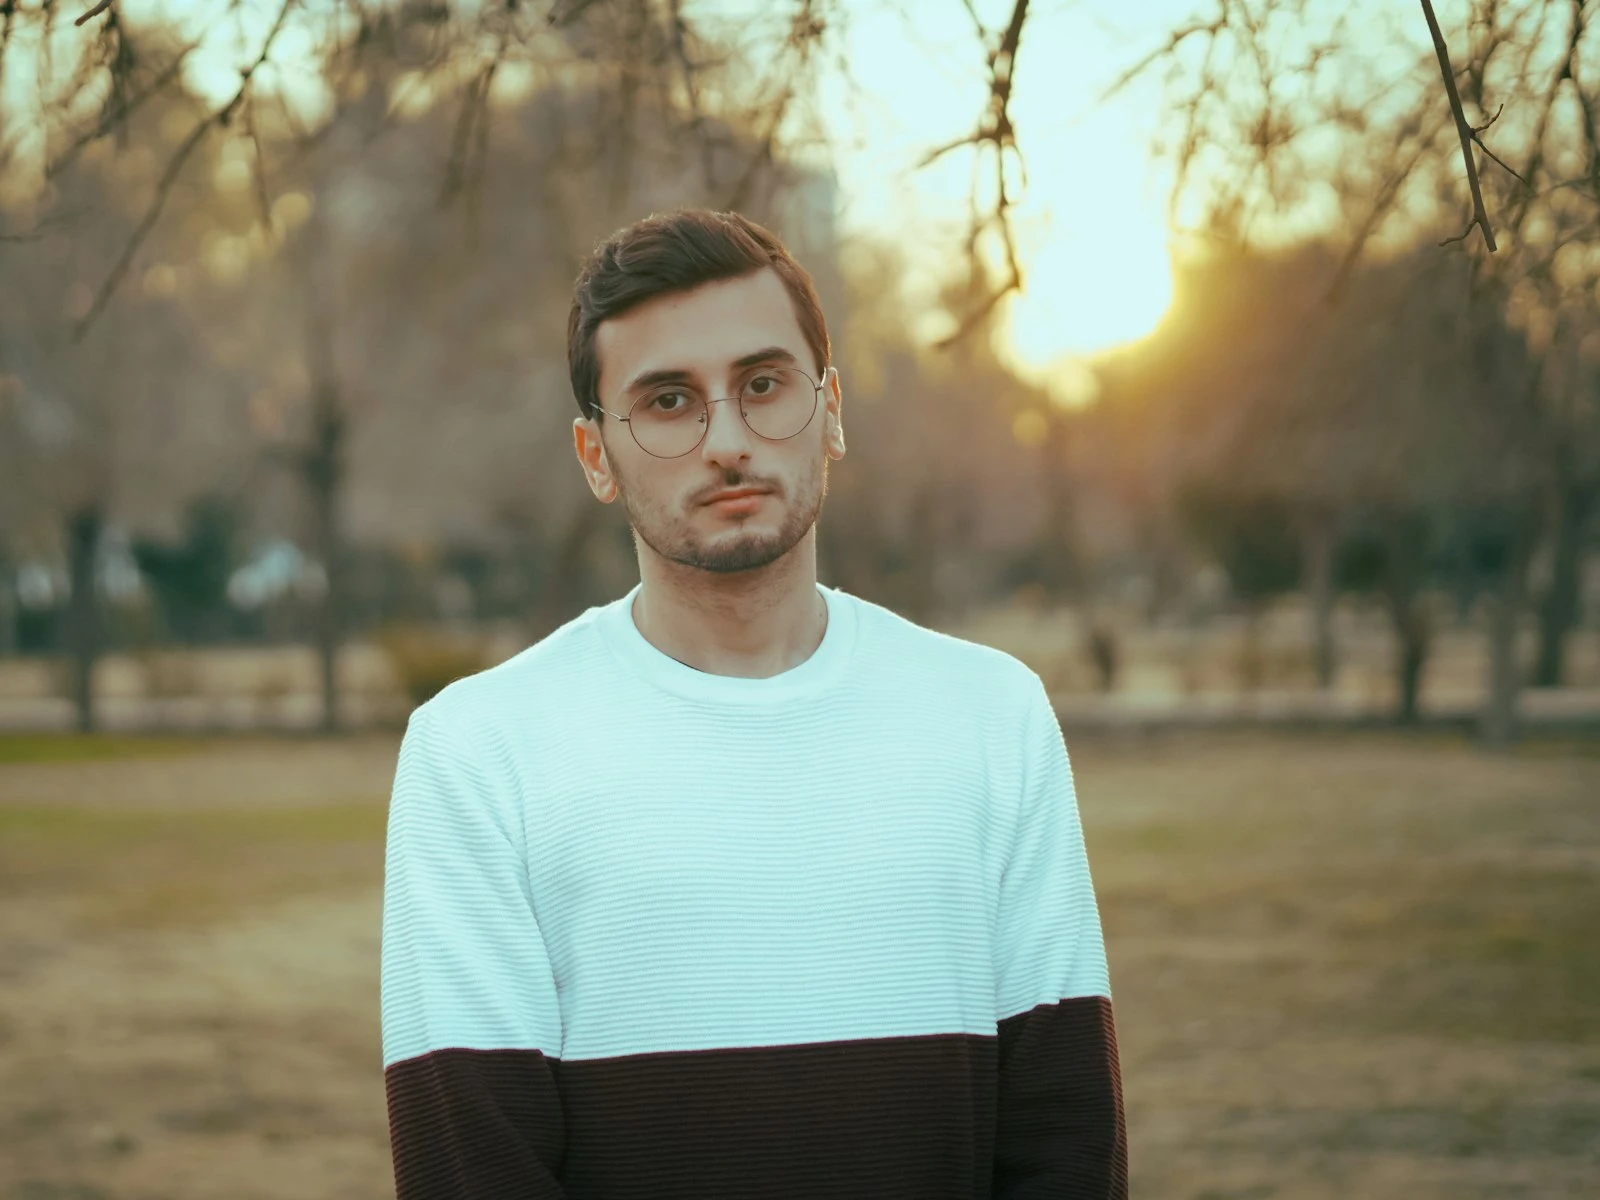
Change your location. Move to where the light comes from a lower angle. Early morning and late afternoon sun hits faces more directly (from the side) rather than from above.
Move closer to the light source. Standing close to a window makes the light effectively larger (relative to the subject), which softens it. Standing far from the same window makes it act like a harder light source.
Use architecture. Doorways, porches, and building overhangs create situations where light comes from one direction only, the open side, eliminating overhead light.
Solution Three: Fill the Shadows
When you can't avoid shadows, you can reduce their intensity by adding light to them:
Natural reflectors exist everywhere. Position your subject near a light-colored wall, sidewalk, or building face. Light bounces off these surfaces and fills shadows from below or the side.
White clothing or objects can reflect light up into face shadows. A subject holding a light-colored book or wearing a white shirt gets some fill light bounced up under their chin.
Foam board or card stock works as an improvised reflector. A white poster board held below frame can bounce light up into chin and eye shadows.
Even a car hood can work. The reflective surface of a white or silver vehicle bounces light into facial shadows when a subject stands near it.
Fill light doesn't eliminate shadows. It just makes them less intense. A three-stop shadow becomes a one-stop shadow. The face gains dimension without the harshness.
The Position Protocol
When you encounter harsh shadow situations, work through these steps.
-
Evaluate the light. Where is it coming from? Hard or soft?
-
Look for better light nearby. Shade, doorways, overhangs. Anything that modifies the light.
-
If you can't move locations, rotate the subject. Face them toward the light source at an angle that minimizes unflattering shadows.
-
Look for fill opportunities. Light surfaces, reflectors, anything that bounces light into shadows.
-
Check your results. Take a test shot, zoom in on the face, and evaluate. Adjust and reshoot if shadows are still problematic.
This sequence becomes automatic with practice. You'll walk into any location and immediately assess shadow potential.
Indoor Shadow Solutions
Indoor lighting creates its own shadow challenges.
Turn off overhead lights. If window light is available, it's almost always more flattering than ceiling lights. Turn off the overheads and use window light only.
Move close to windows. The closer to a window, the softer and more flattering the light. Position subjects within a few feet of large windows.
Watch for mixed color temperatures. If you must use overhead lights, try to match the color temperature or you'll have competing colors across the face.
Create distance from backgrounds. Hard shadows behind subjects (created by on-camera flash or direct light) become less visible when subjects are further from the background.
Use lamplight carefully. Table and floor lamps create warm, intimate light but can also create hard shadows if positioned wrong. Use them as fill rather than main light.
Common Scenario Fixes
Family gathering in backyard, midday: Move the group under the patio cover or tree shade. Have them face the open yard (the light source).
Headshot with overhead office lighting: Turn off overheads if possible. Use window light. If no window, add a desk lamp at eye level from the side to counteract overhead shadows.
Portrait under a tree: Watch for dappled light. Either move fully into shade (no sun filtering through) or move to where a patch of shade is uniform.
Beach or open area with no shade: Turn subject's back to the sun (backlight them), then expose for their face. Or shoot during golden hour when the sun is low.
Indoor event with harsh overhead fixtures: Find the darkest corner near a window. Or accept the lighting and minimize harsh shadows through face angle.
When Shadows Are Intentional
Not all facial shadows are bad. Side lighting that creates shadow on one side of the face can be dramatic and flattering. The difference comes down to intention and control.
Intentional shadows have purpose. They create mood, dimension, or dramatic effect. They're positioned deliberately, much like catchlights are placed to bring eyes to life.
Problem shadows are accidental, like eye shadows, nose shadows that bisect lips, and shadows from random objects. They distract rather than enhance.
Learn to distinguish between shadows that serve the image and shadows that harm it. Then eliminate the latter while potentially embracing the former.
Quick Reference
Situations that create harsh facial shadows:
- Direct midday sun
- Overhead indoor lighting
- Dappled light through trees
- Small, direct light sources
- Subject far from large windows
Solutions:
- Move to open shade
- Shoot on overcast days
- Position near large windows
- Rotate subject toward light
- Use natural reflectors to fill shadows
- Turn off competing light sources
- Shoot during golden hour
What to look for:
- Shadows in eye sockets
- Hard shadow under nose
- Distinct chin shadow
- Multiple shadow directions
- Patchy light on face
Harsh facial shadows are almost always avoidable with awareness and positioning. The light that exists in most locations can become flattering light. You just need to know where to put your subject.
Key Takeaways
- Move subjects into soft, directional light (open shade, near a window, overcast sky) to eliminate harsh facial shadows at the source.
- Turn the subject's face toward the light so their brow, nose, and chin do not cast hard shadows into eye sockets and across features.
- Use a reflector or white surface on the shadow side to bounce light back into dark areas and reduce contrast across the face.
- Hard facial shadows are caused by small light sources relative to the face, so finding larger, softer light sources is the most effective fix.
More in This Guide
Continue exploring portrait techniques.

Related Guides


