To photograph Christmas and holiday lights, turn off your flash, let the lights themselves be the main source, and pick settings for the job in front of you.
- A tree indoors with people wants a wide aperture and high ISO, handheld.
- A lit house outside wants a tripod, a low ISO, and the few minutes of blue hour when the sky still has color.
- Glowing bokeh wants a wide aperture and plenty of distance between your subject and the lights.
Then set your white balance warmer than "correct" so the lights still look like lights.
Most holiday light photos go wrong for one of two reasons. Either the flash fires and flattens everything into a bright, shadowless snapshot with tiny dots where the glow used to be, or the camera's auto settings turn the warm, golden mood into a cold, neutral scene that looks nothing like the room felt.
This guide is part of the low light photography hub. It breaks holiday lights into three different jobs, because the settings that work for one fail completely for the others.
If you want the general reasoning behind low light choices first, camera settings for low light without flash covers the order to set things in. Here the focus is on what's specific to string lights, trees, and decorated houses.
Why Holiday Lights Fool Your Camera
Small bright points scattered across a dark scene are hard for any meter. Your camera averages the frame, sees mostly darkness, and brightens the exposure, so the bulbs blow out into white blobs and lose their color while the shadows fill with noise.
Holiday lights also look different to your eyes than they do on a sensor. Your eyes adjust to the warm glow and the dark room at the same time, but your camera can only record one exposure, so you have to decide what matters most.
Usually that means keeping the lights bright and colorful and letting the darkest corners go dark.
The third problem is color. Most indoor holiday lights are warm, and auto white balance tries to "fix" that warmth by pushing everything toward blue. The result may be technically neutral, but it feels wrong, as you'll see further down.
Job One. The Tree Indoors With People
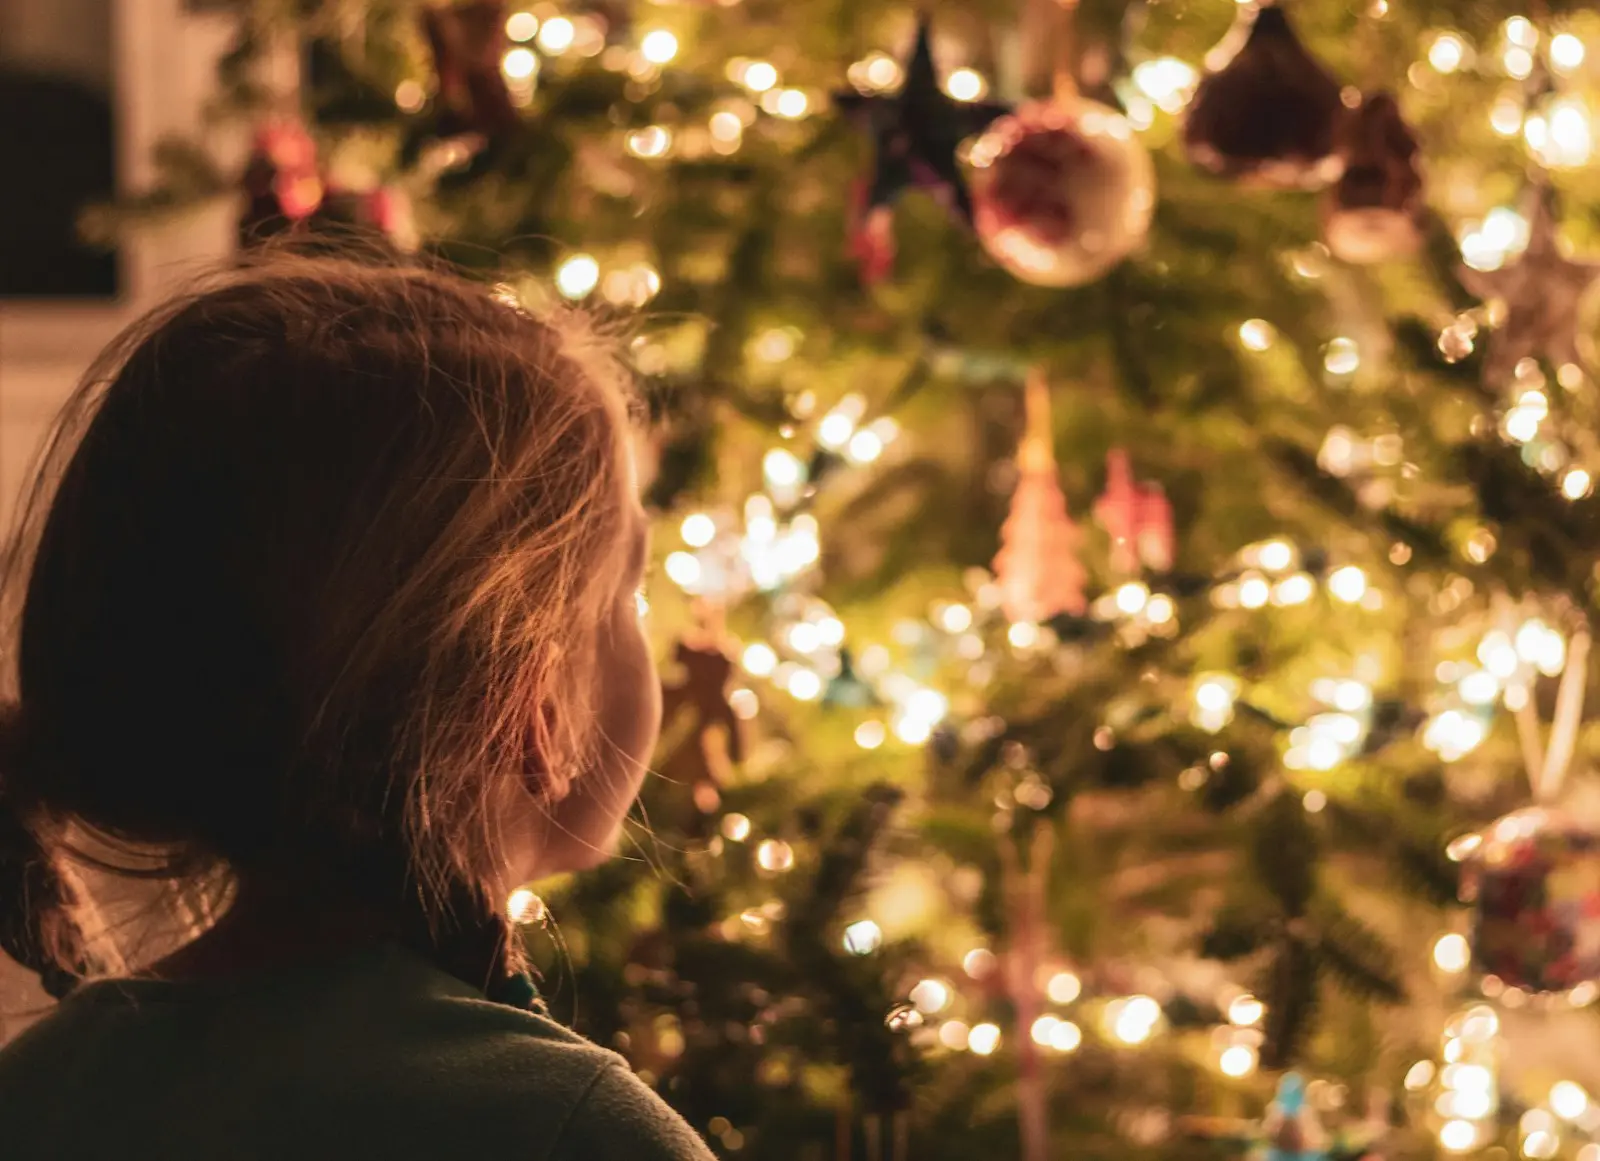
This is the photo most people actually want, with family around the tree, kids opening presents, or someone hanging the last ornament. The tree lights should glow, and the faces should be lit, sharp, and natural.
The challenge is that tree lights aren't bright enough to light a face on their own unless the person is very close to them. You need a little help from the room, and you need settings that gather as much light as possible while people move.
Starting Settings
| Setting | Starting point | Why |
|---|---|---|
| Mode | Aperture priority or manual | You choose the aperture and keep control of the shutter |
| Aperture | f/1.8 to f/2.8 (or your widest) | Gathers light and blurs the lights behind into soft glow |
| Shutter speed | 1/100s for people, 1/60s for posed and still | Fast enough to stop small movements |
| ISO | 1600 to 6400 | Whatever fills the remaining exposure |
| White balance | Daylight or about 4000K | Keeps the lights warm (see below) |
| Flash | Off | Preserves the glow |
If you're using a kit zoom that only opens to f/3.5 or f/5.6, expect to sit at the top of that ISO range, and don't worry about it. A slightly grainy photo of a real moment beats a clean, blurry one.
The indoor low light guide has more on bracing yourself and finding the light that's already in the room.
Balance the Room Against the Tree
Turn every room light off and the tree looks spectacular while the people disappear into silhouettes. Turn every light on and the tree lights stop registering at all. The answer is somewhere in between.
Turn off the harsh overhead fixture, leave one or two lamps on at the far side of the room, and position people so the tree is beside them rather than directly behind. The lamp gives faces enough light to read, and the tree still glows because the room as a whole is dim.
If faces are still too dark, move people closer to the tree. Light falls off fast with distance, so a child sitting right next to the branches can be lit by the tree alone, while an adult standing two meters away can't.
If you do need flash, bounce it off the ceiling and set your shutter to around 1/30s so the camera records the ambient glow as well. Balancing flash with ambient light explains the technique, which is often called dragging the shutter.
Kids and Movement
Children near a tree on a holiday morning move constantly. Raise your shutter speed to 1/160s or faster, accept a higher ISO, and use continuous autofocus on their faces.
Shoot in short bursts. In dim light, one frame in three will often be sharper than the others, simply because your hands were steadier for that instant.
Job Two. Lit Houses and Displays Outside
A decorated house photographed in full darkness looks like a pattern of colored dots floating in black. Photographed during blue hour, it looks like a house, with a roofline, a deep blue sky, and lights that glow against it.
Time It for Blue Hour
The window you want starts around 15 minutes after sunset and lasts roughly 20 to 30 minutes, depending on your latitude and the season. During that time the sky darkens until it roughly matches the brightness of the lights, and that balance is what makes the photo work.
Check sunset and blue hour times for your location with the golden hour calculator, then arrive early enough to set up before the window opens. Blue hour photography explains why this short period gives such rich color.
Shoot a frame every few minutes as the light changes. The early frames will have a bright sky that competes with the lights, and the late frames will have a nearly black sky. One frame in the middle will be the keeper, and you usually can't tell which one until you see them side by side.
Starting Settings on a Tripod
| Setting | Starting point |
|---|---|
| Mode | Manual |
| ISO | 100 to 400 |
| Aperture | f/8 for overall sharpness, f/11 to f/16 for starbursts |
| Shutter speed | 1 to 8 seconds, adjusted by eye and histogram |
| Focus | Manual, set on the house using magnified live view |
| Release | 2-second timer or remote |
A tripod is what makes these settings possible. If you're deciding whether it's worth carrying one, when you need a tripod walks through the tradeoff. Without a tripod you're back to wide apertures and high ISO, and the house will look softer.
Small apertures like f/16 turn every bulb into a little star. This starburst effect looks festive on a few large bulbs and messy on a wall of hundreds, so test both and decide for each scene.
Watch the Highlights
If the brightest bulbs are blowing out to pure white, shorten the shutter speed until they keep some color. Check the histogram and make sure the data isn't stacked against the right edge. Some darkness in the yard and the street is fine.
Large inflatable decorations, spotlights, and projectors are often several stops brighter than string lights. Expose for the brightest element you care about and let the dimmer ones be dim. For a whole street of displays, the techniques in photographing city lights at night apply directly, including how to handle mixed sources like orange streetlights.
Blinking and Chasing Lights
Lights that blink, fade, or chase in a pattern can leave gaps in a short exposure where half the bulbs happen to be off. You can fix this in two ways. Use an exposure of several seconds so every bulb has time to turn on at least once, or switch the controller to its steady mode if you have access to it.
LED strings sometimes flicker faster than your eye can see. If you notice dark bands across the frame at fast shutter speeds, especially with an electronic or silent shutter, switch to the mechanical shutter or slow down to 1/60s or longer.
Job Three. String Light Bokeh
Out-of-focus fairy lights turn into soft, glowing circles, and behind a portrait, an ornament, or a mug of cocoa they make a frame feel instantly festive. This is the easiest of the three jobs once you understand what controls the size of those circles.
What Makes Big, Soft Circles
Three things make the background circles larger and softer.
- A wide aperture. f/1.8 or f/2.8 gives much bigger circles than f/5.6.
- A close subject. The closer you focus, the more blurred the background becomes.
- Distant lights. The farther the lights are behind your subject, the larger they render.
All three are the same levers that control depth of field. A longer focal length helps as well, because it magnifies the background along with the blur. A 50mm or 85mm lens at f/1.8, with the subject a meter away and the lights three or four meters behind, will give you large, creamy circles.
A Simple Setup at Home
You don't need a decorated house for this. Hang a string of lights on a wall, or drape it over a chair several meters behind a small object on a table.
Put the camera close to the object, open the aperture all the way, and focus on the object. Then move the lights farther back until the circles look the way you want.
For a portrait, have the person stand well in front of a tree or a window full of lights, with plenty of space between them and the bulbs. That extra distance is what turns sharp bulbs into glowing bokeh.
Shaped Bokeh
Cut a small shape, like a star or a heart, into a piece of black card and hold it over the front of the lens. Every out-of-focus point of light takes on that shape.
Keep the cutout smaller than your lens opening (around 1 to 1.5 cm works for most fast primes), shoot at your widest aperture, and make sure the lights are well out of focus. It's a little gimmicky, but kids love it.
The White Balance Trick That Keeps Lights Looking Like Lights
This is the single most important setting for holiday photos, and it's the one most people leave on auto.
Incandescent and warm white LED holiday lights glow at roughly 2700K. If you set your white balance to match them (the tungsten preset, around 3200K), the camera neutralizes that warmth. The bulbs turn white, the glow disappears, and the room looks like a clinical photo of an office.
Auto white balance often makes the same correction, just less predictably. Why indoor photos look yellow or orange explains the color temperature behind this.
For holiday lights you want the opposite, which means keeping some of that warmth on purpose.
| White balance | Result |
|---|---|
| Tungsten (about 3200K) | Lights look white and flat, room looks cold |
| 3800K to 4500K | Lights warm and golden, skin still natural |
| Daylight (about 5500K) | Lights very warm and amber, cozy and nostalgic |
| Auto | Unpredictable, often too neutral |
A good starting point is 4000K for indoor scenes with people, and daylight for outdoor houses at blue hour. Daylight balance outside keeps the lights warm and lets the twilight sky stay a rich blue, which gives you that classic warm and cool contrast.
If you shoot RAW, you can fine-tune all of this later. White balance in Lightroom shows how to adjust temperature and tint after the fact. Even so, setting it in camera gives you a better preview on the back of the screen, which helps you judge the scene while you're still there.
Exposure Fixes for Each Job
If your photos still look wrong, the cause is usually one of these.
Bulbs are white blobs. You're overexposed. Lower the exposure by one or two stops until the bulbs keep their color.
Faces are dark but the tree looks great. The tree lights aren't reaching the people. Move them closer to the tree or add a dim lamp from the side.
Everything is blurry. Your shutter speed is too slow for handheld shooting. Raise ISO to get the shutter back up to at least 1/60s, or 1/125s if people are moving.
The sky outside is pure black. You missed blue hour. Come back the next evening about 15 minutes after sunset.
Colors look cold. White balance is on auto or tungsten. Switch to around 4000K or daylight.
Photographing Holiday Lights on Your Phone
Phones handle the indoor tree scene surprisingly well, because night mode stacks several frames to reduce noise. Hold the phone very still, or rest it on something, and let night mode run.
Tap on the brightest part of the tree and drag the exposure slider down a little so the lights keep their color.
For bokeh, portrait mode can blur the lights behind a person, though the circles will look more uniform than optical blur from a real lens. For outdoor houses, rest the phone on a wall or a small tripod and shoot during blue hour, exactly as you would with a camera. Low light photos on your phone covers the details.
Key Takeaways
- Turn off the flash and let the holiday lights be the main source, adding only a dim lamp or bounced flash when faces need help.
- Shoot decorated houses during blue hour, roughly 15 to 40 minutes after sunset, on a tripod at low ISO and f/8.
- Open your aperture wide, focus close, and keep the lights far behind your subject to turn them into large, soft bokeh.
- Set white balance to around 4000K indoors or daylight outdoors so the lights stay warm instead of being neutralized.