The difference between a flash photo that looks like a snapshot and one that looks natural is the ambient light you keep. The recipe fits in one sentence. Expose for the room first, then add just enough flash to lift your subject.
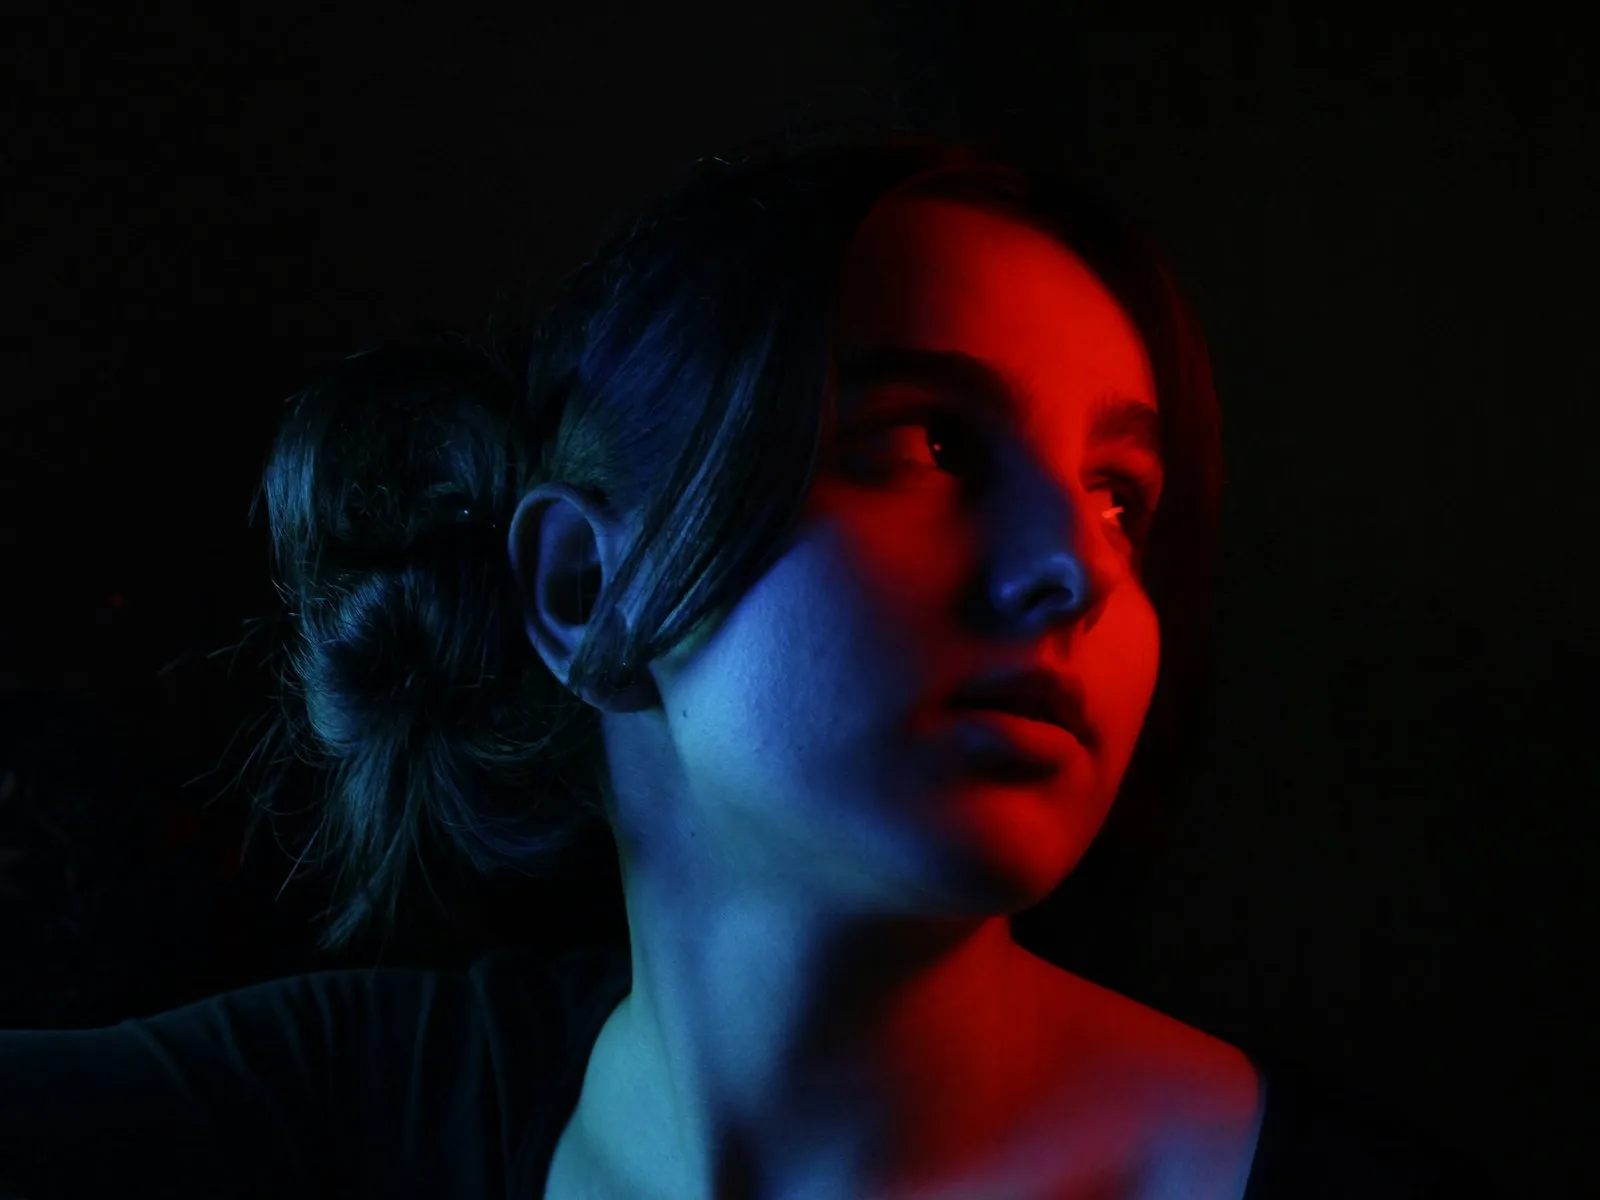
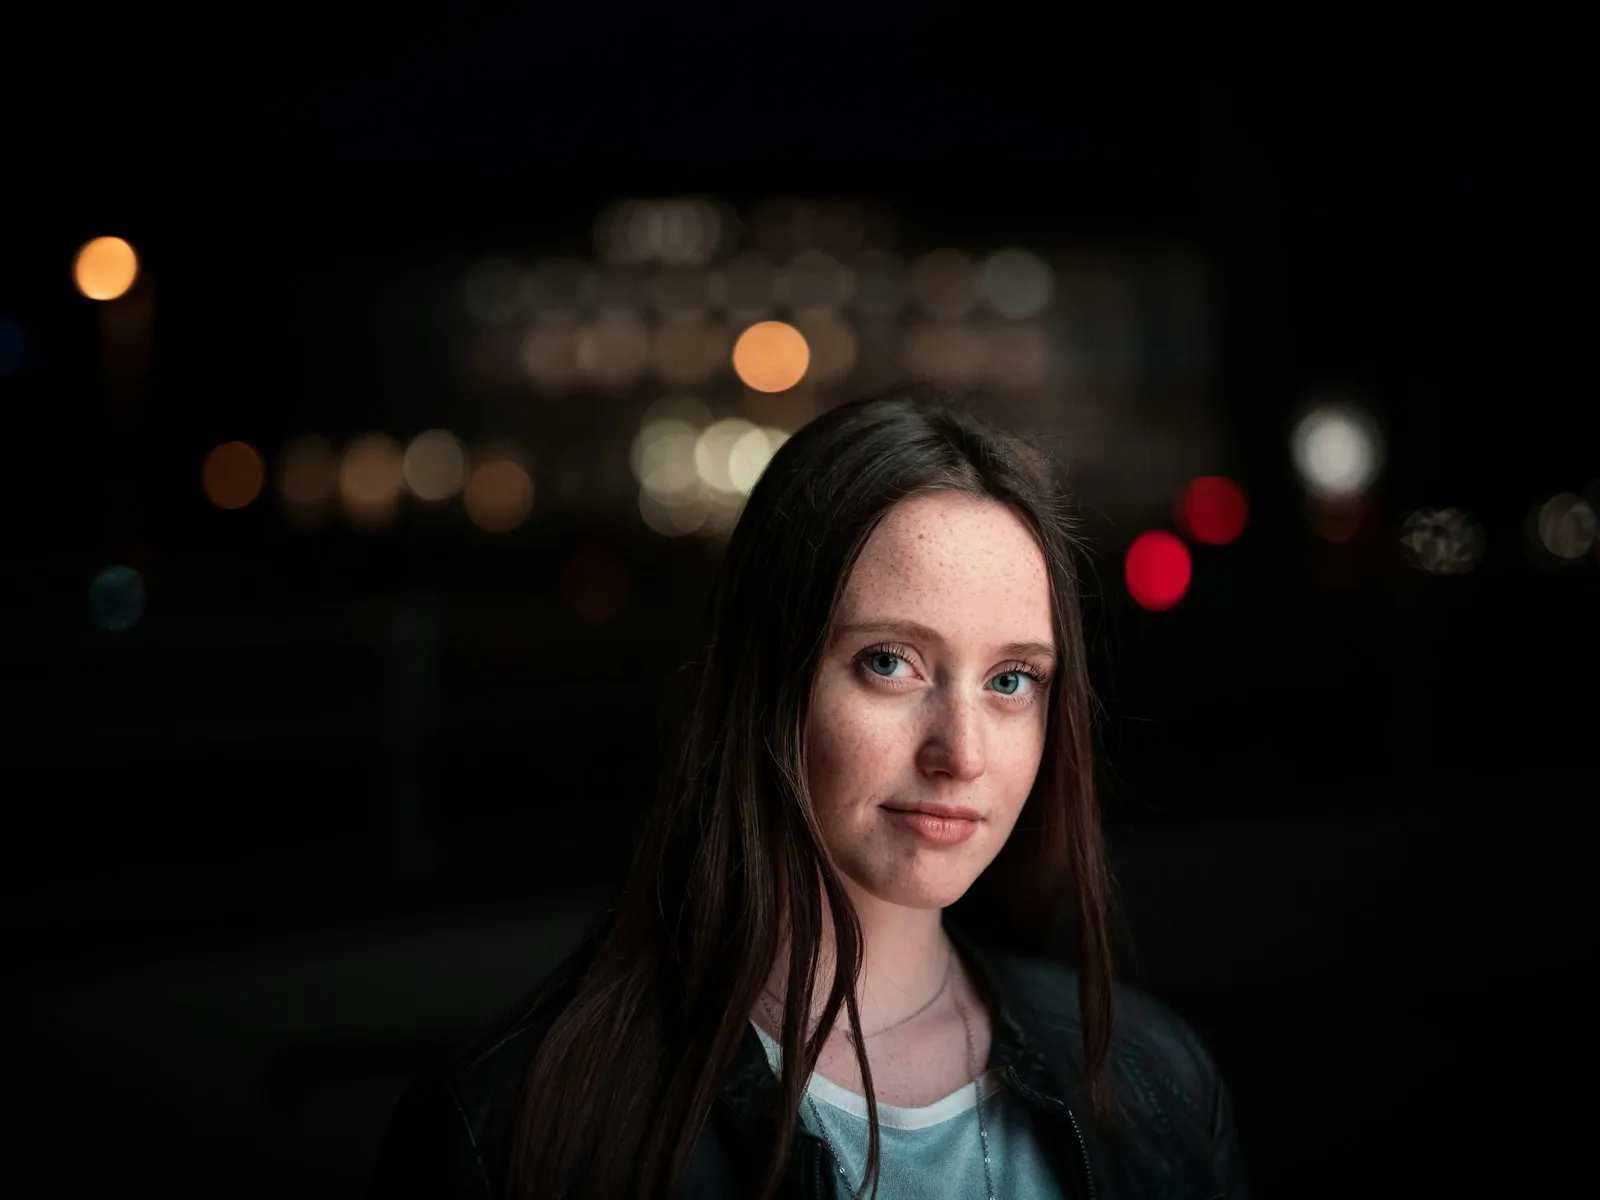
A snapshot nukes the room. The subject is blasted bright, the background collapses into a black cave, and everyone can tell a flash fired. A natural-looking flash photo keeps the ambient light in the frame, the warm lamps, the string lights, the glow of the venue, and adds flash as a clean layer on top. Same flash, same room. The only difference is balance.
This is one of the more advanced topics in the flash guide, and it's where the rest of the guide starts paying off, because balancing flash with ambient draws on exposure, sync speed, and flash power all at once.
Why Flash Photos Look Like Snapshots
Point a camera at a dim room, turn on the flash, and the camera makes a predictable set of decisions. It picks a safe shutter speed, keeps ISO low because the flash will handle brightness, and fires enough flash to expose your subject. The result is technically correct and visually dead.
Here's what actually happened. Your settings let in almost no room light. The entire exposure came from the flash, a small, hard source mounted inches from the lens. The lamps, the candles, the window at dusk, all of it disappeared because the sensor never got a chance to record it.
Think of ambient light as the base coat and flash as the accent. A snapshot skips the base coat entirely and paints the whole image with the accent. Everything you liked about the room, the warmth, the depth, the sense of place, came from light your settings threw away.
Balance means deliberately letting the room register first, then adding only as much flash as the subject needs. The flash stops being the photo and becomes a finishing touch on it.
The Two Exposures in Every Frame
Every flash photo is two photographs stacked on top of each other, one made by the ambient light and one made by the flash. This is the two-exposure model from how flash exposure works, and balancing is just that model applied on purpose.
The split comes down to which controls touch which exposure.
Shutter speed controls ambient only. A flash burst lasts around 1/1000 of a second or less, far shorter than any normal shutter speed. As long as the shutter is open when the flash fires, all of the flash arrives. Slowing from 1/200 to 1/50 doubles the ambient twice but changes the flash exposure not at all.
Flash power controls flash only. Dropping a speedlight from 1/4 power to 1/8 power cuts the flash layer by exactly one stop and leaves the room untouched. Each halving of the power fraction is one stop.
Aperture and ISO control both. Open up a stop or double your ISO and both layers brighten together by the same amount.
That's the entire control panel. Shutter speed is your ambient dial, flash power is your flash dial, and aperture and ISO move everything at once. Once that clicks, balancing stops being mysterious and becomes two dials you adjust independently.
Expose for the Room First
Most people set up flash photos backwards. They start with the flash and then wonder why the background died. Start with the room instead.
-
Turn the flash off. You can't see the ambient layer with flash contaminating every test shot.
-
Expose for the room. Set aperture for the depth of field you want, set a handholdable shutter speed, and raise ISO until a test shot shows the room the way it feels. This is the same triage you'd use for low light without flash.
-
Pull the ambient down about a stop. Drop ISO one notch or speed the shutter up slightly. You want the room moody but readable, because the flash is about to lift your subject above it.
-
Turn the flash on at low power. Start at 1/16 or 1/32 power in manual, or dial in minus 1 flash exposure compensation in TTL.
-
Adjust flash to taste. Subject too dark, add flash power. Subject looking obviously flashed, take some away. The room stays constant the whole time because you're only touching the flash dial.
The order matters. Ambient first, flash second. Get the base coat right and the accent takes two minutes.
Dragging the Shutter
Indoor events are where balance earns its keep, and the technique that makes it possible is called dragging the shutter.
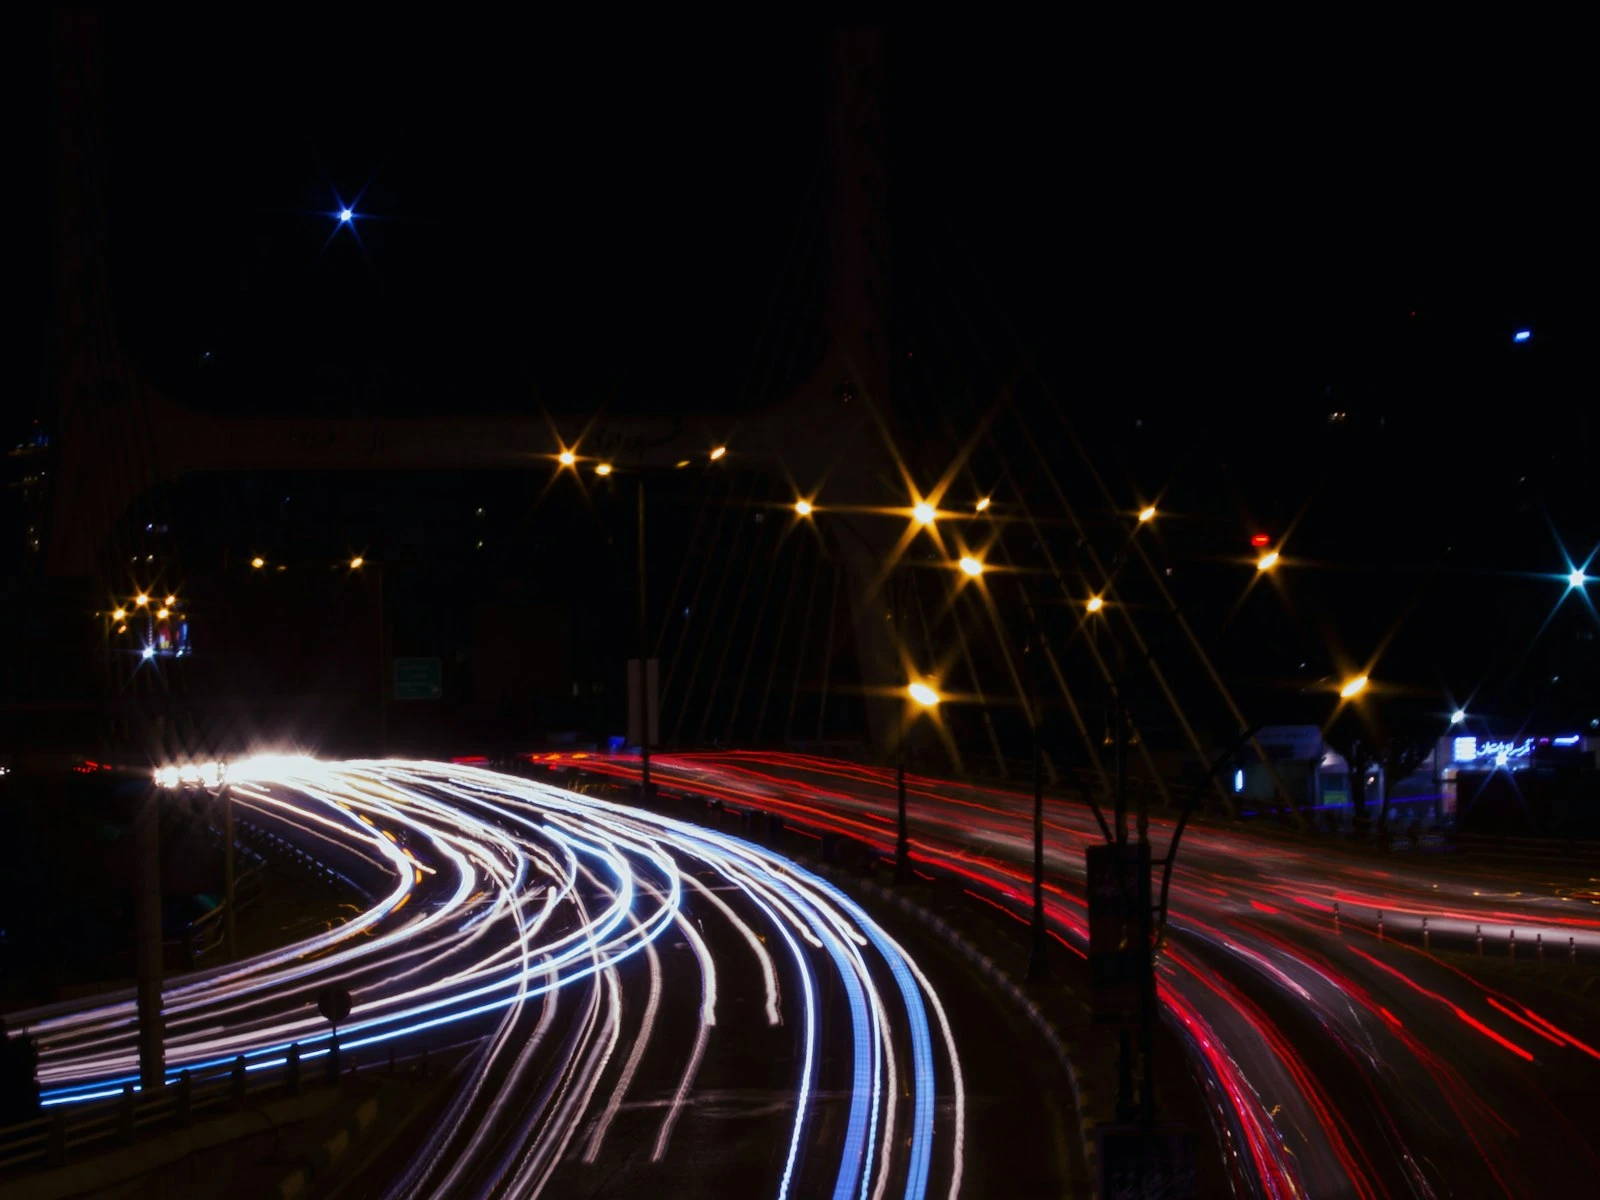
Most people shooting flash indoors park their shutter at 1/200 because it feels safe. That's the ceiling, since cameras cap flash work at a sync speed of around 1/200 to 1/250. But there is no floor. Drag the shutter down to 1/60, 1/30, even 1/15, and every halving doubles the ambient light reaching the sensor. The warm glow that 1/200 threw away comes flooding back into the frame.
The obvious objection is blur. Nobody handholds 1/30 and expects sharp results. The trick is that the flash freezes your subject. A flash burst lasts a tiny fraction of your shutter speed, so it acts like its own super-fast shutter for anything it illuminates. Your subject gets etched in place by the flash while the background, lit only by ambient, records with a little softness and motion. At a wedding reception or a party, a sharp subject on a slightly soft, warm background reads as energy and atmosphere, not as a mistake.
Compare that to shooting indoors without flash, where every dim room forces a brutal trade between noise and blur. Dragging the shutter with flash dissolves most of that trade. You keep a sane ISO, you keep the room, and the flash guarantees a sharp subject.
One thing to watch is ghosting. If the ambient alone is bright enough to expose your moving subject, they smear a faint translucent ghost across the flash-frozen version of themselves. Speed the shutter up a touch or pull the ambient down half a stop and it disappears.
Flash as Key vs Flash as Fill
Ratios make balancing concrete. Instead of thinking in absolute settings, think about the relationship between the two layers. There are only two basic arrangements.
Flash as key. The flash is your key light, the main source shaping the subject, and the ambient sits one to two stops below it as the supporting layer. Use this when the room light is dim, ugly, or coming from a bad direction. The flash does the sculpting and the ambient keeps the background alive. Most bounced-flash event photos work this way.
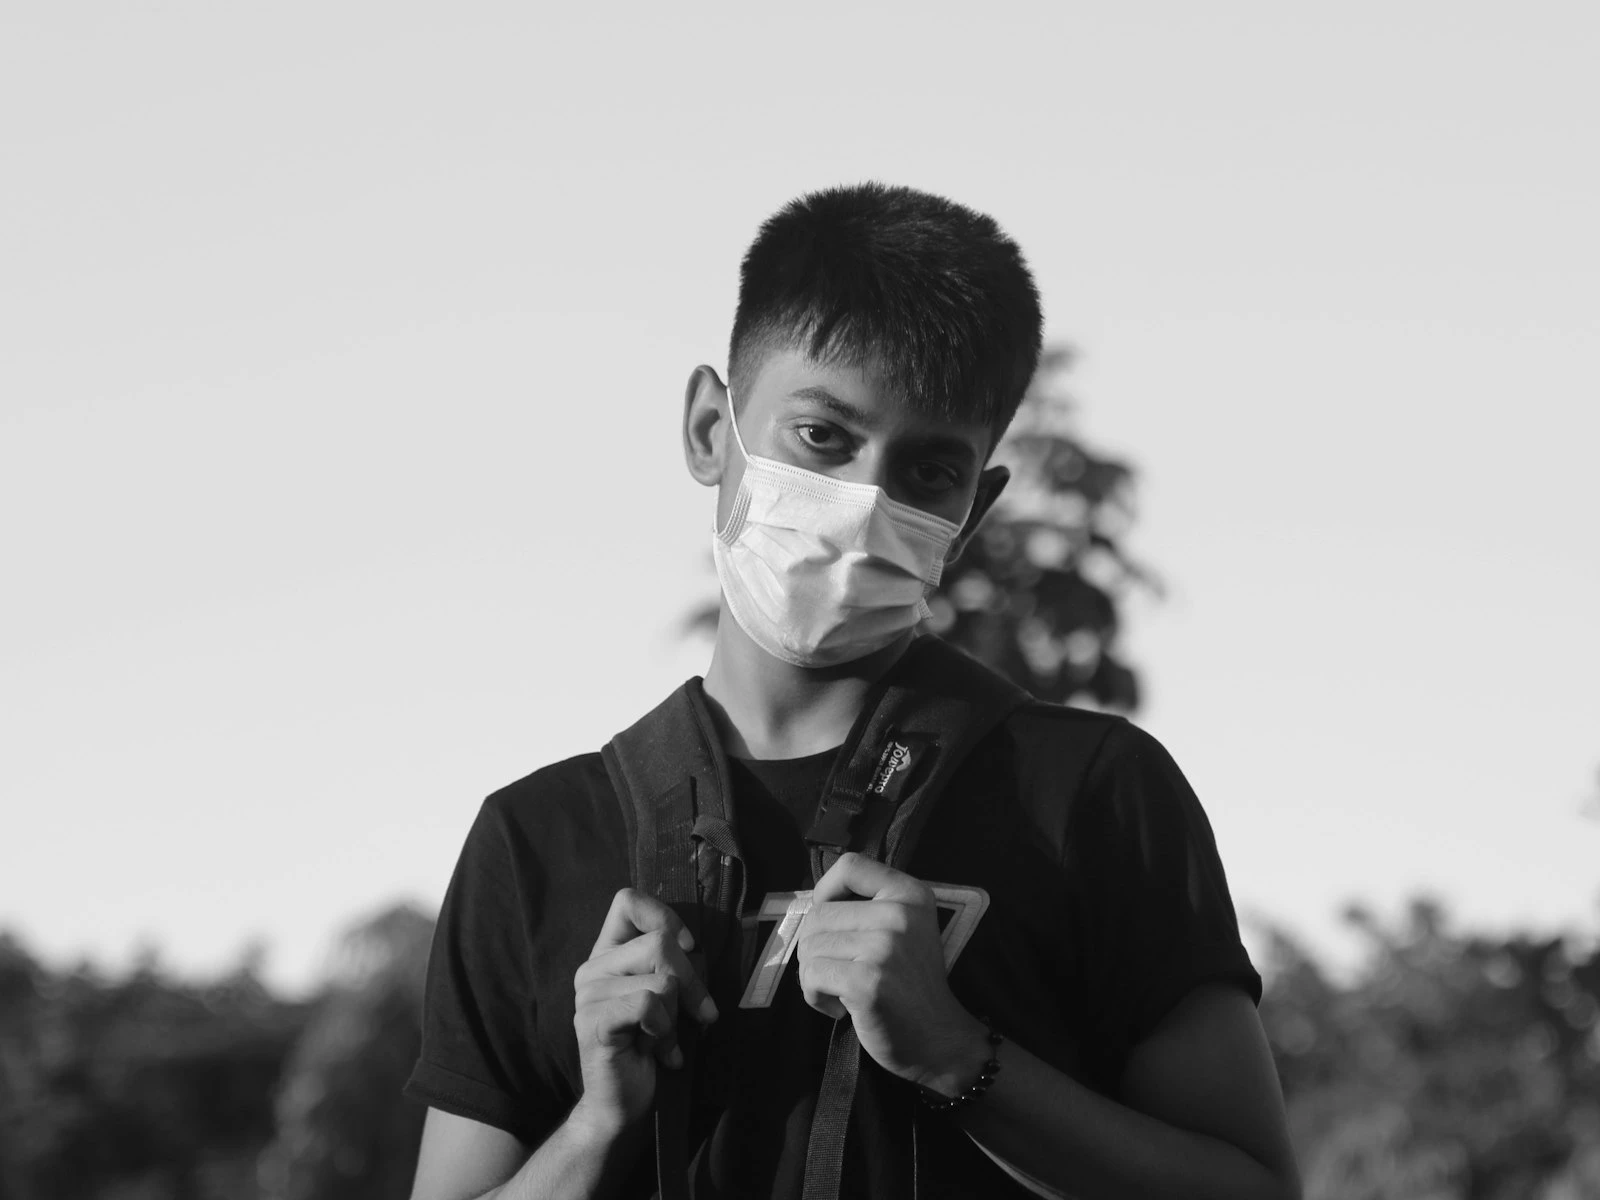
Flash as fill. The ambient is the main light and the flash sits one to two stops under it, quietly lifting shadows. This is the indoor cousin of fill flash outdoors. Nobody looking at the photo can tell a flash fired. Use this when the existing light is already good but the contrast is too high, like a subject beside a bright window with a dark room behind them.
The deciding question is simple. Is the existing light doing a good job on your subject's face? If yes, flash fills. If no, flash takes over as key and the ambient becomes background flavor.
Either way, the room stays in the photo. The ratio just decides who leads.
How Much Ambient to Keep
Preserving atmosphere is the whole point, so don't nuke the room. The practical question is how far below a normal exposure to set the ambient layer.
My take, after enough event work to trust the number, is that one stop under is the sweet spot. The room reads clearly as a place, with warmth and detail, but it sits visibly behind the flash-lit subject. The subject pops without looking pasted on.
Use that as a starting point and shift it for mood.
- Even with the flash. At zero stops under, the flash disappears and the photo looks unlit. Great for documentary work, risky for subject separation.
- One stop under. The natural look. The room glows, the subject leads.
- Two stops under. Moody and dramatic. The background falls away but stays present.
- Three or more stops under. The room is nearly gone and you're sliding back toward the black-background snapshot you were trying to avoid.
When you review shots on the back of the camera, check the background, not the subject. The subject will almost always look fine because the flash handled them. The background is where balance succeeds or fails.
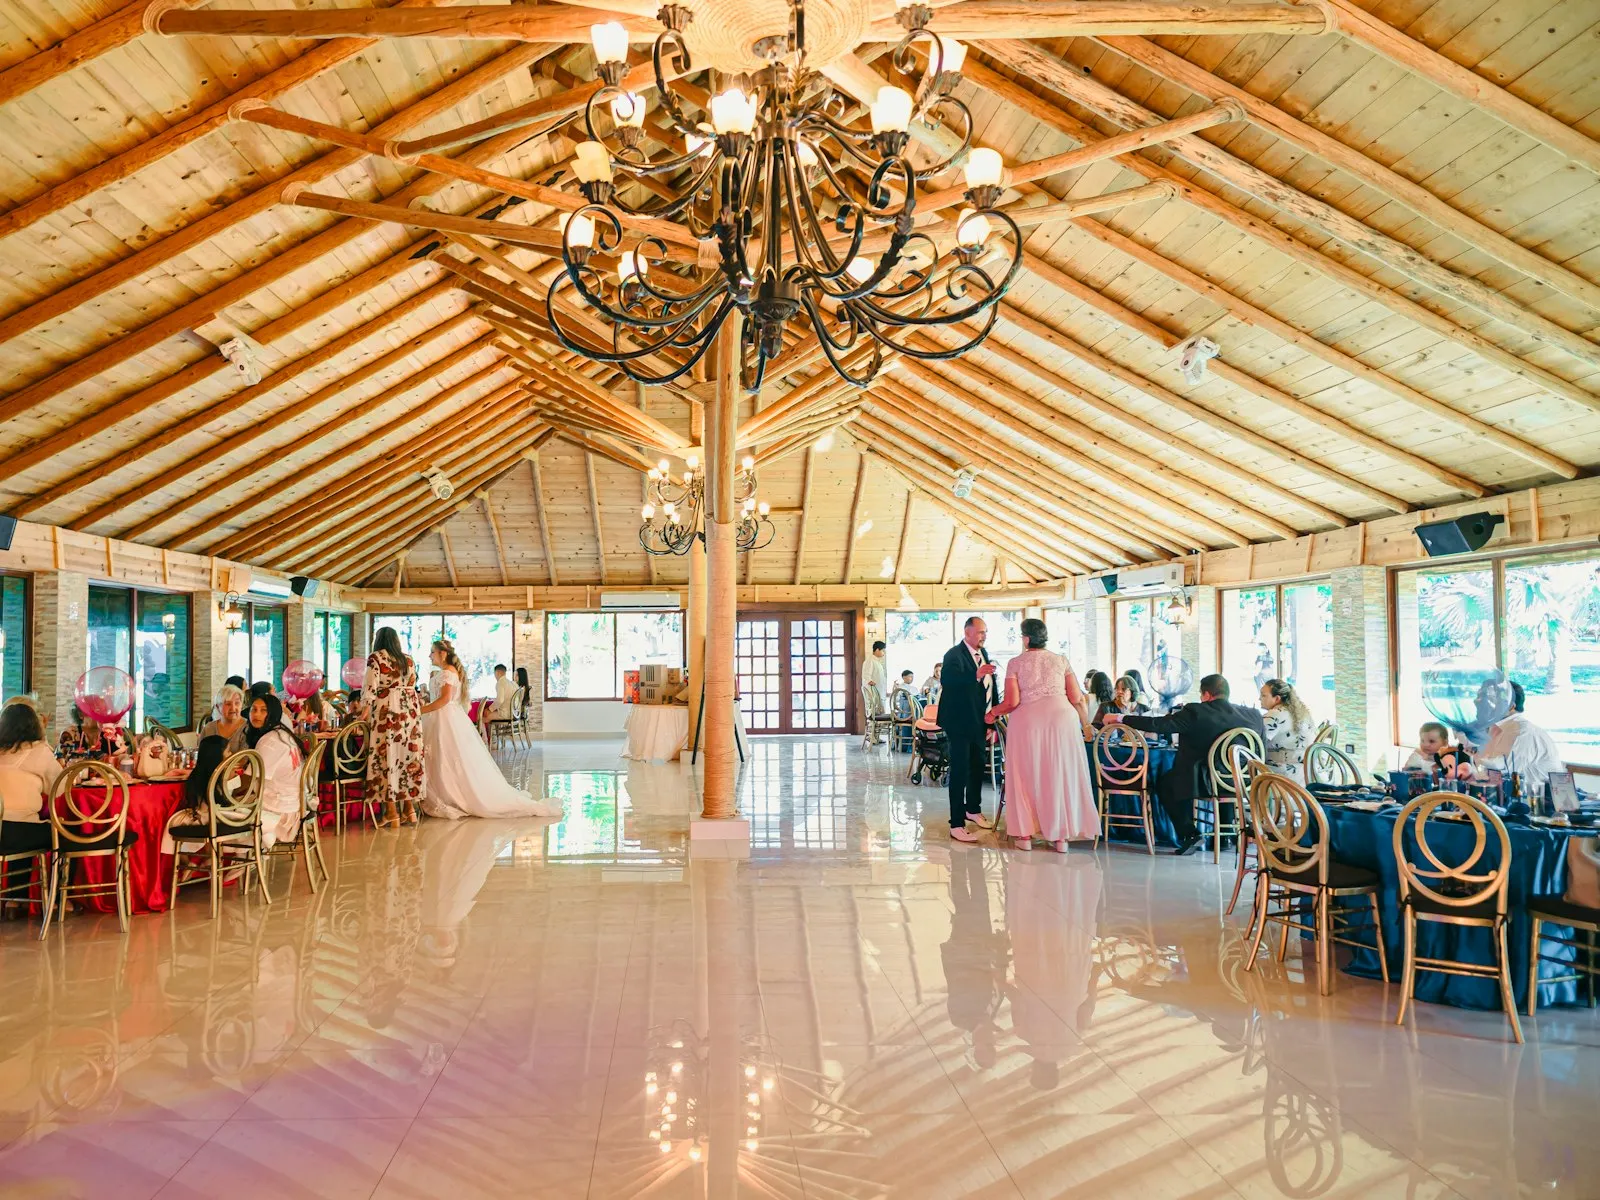
An Indoor Event Walkthrough
Here's the full recipe at a real indoor event, with starting settings you can adapt.
-
Start at: manual mode, ISO 800, f/2.8 to f/4, shutter 1/60, flash off. Those numbers suit a typical dim venue and a shutter you can still handhold.
-
Test the room. Take a frame with no flash. Adjust ISO until the venue looks roughly the way it feels, then pull it down about a stop. A very dark venue might land you at ISO 1600, a bright one at ISO 400.
-
Add the flash, aimed at the ceiling. Bounce it off a white ceiling or wall so the flash layer is soft instead of harsh. Start at 1/16 power in manual, or zero to minus 1 compensation in TTL.
-
Take a test shot of a person. Subject too dark, double the flash power. Background too dark, slow the shutter or raise the ISO. Two different problems, two different dials.
-
Ride two controls all night. Shutter speed for the room, flash power for the subject. As you move between bright and dark corners of the venue, the shutter dial keeps the ambient consistent while the flash dial keeps faces consistent.
The settings will drift through the night as the daylight dies and the dance floor dims, but the logic never changes.
The Black Background Problem
The signature failure mode of flash photography is the subject floating in a black void. The room was full of people and light, and the photo looks like it was taken in a cave.
Two things cause it, and they compound.
Your settings ignored the ambient. A shutter of 1/200 at ISO 100 and f/8 lets in almost no room light. The flash becomes the only source the sensor records.
Flash falls off fast. Light obeys the inverse square law, so a surface at double the distance from the flash receives a quarter of the light. If your subject is 10 feet away and the back wall is 20 feet away, the wall gets two stops less flash than they do. With no ambient contribution, the background goes black even in a small room.
The instinctive fix, adding more flash power, makes it worse. The subject blows out long before the background catches up.
The real fix is to feed the ambient layer. Slow the shutter, raise the ISO, open the aperture, or do all three until the room registers in a no-flash test shot. Then trim the flash power back down so the subject isn't overexposed. The black background was never a flash problem. It was an ambient exposure problem wearing a flash costume.
When the Colors Don't Match
Balance creates one new problem worth knowing about before it surprises you. Flash is daylight-balanced at around 5500K, while the warm bulbs in most homes and venues sit closer to 2700 to 3000K on the color temperature scale. The more ambient you keep in the frame, the more of that mismatch you keep with it.
The result is a subject lit by cool flash standing in an orange room, or worse, a face that's half blue and half orange where the two sources mix. White balance can correct one source or the other, never both at once.
The fix is to warm the flash itself with a small orange gel so both sources match, then set white balance for the room. That technique has its own article in color gels and mixed lighting. For now, just know that the deeper you get into ambient balance, the more color balance starts to matter, and a few cents worth of orange plastic solves most of it.
Key Takeaways
- Expose for the room first with the flash off, then add flash on top so the ambient light stays in the frame.
- Drag the shutter to 1/30 or 1/60 indoors so the slow shutter collects ambient warmth while the flash burst freezes your subject.
- Underexpose the ambient by about one stop and let the flash lift your subject for a natural, dimensional look.
- Fix black backgrounds by raising ISO or slowing the shutter, not by adding flash power, since the room needs exposure.
More in This Guide
Continue building your flash skills.