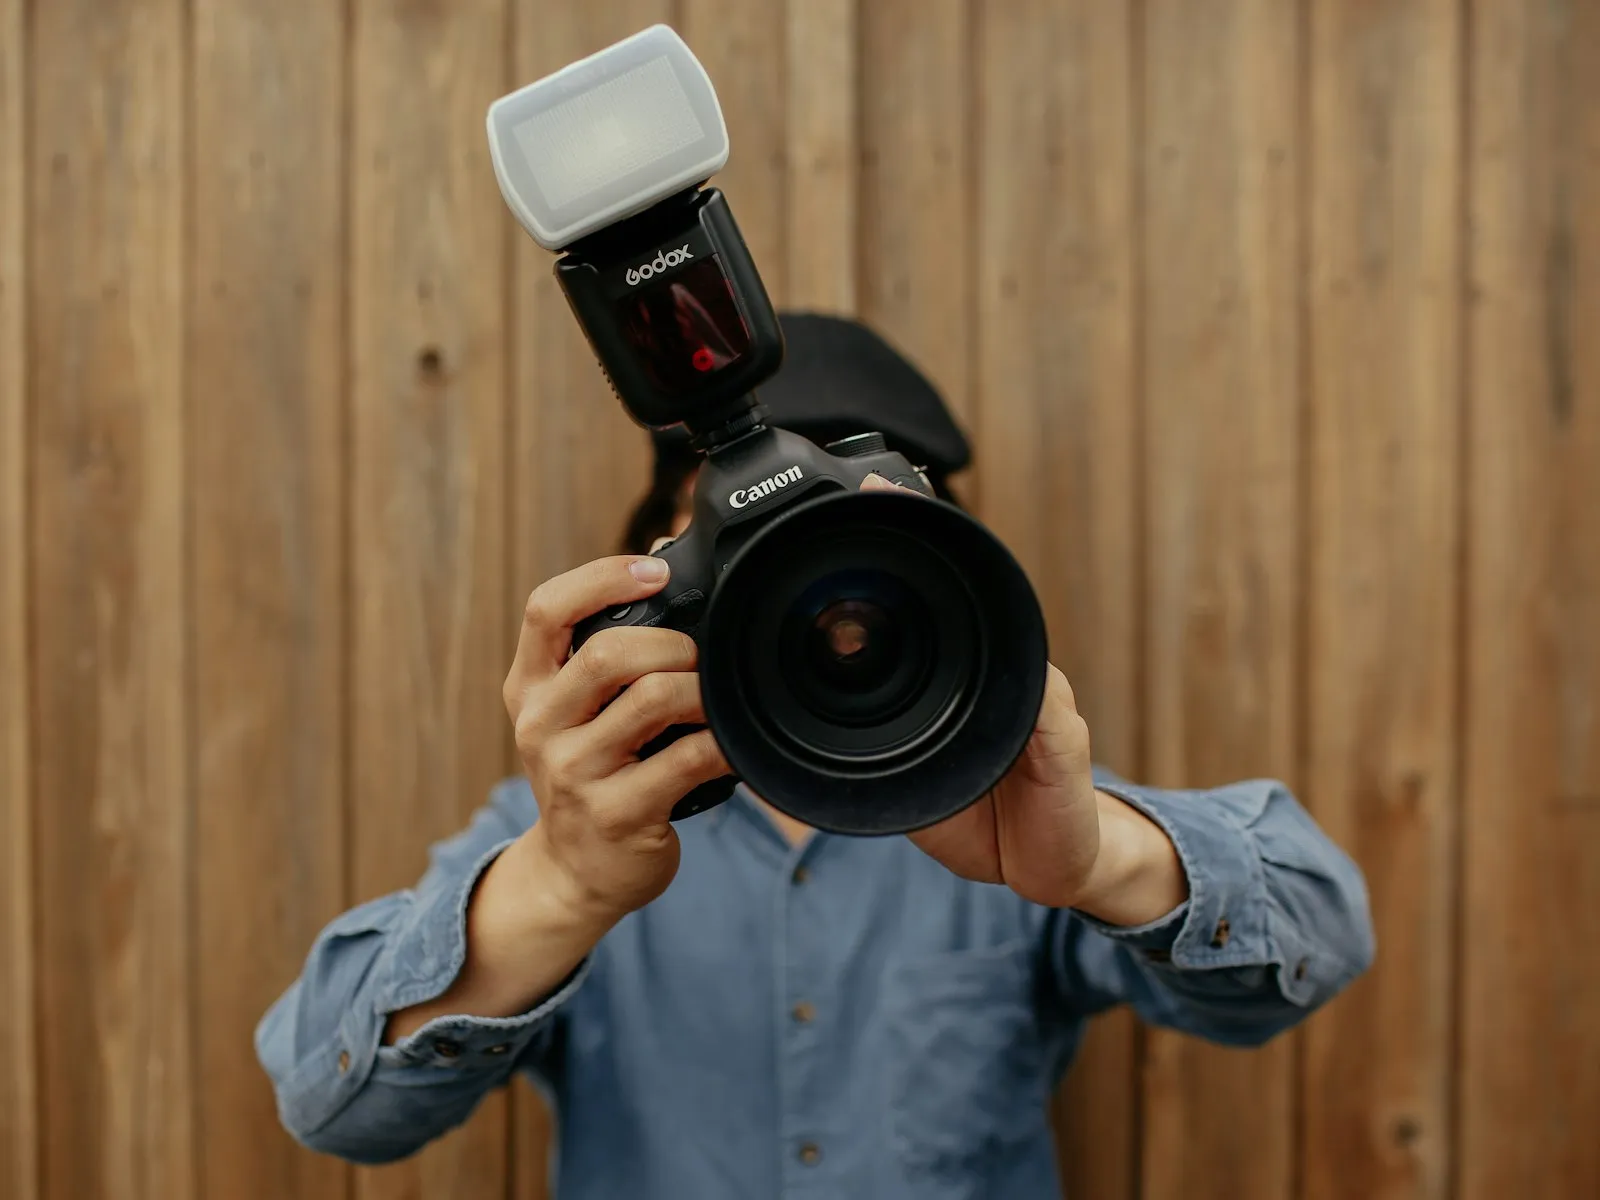
Flash has a reputation problem, and most photographers can trace it to one bad introduction. A pop-up flash fires automatically at a dinner party. Faces go flat and shiny, the background drops to black, and everyone in the frame looks startled. The conclusion feels obvious. Flash ruins photos, natural light is honest, and serious photographers learn to work with whatever light is already there.
That conclusion is understandable, and it is wrong. Flash isn't the thing that ruins photos. Flash is the skill of adding light when the light you have isn't enough, not in the right place, or not the right quality. It's the difference between packing up when the light fails and continuing to shoot. Done well, a flash photo stops looking like a flash photo at all. It simply looks like a photo taken in better light than the room actually offered.
This guide covers that skill from the first button press to full control. What a flash actually does, and why the automatic version looks so bad. How to soften a small flash for free by bouncing it off a ceiling. How to use flash outdoors in bright sun, where it's arguably most useful. How flash exposure really works, why your camera limits your shutter speed when a flash is attached, how to move the flash off the camera entirely, how to balance it against the existing room light, and how to fix the color clashes that appear when flash mixes with household bulbs. By the end, you'll know how to make light instead of only finding it.
Why Flash Earned Its Bad Reputation
The harsh flash look isn't bad luck, and it isn't a flaw in your camera. It's the predictable result of how flash gets used by default, and understanding the mechanics is the first step toward fixing it.
A bare flash head is a light source a few square inches across. Small sources create hard light, the kind with sharp-edged shadows and glaring highlights, for exactly the same reason the midday sun does. Fire that small source straight forward from the camera's position and you add a second problem. Light traveling along the lens axis fills in every shadow you would normally use to show shape, so faces look flat and dimensionless, while a hard outline shadow gets thrown onto whatever wall stands behind your subject.
Then there's falloff. Light from a small, nearby source fades quickly with distance. The flash exposes your subject correctly, but the room a few steps behind them receives a fraction of that light and goes dark. This is why party photos look like they were taken in a cave even when the room felt bright and warm to everyone standing in it.
There is a fourth ingredient, association. Direct on-camera flash is the look of license photos, school portraits from the nineties, and disposable cameras passed around at weddings. Viewers have spent a lifetime learning to read that look as cheap and unflattering, so even a technically correct direct-flash photo carries the wrong feeling. Part of fixing flash is technical, and part is simply refusing to produce the one look everyone already distrusts.
Hard, flat, and falling off into blackness. Three separate problems, all created by one default, a small light fired straight ahead from the position of the lens. The encouraging part is that every one of them is fixable, and most of the fixes cost nothing. Tilt the flash head toward the ceiling and the source becomes enormous. Move the flash away from the lens and shadows return to faces, bringing shape back with them. Let more ambient light into the exposure and the room reappears behind your subject. The bad reputation is earned by the default settings, not by the tool.
Two Exposures in One Frame
Flash feels confusing because it seems to break the exposure rules you already learned. The exposure triangle says shutter speed controls brightness, yet you change it during a flash photo and your subject looks exactly the same. The settings stop behaving the way the books promised, and many people give up right there.
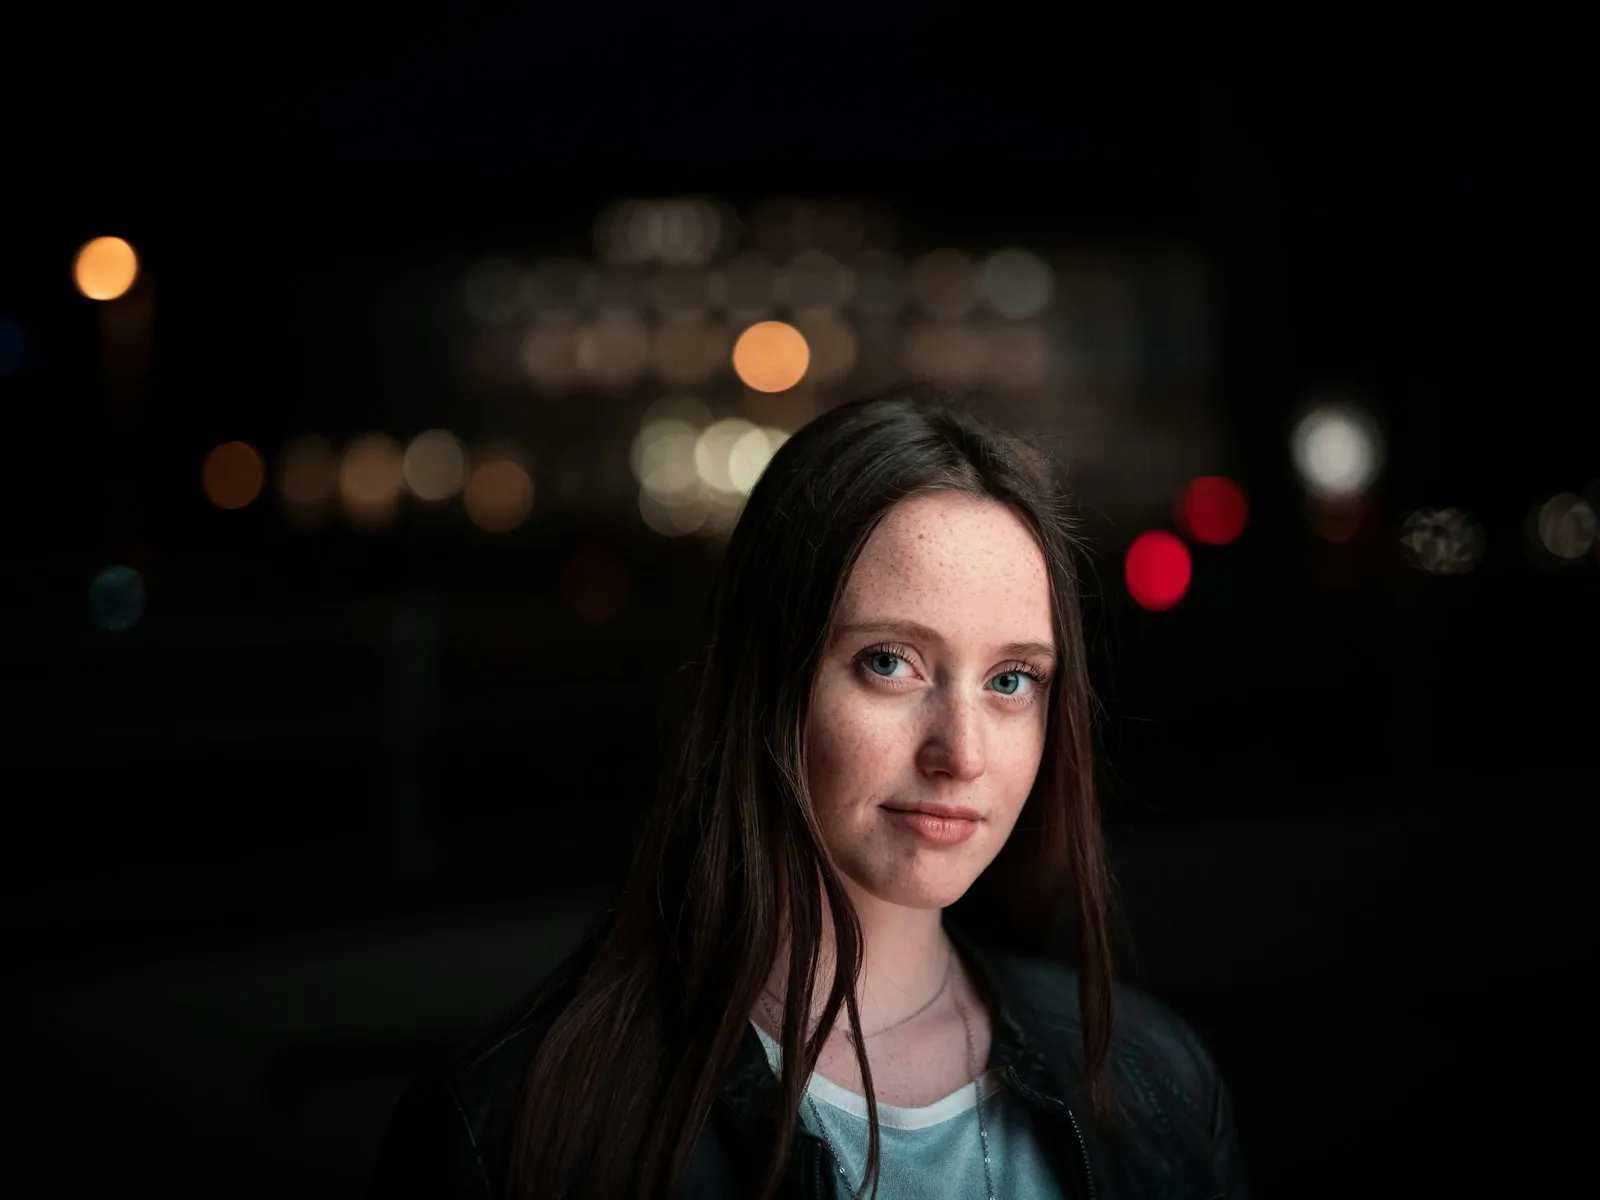
The mental model that fixes this is simple. Every flash photo is two exposures recorded in one frame. The first is the ambient exposure, the continuous light already in the scene, controlled by shutter speed, aperture, and ISO just as it always was. The second is the flash exposure, a burst of light so brief that your shutter speed can't meaningfully shorten it. The flash exposure is controlled by flash power, aperture, ISO, and the distance between flash and subject. Shutter speed barely touches it.
A concrete example makes the levers visible. You are photographing a friend in a living room at dusk. At 1/200, f/4, and ISO 400 with the flash on, your friend looks fine but the windows and lamps behind them go nearly black. Drop the shutter to 1/60 and the room blooms back into the frame, while your friend, lit almost entirely by the brief flash pulse, looks identical in both shots. Two exposures, one frame, adjusted independently.
That split hands you two independent levers. Shutter speed adjusts the ambient light alone, so a dark, cave-like background is fixed with a slower shutter, and no flash adjustment is needed. Flash power adjusts your subject alone, so a too-bright face is fixed by turning the power down while the background stays exactly where it was. Aperture and ISO move both exposures together, which makes them the levers you set first and then leave alone.
Once this clicks, flash stops being mysterious and becomes a balancing act you can reason about. Nearly every technique in this guide, from fill flash in bright sun to gelling a flash to match a living room lamp, is just a different way of deciding how those two exposures should relate to each other.
Light Quality Does Not Care About the Source
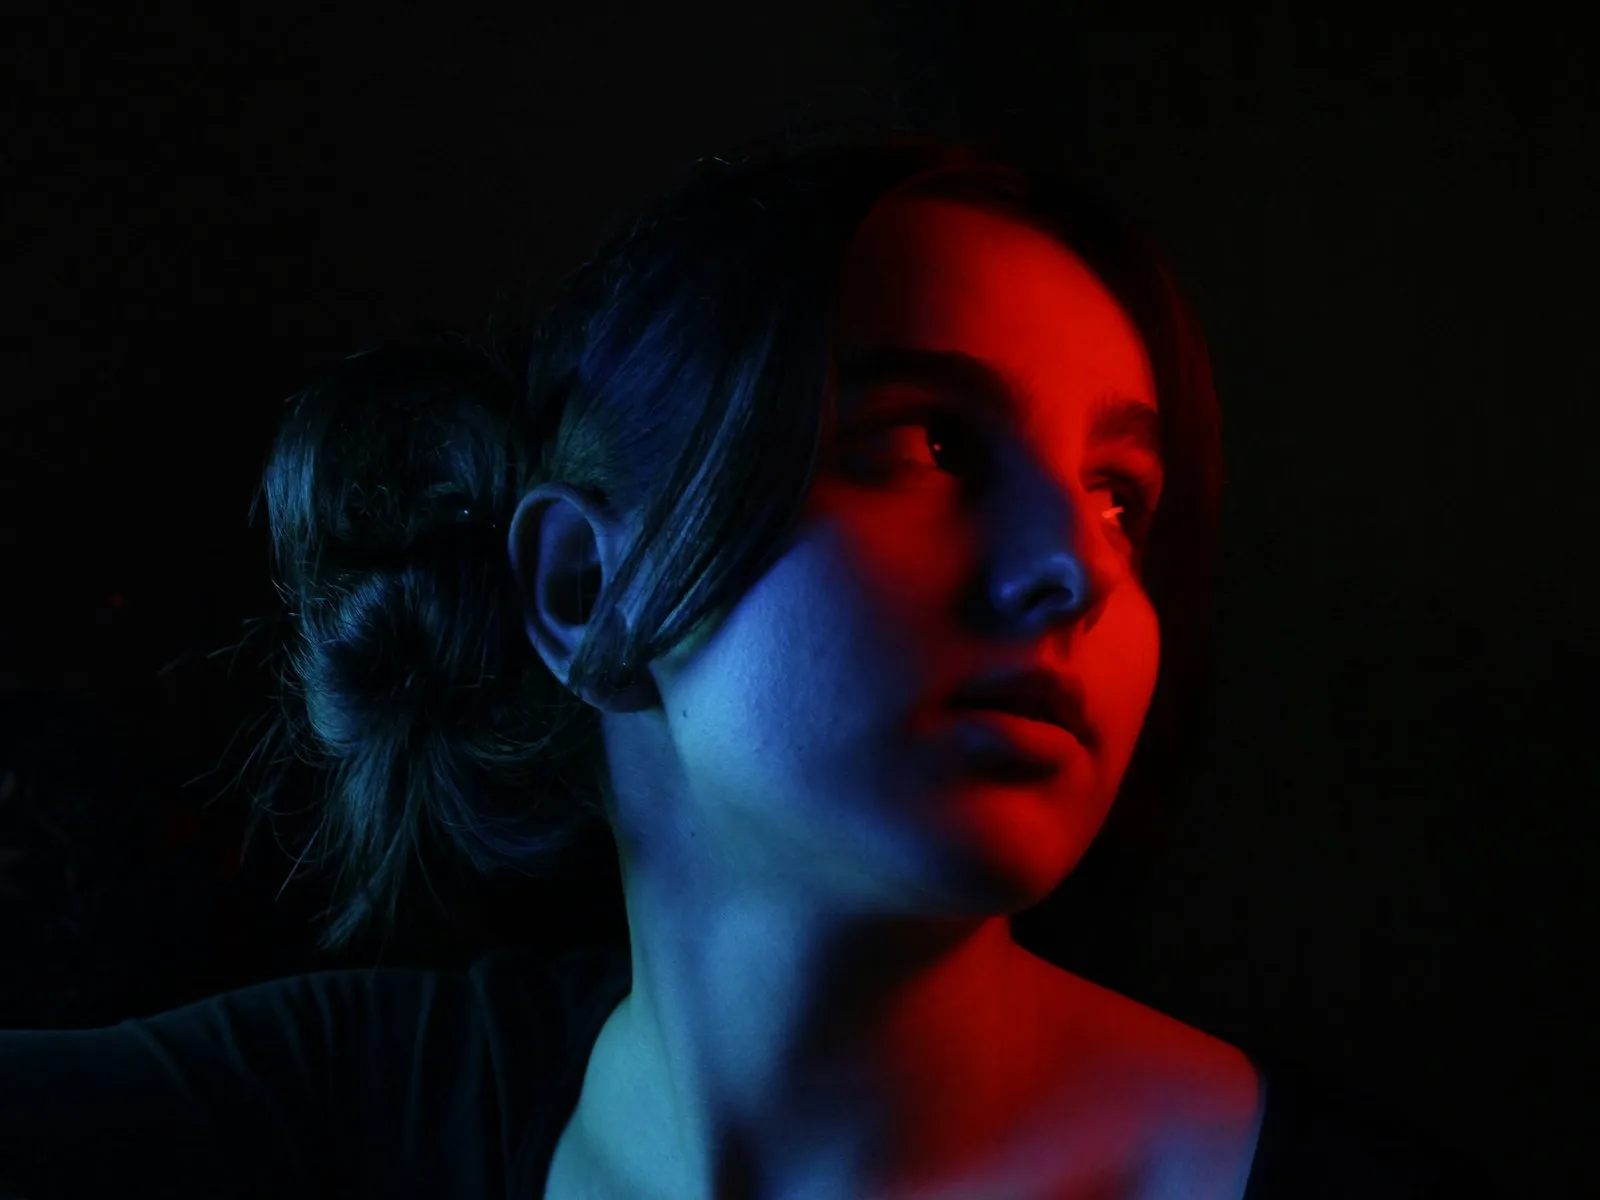
Everything you've learned about natural light still applies the moment you switch a flash on. The difference between hard and soft light comes down to one variable, the size of the light source relative to the subject. A small source makes hard light with crisp shadows. A large source makes soft light that wraps around faces and flatters them. Physics doesn't check whether the photons came from the sun or from a battery-powered tube.
This is why the lighting guide is the best companion to this one. A bare speedlight behaves like the midday sun, small, hard, and unforgiving. Bounce it off a white ceiling and the ceiling becomes the source, several feet across, and the light turns soft like an overcast sky. Fire it through an umbrella and you have built a portable version of window light, with the same gentle falloff and the same flattering wrap.
Direction transfers too. A flash raised on a stand and placed 45 degrees off to the side sculpts a face exactly the way a side window does. The skills are one skill. Photographers who can read natural light learn flash quickly, because they already know what good light looks like and only need to learn how to manufacture it. And photographers who learn flash start seeing natural light more clearly, because they've practiced placing a light instead of only accepting one.
A Learning Path From First Flash to Full Control
Twelve articles make up this guide, and they're written to be read roughly in this order, though each one stands alone.
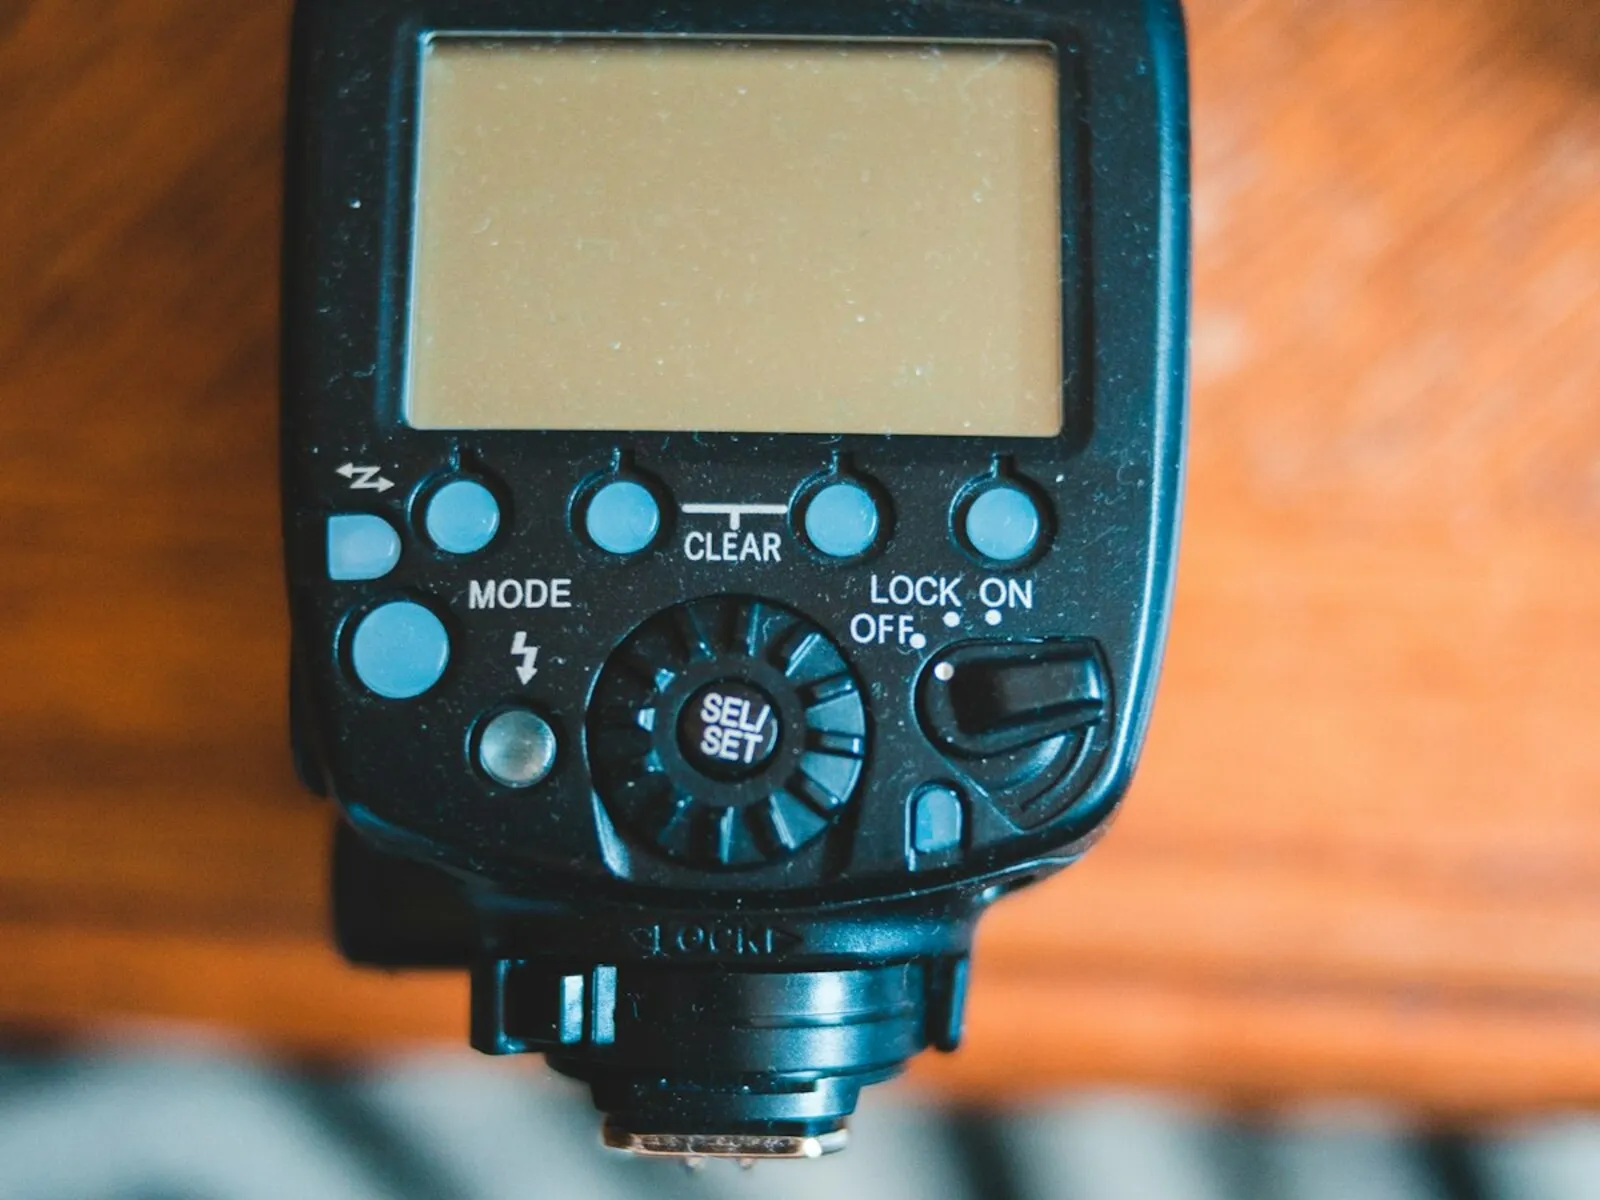
Start with flash photography for beginners, which explains what a speedlight actually is, what the controls on the back do, and walks you through a first session in TTL mode where the flash meters itself. Pair it with why your flash photos look harsh, which diagnoses the ugly direct-flash look in detail and lays out the fixes in order of cost, starting at free. Those two articles alone will move you past the version of flash that made you avoid it in the first place.
The next layer is technique you'll use every week. Bounce flash is the single highest-value skill in the entire guide, turning a ceiling or wall into a soft source several feet wide with nothing but a tilt of the flash head. Fill flash takes the same speedlight outdoors and puts it to work where most people would never think to, in bright midday sun, lifting harsh shadows under eyes and rescuing backlit subjects with a small, precise dose of light. And TTL vs manual flash explains the two ways a flash decides how much light to emit, when automatic metering earns its keep, and when locked-in manual power is the more reliable choice.
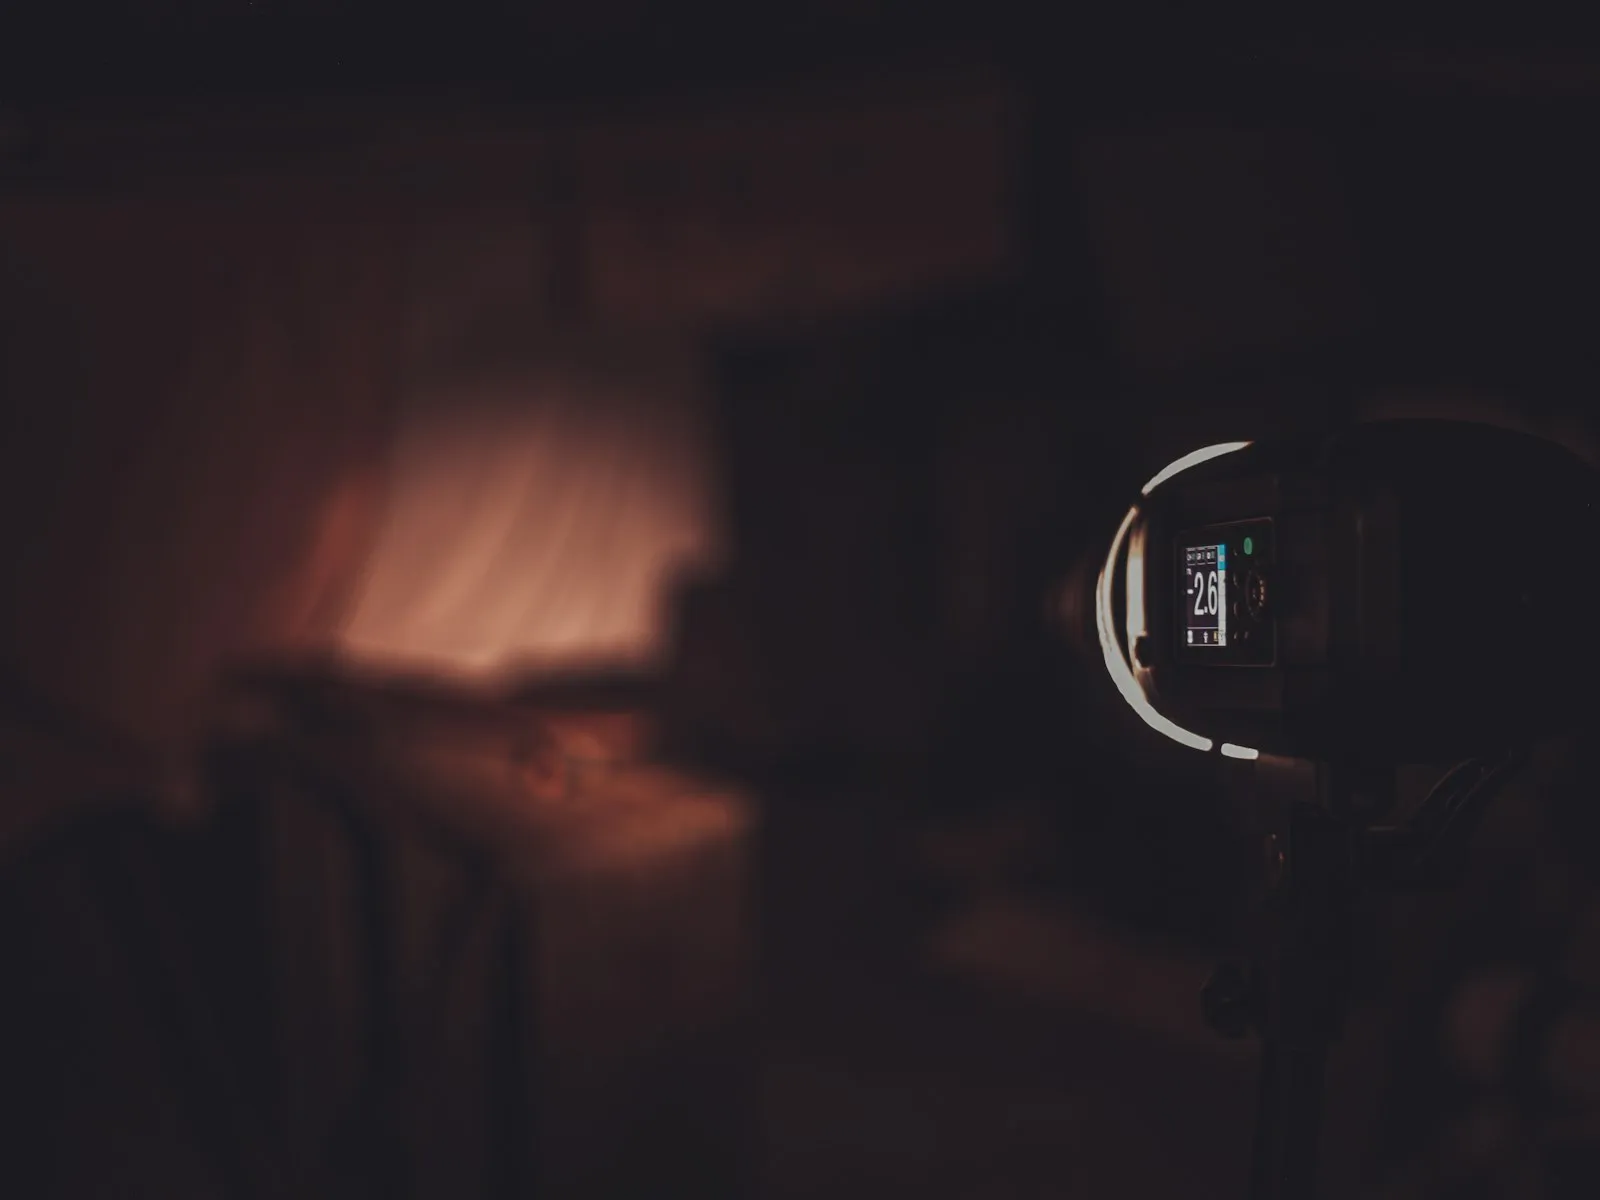
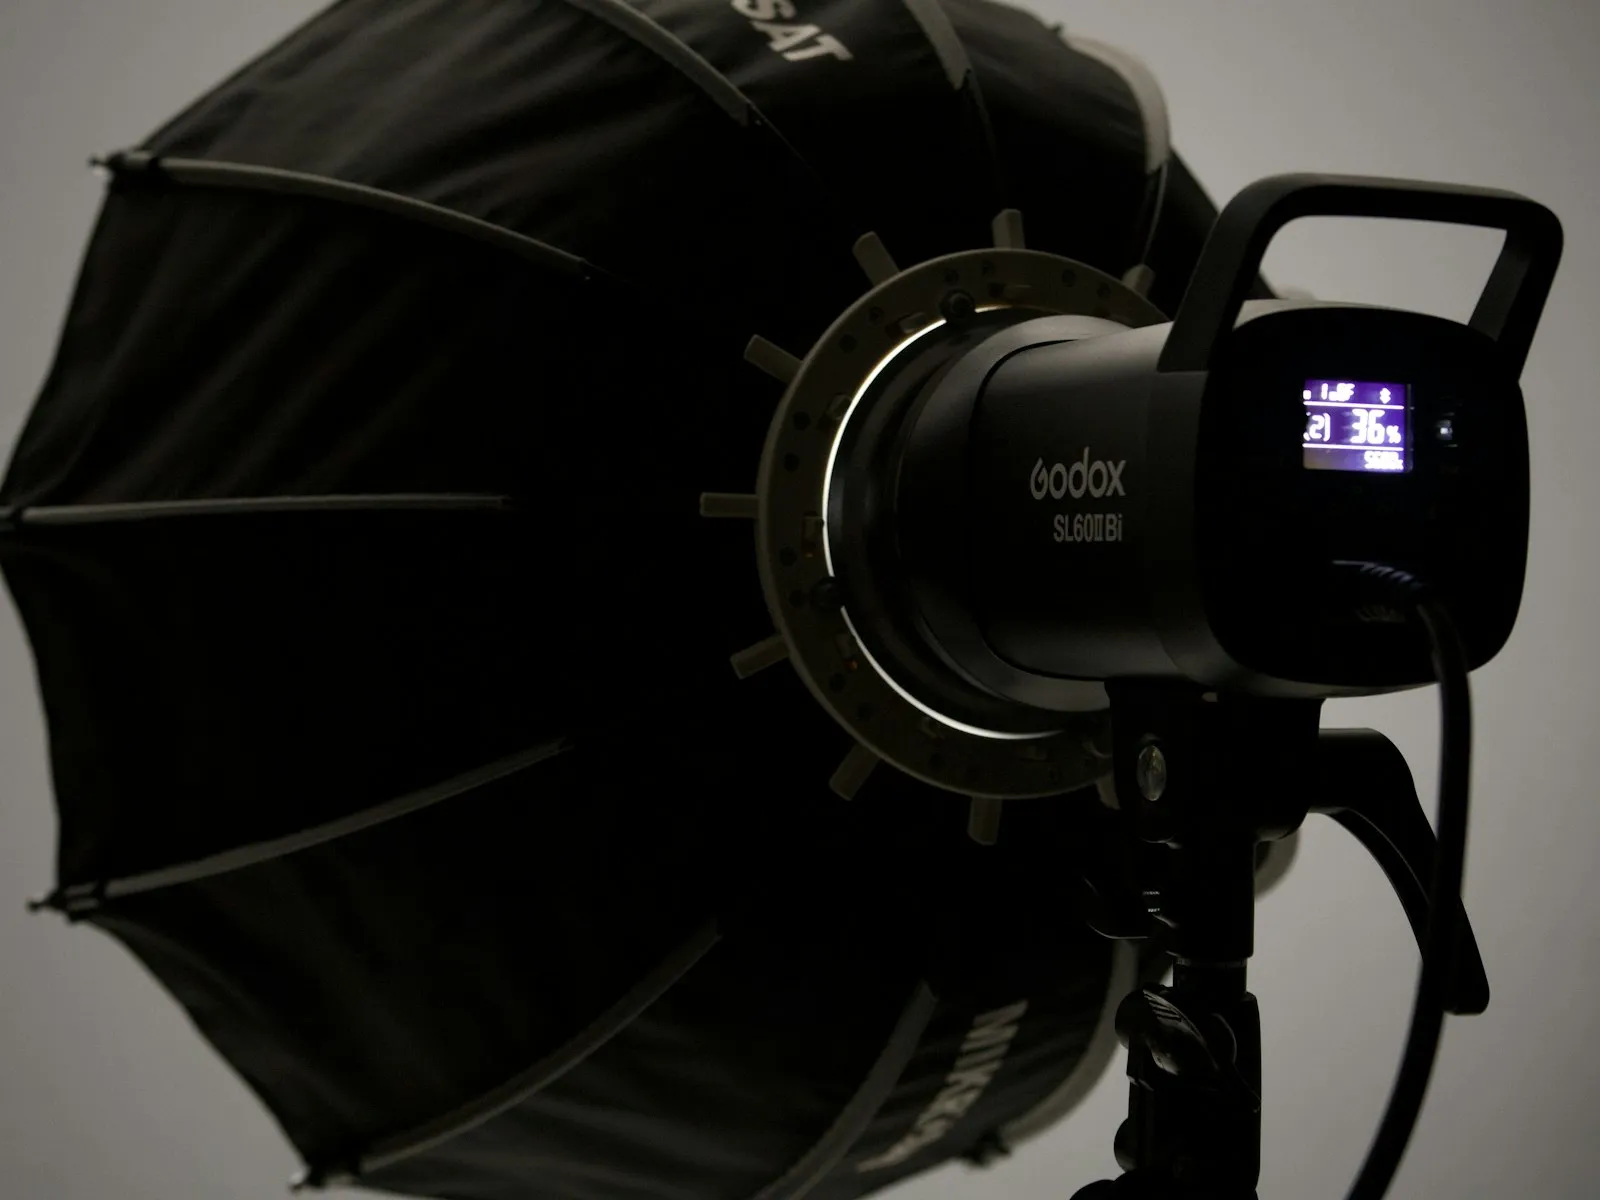
With those working, go one level deeper into how the machine actually behaves. How flash exposure works expands the two-exposures model into a complete set of controls, showing exactly which settings move the ambient, which move the flash, and how to set each one deliberately instead of by trial and error. Continuous light vs flash zooms out to compare the two families of artificial light, what you gain from seeing the light before you shoot, and what flash gives up in preview that it returns in raw power and motion-freezing ability.
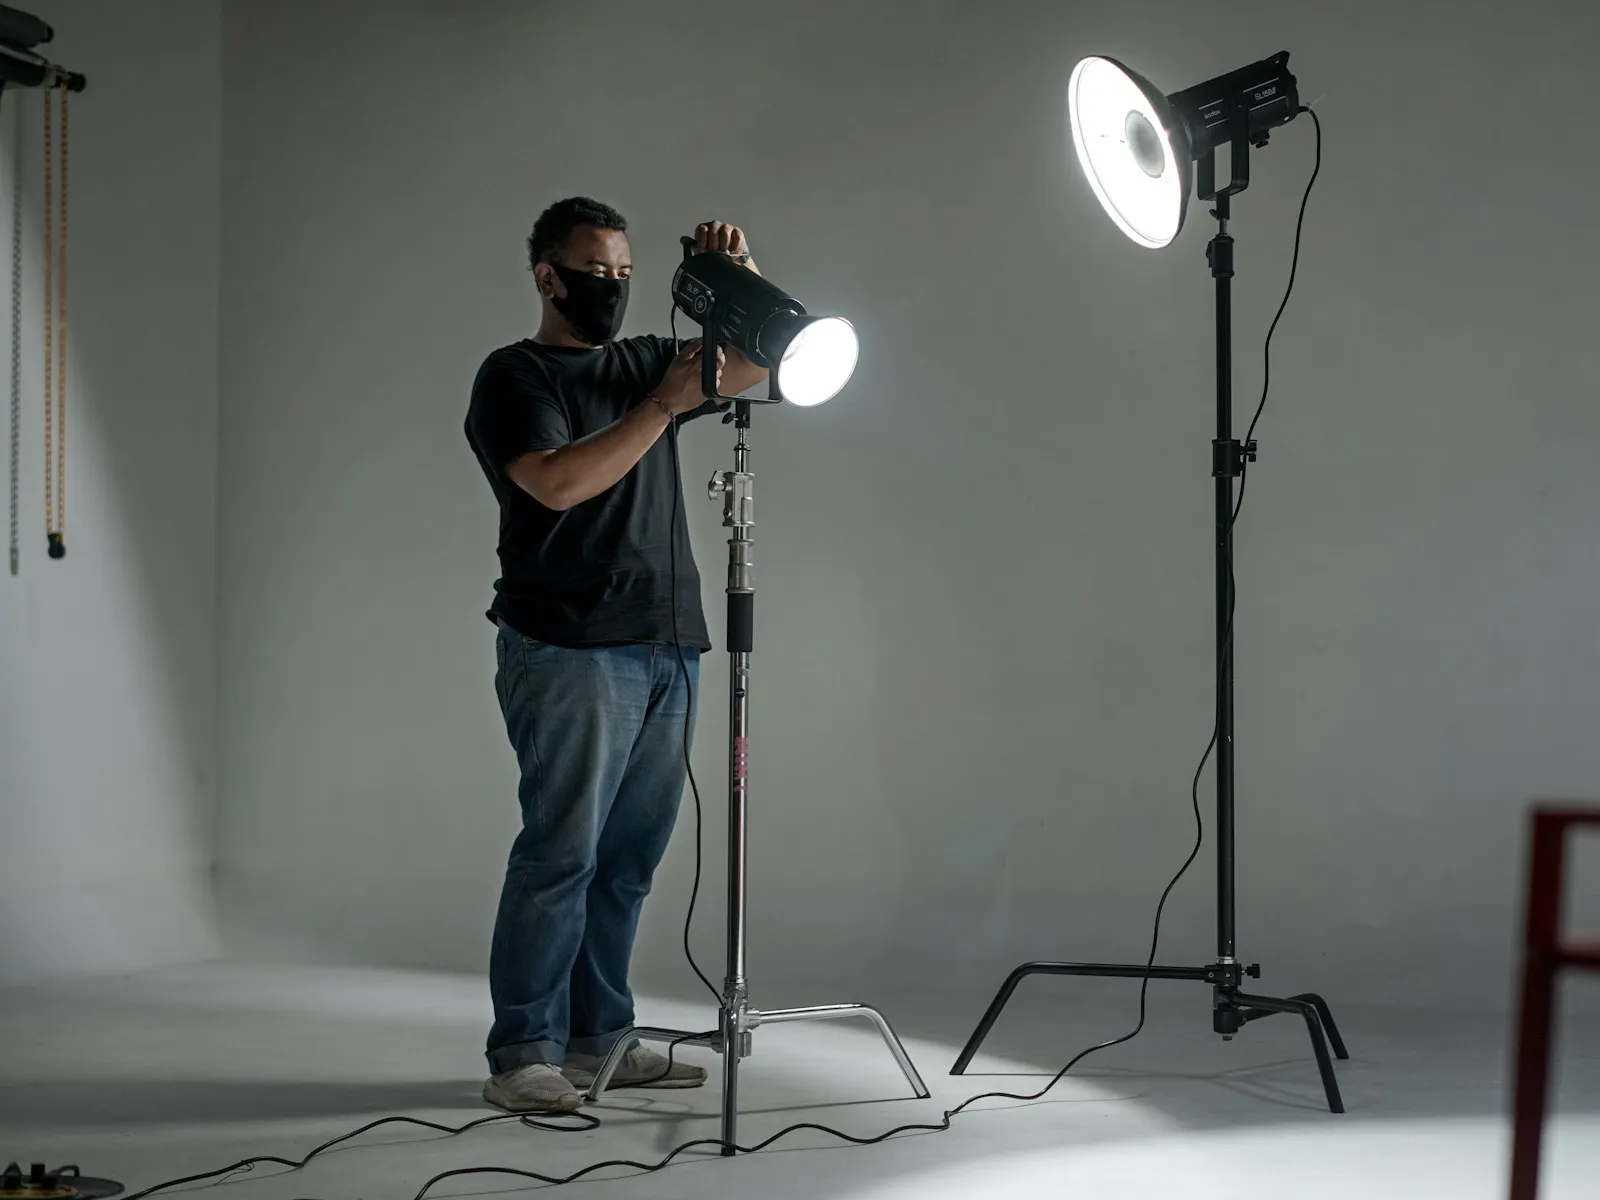
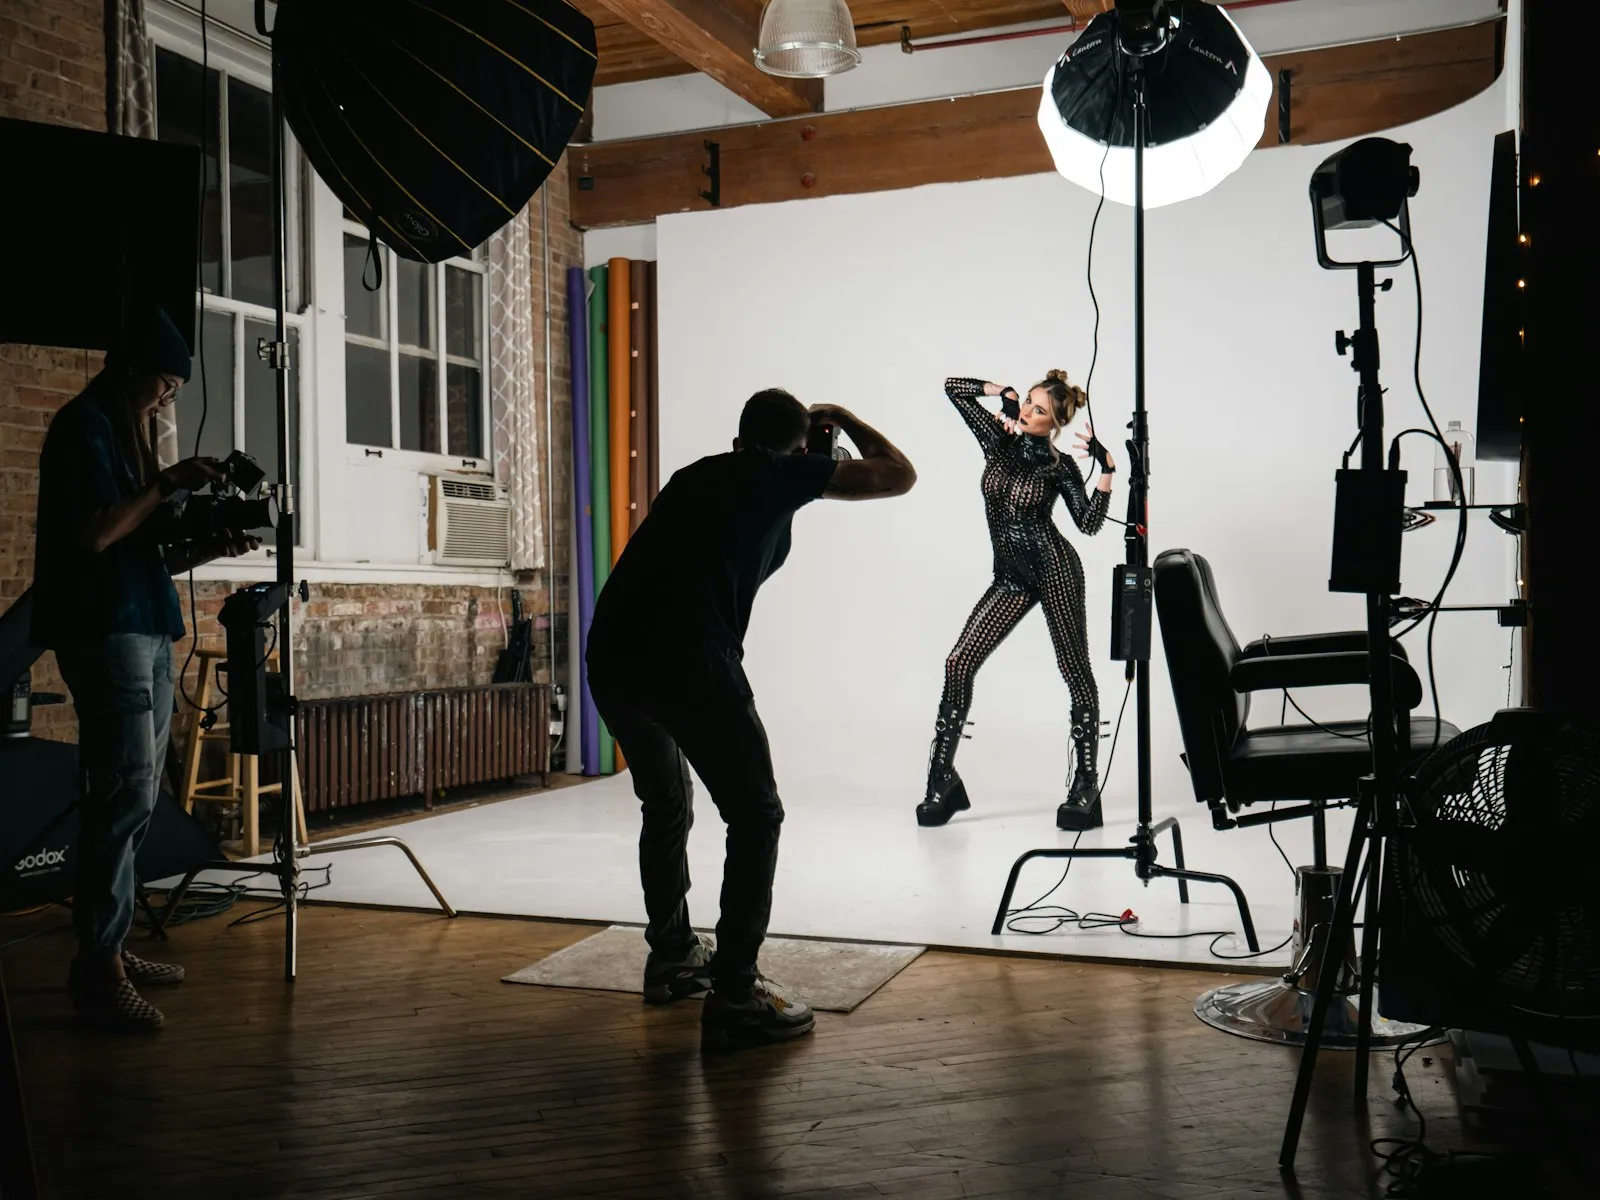
Then comes the step that changes how your photos look more than any other, taking the flash off the camera. Off-camera flash covers the minimal kit, a trigger, a stand, and the classic one-light setup that produces shaped, dimensional portraits instead of flat ones. Flash modifiers explains softboxes, umbrellas, and diffusers, which all exist to do one job, make the source bigger, and tells you which one to buy first and why.
The last three articles handle the edges, the situations where flash gets technical. Flash sync speed explains why your camera refuses to fire the flash above roughly 1/200 of a second, what the shutter is physically doing at that moment, and how high-speed sync buys the limit back at a real cost in power. Balancing flash with ambient light is the craft of keeping the room in the photo, exposing for the existing light first and adding only enough flash to lift the subject. It's the technique behind flash photos that don't look like flash photos. And color gels solve the problem nobody warns you about, that flash is daylight colored while household bulbs are warm, so mixed frames fight themselves until you gel the flash to match the room and set one white balance for everything.
Read in that order, each article assumes only what came before it. Skip around freely if a specific problem brought you here, since every piece is written to stand on its own.
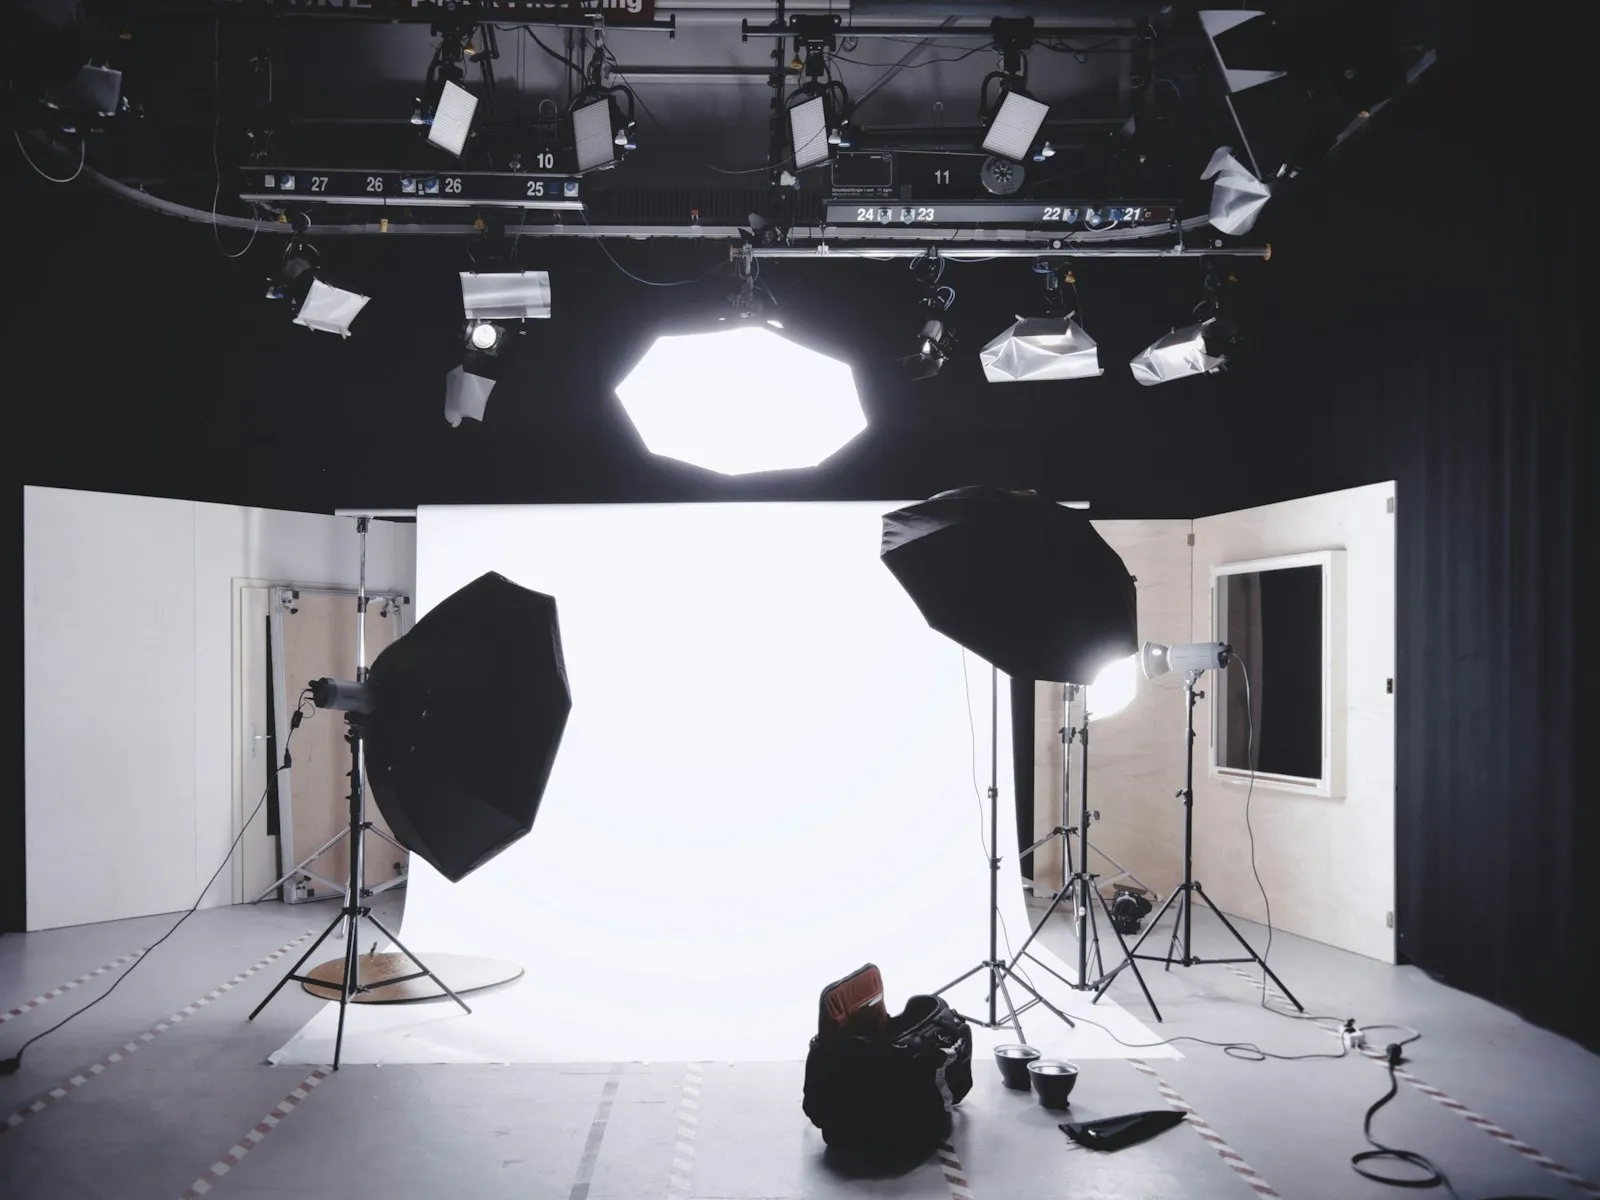
The Gear Reality Check
Flash photography has a gear-heavy image, all light stands and softboxes and rolling cases. The reality is much smaller. A complete off-camera lighting kit is four items. A basic speedlight. A trigger so the camera can fire it remotely. A light stand to hold it where you want it. An umbrella to make the light big and soft. That's the entire list, and all of it fits in a small backpack alongside your camera.
None of it needs to be expensive, and none of it needs to be new. Speedlight output is measured the same way it was decades ago, and a manual flash bought secondhand behaves the same as one made this year. What actually matters is that the flash head tilts and rotates for bounce work, and that the power is adjustable in manual steps. Everything else on the spec sheet is convenience.
For the first half of this guide you need even less. Bounce flash, fill flash, TTL technique, and the whole two-exposures model require nothing beyond the speedlight itself, sitting in the hot shoe where it came out of the box. You can get genuinely good at flash, good enough that people stop believing you used one, before you ever buy a second piece of equipment.
The gear trap applies to lighting at least as strongly as it applies to cameras and lenses. A photographer who has spent twenty hours practicing with one light and one umbrella will outshoot a closet full of unused modifiers every single time. Add a second light when the first one is clearly limiting you, not before, and you may find that day never comes. Plenty of working portrait photographers never move past one light because one light, placed well, is enough.
If you're wondering whether a basic speedlight has enough power for your situations, the flash guide number calculator will show you how far a given flash reaches at any aperture and ISO. For most rooms and most portraits, the answer is further than you think.
When Natural Light Is Still the Answer
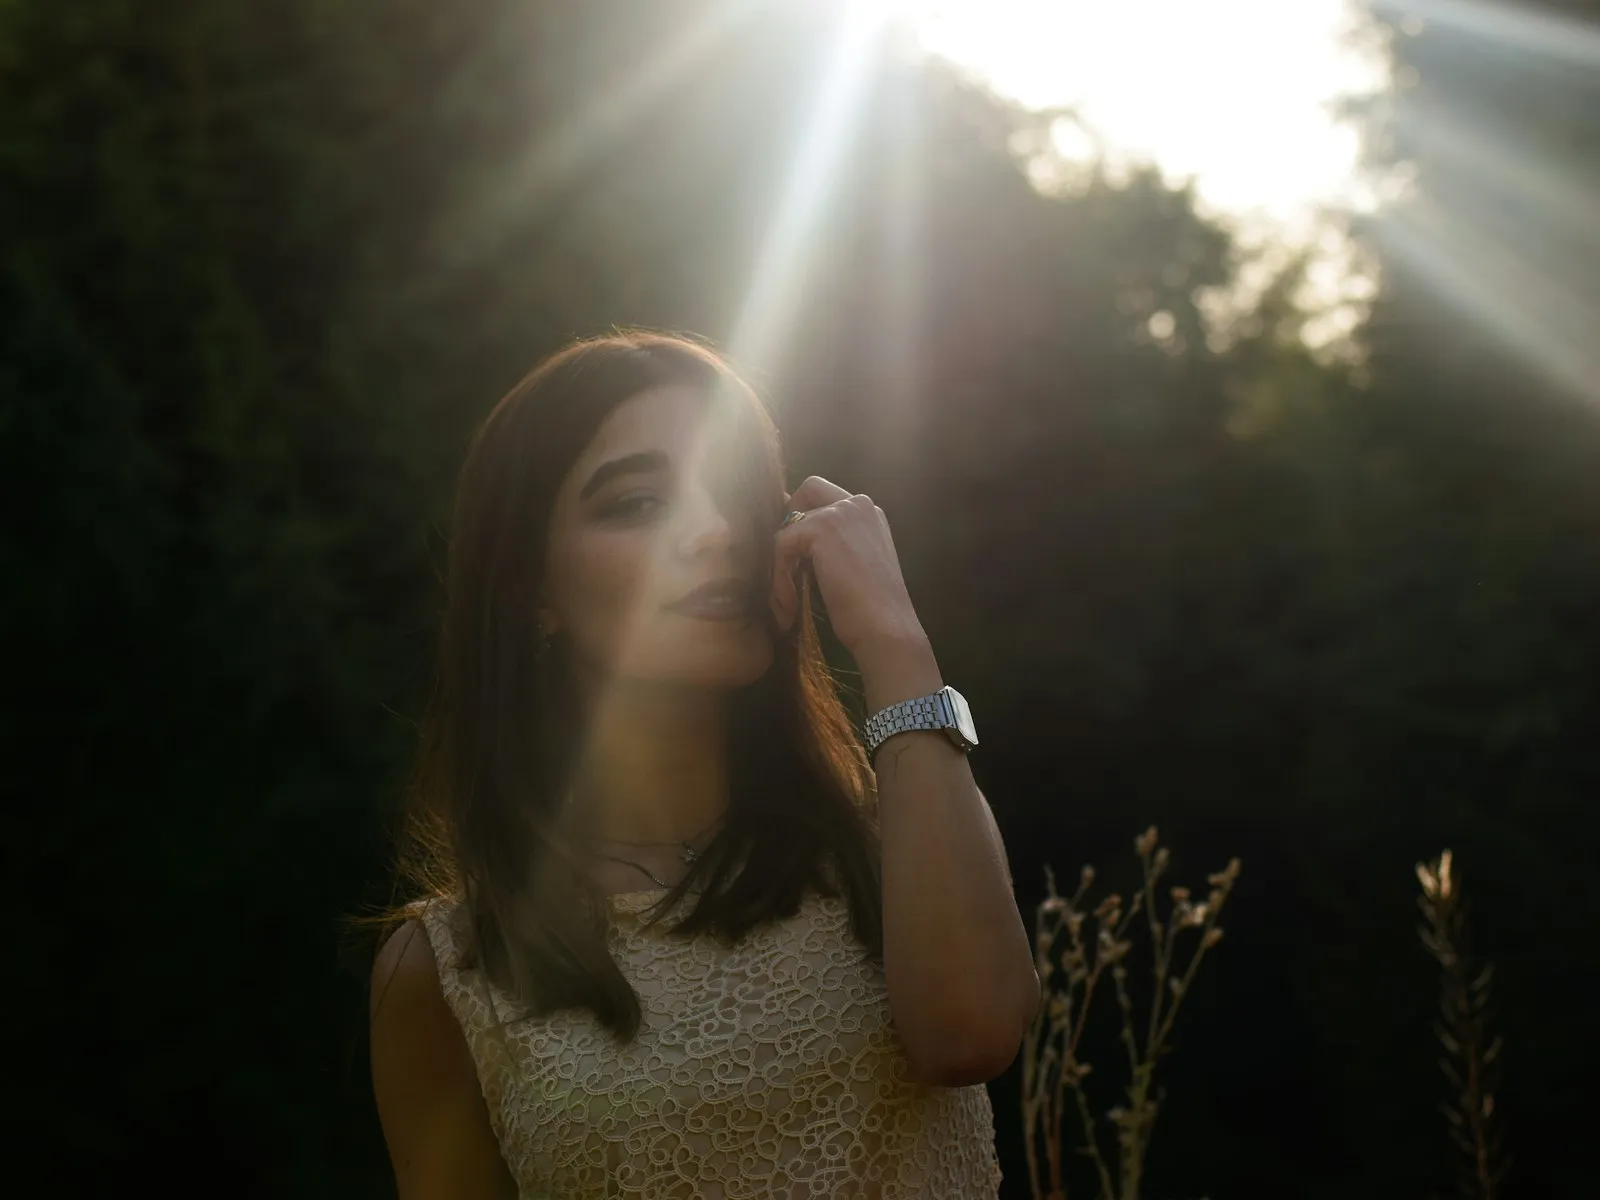
Learning flash doesn't obligate you to use it. The best photographers treat it as one option among several, and they reach for it only when it beats what is already there.
Often it doesn't. A subject seated near a big window gets soft, directional, beautiful light that costs nothing and needs no setup. Golden hour sunlight in the last hour of the day produces color and warmth that lighting kits can only imitate. An overcast sky is a softbox larger than any you'll ever buy. And some scenes, dim concert halls and candlelit dinners among them, are better served by high ISO and no flash at all, because a flash would destroy the very atmosphere that made the moment worth photographing.
The skill that ties this whole guide together is the one that comes before any equipment decision, finding good light wherever you are. Walk into the space, read what the light is doing, and ask one honest question. Is this light good enough for the photo I want to make? When the answer is yes, leave the flash in the bag and shoot. When the answer is no, you now have an option besides lowering your standards or giving up.
Flash also pairs with natural light rather than competing against it. Fill flash in bright sun and gelled flash blended with warm lamplight are both collaborations, with the existing light doing most of the work and the flash quietly covering its weaknesses. The better you get at reading available light, the smaller and more invisible your flash adjustments become.
That is the real promise of flash. Not replacing the light you love, but never being stranded without it.
Related Guides