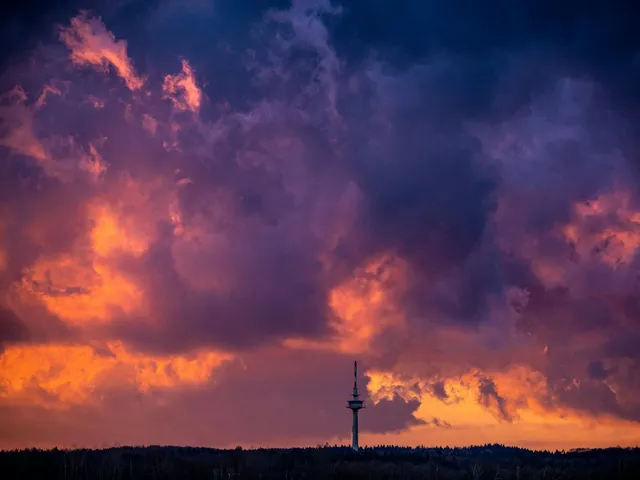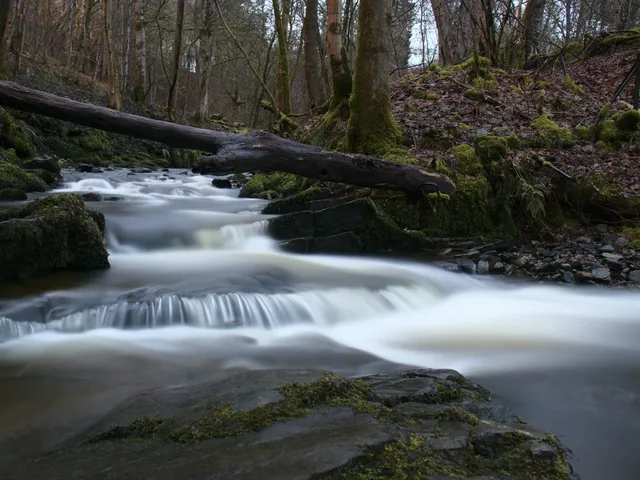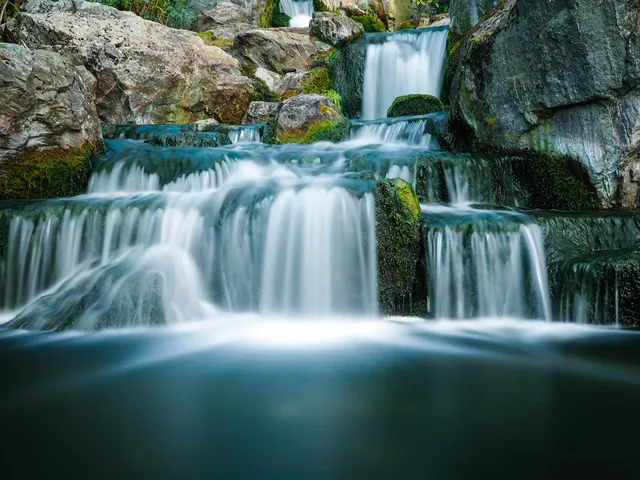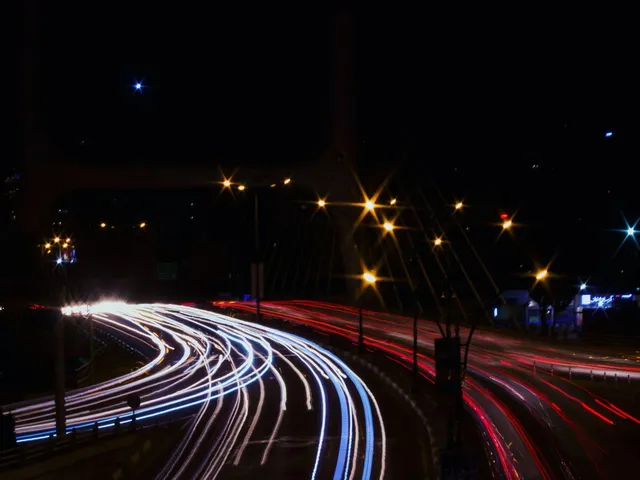
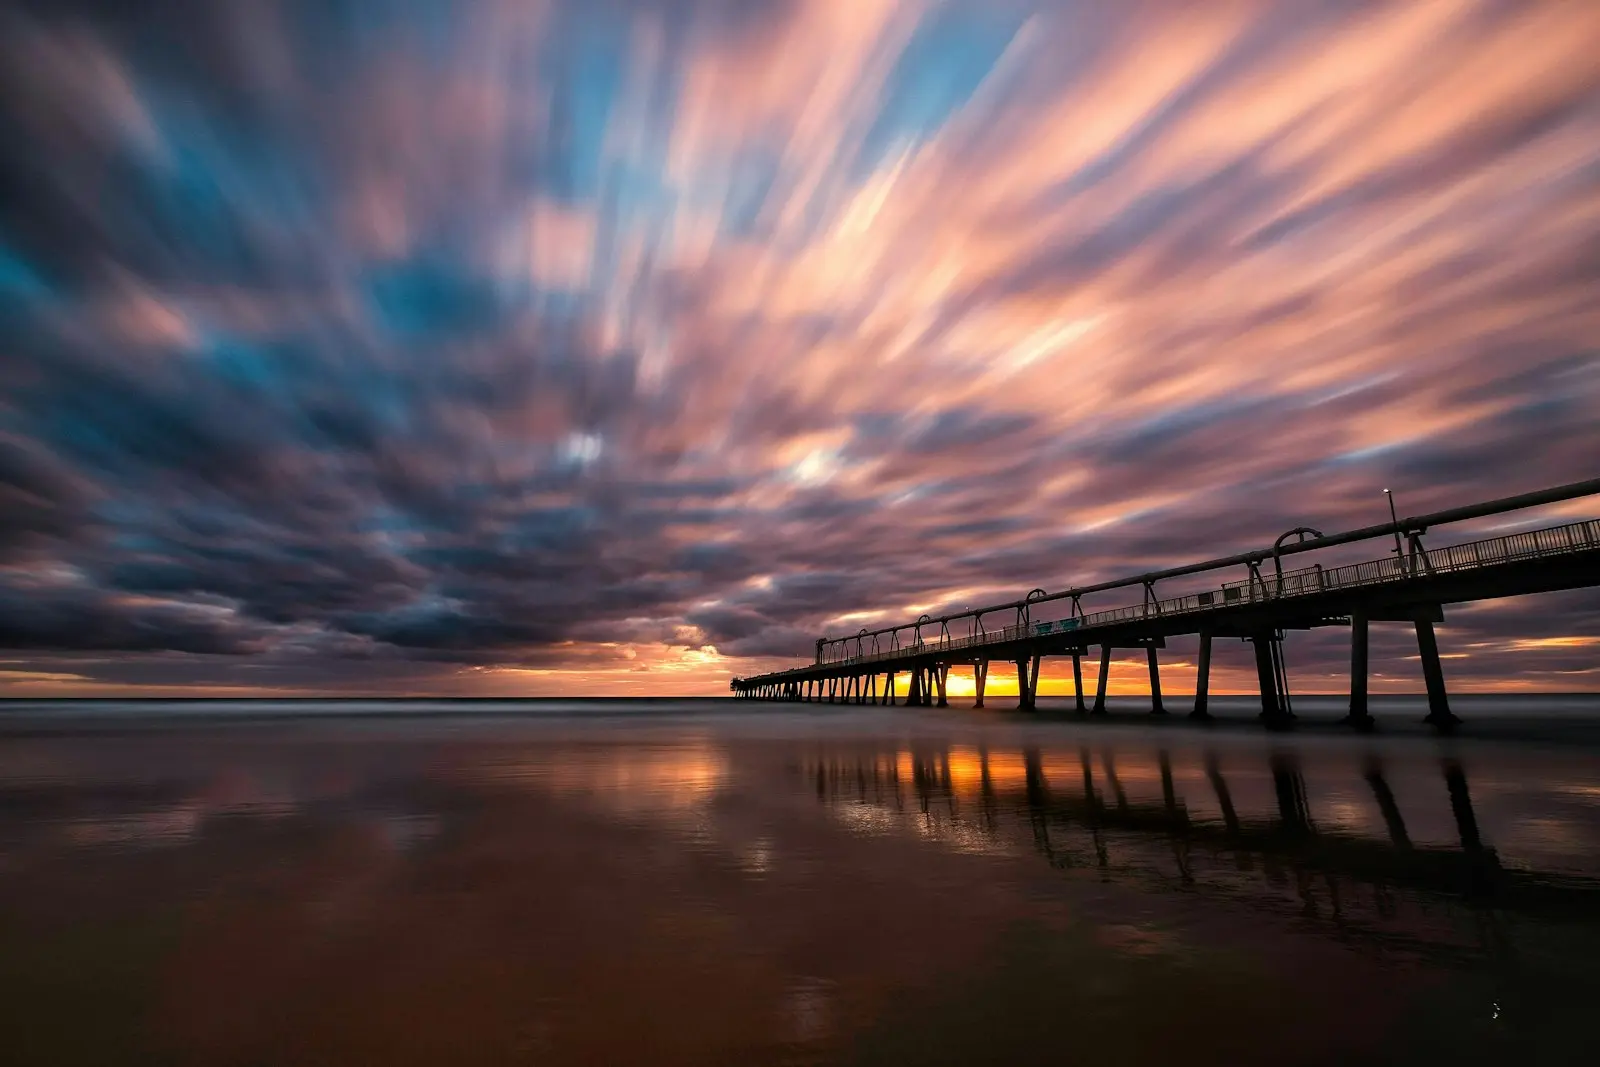
Long exposure photography means leaving the shutter open long enough for anything that moves to blur while everything that stays still remains sharp. Water turns to silk, clouds stretch into streaks, and car lights become ribbons.
To shoot one, put the camera on a tripod, set a low ISO and a mid aperture, and use a slow shutter speed of roughly half a second to several minutes. In daylight, when there's too much light, you add an ND filter.
That covers the basic idea. The rest is knowing which kind of long exposure you're making, because a daytime waterfall, a harbor at blue hour, and a city street at night each need a slightly different approach.
This guide sorts long exposure into those three families and gives you a start-to-finish recipe for each. It's the starting point for slow-shutter work in the landscape photography guide, and it points you to the deeper articles when you're ready to go further on any one subject.
What Counts as a Long Exposure
There's no official cutoff, but most photographers start calling it a long exposure somewhere around 1/2 second. Below that, you can sometimes hand-hold or brace the camera. Above it, you need a tripod, and the motion effects become obvious.
It helps to think of shutter speed as a recording window. Whatever happens while the shutter is open gets written into one frame.
A rock does nothing for ten seconds, so it records as a rock. A wave washes in and out several times, so it records as a soft haze. A car crosses the frame, and its headlights draw a line.
The contrast between still and moving is what makes a long exposure work. A photo where everything moves (a forest of trees thrashing in the wind) just looks blurry. A photo where something solid anchors the frame while something else flows past looks deliberate.
The Gear You Actually Need
Long exposure looks technical, but the kit list is short.
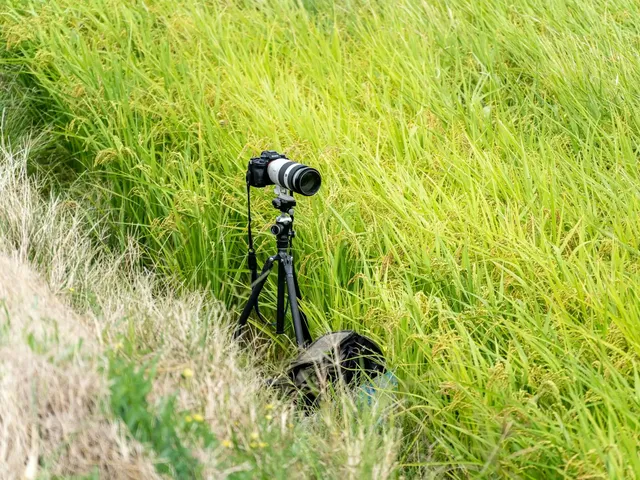
A tripod. This is the one item you can't skip. Any camera movement during a multi-second exposure blurs the whole image, including the parts that should be still. A sturdy tripod with the legs spread and the center column down is enough for most scenes.
A remote release or self-timer. Pressing the shutter button shakes the camera. A cable or wireless remote fixes this, and so does your camera's 2-second self-timer for exposures up to 30 seconds.
An ND filter, for daytime only. A neutral density filter is dark glass that cuts the light so you can use slow shutter speeds in bright conditions. At blue hour and at night the darkness does that job for you, so you won't need one.
Spare batteries and a headlamp. Long exposures drain batteries, especially in the cold, and the best light often ends in darkness.
That's the whole list for getting started. A polarizer, a bigger tripod, or a fancy remote can come later.
The Three Families of Long Exposure
Every long exposure falls into one of three groups, sorted by how much light you have to work with. The family decides whether you need a filter, how long the exposure runs, and what tends to look good.
| Family | Light | ND filter | Typical exposure | Classic subjects |
|---|---|---|---|---|
| Daytime | Bright to overcast | Yes, 6 to 10 stops | 1/2 second to 2 minutes | Waterfalls, seascapes, clouds, crowds |
| Blue hour | Fading twilight | Rarely | 1 to 15 seconds | Harbors, city skylines, calm lakes |
| Full night | Dark sky, artificial light | No | 15 seconds to several minutes | Light trails, lit buildings, stars |
The sections below give a recipe for each. Treat the settings as starting points. You'll adjust from your first test frame, and learning to make that adjustment is the real skill.
Recipe 1. Daytime Long Exposure With an ND Filter
Daytime long exposures surprise most beginners, because you get the soft, dreamy look in full daylight. The catch is that you need a filter, and a strong one blocks your view.
Step 1. Compose and Focus Without the Filter
Set the camera on the tripod and frame the shot. Autofocus on something with clear edges about a third of the way into the scene, then switch the lens or camera to manual focus so it can't hunt later.
With a 10-stop filter on, the viewfinder goes almost black and autofocus stops working.
Step 2. Find Your Base Exposure
Still without the filter, set ISO 100 and an aperture of f/8 to f/11, and let Aperture Priority or your meter find the shutter speed. Write it down. On a bright day you might get something like 1/125 second.
Step 3. Do the Filter Math
Every stop of ND doubles the shutter speed. A 6-stop filter multiplies it by 64, and a 10-stop filter multiplies it by about 1,000. So 1/125 second becomes roughly 1/2 second with a 6-stop and about 8 seconds with a 10-stop.
You don't need to do this in your head. The ND filter calculator gives you the new time in one step, and the exposure calculator helps if you want to trade aperture or ISO against shutter speed first.
Step 4. Switch to Manual and Shoot
Put the filter on, switch to Manual mode, and dial in the calculated shutter speed with the same aperture and ISO. Fire with the remote or the 2-second timer.
If the exposure runs past 30 seconds, switch to Bulb mode and time it with a locking remote or a phone timer.
Step 5. Check and Adjust
Check the histogram as well as the screen. Filter strengths are approximate and the light changes as clouds move, so expect to adjust by a stop or so. If the image is too dark, lengthen the exposure, and if it's too bright, shorten it.
What Shutter Speed Gives Which Look
The right length depends on how fast things move, so treat these as a ladder to try rather than a rule.
| Subject | Starting shutter speed | Result |
|---|---|---|
| Waterfalls and streams | About 1/2 to 2 seconds | Silky, but the water keeps its shape |
| Waves on a beach | About 1 to 5 seconds | Surf turns into soft washes |
| Mirror-flat sea or lake | About 30 seconds or longer | Ripples flatten completely |
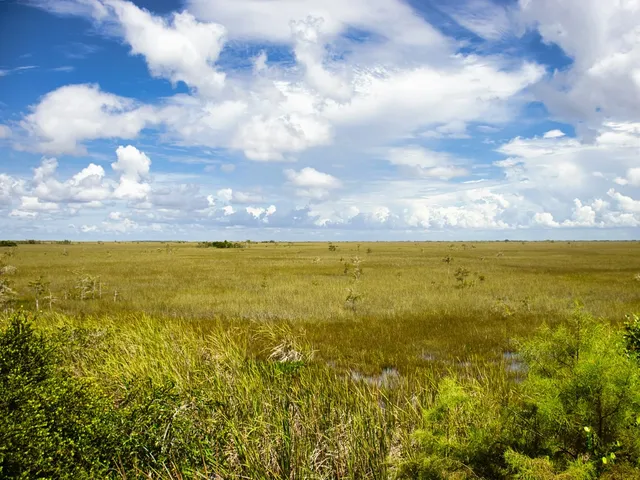
| Streaking clouds | About 1 to 3 minutes, depending on wind | Clouds stretch into streaks |
| Vanishing crowds | Several minutes | Moving people never register |
The water photography guide goes deep on waterfalls and streams. With clouds, the ones moving toward or away from you streak more dramatically than clouds crossing the frame. Crowds vanish because people who keep moving never stay in one place long enough to show up.
Recipe 2. Blue Hour Long Exposure
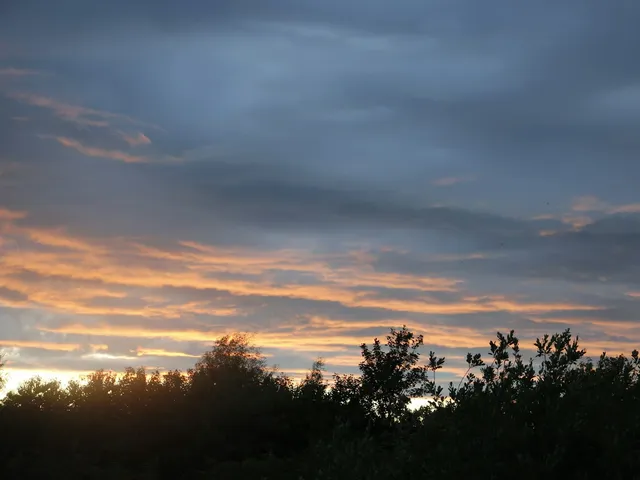
Blue hour is the stretch of twilight just before sunrise and after sunset, when the sky turns deep blue and artificial lights start to glow. It's the easiest long exposure to get right, because the falling light gives you slow shutter speeds without any filter.
The Recipe
- Arrive before sunset and set up your composition while you can still see. The golden hour calculator shows blue hour times for your location and date.
- Set ISO 100 and f/8. Focus on something well lit while there's still light, then switch to manual focus.
- Start metering once the sun is down. Expect exposures to begin around 1 second and stretch toward 15 seconds as the sky darkens, which matches the twilight range in the outdoor night photography guide.
- Shoot every few minutes. The sky changes quickly, and the best balance between the sky and the city lights often lasts only ten or fifteen minutes.
Why Blue Hour Works So Well
The sky still has detail and color, so it doesn't go black behind your subject. Lights in windows and on bridges are bright enough to glow without blowing out against a dark sky.
Moving water, boats, and clouds still blur, too, which gives you that calm, smoothed look with very little effort.
If you only try one long exposure this week, make it a waterfront or skyline at blue hour.
Recipe 3. Full Night Long Exposure
Once the sky is fully dark, artificial light becomes the subject. This is where light trails, glowing buildings, and stars come in.
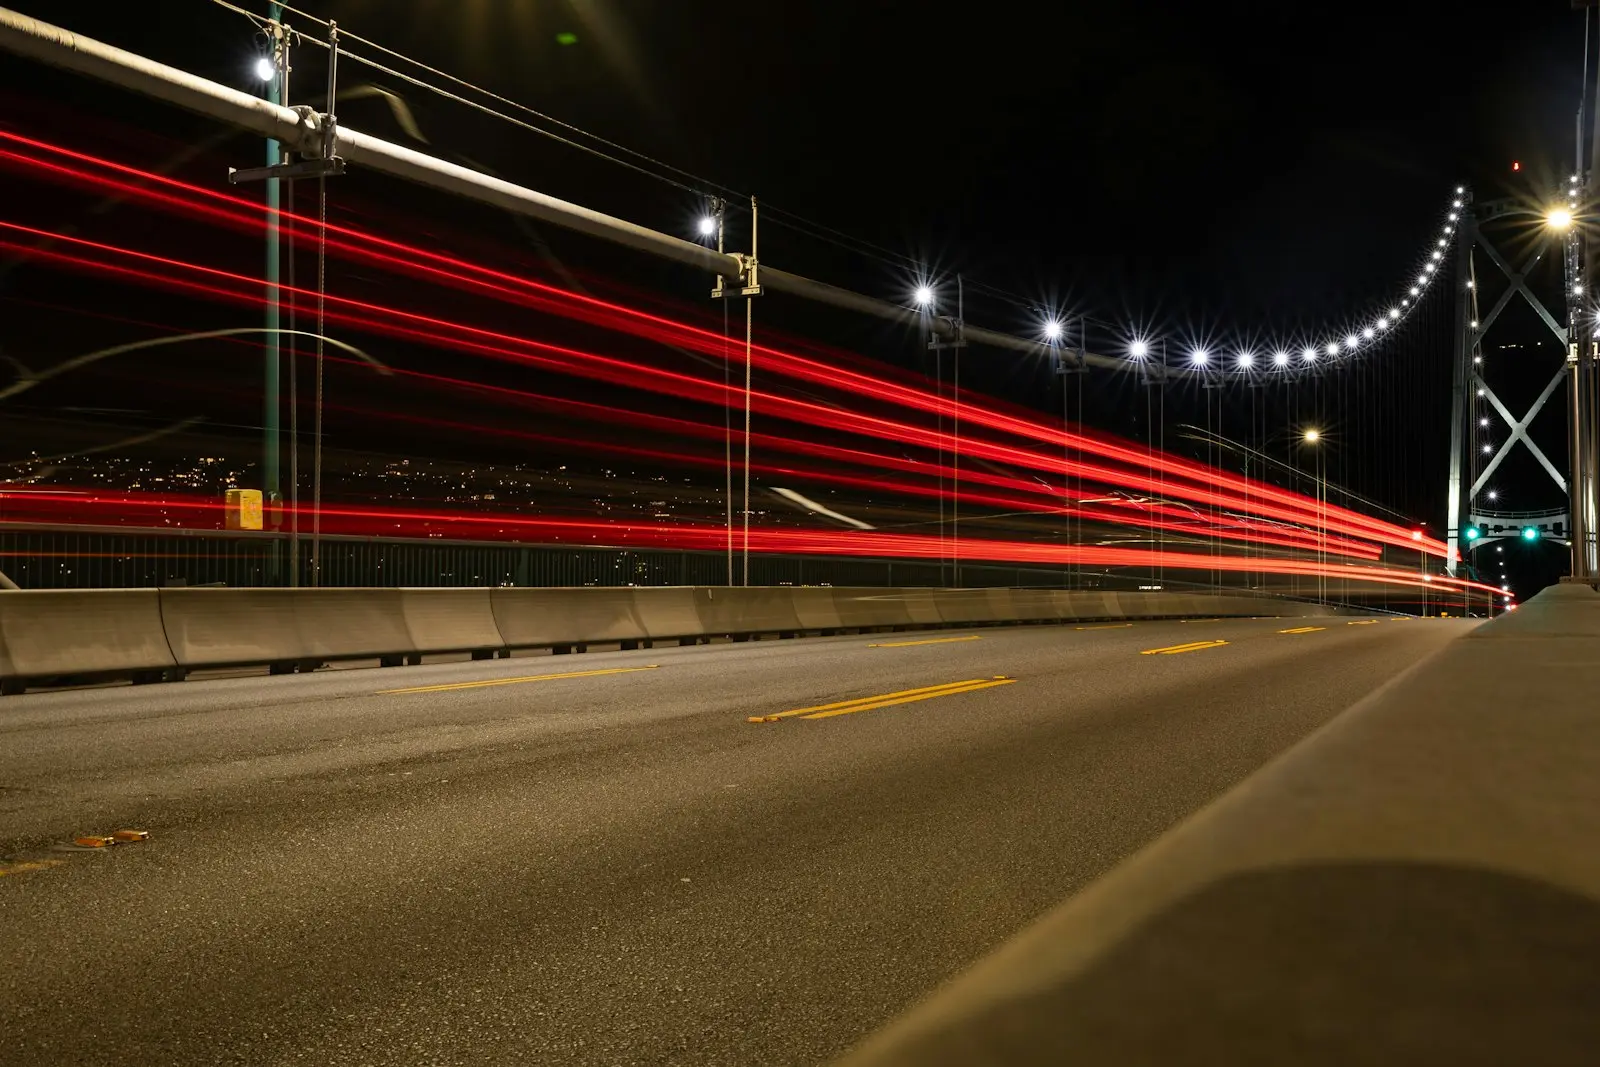
Light Trails
Find a road with steady traffic and a viewpoint above or beside it, such as a footbridge or an overlook. Then follow these steps.
- Set ISO 100 and f/8 to f/11. A smaller aperture also turns streetlights into star shapes.
- Focus manually on the road or a building using magnified live view.
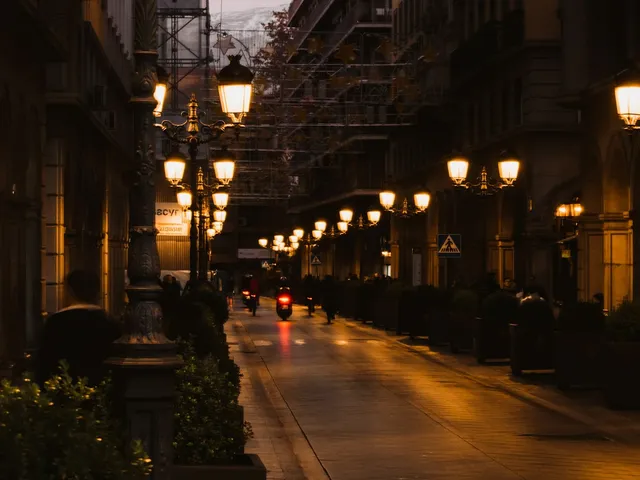
- Start at 20 seconds and adjust. Longer exposures collect more cars and fuller trails.
- Start the exposure just before a group of cars enters the frame so the trails run all the way through.
The city lights guide covers positioning and traffic timing in detail. The same settings work for holiday light displays and other decorated streets if you want subjects closer to home.
Lit Buildings and Night Landscapes
Away from traffic, the same approach records buildings, bridges, and night scenes with a calm, timeless feel. Exposures commonly run 15 to 30 seconds in lit city areas and stretch to several minutes in darker places, all at f/8 and ISO 100.
Anything past 30 seconds needs Bulb mode.
Stars
Stars are a special case because the Earth rotates. If you want sharp points of light, keep the exposure short and raise ISO instead, which is how Milky Way photos are made.
If you want the stars to draw circles, go the other way and shoot very long exposures or stacks of frames.
The Settings That Stay the Same
Across all three families, a few settings hardly change. That makes long exposure easier than it first looks.
ISO stays at base. ISO 100 (or your camera's lowest native value) gives the cleanest file, and since the camera's on a tripod, you rarely need more. The exception is star points, where time is limited.
Aperture stays around f/8 to f/11. That range gives good depth of field and good sharpness. You can stop down to f/16 to squeeze out a little more time, but going further softens detail through diffraction.
Focus is manual once set. Autofocus struggles through dark filters and in darkness. Focus first, then lock it by switching to manual.
Image stabilization goes off on a tripod. Many lenses and cameras try to correct movement that isn't there and add blur instead. Check your manual, but turning it off is the safe default.
RAW is the format. Long exposures often have tricky color from filters or mixed city lights, and a RAW file lets you fix white balance afterward without losing quality.
Common Long Exposure Problems
The Whole Photo Is Soft
When everything is soft, the camera moved. Check that the tripod legs are firm, the center column is down, and you aren't touching anything during the exposure.
Wind is the usual hidden cause. Shelter the tripod with your body or hang your bag from the center column hook, and wait for a lull.
The Water Looks Like Fog
The exposure is too long for that subject, and waterfalls in particular lose their shape past a few seconds. Shorten the exposure until some texture comes back, or take a ladder of frames (1, 4, 15, and 30 seconds) and choose later.
The Image Has a Color Cast
Strong ND filters often add a warm or magenta tint, and city lights mix orange and white. Shoot RAW and correct white balance in editing, or set a custom white balance in camera with the filter on.
There Are Strange Streaks or a Haze
On cameras with an optical viewfinder, light can leak through the eyepiece during long exposures and create a haze or faint band. Close the eyepiece shutter or cover it with the rubber cap or a piece of tape. Mirrorless cameras don't have this problem.
There Are Hot Pixels or Speckles
Very long exposures warm the sensor and can leave bright colored dots in dark areas. Your camera's long exposure noise reduction setting fixes most of them by taking a second dark frame of the same length, so a 2 minute exposure takes 4 minutes to finish.
Turn it on for single frames past about 30 seconds, and turn it off when you're shooting sequences.
The Image Is Too Bright in Daylight
You've run out of darkness. Lower ISO to base and stop down to f/16. If it's still too bright, you need a stronger ND filter or two stacked together.
Your First Long Exposure Session
If you've never tried this, here's a simple plan for one evening.
- Pick somewhere with moving water or traffic and something solid in the frame, like a pier, a bridge, a rock, or a building.
- Arrive 30 minutes before sunset with a tripod, a remote or self-timer, and a charged battery.
- Compose, focus, and switch to manual focus while it's still light.
- Set ISO 100, f/8, and Manual mode. After sunset, start at 1 second and lengthen the exposure as the light fades.
- Shoot a frame every few minutes until the sky turns black, then try a 20 second exposure for light trails or lit buildings.
You'll come home with a full sequence showing how the same scene changes through twilight. You'll also have learned the core workflow without needing a filter at all.
Where to Go Next
Once you've tried each family, go deeper on the one that suits you.
- The ND filters guide covers filter strengths, stacking, and buying advice for daytime work.
- The water photography guide covers waterfalls, rivers, and the sea.
- The outdoor night photography guide covers focusing and exposure in the dark.
If you want everything in one place to carry into the field, the free long exposure getting started guide is a downloadable companion to this article, with the gear, settings, and techniques laid out for quick reference.
Key Takeaways
- Put the camera on a tripod and fire with a remote or the 2-second timer, because any camera movement ruins a long exposure.
- Match the approach to the light, using an ND filter in daylight, no filter at blue hour, and long dark exposures for light trails at night.
- Start at ISO 100 and f/8 to f/11, focus before it gets dark or before the filter goes on, then switch to manual focus.
- Check the histogram after every frame and adjust the shutter speed, since filter ratings and twilight both shift the exposure.