Most photographers avoid flash for years. That avoidance costs them more photos than any other gap in their skills.
Here's the reframe that fixes it. Flash is a controllable burst of daylight-colored light. Nothing more. Direction, power, size, softness, every quality that makes light good or bad becomes adjustable. The harsh look that scared you off isn't flash. It's one specific use of flash, bare and head-on from the camera position.
This article is the starting point for the flash guide. It covers what a flash actually does, why a cheap speedlight changes everything, and a first-session recipe for natural-looking photos.
Why Photographers Avoid Flash
The fear is earned. You've seen the evidence. Red eyes. Shiny foreheads. A hard shadow pasted on the wall behind the subject like a police lineup. A subject floating in a black void.
Every one of those photos came from the same setup, a tiny bare flash firing directly forward from above the lens. It's the worst possible way to use flash and also the default way, so it became flash's reputation.
The logic error happens next. People conclude that flash looks fake and natural light looks real, so they become "natural light photographers." That's like tasting burnt toast and concluding bread is bad. The problem was never the bread.
The avoidance has a price. Every indoor event after sunset. Receptions at ISO 12800 where every file looks like sandpaper. The "natural light only" badge usually translates to "unavailable after dark," and a lot of life happens after dark.
Every one of those failures has a known fix, covered in why flash photos look harsh. None of them require abandoning flash, just pointing it somewhere smarter.
What a Flash Actually Is
Strip away the fear and a flash is a simple device that stores energy in a capacitor and releases it as a burst of light. Two properties of that burst matter.
It's daylight colored. Flash output sits around 5500K, the same neighborhood as midday sun. Your camera cannot tell the difference between photons from a window and photons from a flash bounced off a white ceiling. There is no "flash look" baked into the light itself.
It's incredibly brief. A flash burst lasts somewhere around 1/1000 of a second at full power and gets much shorter at lower power settings. That burst freezes motion on its own, independent of your shutter speed. A toddler mid-sprint, sharp.
And the rule that governs all light governs flash too. Light quality is determined by source size relative to the subject. A bare flash is a few square inches, a small source, so it produces hard light. Bounce it off a ceiling and the ceiling becomes the source, several feet across, so it produces soft light. The flash was never harsh. Small light sources are harsh, and a flash is only small until you bounce it.
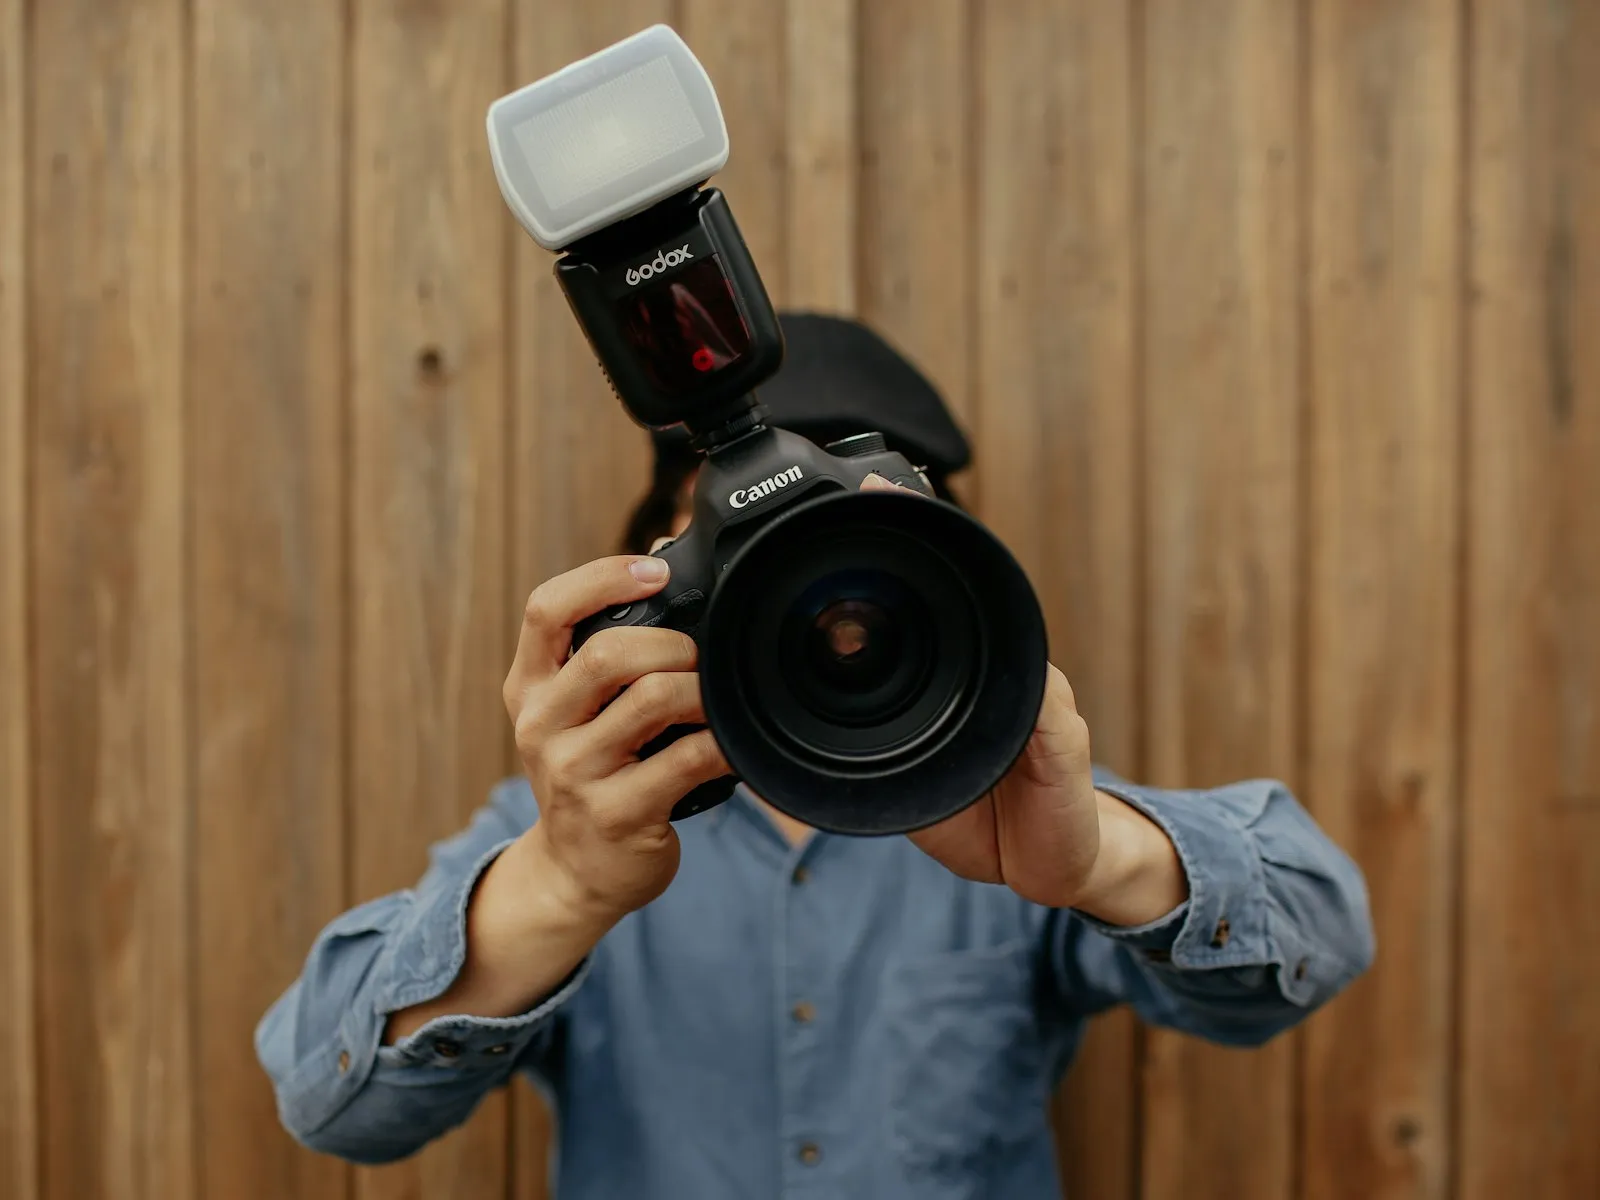
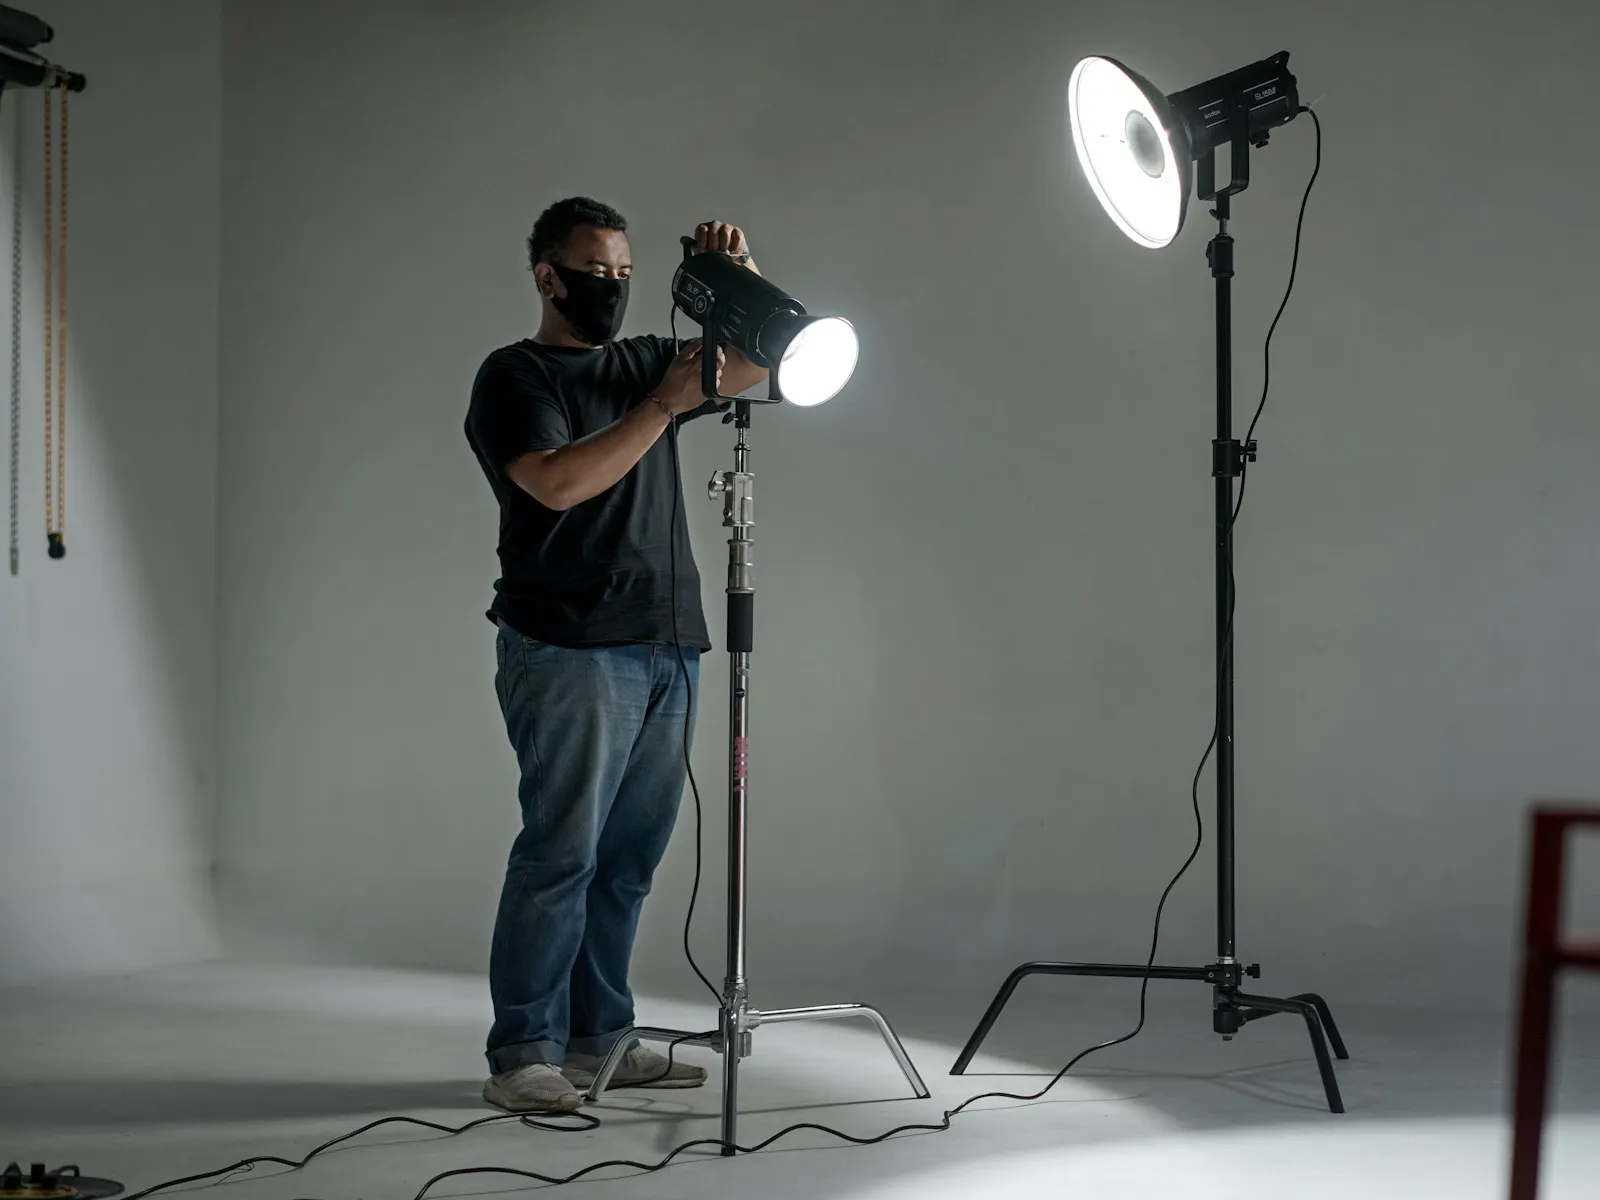
Pop-Up Flash vs a Basic Speedlight
The flash built into your camera is the one that earned the bad reputation. It's tiny, it sits an inch above the lens, it fires directly forward, and you can't aim it anywhere else. It's also weak.
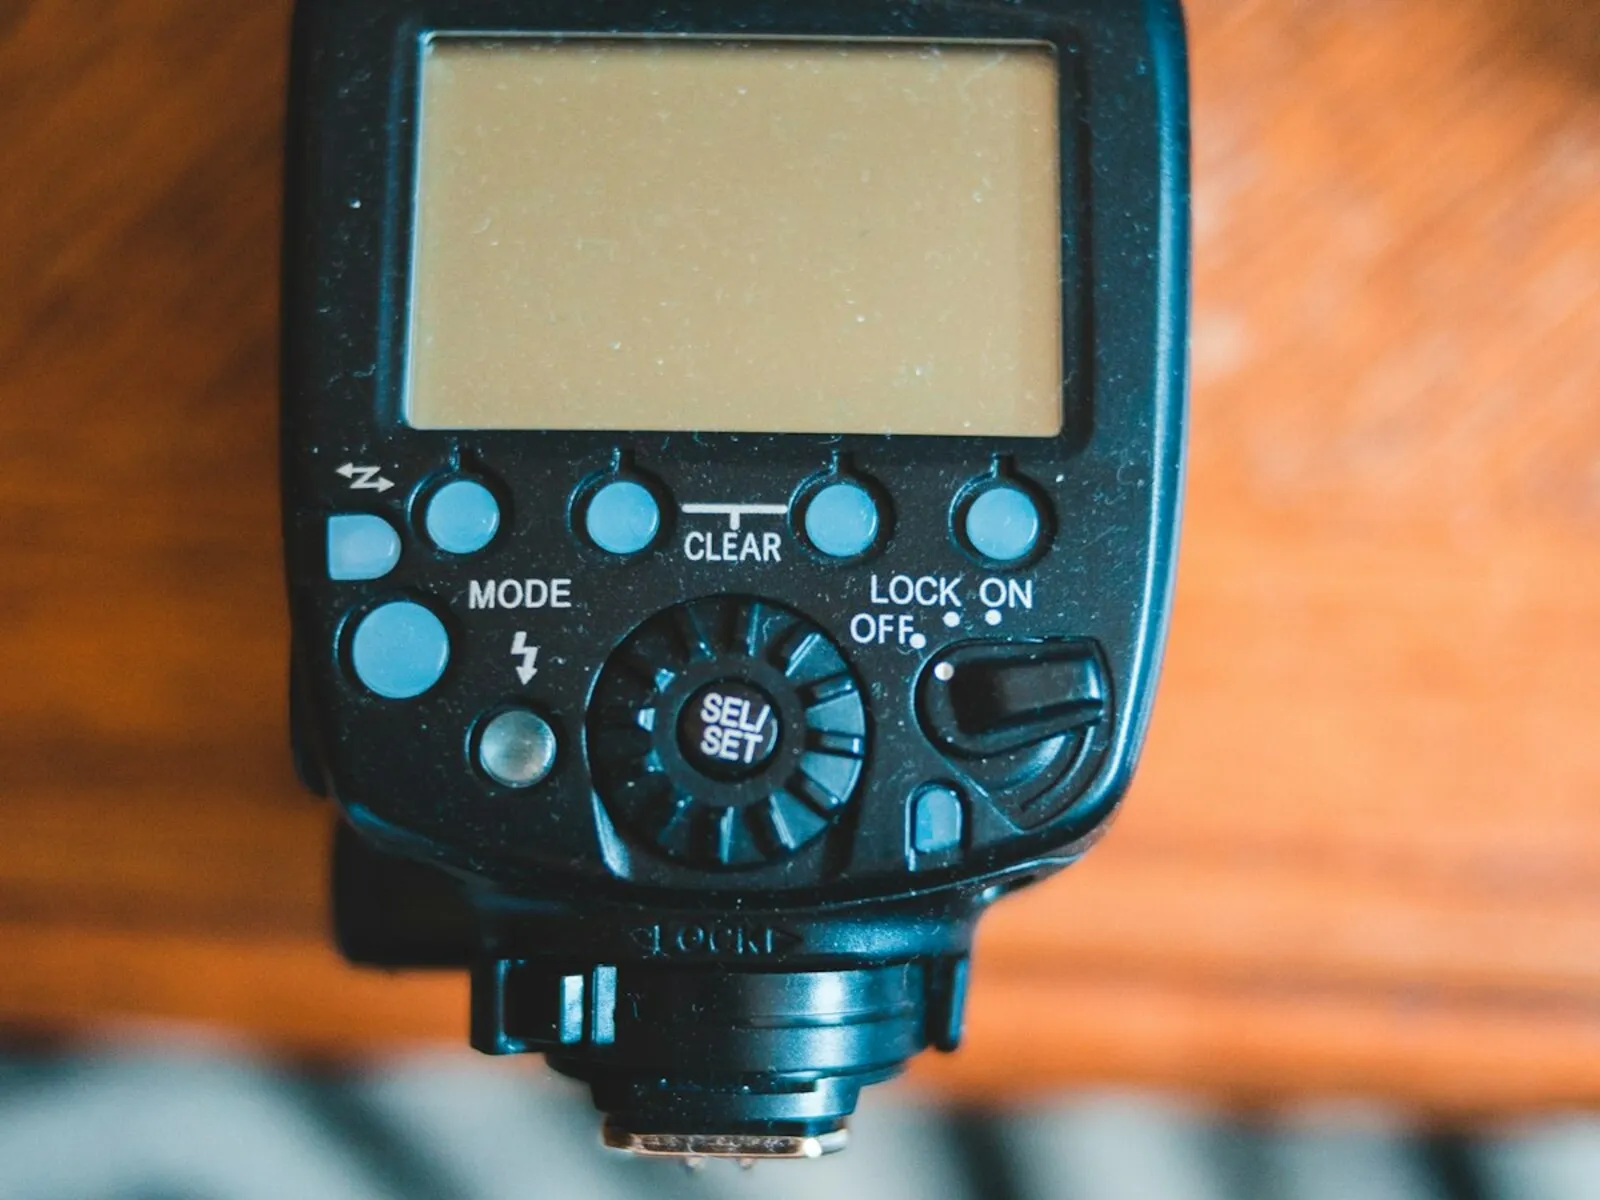
A speedlight is a separate flash unit that slides into the hot shoe on top of your camera. Three things separate it from the pop-up, and the first one matters most.
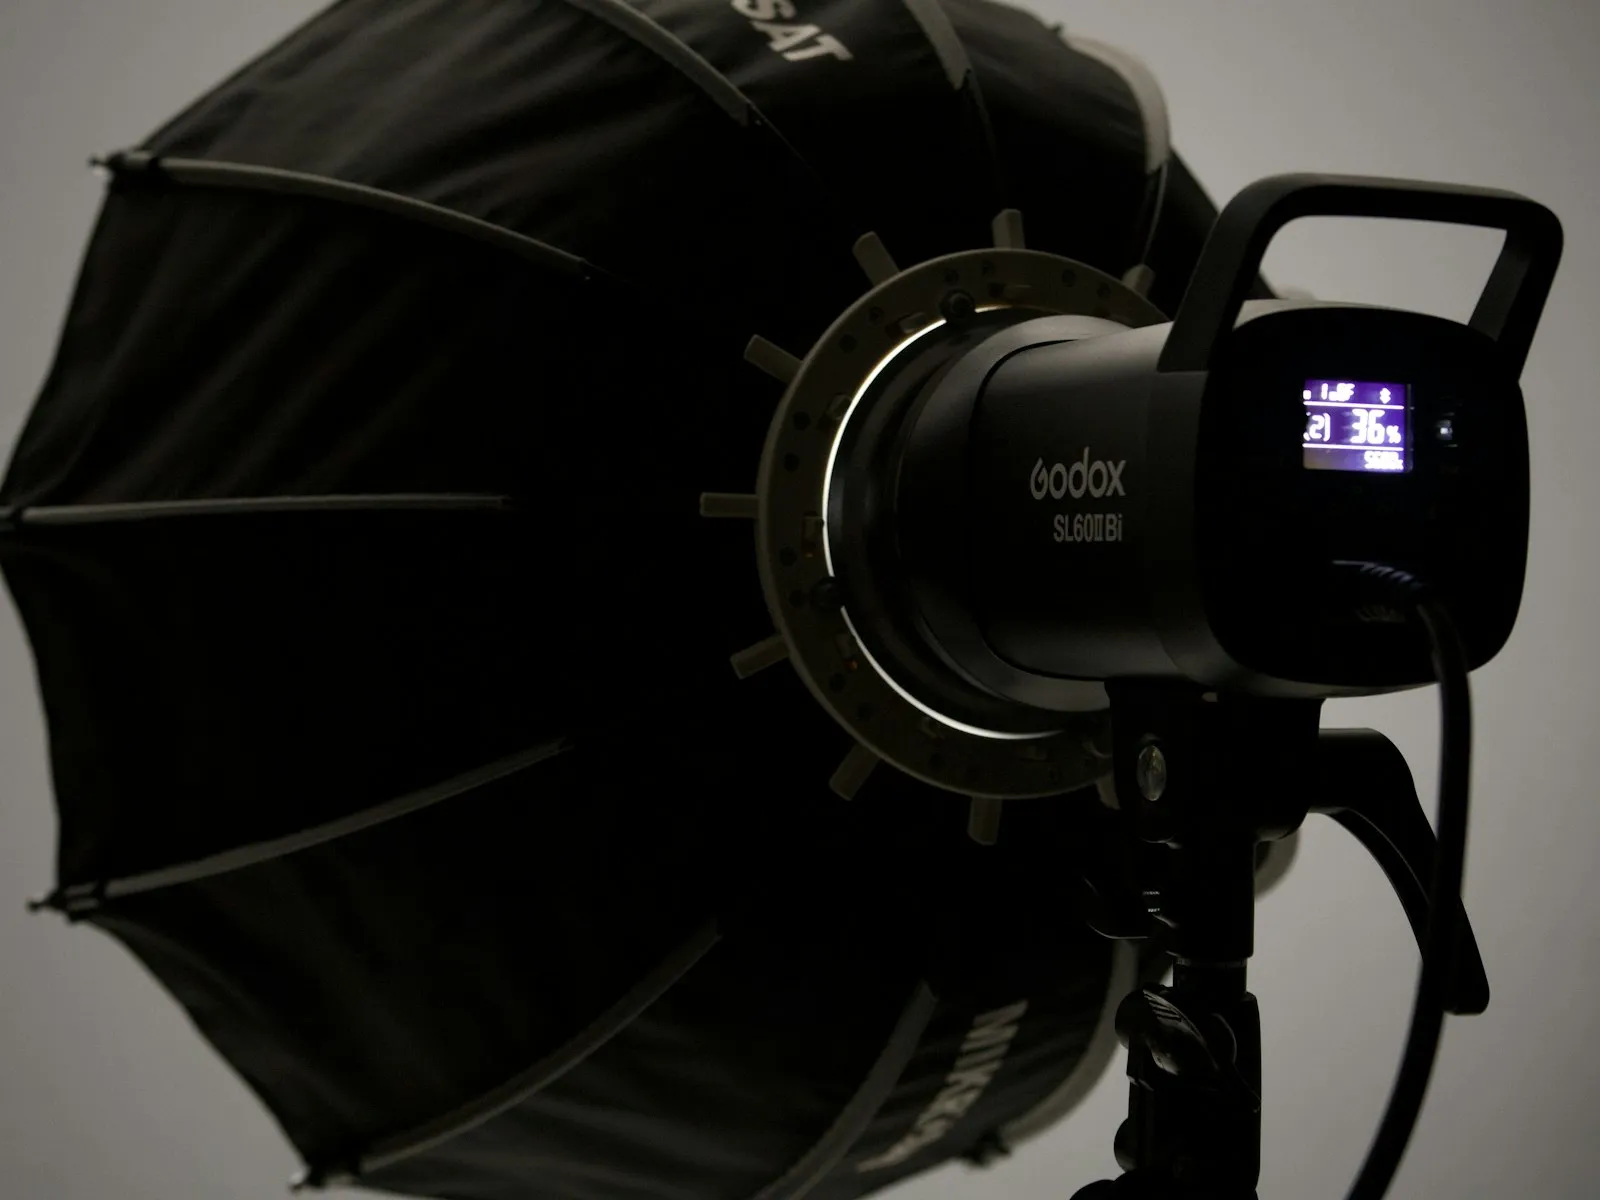
The head tilts and swivels. This is the feature that changes everything. Point the head at the ceiling and the ceiling becomes your light source. Point it at a wall and you get window-like light from the side. Bouncing flash turns a light source the size of a credit card into one the size of a mattress. Soft, directional light from a device that costs less than a tank of gas.
It has real power. A typical speedlight is several times stronger than a pop-up. Power adjusts in fractions, from 1/1 (full) down through 1/2, 1/4, 1/8 and onward, and each halving is exactly one stop less light. That headroom is what makes bouncing practical, since the trip to the ceiling and back costs light.
It comes off the camera later. The same unit eventually unlocks true off-camera lighting.
A sixty dollar third-party speedlight with TTL and a tilting head is the highest improvement-per-dollar purchase in photography. More than a new lens. Far more than a new body.
Your First Flash Session
Here's a recipe that works in almost any room with a light-colored ceiling. No light stands, no modifiers, no math.
-
Set aperture priority. Pick something moderate like f/4. The camera handles shutter speed, and with a speedlight in the hot shoe it stays at or below the flash-safe limit automatically.
-
Set ISO 400 to 800. This is the counterintuitive step. Raising ISO keeps the room's existing light alive and gives the flash an easier job, so backgrounds stay warm instead of falling to black.
-
Put the flash in TTL mode. TTL stands for "through the lens." The flash fires a quick preflash, the camera measures how much light came back through the lens, and the flash sets its own power for the real exposure. It's autoexposure for flash.
-
Tilt the head toward the ceiling. Straight up, or angled 45 degrees forward if the ceiling is high. Nothing should point directly at your subject.
-
Shoot, look, adjust. Take a frame, check the screen, and adjust with the control below.
Flash Exposure Compensation
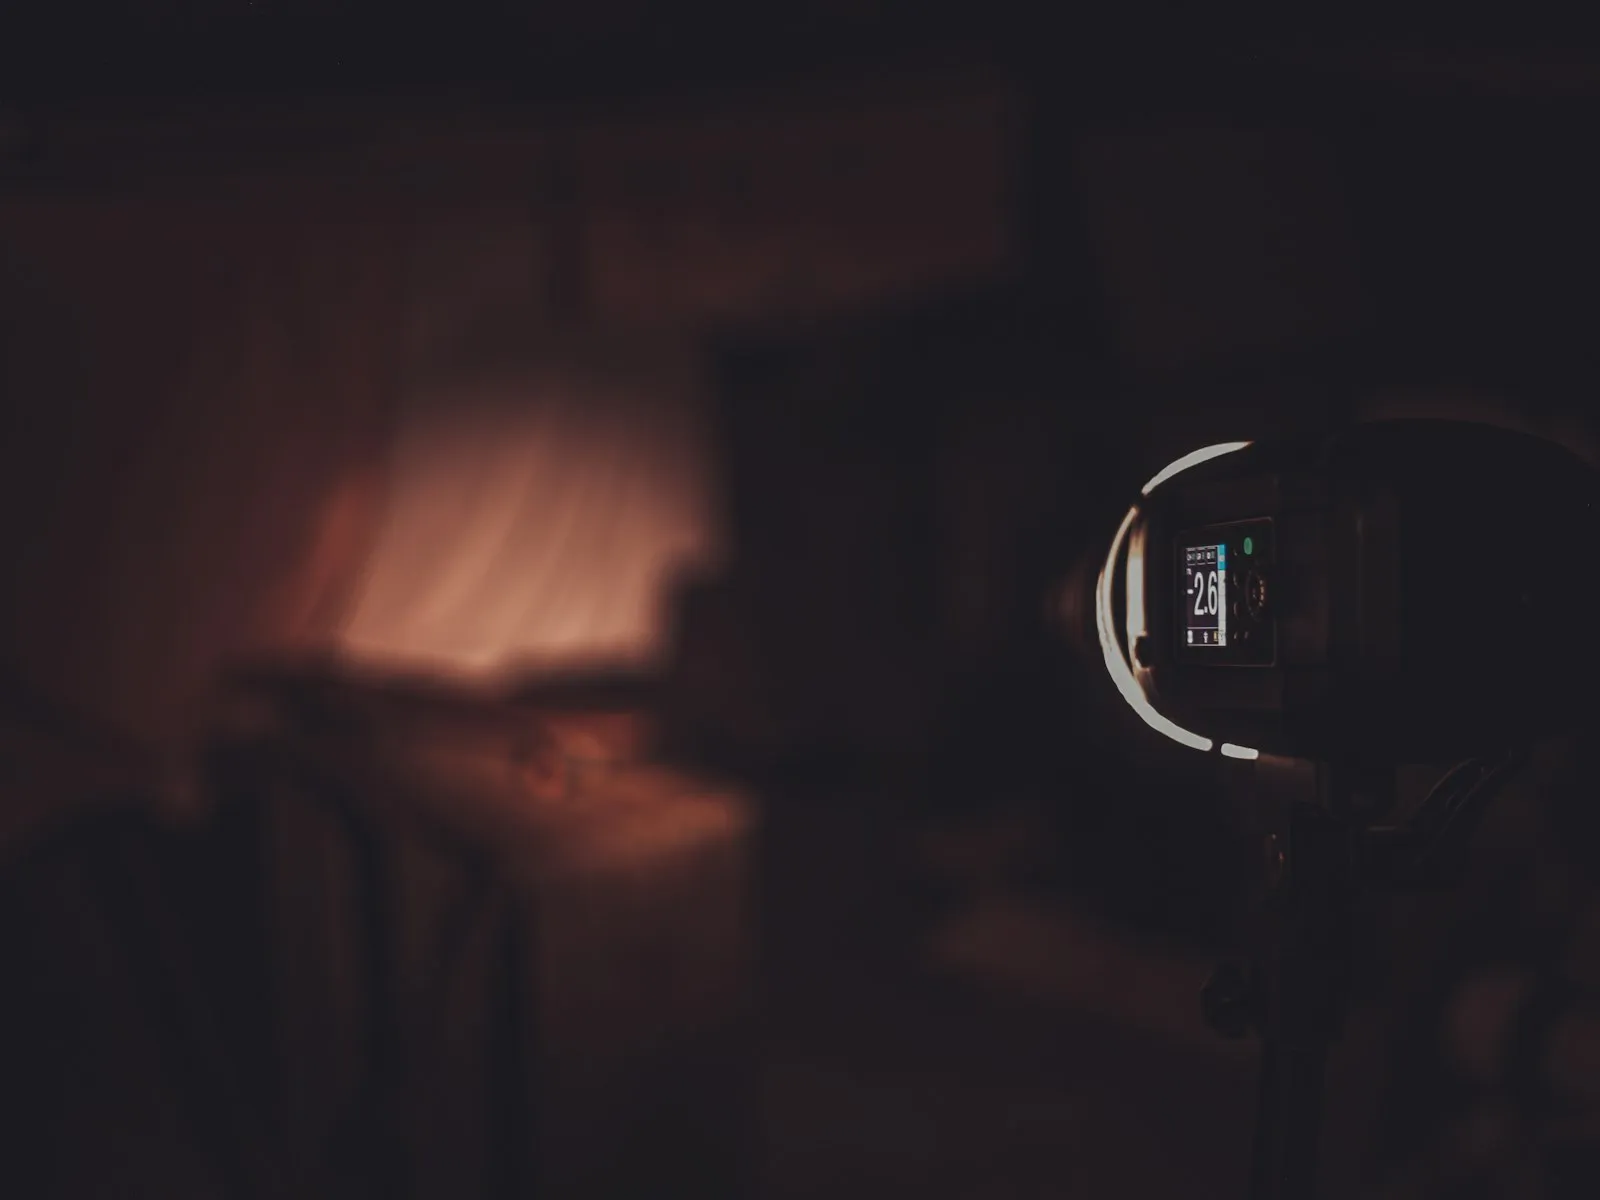
Flash exposure compensation (FEC) is the volume knob for TTL. It's separate from your camera's regular exposure compensation, which adjusts the ambient exposure. FEC adjusts only the flash's contribution.
Start at -1. TTL tends to be a little enthusiastic, and dialing it back produces flash that opens shadows without announcing itself. Subject too dark? Raise FEC. Subject has that telltale bright-foreground "flashed" look? Lower it.
TTL meters every frame fresh, so output drifts a little from shot to shot. When that starts to bother you, the TTL vs manual flash breakdown covers when each mode earns its keep.
When Flash Beats Raising ISO
The standard low-light reflex is to work the exposure triangle harder. Open the aperture, slow the shutter, raise the ISO. Sometimes that's exactly right, and shooting indoors without flash is a skill worth having when flash is impossible.
But flash wins in common situations.
Your subject is moving. High ISO with a slow shutter gives you noisy files of blurry people. A flash burst freezes motion regardless of shutter speed. For kids indoors, flash is the answer.
You've hit the ISO ceiling. Every sensor has a point where noise eats the image. A bounced flash at ISO 800 beats no flash at ISO 12800, every time.
The existing light is ugly. High ISO is faithful. It preserves the fluorescent glare and green color cast in all their glory. Flash replaces bad light with light you chose.
You're outdoors in harsh sun. Not a low light problem at all. Midday sun digs dark shadows into eye sockets, and fill flash lifts them while the sun does the rest.
How Far Your Flash Reaches
Flash obeys the inverse square law, and this single fact explains most flash disappointments. Light spreads as it travels, so doubling the distance spreads the same light over four times the area. Double the distance, lose two stops.
A subject six feet away gets four times the light of one twelve feet away, which is why group shots in deep rooms have bright front rows and dim back rows. Subjects far enough away get effectively nothing, which is why ten thousand phone flashes at a stadium concert illuminate ten thousand haircuts and zero performers.
Flash range is quantified by the guide number. GN equals distance times f-number at ISO 100, so a speedlight with a guide number of 36 (in meters) reaches about 9 meters at f/4 at ISO 100. Raise the ISO and the range grows. Each doubling of ISO buys one stop, which multiplies the distance by about 1.4.
You don't need to memorize any of this. The flash calculator does the arithmetic for any combination of power, aperture, ISO, and distance. Ten minutes of playing with it builds an instinct for what your flash can reach, so you stop blaming the flash when the problem was physics.
The One Camera Limit Worth Knowing
Cameras with mechanical shutters have a maximum shutter speed for flash, called the sync speed. It's around 1/200 to 1/250 on most cameras.
The reason is mechanical. Your shutter is two curtains. At slower speeds, the first curtain opens fully, the flash fires while the whole sensor is exposed, then the second curtain closes. Above sync speed, the second curtain starts chasing the first before it finishes, so the sensor is only ever exposed through a moving slit. A flash burst during that slit travel lights one band of the frame and leaves the rest dark.
Your camera knows this and caps the shutter at sync speed when it detects a flash in the hot shoe, which is why the recipe above just works. High-speed sync gets around the limit by pulsing the flash rapidly so the light is effectively continuous while the slit travels, but it costs serious power, often two stops or more. For now, file it under "later." Indoors at 1/200, you'll rarely feel the limit.
When Not to Use Flash
Part of using flash well is knowing when to leave it off.
When atmosphere is the subject. A face lit by birthday candles. A band under stage light. Flash would technically improve the exposure and completely destroy the photo. If the existing light is the reason you raised the camera, don't replace it.
When the subject is out of range. The stage from row 40, the skyline, the moon. The inverse square law already voted. Turn the flash off, brace the camera, and work with what's there.
When it's banned or unkind. Museums, theaters, ceremonies, newborn faces, wildlife at night. Some bans protect art, some protect moments, some protect retinas. All of them outrank your exposure.
When the light is already good. Window light at 4pm doesn't need your help. Flash is a tool you reach for on purpose, not a default.
Two Practice Drills
Reading about flash does less than an hour of shooting with one. These two drills teach the core skills.
Drill one, the bounce comparison. Put a willing subject (a person, or a stuffed animal that can't leave) in a normal room.
- Shoot once with the flash in TTL, head aimed straight at them.
- Tilt the head to the ceiling and shoot again.
- Swivel the head to a side wall and shoot a third frame.
- Compare the three. Look at the shadow under the chin, the wall behind them, and the shine on the skin.
Twenty minutes, and you've taught yourself the harsh-flash problem and its fix.
Drill two, the FEC ladder. Put your subject near a window or a lamp.
- Expose for the room in aperture priority with the flash off. Note how the shadows look.
- Turn the flash on, TTL, bounced. Set FEC to -2 and shoot.
- Shoot again at -1, then 0, then +1.
- Review the four frames and find the one where you can't tell a flash fired but the shadows opened up.
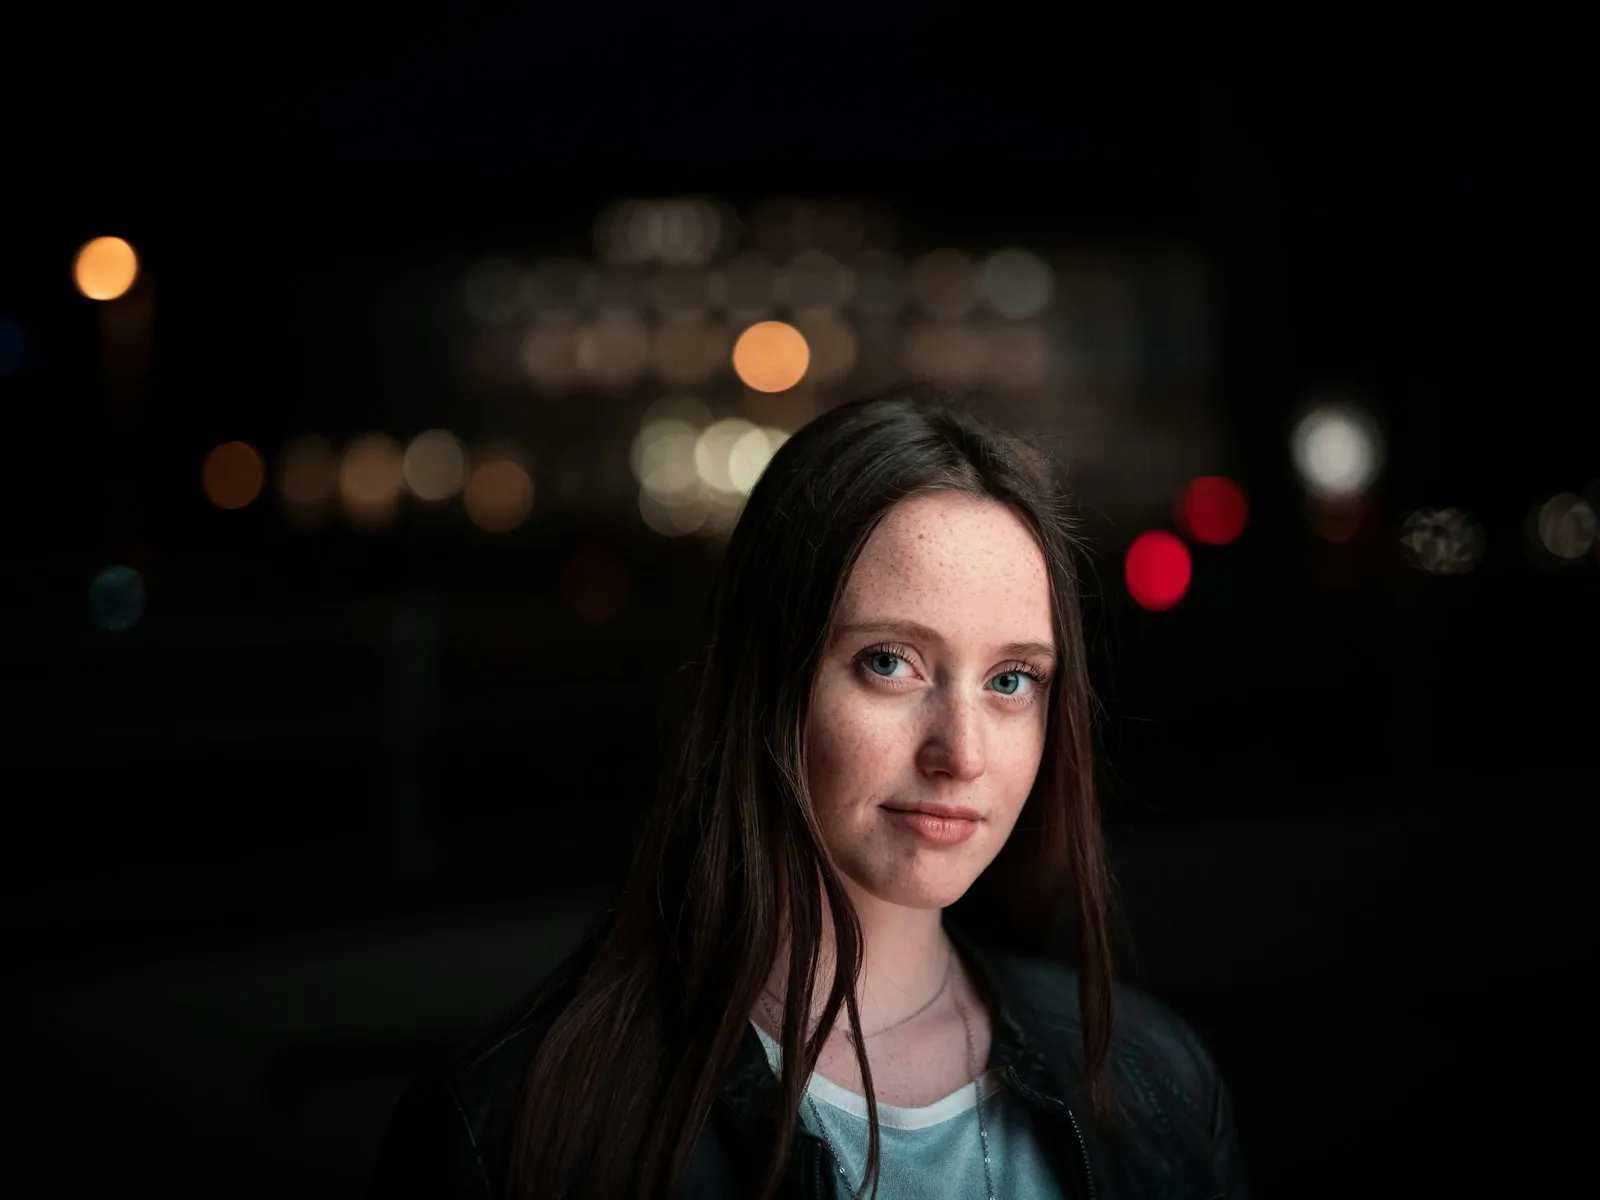
That frame is the whole skill. Natural-looking flash photography is flash you don't notice, and now you know which setting produces it in that room.
Key Takeaways
- Treat flash as a controllable burst of daylight-colored light, not a last resort that ruins the mood of your photos.
- Buy a basic speedlight with a tilting head, because bouncing flash off a ceiling transforms harsh light into soft light.
- Start in TTL mode with aperture priority, then use flash exposure compensation to dial the flash down until it looks natural.
- Remember that flash power drops with the square of distance, so check your range before relying on it across a room.
More in This Guide
Continue building your flash skills.


Related Guides