You can buy a bigger flash, a more expensive flash, a flash with every automatic mode on the spec sheet, and your photos will look basically the same. Take the flash you already own, move it three feet off the camera, and they'll look transformed.
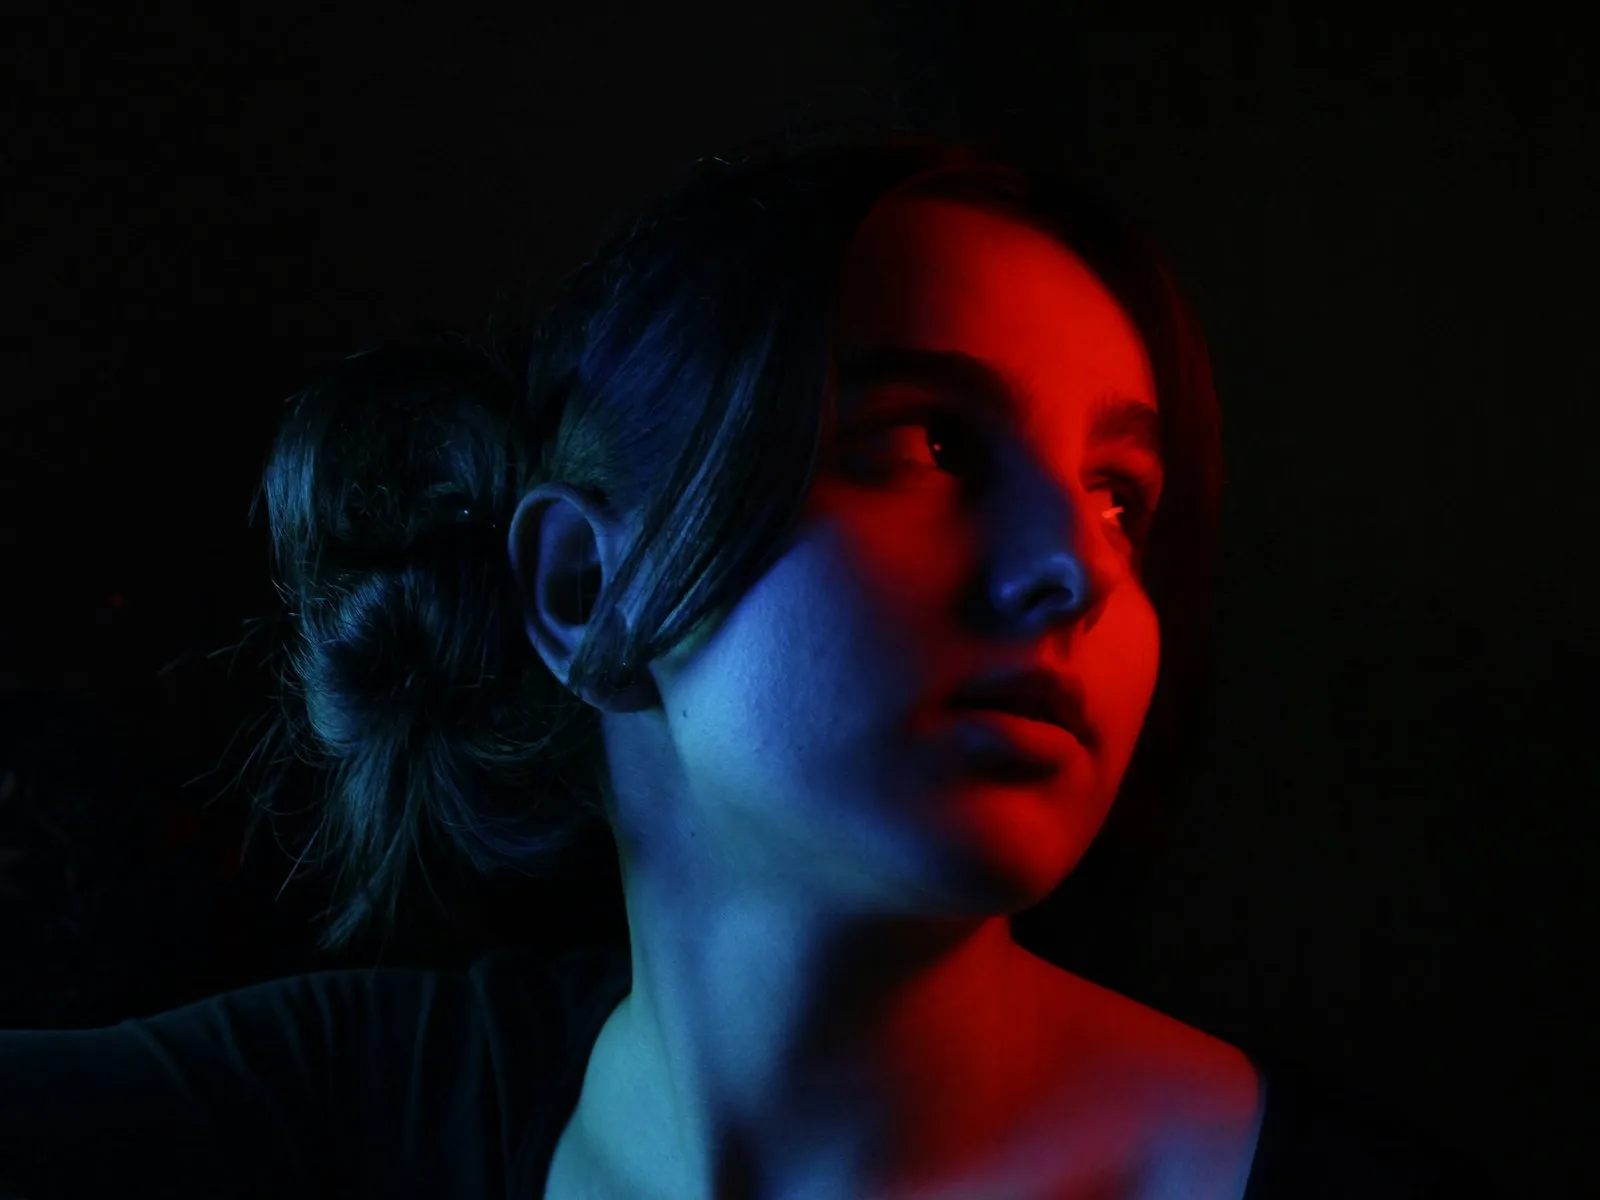
That's the entire case for off-camera flash. Position creates direction. Direction creates shadows. And shadows, placed where you want them, are what give a face dimension instead of that flat, startled, party-snapshot look. Where the light sits matters more than how strong it is.
This article covers the why, the minimal kit, and the classic one-light setup that produces flattering portraits the first evening you try it. It's the natural next step in our flash guide once bounce flash starts feeling limiting, and it costs less and takes less work than most photographers expect.
Why Position Beats Power
Think about what an on-camera flash does. It fires from an inch above your lens, straight down the camera's line of sight. The light hits the face head on, the shadows fall directly behind your subject where the camera can't see them, and every contour flattens out. It's the same reason a coal miner's headlamp makes everything look like an evidence photo. The light and the lens share a point of view, so nothing is left to suggest shape.
Photographers call the main light on a subject the key light, and the most important decision you make about a key light isn't its power. It's its position.
On axis means flat. When light travels the same path as the lens, every shadow hides behind the thing that cast it. Noses lose their shape. Cheekbones disappear. Skin becomes a single bright plane.
Off axis means dimension. Move that same flash 45 degrees to the side and shadows appear on the far side of the nose, along the far cheek, under the jaw. The face stops being a flat shape and becomes a three-dimensional form. Nothing about the flash changed. Only its address did.
Power can't fix geometry. Doubling the power of an on-camera flash gives you the same flat light, brighter. No amount of output buys you direction. This is why a cheap flash on a stand beats an expensive flash in a hot shoe every single time.
Direction is half the story. The other half is light quality, hard versus soft, which is controlled by the size of the source relative to the subject. Off-camera flash hands you both levers at once. You choose where the light comes from, and with a modifier, you choose how soft it is.
A Window You Can Carry
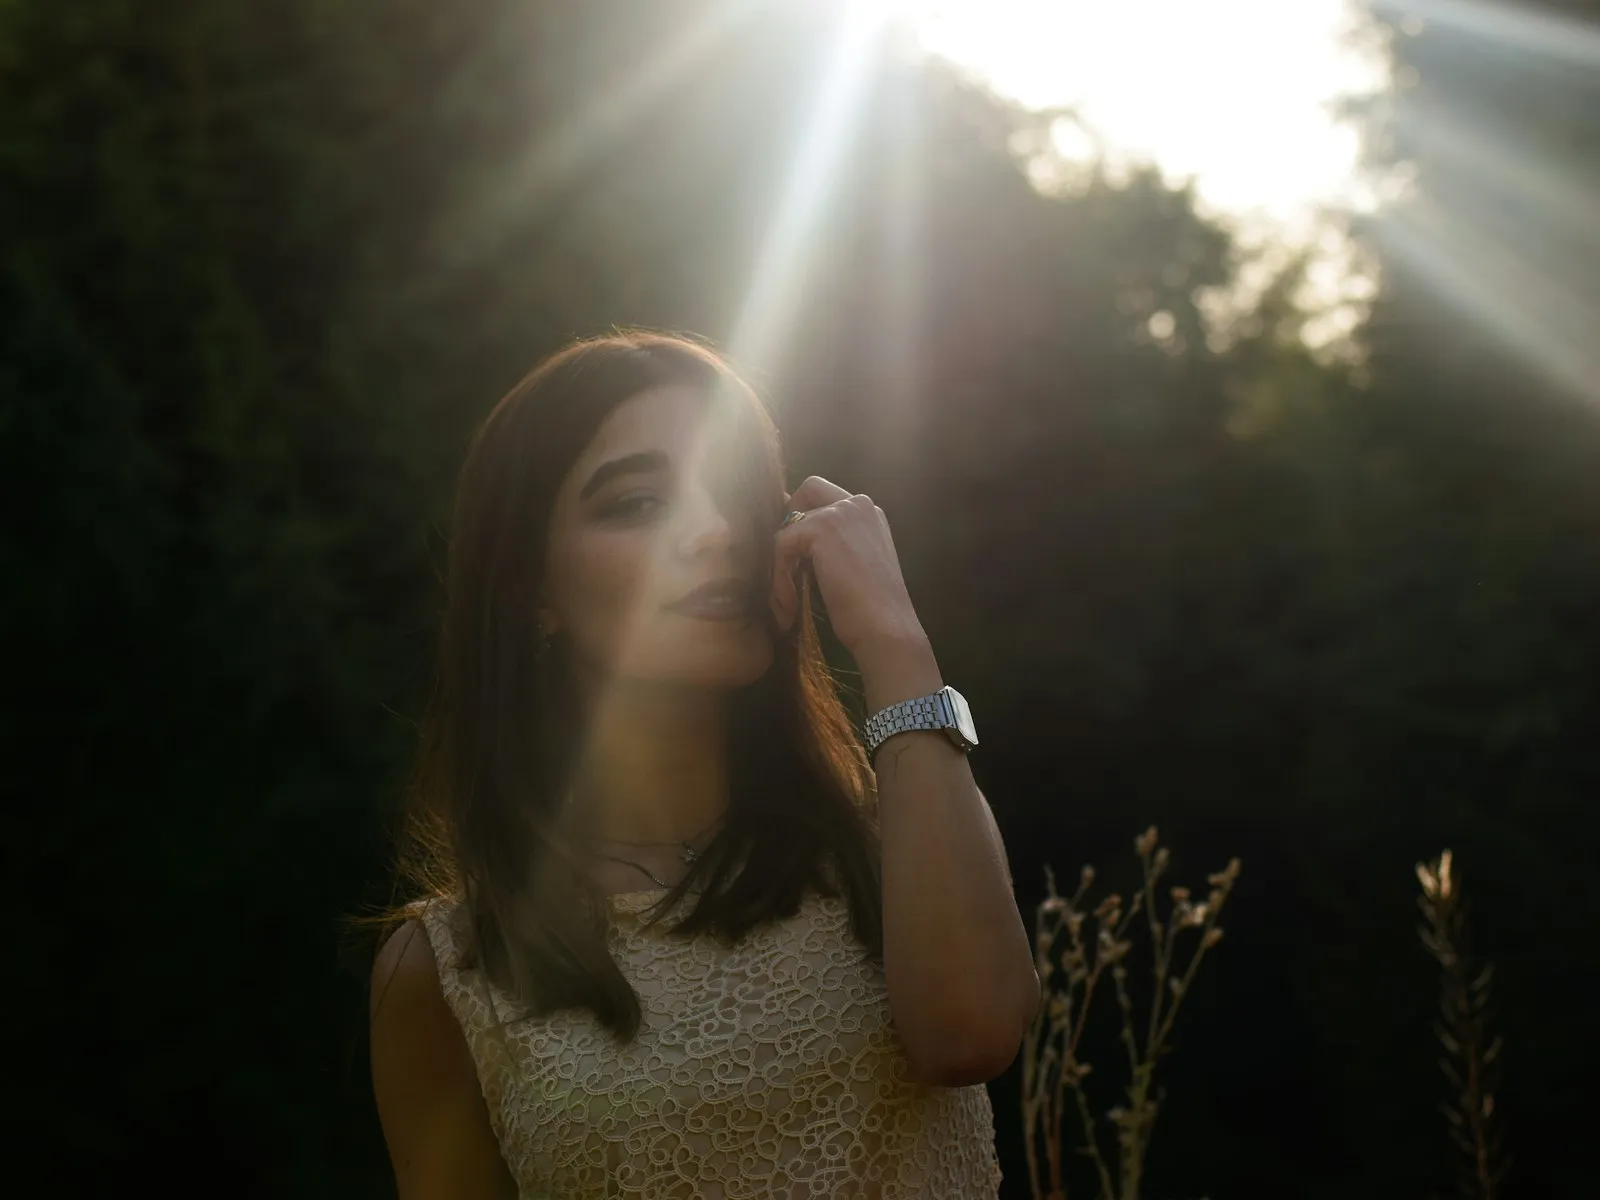
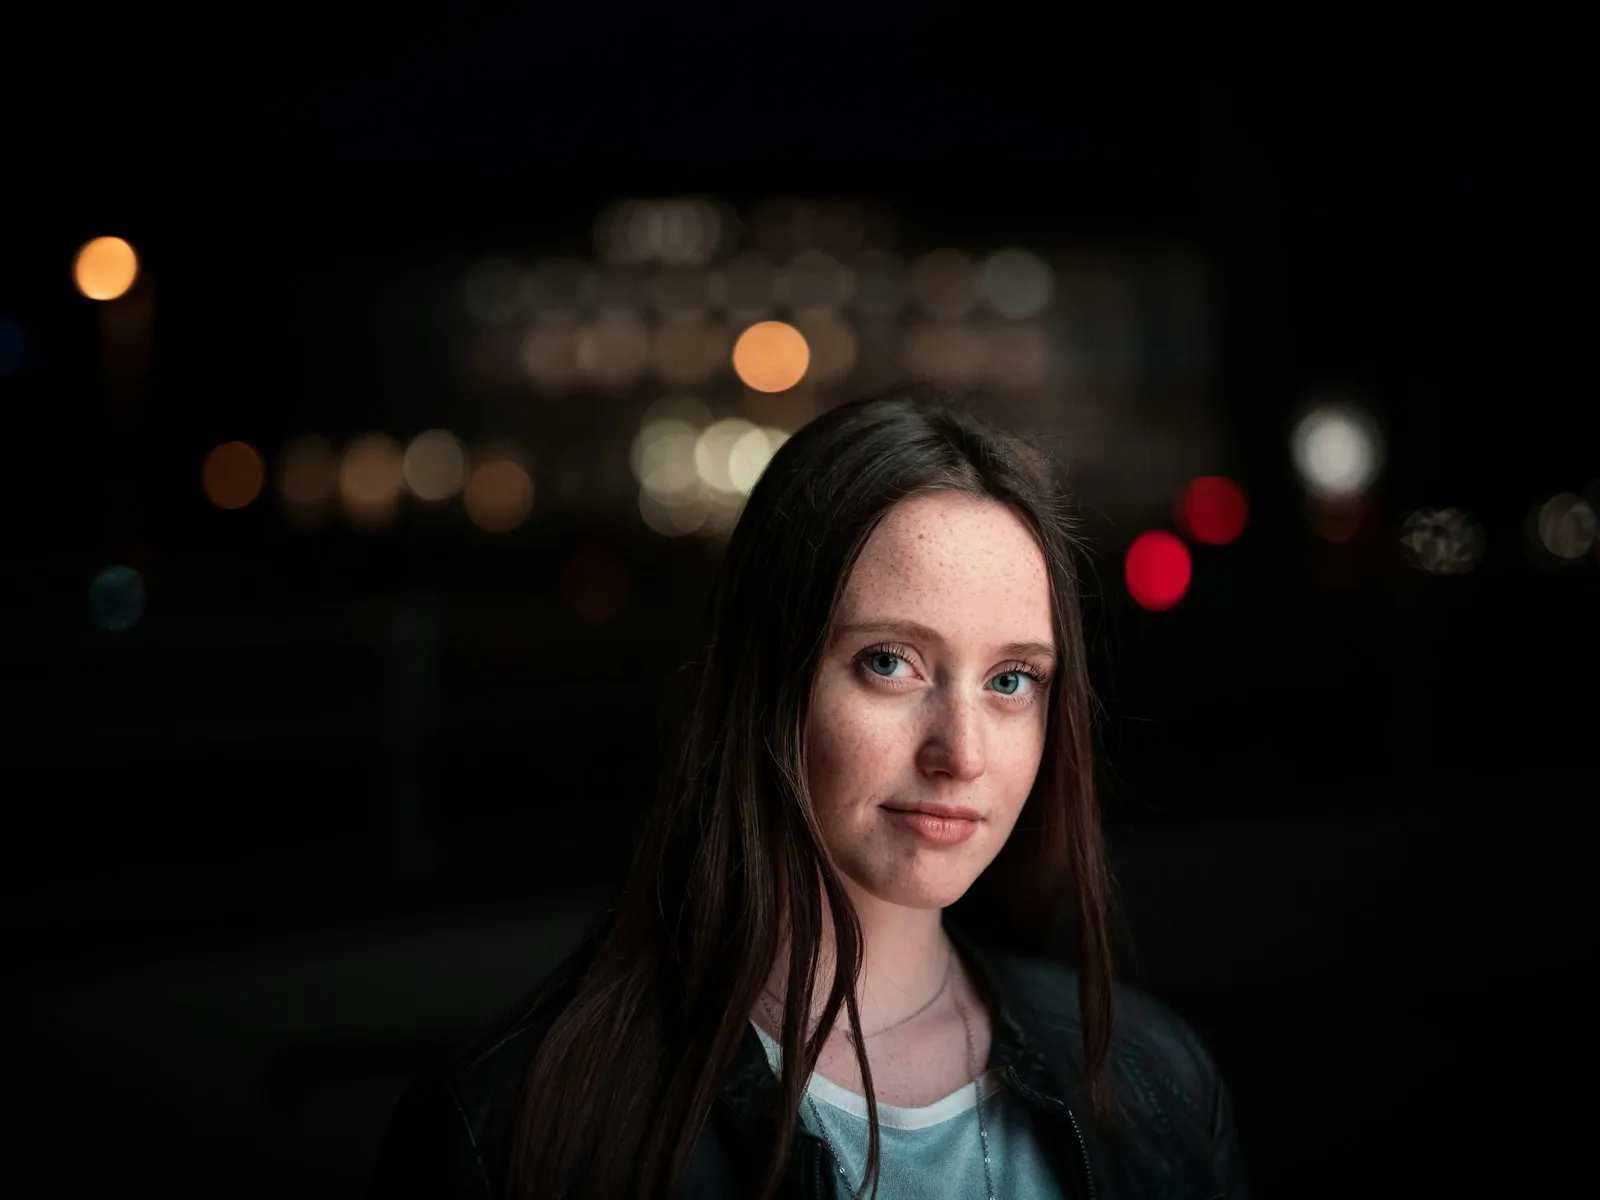
If you've ever set up a portrait next to a big window, you've already used the look that off-camera flash recreates. Window light flatters because it's large, directional, and off the camera's axis. A flash fired through a white umbrella at 45 degrees is the same recipe. A big, soft source, placed to the side, sitting slightly above the subject's face.
The difference is control. A window is bolted into a wall, at a fixed height, and it goes dark every evening. The flash version goes wherever you want, at whatever height, at whatever power, at midnight, in a windowless basement, in a hotel room with curtains the color of mustard. It's window light you can carry, and once you've seen the two side by side, it's genuinely hard to tell which is which.
The mental model also keeps you honest. When you're unsure where to put the light, ask what a window would do. Would window light come from below someone's chin? No. From lens height, dead center? No. From off to one side, a little above eye level? That's the one.
The Minimal Kit
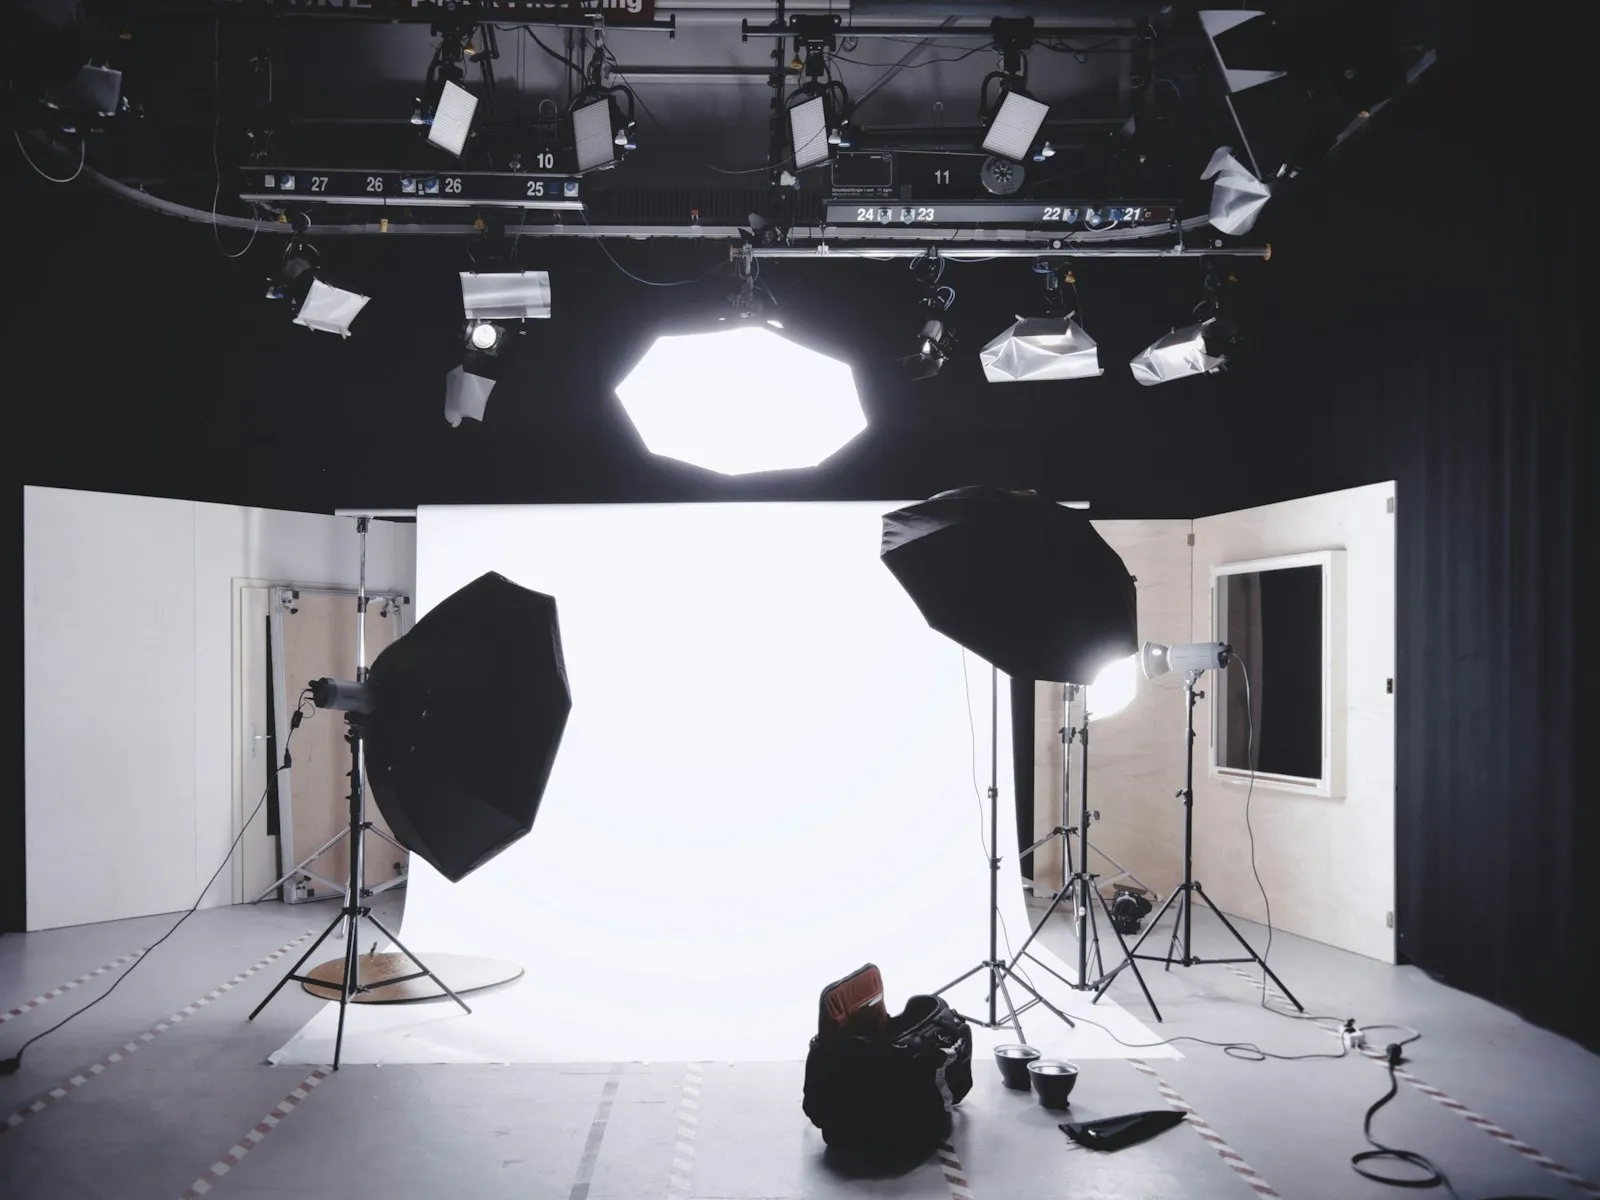
Off-camera flash has a reputation as expensive studio territory. That stopped being true years ago. Four pieces get you everything in this article, and all four together often cost less than a single budget prime lens.
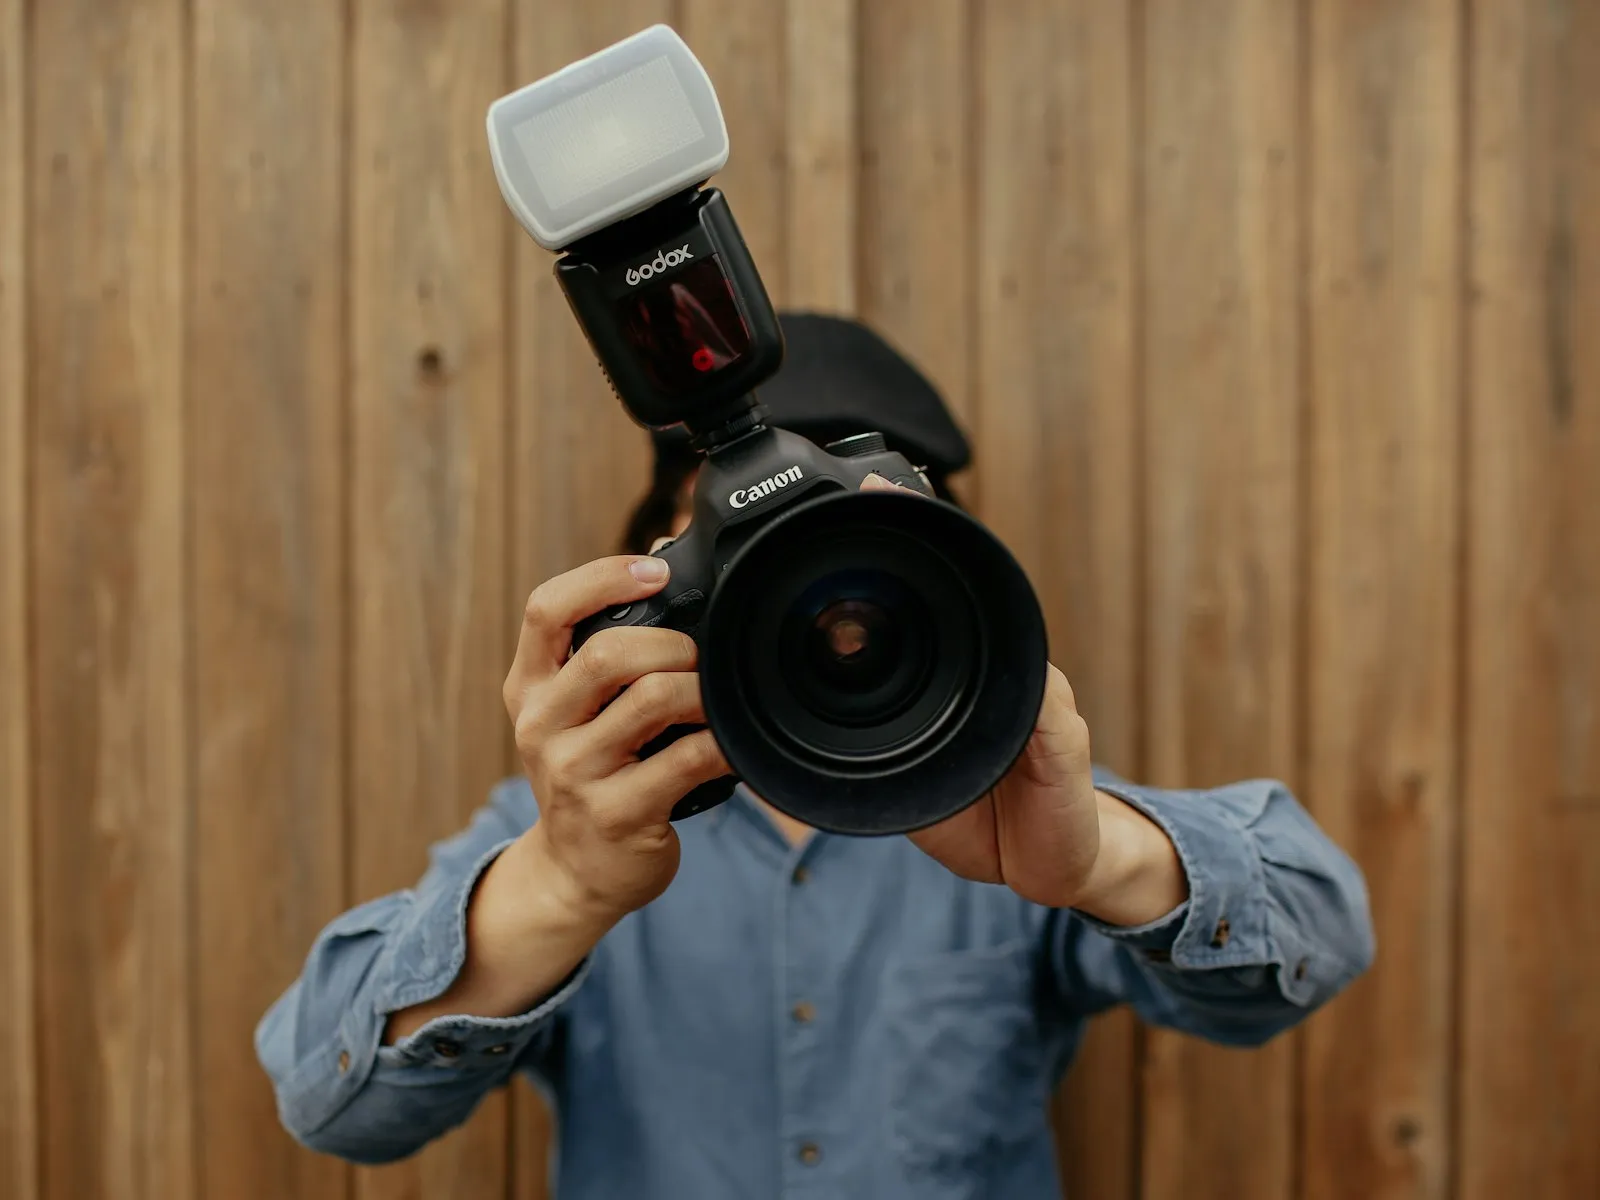
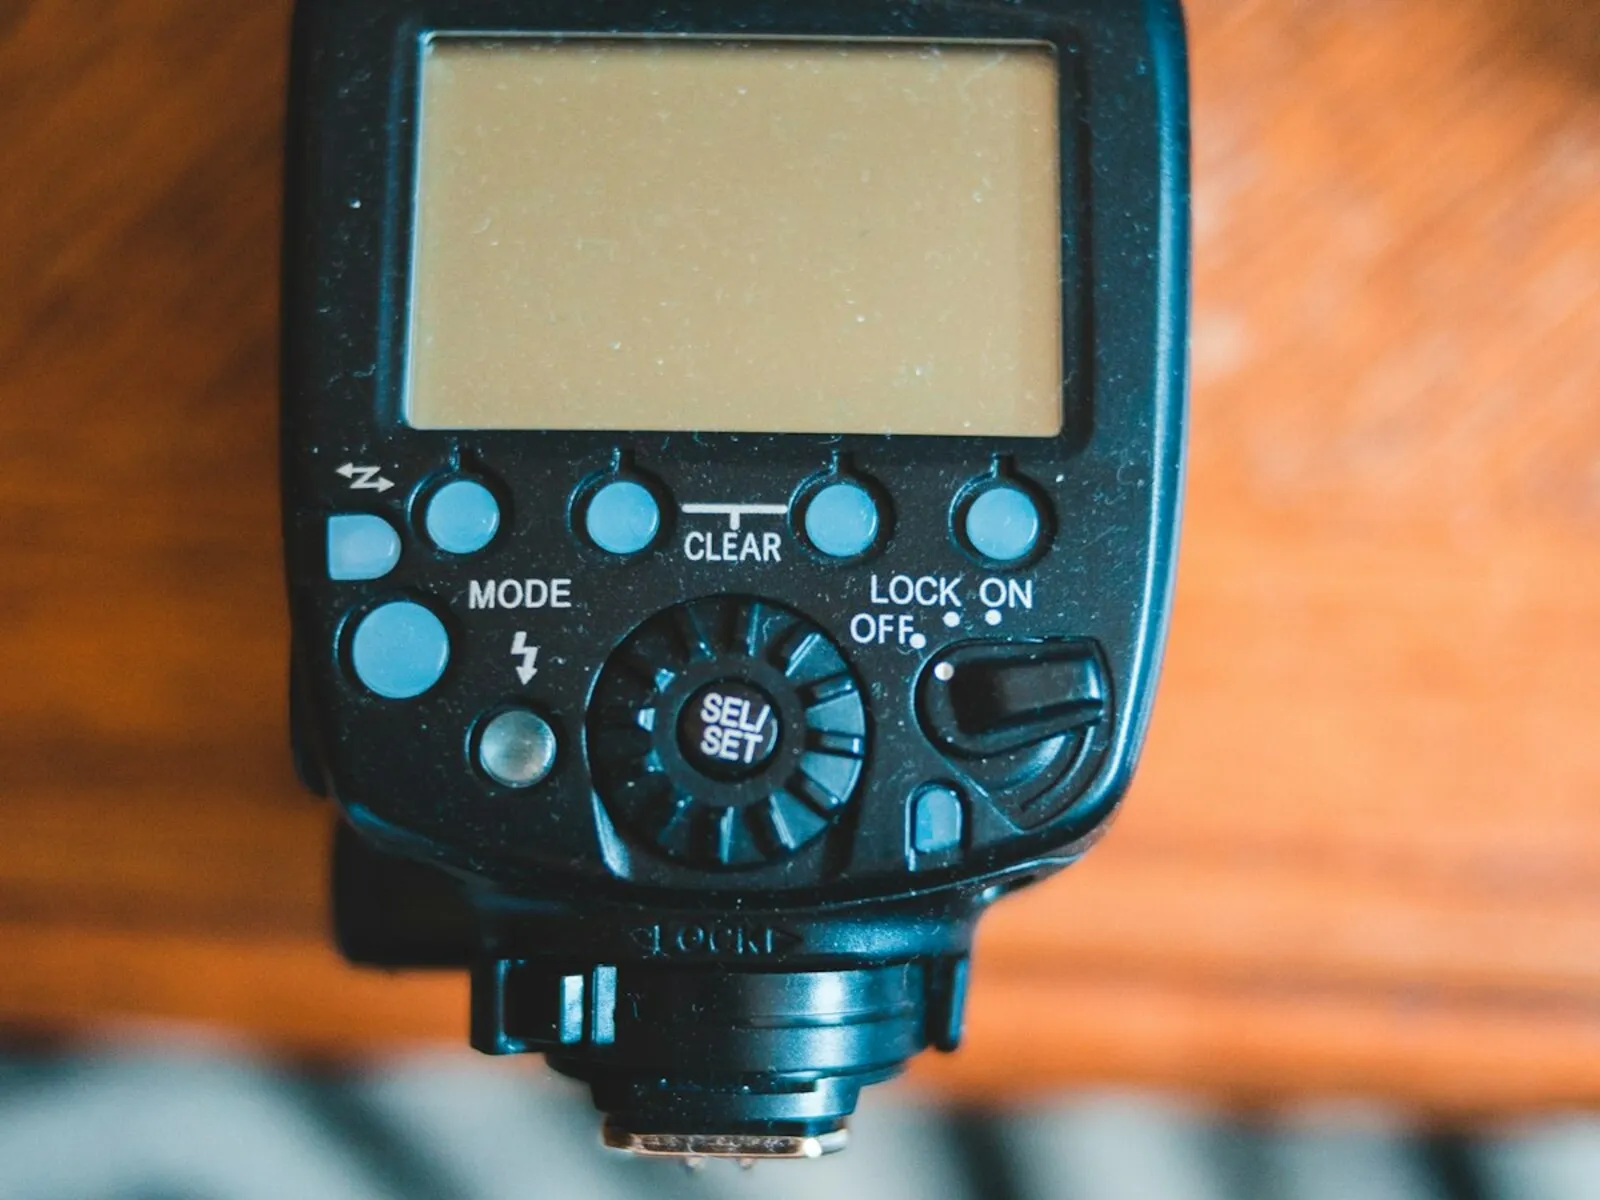
A flash with manual power control. Any speedlight that lets you dial output from full power down through 1/2, 1/4, 1/8, 1/16 and beyond will do, including older used models that sell for very little because they lack automatic features you won't miss. Ignore the guide number arms race while you shop. Guide number is just distance multiplied by f-number at ISO 100, a measure of reach, and at portrait distances indoors even a modest flash has power to spare.
A radio trigger. A small transmitter sits in your camera's hot shoe and tells the flash when to fire. Basic single-brand sets are inexpensive and reliable. More on triggering below.
A light stand. Unglamorous and essential. A basic stand holds the flash exactly where you put it, never gets tired, and never wanders off to look at the snack table. Get one that extends above head height.
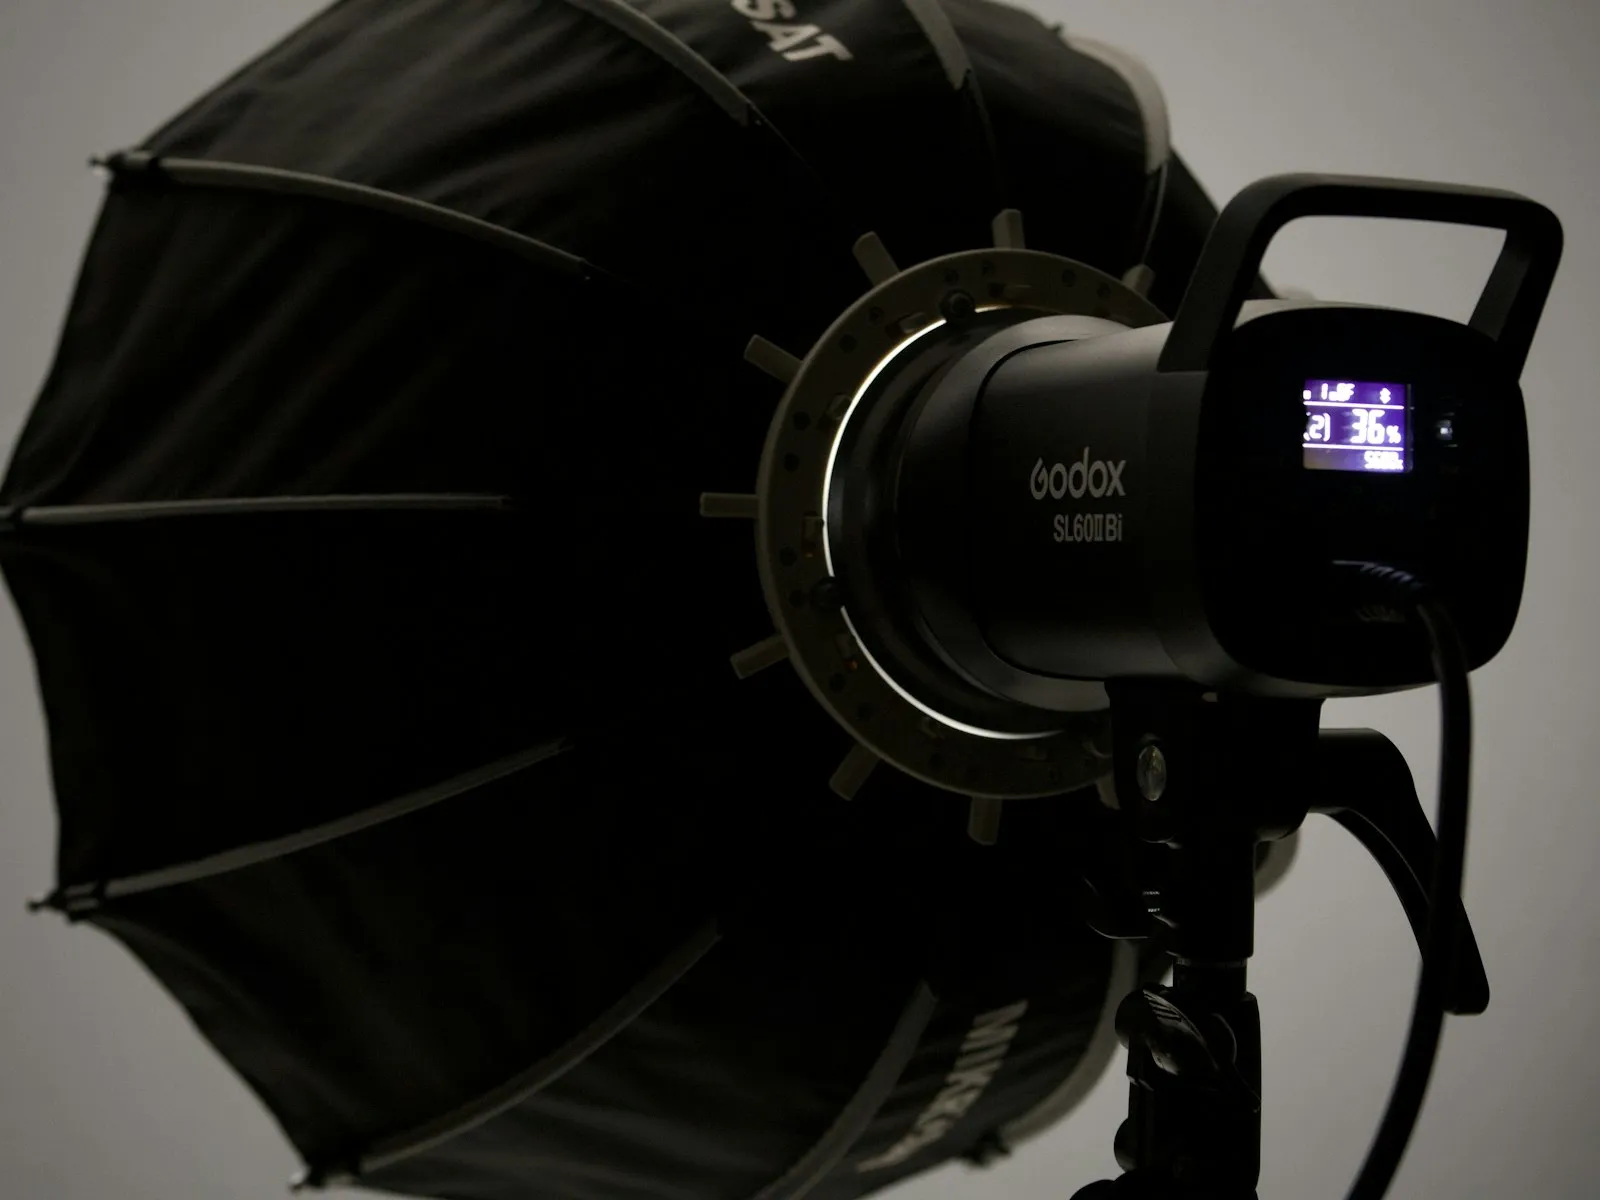
One modifier. A white shoot-through umbrella is the classic first choice. It's cheap, packs down to nothing, sets up in seconds, and turns your palm-sized flash into a soft source two or three feet across. That size jump is what transforms harsh speedlight output into the wrapping light faces love.
That's the whole list. No studio, no assistants, no seamless paper. A backpack carries all of it.
Radio vs Optical Triggering
Radio is the answer for almost everyone. The transmitter on your camera sends a radio signal to a receiver attached to, or built into, the flash. Radio doesn't care about line of sight, bright sun, or whether the flash is buried inside an umbrella, around a corner, or thirty feet away. It fires every frame, which means you stop thinking about the trigger entirely, and that's exactly what you want from a trigger.
Optical triggering uses light instead. The remote flash watches for another flash burst and fires the instant it sees one, and many cameras and flashes have this built in, so it costs nothing to try. It works fine in a dim room at short range. But it demands line of sight, it struggles outdoors where bright ambient light drowns out the triggering burst, and any other photographer's flash will happily set yours off. Treat optical as a free backup, not the plan.
The Classic One-Light Setup
This is the setup to learn first, and honestly, the one many working photographers never stop using. One flash, 45 degrees off axis, slightly above eye level. It flatters nearly every face and it fails gracefully when you get it slightly wrong.
Run it with the flash in manual mode. TTL meters through the lens and guesses power for you, which earns its keep at fast-moving events, but for a deliberate setup like this, manual gives you the identical result every single frame. Here's the recipe.
-
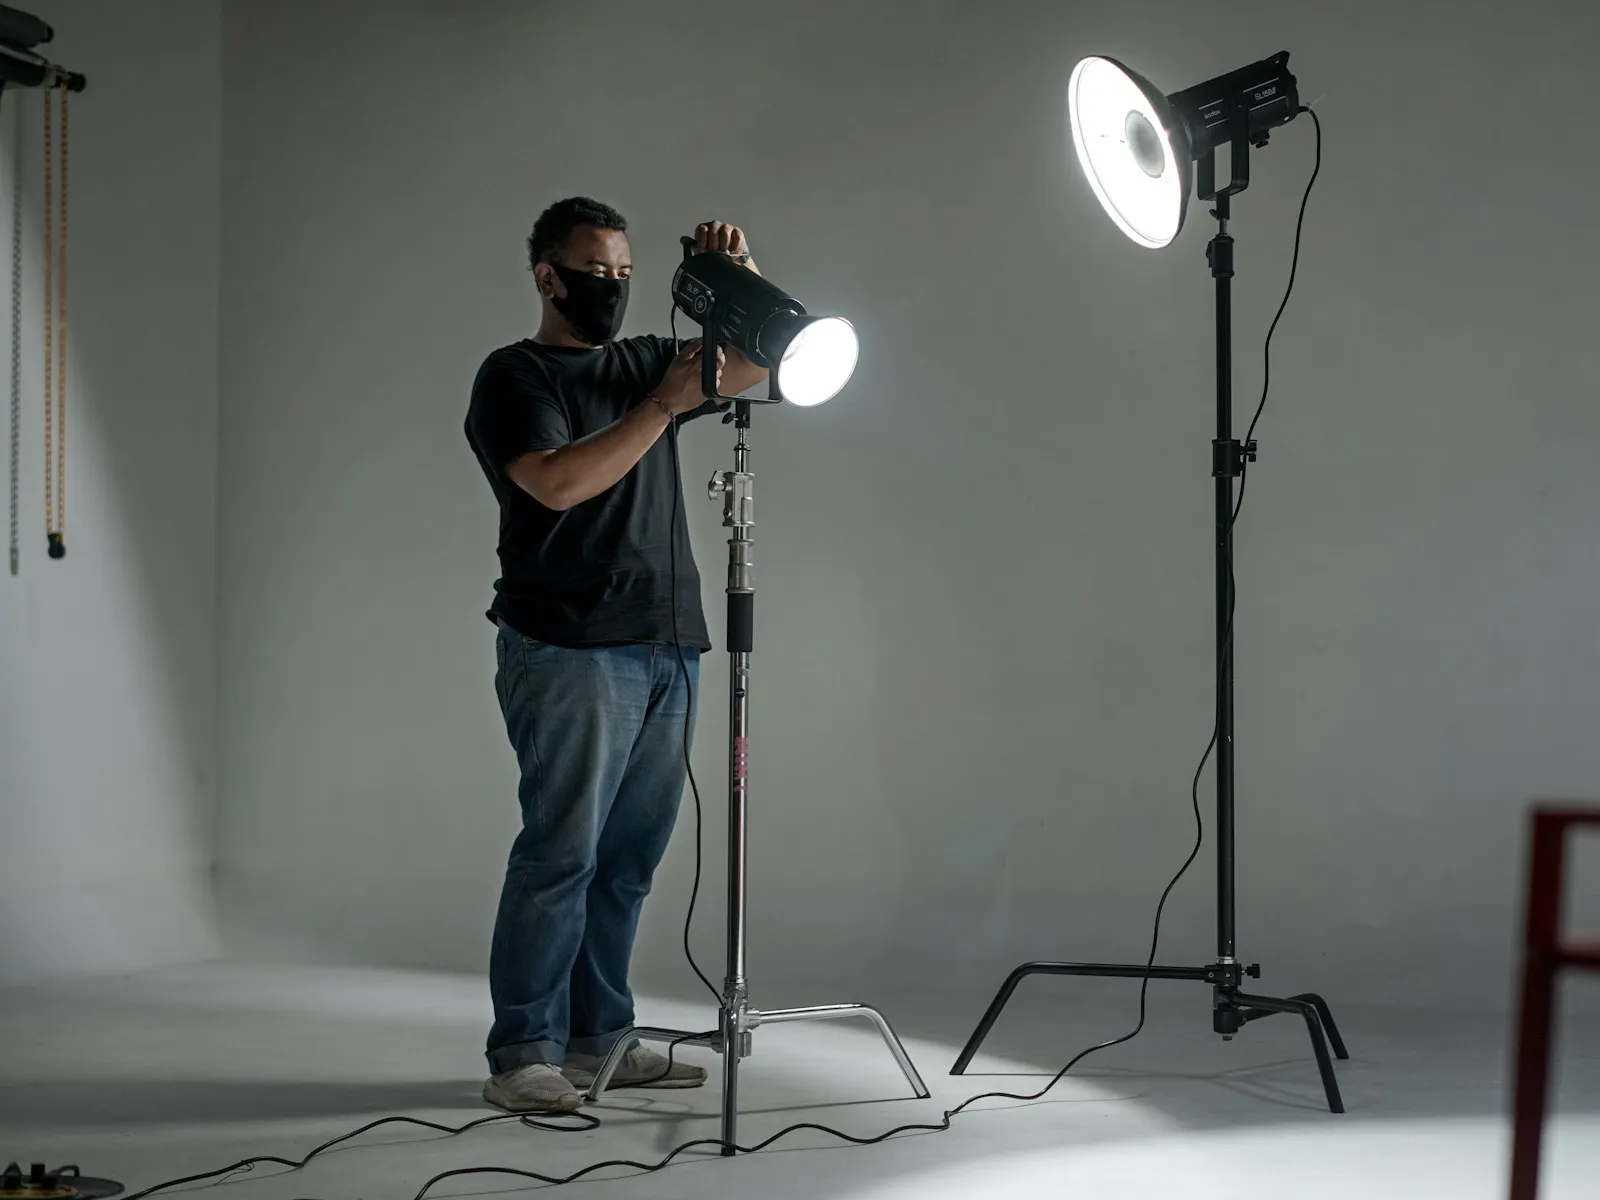
Build the light. Flash on the stand, umbrella through the stand's bracket, flash head firing into and through the white fabric. Aim the whole assembly at where your subject will be.
-
Place it 45 degrees off axis. Stand at your shooting position and picture a line to your subject. Swing 45 degrees to either side of that line and put the stand there, about 3-5 feet from your subject. Closer means softer light, so err close.
-
Raise it above eye level. The center of the umbrella should sit slightly above your subject's eyes, tilted down a touch. Light from a little above looks natural because that's where daylight lives. Light from below is strictly for campfire ghost stories.
-
Set the camera. Manual exposure. Shutter at or below your camera's sync speed, which is around 1/200 to 1/250 on most cameras. Aperture f/4. ISO 100 or 200.
-
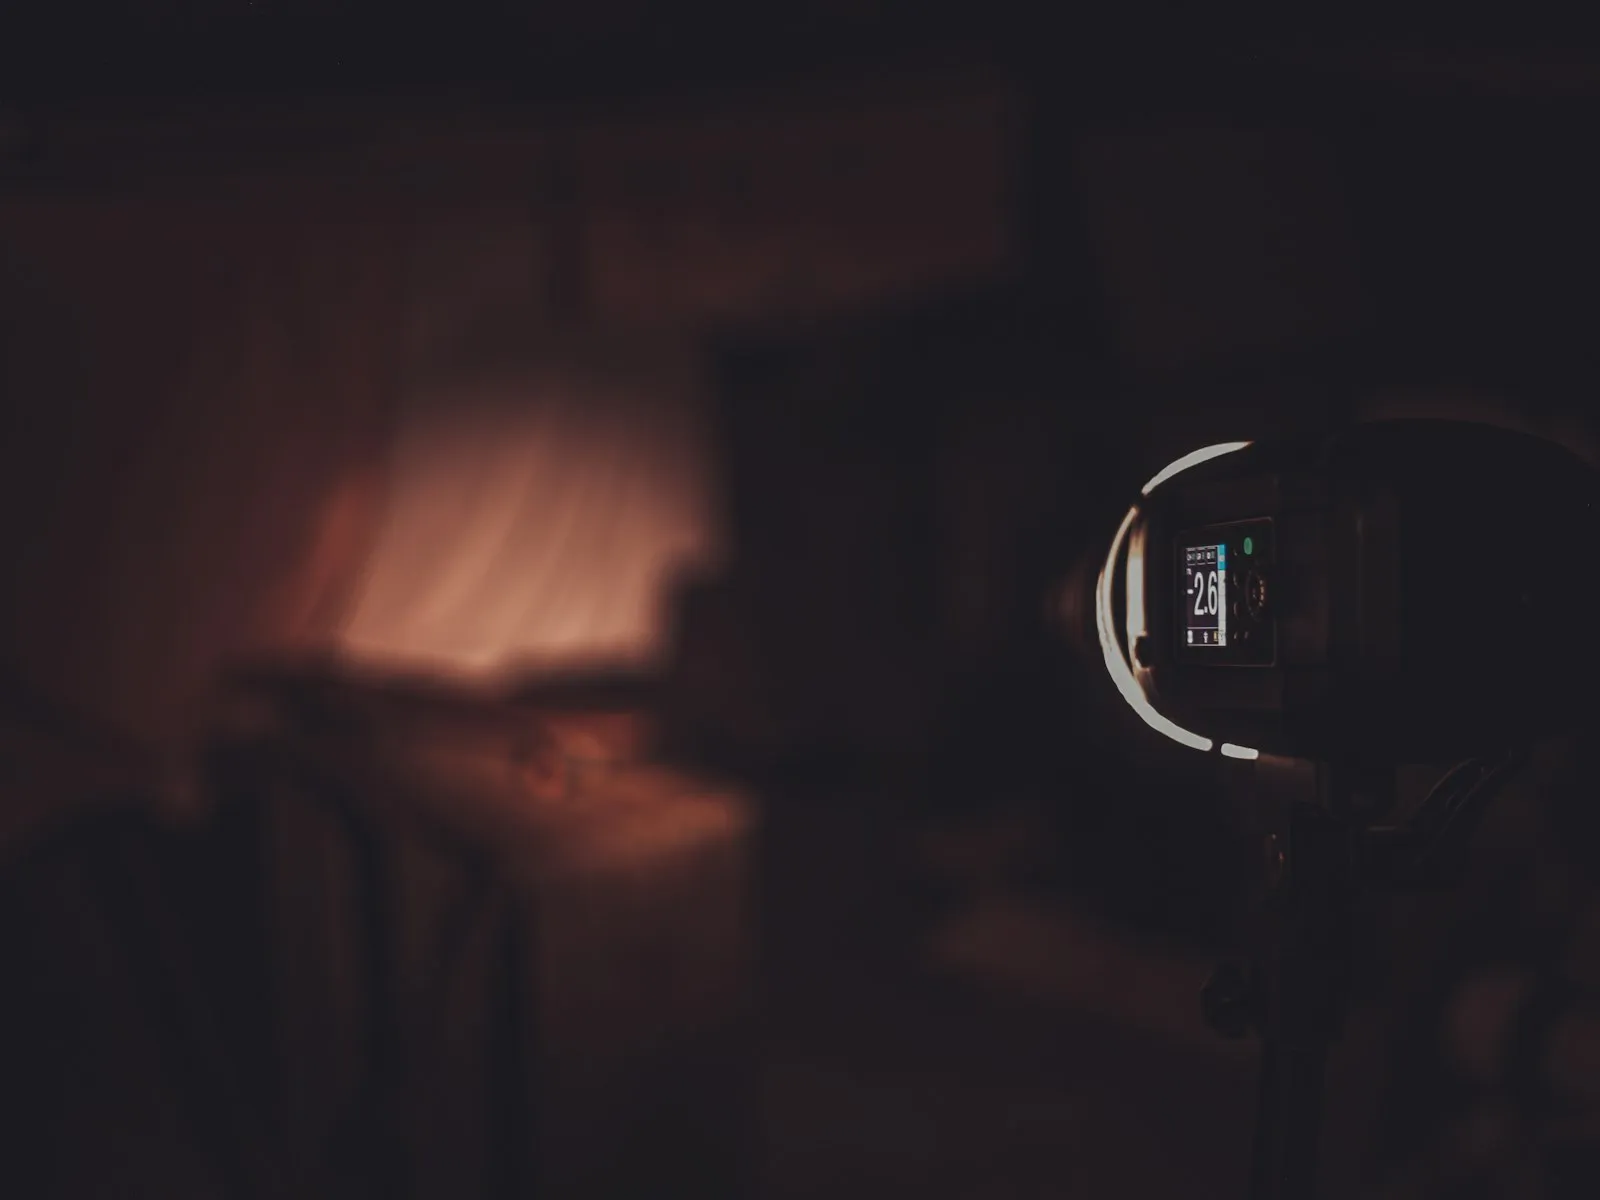
Set the flash to 1/16 power. It's a starting guess, nothing more.
-
Take a test shot and judge only your subject. Too dark? Double the power to 1/8. Too bright? Halve it to 1/32. Every halving or doubling is exactly one stop, which makes manual flash refreshingly predictable.
-
Fine tune the position. Watch the shadow side of the face and check for catchlights in both eyes. A few inches of stand movement changes the portrait more than any menu setting will.
Seven steps. Ten minutes the first time, two minutes once it's familiar.
What Each Setting Actually Controls
Flash follows different rules than ambient light, and the one-light setup gets dramatically easier once you internalize the split.
Flash power, aperture, ISO, and distance control the flash. Those four levers decide how bright your subject is. How flash exposure works covers the mechanics in depth, but the short version is that you'll usually adjust flash power first because it touches nothing else in the frame.
Shutter speed controls the room. The flash burst lasts a tiny fraction of the time the shutter is open, so leaving the shutter open longer gathers more ambient light without changing the flash exposure at all. Drag the shutter to 1/60 and the room reappears behind your subject. Snap it to 1/200 and the room falls dark and dramatic. That one lever is the entire foundation of balancing flash with ambient light.
Distance follows the inverse square law. Move the flash from 3 feet to 6 feet and only a quarter of the light arrives, a two-stop loss. It works in your favor too, since small distance adjustments near the subject make big exposure changes. If you'd rather compute than guess, the flash power calculator does the math on power, distance, and aperture for you.
First-Timer Problems and Fixes
Everyone hits the same three or four walls in their first week. Here they are, with the way out.
Problem: The background goes black and your subject looks pasted in. Solution: The flash is overpowering the room. Drop the flash power a stop or two, then slow your shutter or raise ISO to let the ambient light back into the frame. The goal is usually a subject lit by flash standing in a room that still looks like a room.
Problem: Shiny hot spots on skin. Solution: The light is too hard, too close, or not actually going through the modifier. Confirm the umbrella sits between flash and subject, pull the whole light back a foot, or feather it so the center of the beam aims slightly past the subject instead of straight at them.
Problem: A hard, ugly shadow on the wall behind your subject. Solution: Your subject is too close to the background. Pull them 6 feet or more away from the wall if the room allows, and raise the light so the shadow falls down and out of frame instead of sideways across it.
Problem: A black bar across one edge of the frame. Solution: Your shutter is faster than the sync speed, and what you're seeing is the shutter curtain itself. Drop back to around 1/200. High-speed sync can lift the limit when you genuinely need it, but it costs two or more stops of flash power, so it's a tool for specific outdoor problems rather than a default.
Where to Go Next
One light teaches you ninety percent of flash. Stay with a single light until you can look at any portrait and predict where the stand was, because that skill transfers to every lighting situation you'll ever walk into.
When you're ready to grow the kit, grow it in this order.
- A second light. Used as gentle fill on the shadow side, or as a rim light from behind to separate your subject from the background. One job per light.
- Better modifiers. Softboxes, umbrellas, and diffusers each shape light differently, and knowing what each one does saves you from buying three you'll never use.
- Daylight. Taking the kit outside and blending it with sun and sky opens up portraits at hours when natural light alone falls apart.
None of it changes the core idea. You're carrying a window now. Put it where the light should come from, and the rest is power fractions and small adjustments.
Key Takeaways
- Move your flash off the camera to create direction and dimension; position changes your light more than any power setting ever will.
- Start with a radio trigger, one light stand, and a single modifier, a kit that costs less than most lenses.
- Place the flash 45 degrees off axis and slightly above eye level to recreate the classic window light portrait look.
- Set the flash to manual at 1/16 power, take a test shot, and adjust power before touching camera settings.
More in This Guide
Continue building your flash skills.