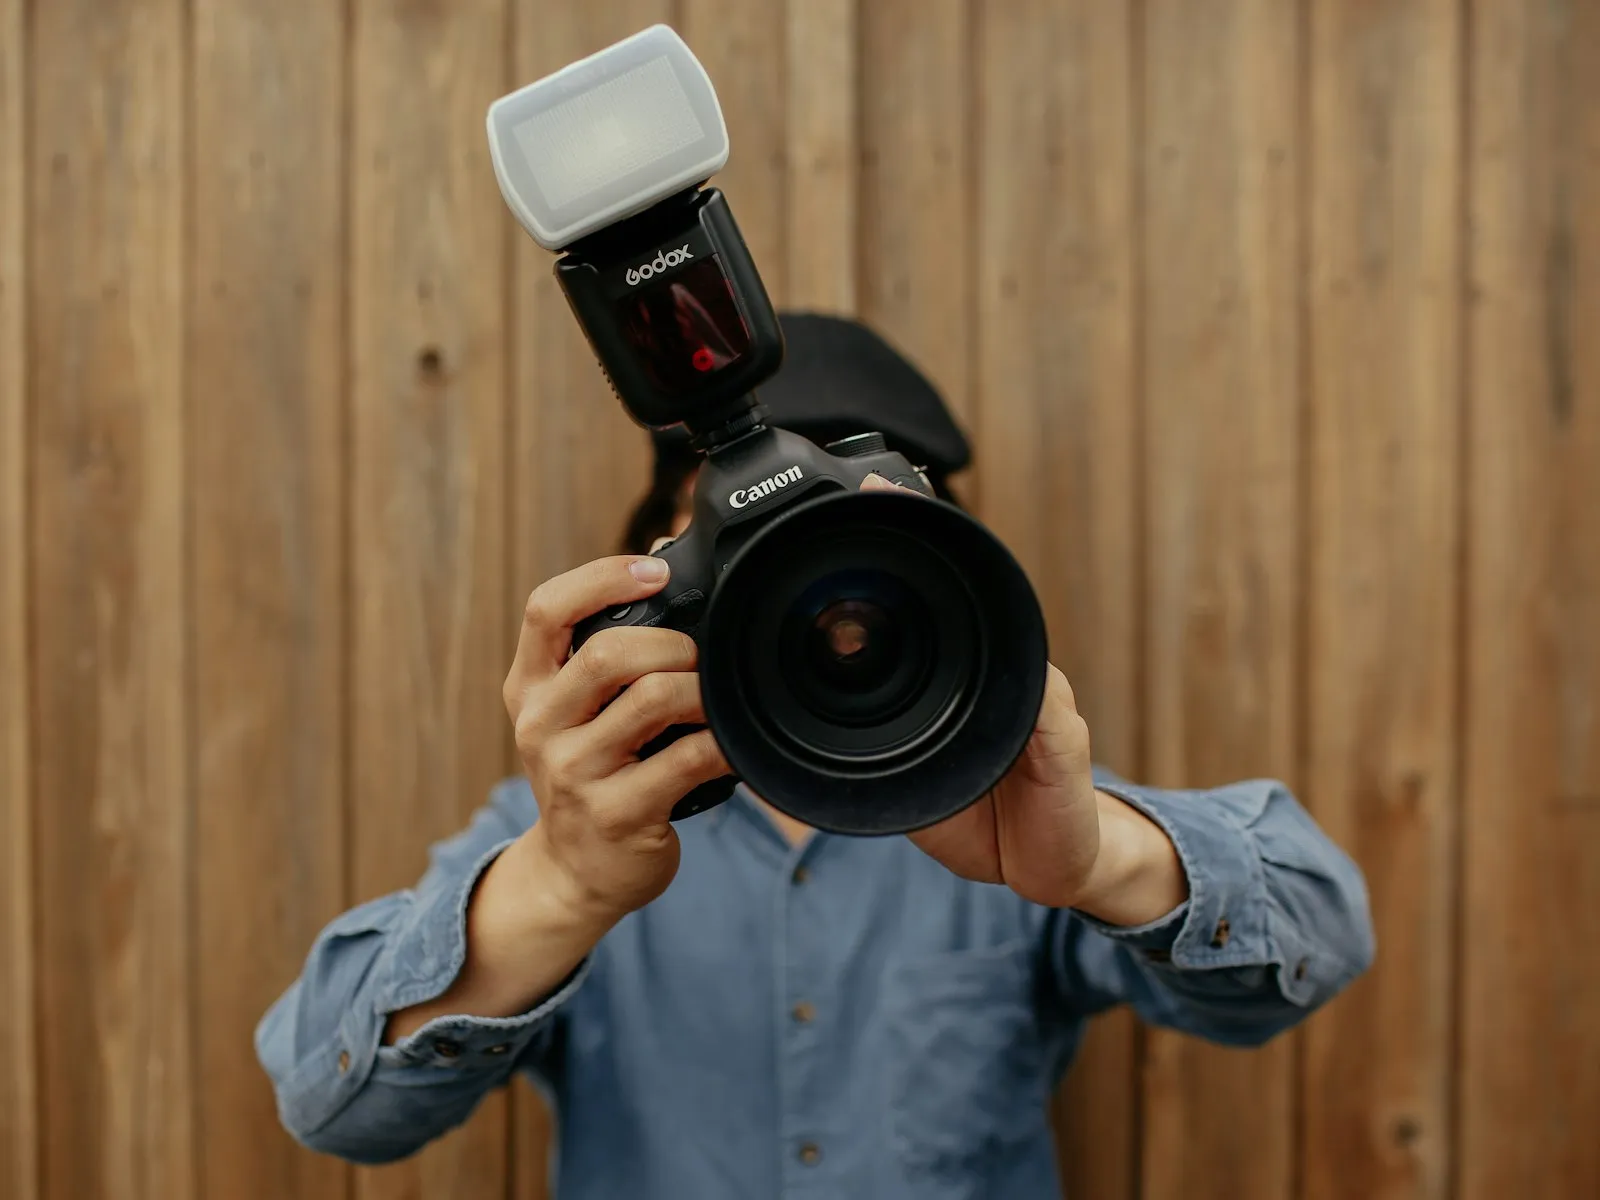
Flash photos look harsh for one reason. A bare flash fired straight at your subject is the smallest, hardest, least flattering light source you can point at a human face, aimed from the worst possible angle. The startled faces, the black backgrounds, the shiny foreheads, the red eyes, all of it traces back to that single cause.
The fix isn't a better flash. It's making that tiny light bigger, moving it off the lens axis, or letting the room's own light back into the frame. Most of the fixes cost nothing.
This article is the troubleshooting stop in the flash photography guide. It diagnoses the classic bad flash look, explains the physics in plain words, then ranks the fixes from free to cheap. If flash is entirely new to you, start with the beginner's introduction for equipment and terminology first.
The Five Symptoms of Bad Flash
You already know this photo. You've probably taken hundreds of them.
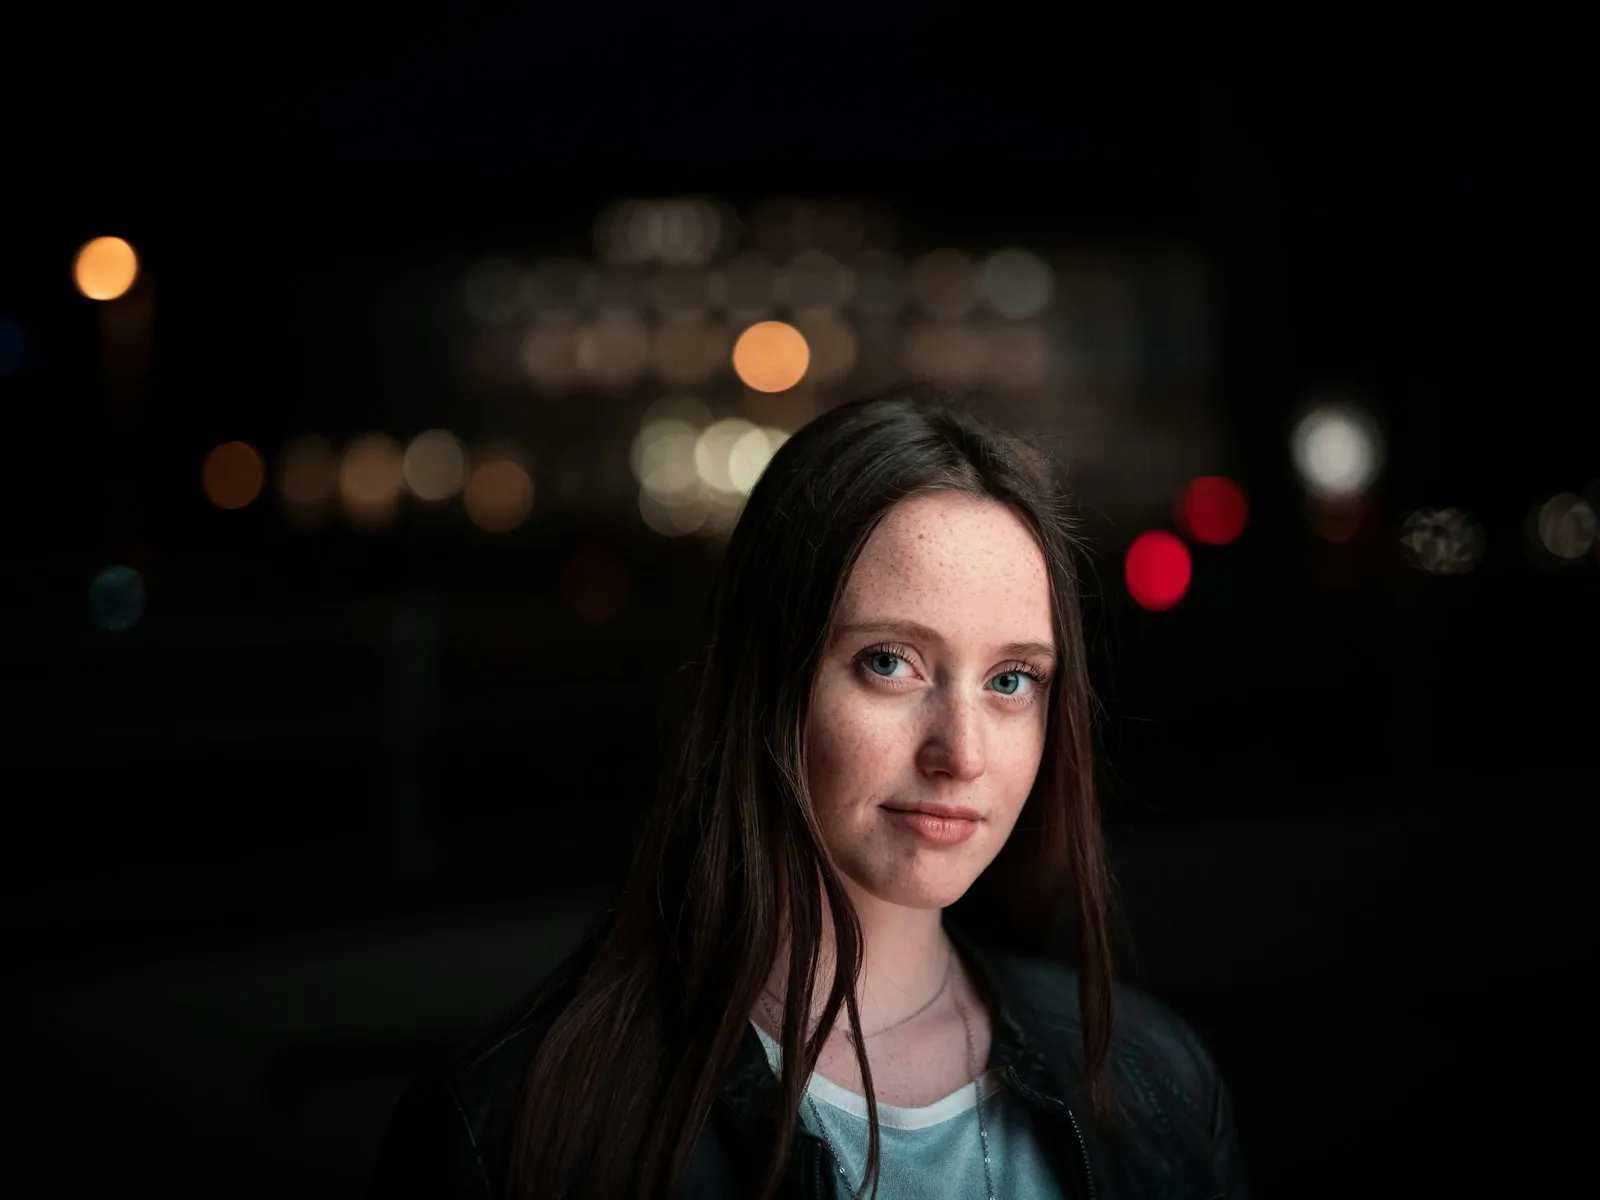
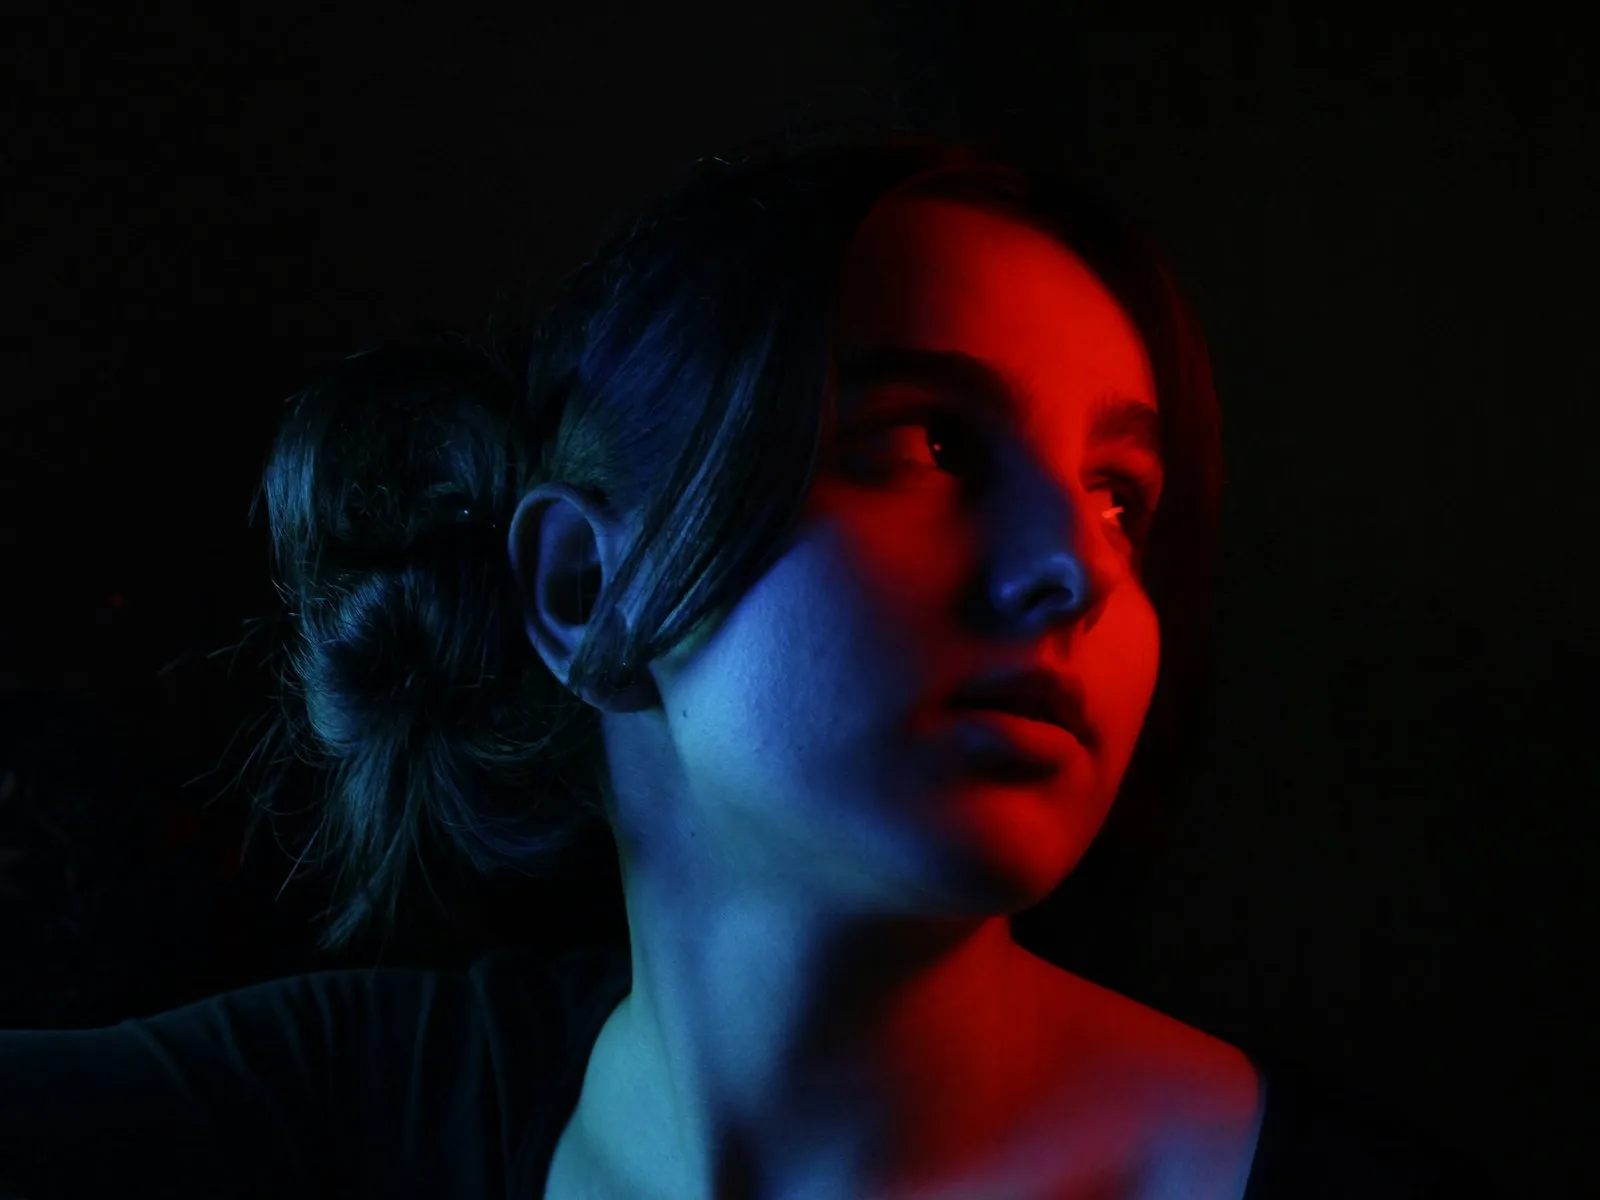
Deer-in-headlights faces. Your subject looks startled and overlit, brighter than everything around them, like they were caught by a searchlight.
Flat features. Noses lose definition, cheekbones disappear, faces look like paper cutouts. Shadow is what gives a face dimension, and this light has erased all of it.
A black cave background. The subject is exposed correctly but the room behind them has vanished into darkness, even though it looked bright to your eyes.
Red eyes. Pupils glowing red, worst in dim rooms.
Shiny skin. Intense hot spots on foreheads, noses, and cheeks.
If your photos show several of these at once, you're not doing anything unusual. You're getting exactly what a bare speedlight or pop-up flash pointed straight ahead produces. The causes are physics, which means the fixes are too.
Why Direct Flash Is the Hardest Light You Can Make
Light quality follows one rule. Small sources create hard light with sharp, dense shadows, and large sources create soft light with gentle transitions. What counts is the size of the source relative to the subject.
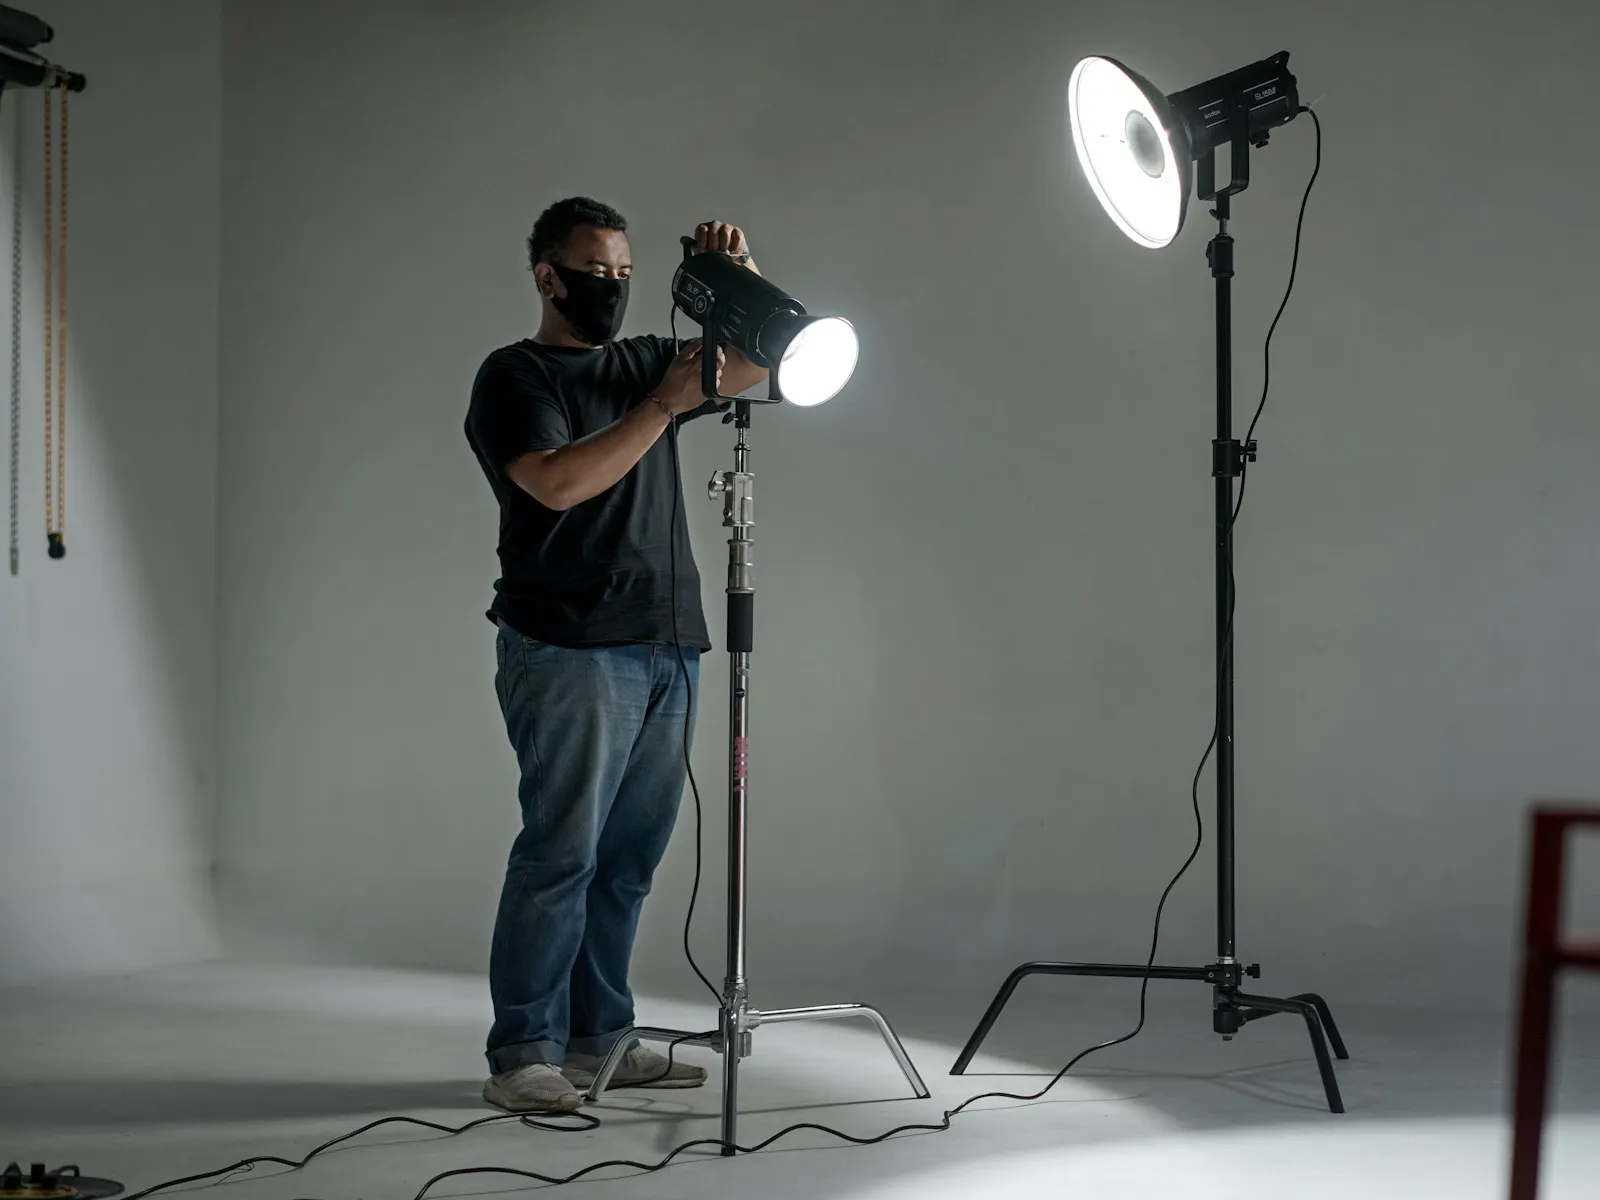
A flash head is a couple of inches of plastic. At six feet, it lights a face from a window the size of a sticky note. That puts it in the same family as direct midday sun, the textbook source of harsh shadows. Think of the shadow your hand casts under a bare basement bulb, every finger crisp and distinct. That's the quality of light clipped to the top of your camera.
Direction is the other half of the problem. Because the flash sits on the camera, light travels straight down the lens axis. Every shadow falls directly behind the subject, where the camera can't see it. No visible shadow means no modeling, and no modeling means flat faces. Good light almost always comes from somewhere the camera isn't.
Shiny skin is the same physics from another angle. Skin is slightly glossy, and a small brilliant source reflects off it as small brilliant hot spots. A large soft source spreads that same reflection into a broad sheen nobody notices.
Why the Background Goes Black
The black cave is the inverse square law, which sounds intimidating and isn't. Light spreads as it travels. Double the distance from the flash and the same light has to cover four times the area, so any single spot receives a quarter of the light. That's two stops.
Run the numbers on a typical party photo. Your subject stands 3 feet from the flash and the wall stands 6 feet behind them, which is 9 feet from the flash. Three times the distance means the wall receives one ninth of the light, more than three stops less. The camera exposes for the face, and the wall drops into darkness.
The room's own light can't rescue the background either, because indoors with flash your settings are usually too tight for the dim ambient light to register. The background gets meaningful light from neither the flash nor the room. Cave.
Every fix below attacks one of these two problems, the small frontal source or the brutal falloff. The best fixes attack both.
Fix It With Distance
The simplest fix sounds backwards. Step away from your subject and zoom in to keep the framing.
This doesn't soften the light. What it fixes is falloff, because falloff is about ratios, not absolute distances. At 3 feet with the wall at 9, the background sits more than three stops down. Step back to 10 feet and that same wall is now 16 feet from the flash, only 1.6 times your subject's distance, and it sits about a stop and a third down. Same room, same flash, dramatically more even frame.
Distance also tames the blown, overlit look. Up close, the inverse square curve is at its steepest, so a small lean toward the camera swings exposure wildly. Farther back, exposure is more forgiving and faces stop blowing out.
The limit is power. A flash's reach is described by its guide number, which equals distance times f-number at ISO 100. A flash with a guide number of 100 in feet covers a subject 25 feet away at f/4. Plug your own flash and settings into the flash range calculator to find your real working range before you back up past it.
Fix It by Bouncing
If your flash head tilts, you already own a softbox the size of your ceiling. You've just been pointing it the wrong way.
Tilt the head up and fire. Light travels to the ceiling, scatters off the paint, and falls back as a source several feet across. In one motion you've made the light dozens of times larger, so it's soft. You've moved it overhead, so faces get natural, dimensional shadows. And you've sprayed light around the whole room, so the cave fills in.
One adjustment solves four symptoms at once, which is why bouncing your flash is the single highest-value technique in this guide, and why it gets its own article covering ceiling angles, wall bounce, and the bounce card.
Two costs. Bouncing eats power, often two or three stops, because the light travels farther and the ceiling absorbs some of it. And the surface matters, since a 14-foot dark wood ceiling gives you almost nothing back and a colored one tints your subject's skin.
Fix It With Diffusion
Diffusion softens light by spreading it across a bigger surface before it reaches the subject. The key word is bigger.
The little plastic domes that clip over a flash head are better than nothing indoors and nearly useless outdoors. The dome itself is barely larger than the flash, so it softens almost nothing on its own. What it actually does indoors is scatter light into the walls and ceiling, turning the room into a weak bounce. Outdoors there's nothing to scatter into, and you just lose a stop or more of power.
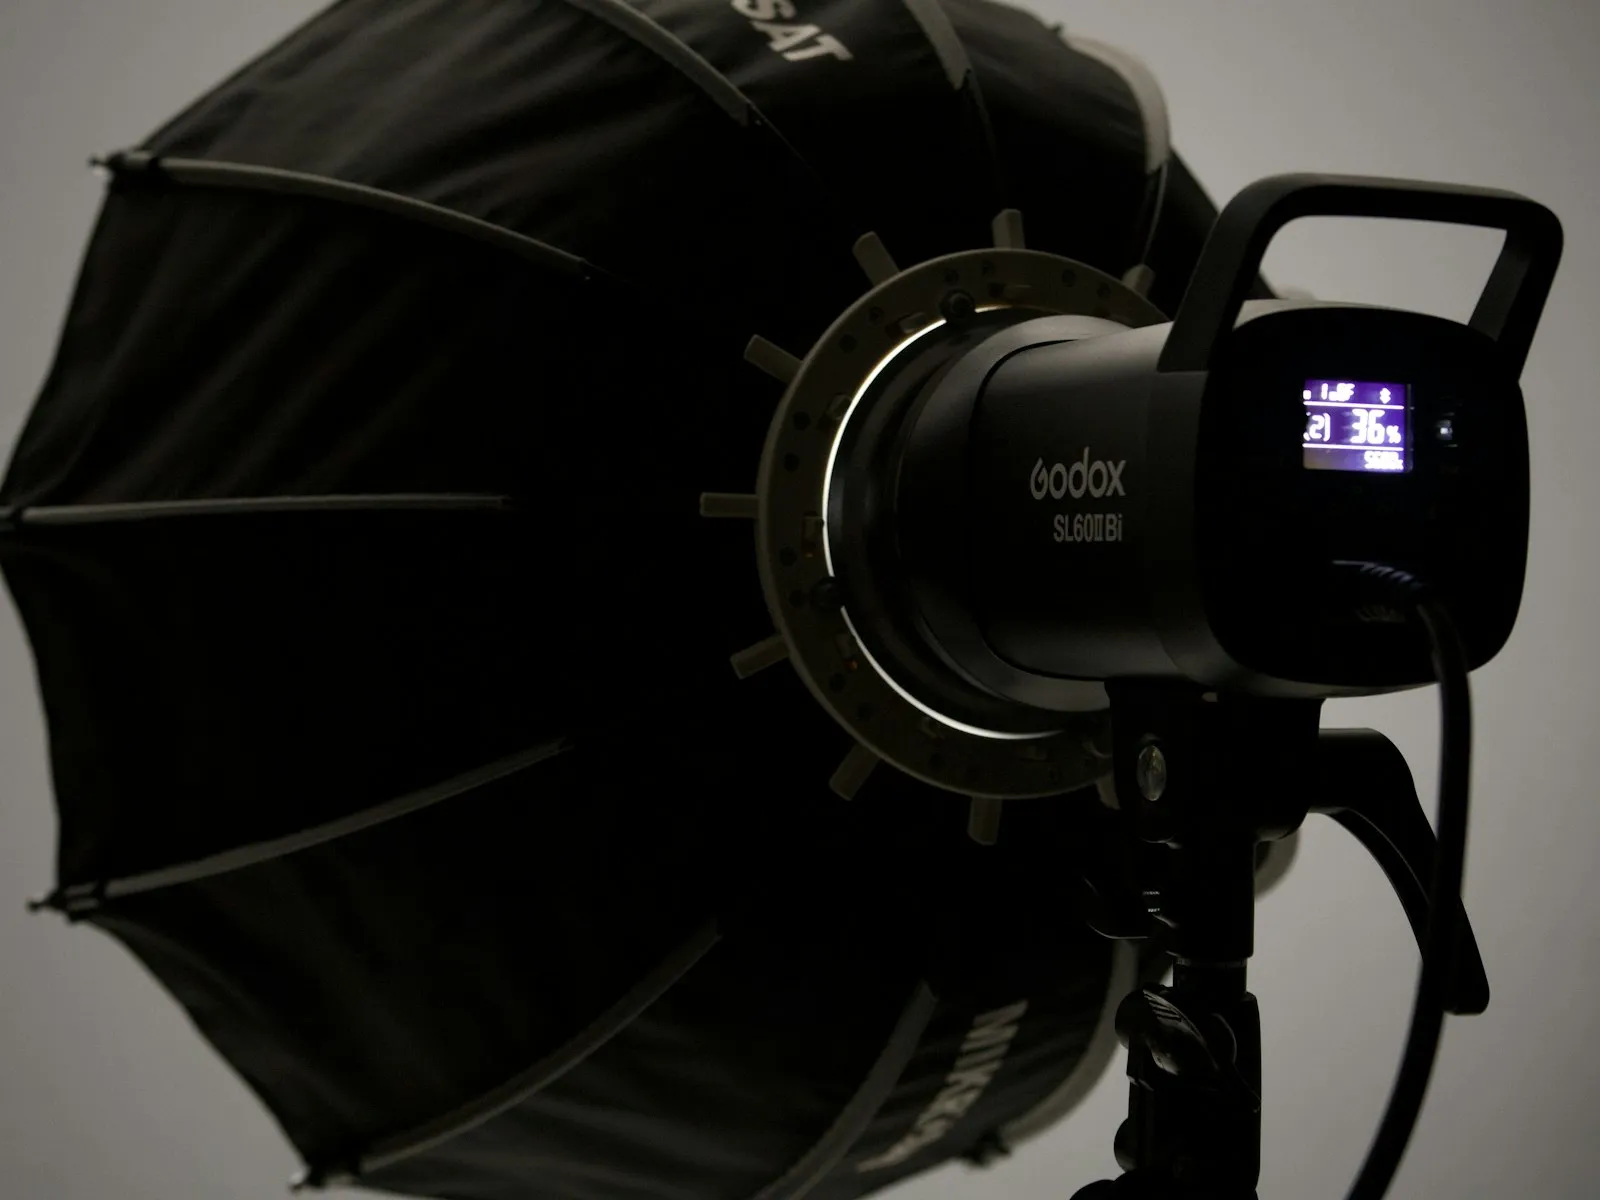
Modifiers that genuinely soften are the ones that genuinely enlarge. A fold-flat mini softbox or a bounce card costs about as much as a movie ticket and makes a visible difference on camera. The full breakdown of softboxes, umbrellas, and diffusers covers what each one does and what's worth buying first.
Fix It by Dragging the Shutter
The black background has its own dedicated fix, and it lives on your shutter dial.
A flash photo is two exposures in one frame. The flash burst lasts around 1/1000 of a second or less, so shutter speed can't change how much flash light hits the sensor. Aperture, ISO, and flash power control the flash exposure. Shutter speed controls how much of the room's continuous light accumulates on top of it.
So slow down. Instead of 1/200, shoot at 1/60 or even 1/30 indoors. The flash still freezes your subject crisply, because the burst is far shorter than the shutter, while the longer exposure lets warm room light flood back into the background. The cave fills in, and photos start looking like the evening actually felt.
The only hard limit sits at the fast end. Your camera's sync speed, around 1/200 to 1/250 on most bodies, is the fastest shutter speed at which the sensor is fully uncovered when the flash fires. High-speed sync gets past that cap at a steep cost in flash power, but that's a bright-daylight problem, not a dim-room one. Dragging the shutter goes the other direction, so there's no limit but your taste. Getting the two exposures into deliberate proportion is a skill of its own, covered in balancing flash with ambient light.
Fix It by Turning the Flash Down
Sometimes the flash isn't just harsh. It's too loud. Natural-looking indoor flash usually supplements the room light rather than replacing it.
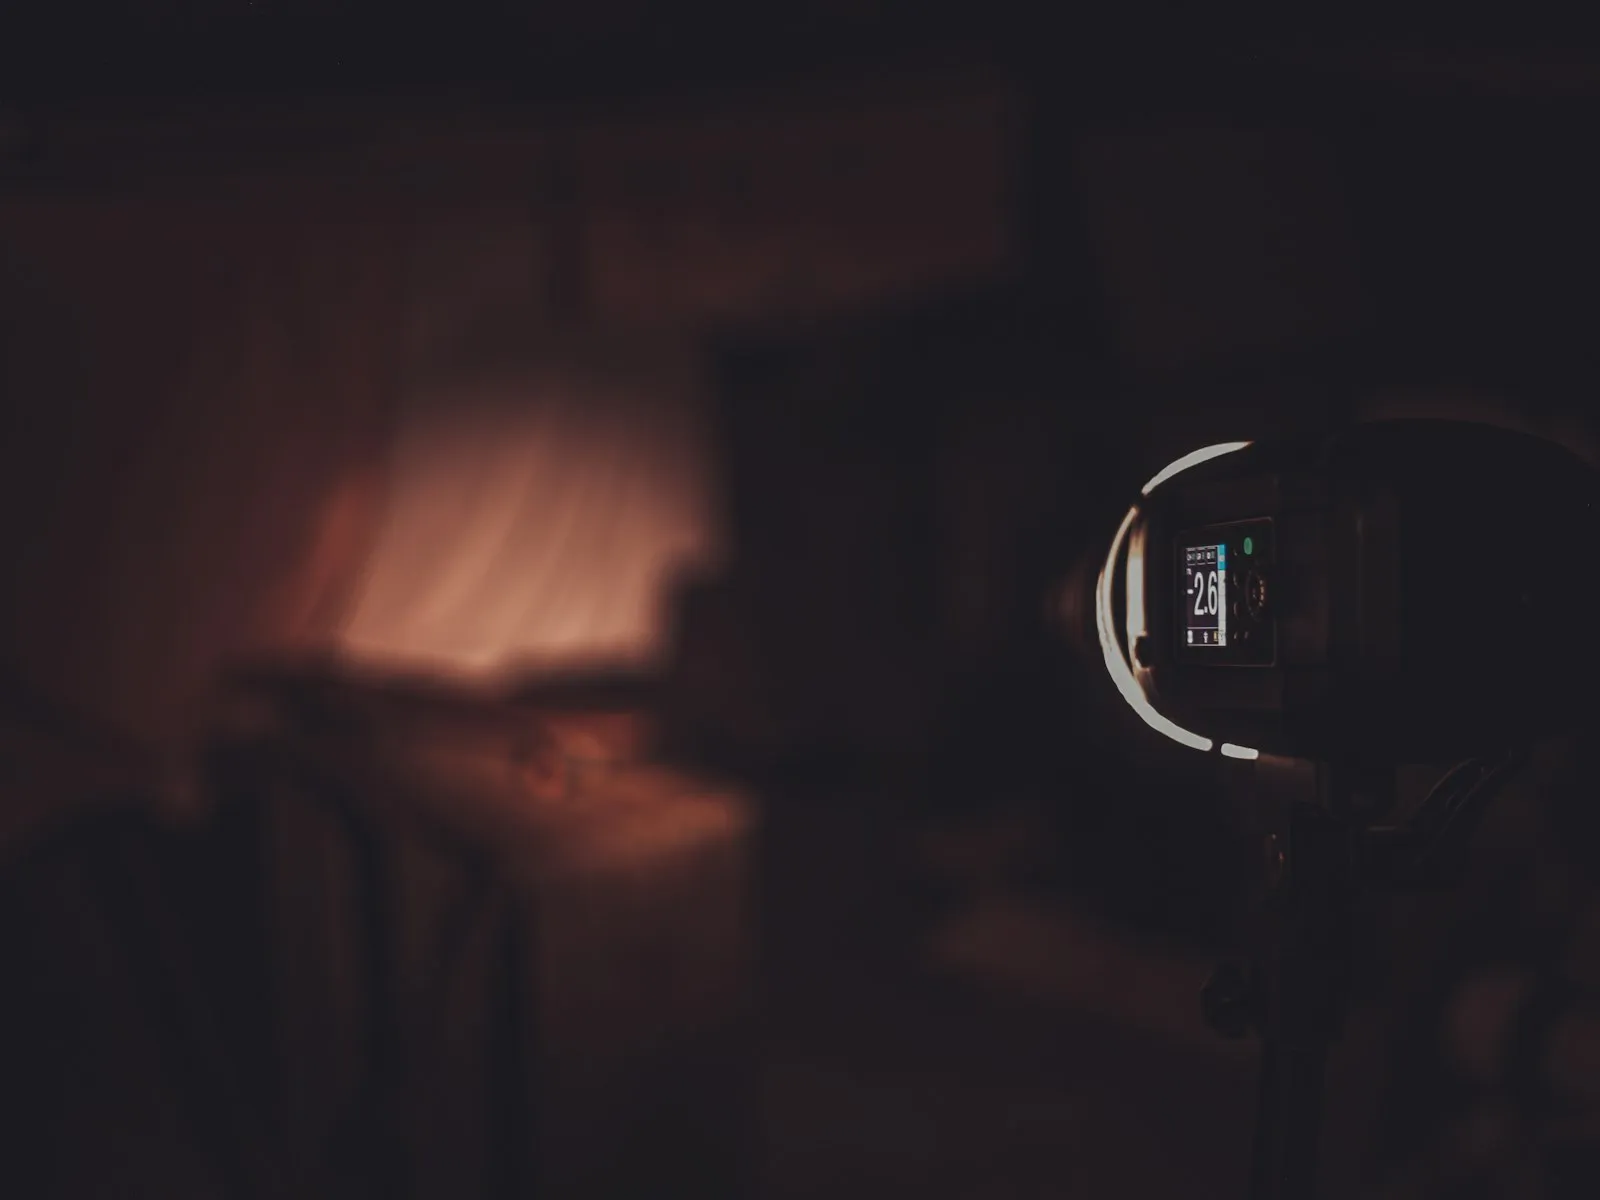
If you shoot TTL, where the camera meters through the lens and sets flash power automatically, dial in flash exposure compensation of minus 2/3 to minus 1 stop. TTL tends to run hot on faces, and a modest negative correction makes the flash feel like help instead of an interrogation.
If you shoot manual flash, drop the power fraction. Flash power runs in halvings, 1/1, 1/2, 1/4, 1/8 and so on, and each halving is exactly one stop less light. Start around 1/16 indoors and adjust from the picture on the back of the camera. When to prefer each mode is covered in TTL vs manual flash.
Stack this with a dragged shutter and a bounce, and people will ask whether you used flash at all. That's the goal.
Red Eye and Where It Comes From
Red eye is a geometry problem. The flash sits an inch or two from the lens, so its light enters the pupil, hits the retina at the back of the eye, and reflects straight back into the glass. The retina is dense with blood vessels, which is why the reflection is red. Dim rooms make it worse because pupils dilate in the dark, opening a bigger window to the back of the eye.
The fixes, in order of preference:
- Move the light off axis. Bounce the flash or hold it away from the camera. Even a small angle between flash and lens makes the reflection miss. This is why bounced photos almost never show red eye.
- Brighten the room. Turn the lights up before shooting. Contracted pupils give the flash less retina to hit.
- Red-eye reduction mode. The camera fires a preflash to contract pupils before the real exposure. It works, but the delay between preflash and photo is where natural expressions go to die. I leave it off and fix the geometry instead.
- Fix it in software. Every serious editor removes red eye in a click or two. Fine as a rescue, wasteful as a plan.
The Order to Try Things
Next time you raise a flash indoors, run this sequence.
- Tilt the head at the ceiling. If it's lowish and white, bounce and you're mostly done.
- No bounce surface? Step back, zoom in, and add a small modifier to the flash.
- Slow the shutter to around 1/60 so the room comes back into the frame.
- Dial the flash down until it stops announcing itself. Minus 2/3 of flash exposure compensation is a good first move in TTL.
- Check the eyes. If they're red, you need more angle between flash and lens, not more software.
Harsh flash is not a gear problem, so don't try to shop your way out of it. The flash you already own can make soft, dimensional, natural-looking light the moment you stop firing it bare and straight ahead.
Key Takeaways
- Bounce your flash off a white ceiling or wall to turn a tiny hard source into a large soft one for free.
- Slow your shutter to 1/60 or below indoors so ambient light fills the background instead of leaving it black.
- Dial flash exposure compensation down to minus one stop so the flash supplements the scene instead of overpowering it.
- Move the flash off the lens axis, by bouncing or taking it off camera, to eliminate red eye at the source.
More in This Guide
Continue building your flash skills.

Related Guides