Every flash photo is two exposures captured in one frame. The ambient exposure is everything lit by light that already exists in the scene, like the room, the sky, and the wall behind your subject. The flash exposure is whatever your flash actually reaches. Shutter speed controls the ambient exposure only. Flash power, flash distance, aperture, and ISO control the flash exposure.
That one split explains nearly everything that confuses people about flash. Dark backgrounds. Blown-out faces. Photos that look identical at 1/60 and 1/200. All of it falls out of the two-exposure model.
This article is the engine room of the whole flash guide. Bounce, fill, balancing flash with daylight, every technique in the other articles builds on the model laid out here. Get this one idea solid and the rest of flash photography becomes adjustment instead of mystery.
Two Exposures in Every Frame
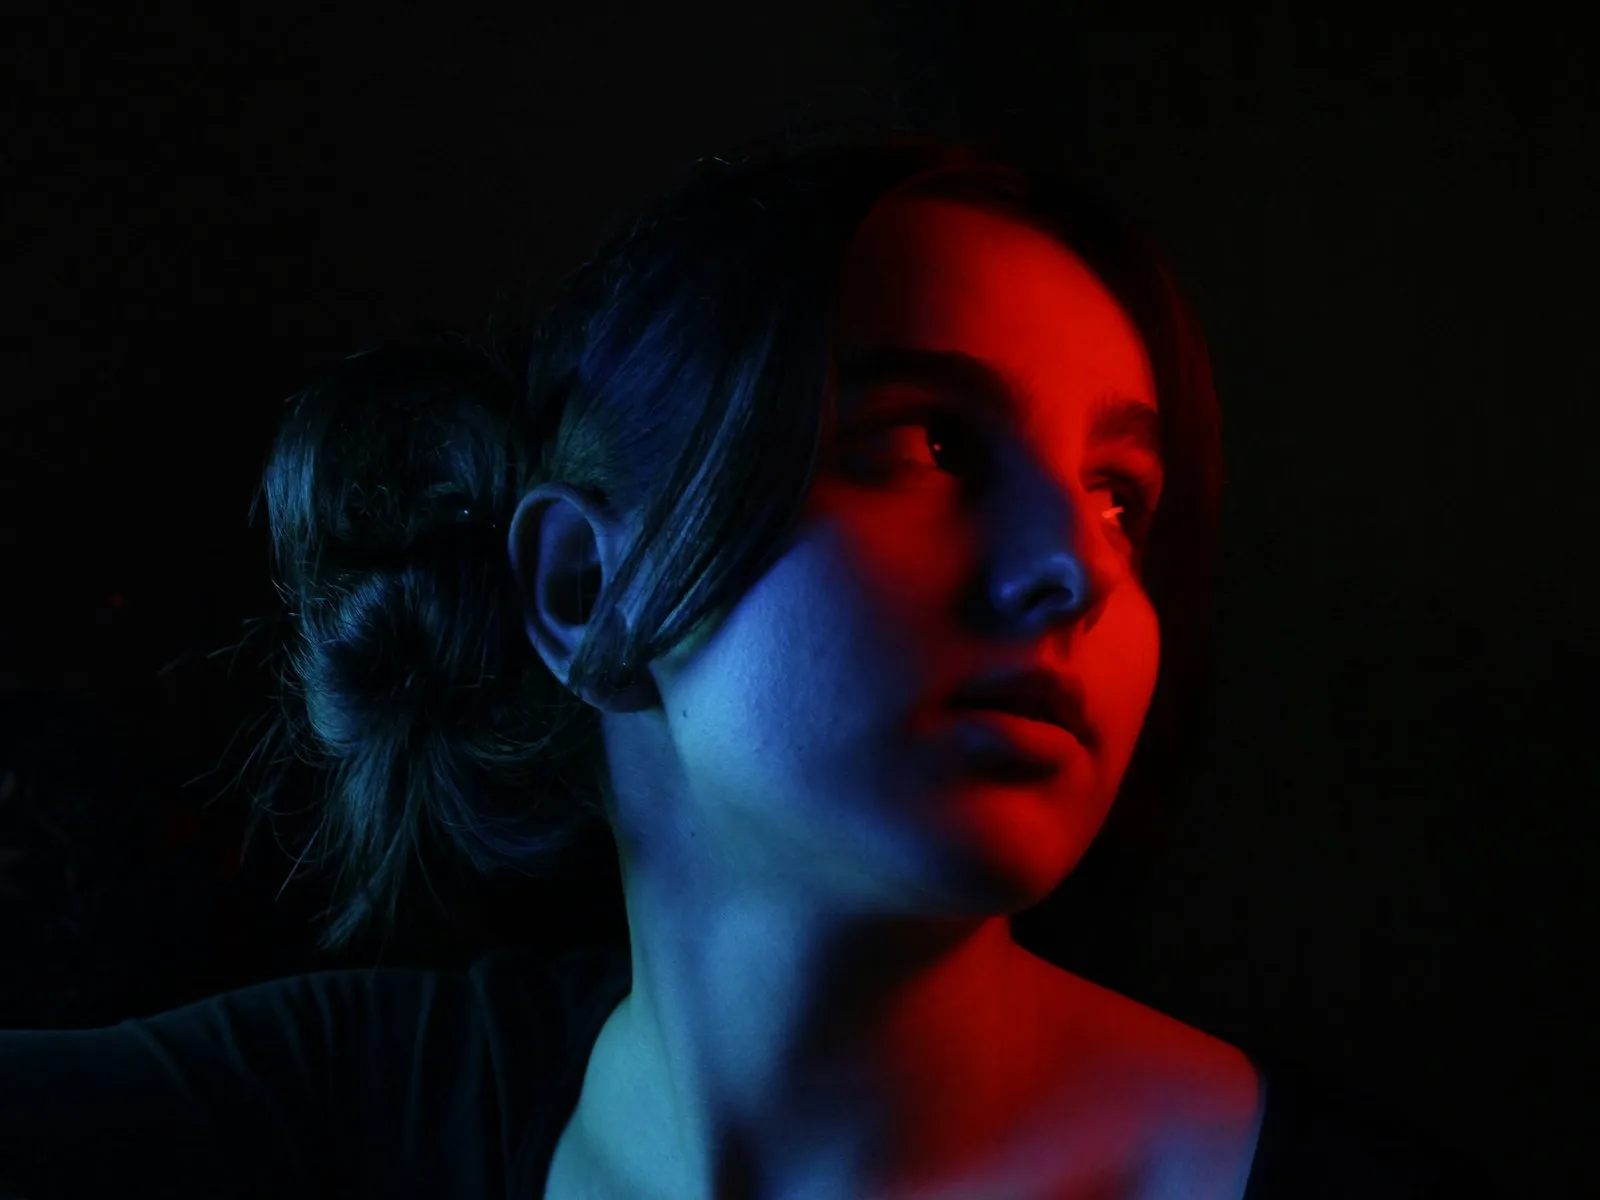
Point a camera at a friend in a dim living room and fire a speedlight. The frame you get back contains two separate images stacked on top of each other. One is the room as the ambient light renders it, with the lamps, the window, and the TV glow. The other is your friend, painted by a burst of flash that lasted a tiny fraction of a second.
The camera doesn't know the difference. The sensor just collects light. But you should know the difference, because the two exposures answer to different controls.
The ambient exposure obeys the full exposure triangle. Shutter speed, aperture, and ISO all change it, exactly the way the exposure triangle works in any photo taken without flash.
The flash exposure ignores shutter speed completely. It answers to four things. Flash power, flash-to-subject distance, aperture, and ISO.
Notice the overlap. Aperture and ISO appear in both lists. Shutter speed appears only in the ambient list. Power and distance appear only in the flash list. That asymmetry is the whole game. It gives you independent control over your subject and your background.
What Shutter Speed Controls (and What It Doesn't)
Shutter speed is your ambient dial. Slow it down and the background brightens. Speed it up and the background darkens. Your flash-lit subject stays exactly the same brightness either way, as long as you stay at or below your camera's sync speed.
Run the experiment yourself. Shoot the same flash portrait at 1/60, 1/125, and 1/200 without touching anything else. The face is identical in all three frames. The room behind it gets progressively darker. You just watched one exposure change while the other held perfectly still.
This is why experienced flash shooters talk about "dragging the shutter." In a dim venue, a slow shutter like 1/30 or 1/15 lets the ambient exposure build up, so the background keeps its warmth and detail instead of going black. The flash freezes the subject regardless, because the burst is so much shorter than the shutter time.
Why Flash Ignores Shutter Speed
A flash burst is absurdly short. At full power, a typical speedlight fires for around a millisecond. At lower power settings, the burst shrinks to a tenth of that or less. Even a fast shutter speed of 1/250 holds the shutter open for four milliseconds, several times longer than the flash itself.
Think of lightning during a long exposure at night. Whether your shutter stays open for two seconds or thirty, the lightning bolt looks the same in the final image, because the bolt delivered all of its light in one instant. Keeping the shutter open longer doesn't gather more lightning. It only gathers more of everything else.
Your flash is a tiny, controllable lightning bolt. Once the burst has fired, the flash's contribution to the frame is finished. Whatever the shutter does after that changes only the ambient half of the picture.
The Sync Speed Ceiling
There's one catch in the shutter speed story. Most cameras with mechanical focal plane shutters can only fully expose the sensor to flash up to a certain speed, usually around 1/200 to 1/250.
At or below that speed, the first curtain opens completely, the flash fires while the entire sensor is uncovered, and then the second curtain closes. Above it, the second curtain starts chasing the first before the first finishes its travel, so the sensor is only ever exposed through a moving slit. Fire a flash during that and only the slit's position catches the burst. The rest of the frame shows a hard black band.
High-speed sync works around the limit by pulsing the flash rapidly while the slit travels, effectively turning it into a brief continuous light. It works, but it costs serious power, often two stops or more of effective output. The full mechanics, and when that cost is worth paying, are covered in the sync speed article. The practical rule is simple. Stay at or below sync speed and the model holds.
The Four Dials That Change Flash Brightness
Want a brighter or darker subject? You have four options, and each one comes with a side effect worth knowing.
Flash power. The cleanest dial. Turning power up or down changes the flash exposure and nothing else. The background doesn't care what your flash is doing, because the flash never reached it with meaningful strength.
Flash distance. Moving the flash closer brightens the subject. Moving it away darkens the subject. Also flash-only, but it follows the inverse square law below, so the effect is dramatic up close and gentle far away.
Aperture. Opening up brightens the subject and the background together, because aperture doesn't distinguish between flash photons and ambient photons. It also changes your depth of field, which you may or may not want.
ISO. Same dual effect. Raising ISO amplifies both exposures at once, and brings noise along with it.
So the practical hierarchy looks like this. Use power and distance when you want to change the subject alone. Use shutter speed when you want to change the background alone. Use aperture and ISO when you want to shift the whole image together, or when power and distance have run out of room.
The Inverse Square Law in Plain Words
Light from a flash spreads as it travels, and it spreads fast. Double the distance from flash to subject and the same light has to cover four times the area, so your subject receives a quarter of the light. That's a two-stop loss. In words you can use mid-shoot. Double the distance, lose two stops. Halve the distance, gain two stops.
Think of spray paint. Hold the can close to a wall and you get a small, dense patch of color. Step back and the same spray covers a much wider circle, thinner everywhere. The flash isn't getting weaker. Its light is just covering more wall.
Two practical consequences fall straight out of this.
Backgrounds go dark. If your subject stands 2 meters from the flash and the wall behind them sits 4 meters from it, that wall receives two stops less light. At 8 meters, four stops less, which is close to black. This is why direct on-camera flash makes party photos look like the subject is standing in a cave. The flash exposed the person correctly and the inverse square law buried everything behind them.
Falloff is brutal up close and gentle far away. The jump from 1 meter to 2 meters costs two full stops. The jump from 5 meters to 6 costs a fraction of a stop. Put the flash close when you want rapid falloff and drama. Pull it back when you want even coverage, which is why lighting a group from across the room is far more forgiving than blasting the front row from arm's length.
Guide Numbers and One Worked Example
Every flash has a guide number, and it's less arcane than it sounds. A guide number is the flash's power expressed in usable units. GN equals distance multiplied by f-number, measured at ISO 100.
Here's the one worked example you need. Say your speedlight has a guide number of 36 in meters. At full power and ISO 100, it will correctly expose a subject 4.5 meters away at f/8, because 4.5 multiplied by 8 equals 36. Want to shoot at f/4 instead? Divide 36 by 4 and the same flash now reaches 9 meters. Want f/8 but your subject is only 2.25 meters away? You have two stops too much light, so drop the power to 1/4 and the numbers balance again.
Nobody should be doing this arithmetic during a shoot, which is exactly why the flash guide number calculator exists. Enter your flash's guide number and the calculator hands you the required power for any distance, or the maximum range at any aperture and ISO. The reason to understand guide numbers isn't to do math under pressure. It's to know what the math is doing when a frame comes out wrong.
Power Fractions to Stops
Manual flash power is set in fractions. Full power is 1/1, then 1/2, 1/4, 1/8, 1/16, 1/32, 1/64, and 1/128 on most speedlights. Each halving is exactly one stop less light. That's the entire conversion. 1/2 power sits one stop below full. 1/16 sits four stops below full. 1/128 sits seven stops down, a whisper of light for subtle fill at close range.
This makes manual flash wonderfully predictable, because the whole system speaks the same language of stops. Subject one stop too bright at 1/8 power? Drop to 1/16. Need one more stop of flash but you're already at full power? Open the aperture a stop, move the flash noticeably closer, or double the ISO. Four different dials, one currency.
TTL flash automates all of this by firing a preflash, measuring what bounces back through the lens, and picking a power level for you. It's fast and genuinely useful for moving subjects, but less consistent, since the meter re-decides every frame. Understanding power fractions means TTL becomes a choice you make rather than a black box you depend on.
How the Model Drives Real Decisions
Everything else in flash photography is this model applied with intent.
Bounce is a distance and size trade. When you bounce flash off a ceiling, the light travels much farther (flash to ceiling to subject), so the inverse square law charges you stops. In exchange, the ceiling becomes a huge, soft source. The model tells you what bounce costs and how to pay for it. More power, a wider aperture, or higher ISO.
Fill is a deliberate underexposure. Outdoor fill flash sets the ambient exposure for the scene first, then adds flash one or two stops below ambient. The flash lifts shadows without announcing itself, precisely because you kept its exposure subordinate to the ambient one.
Balancing is running both exposures on purpose. Balancing flash with ambient light is the full expression of the model. Set the background mood with shutter speed, set the subject with flash power and distance, then tune the overall level with aperture and ISO. A sunset portrait with a perfectly lit face is just two exposures, each given exactly what it needs.
The two-exposure model is the single highest-value idea in flash photography. Modifiers, gels, triggers, and multi-light setups are all refinements. The split is the foundation they stand on.
A Walkthrough You Can Copy
Here's the model in action for a simple indoor portrait with one speedlight set to manual.
-
Set shutter speed to 1/200. At or below sync speed, and a sensible starting point. You'll revisit this for the background later.
-
Set aperture for depth of field. Pick f/2.8 for a blurred background or f/5.6 for more focus safety. This choice affects both exposures, so make it first and let everything else adapt around it.
-
Set ISO 400. Indoors, this gives the flash headroom to work at low power while keeping some ambient in play.
-
Start the flash at 1/16 power. A low starting point recycles fast and is rarely far off at typical portrait distances.
-
Take a test frame and adjust in stops. Subject a stop too dark? Go to 1/8 power. Too bright? Drop to 1/32. You're only moving the flash exposure, so the background stays put.
-
Now judge the background. Too dark and lifeless? Slow the shutter to 1/100 or 1/60 and watch the room come back while your subject stays identical. Too bright? Speed back up toward sync speed.
-
Lock it in and shoot. Flash doesn't drift the way changing daylight does. Once the two exposures look right, they stay right, and every frame comes back consistent.
That's the entire skill. Two exposures, adjusted separately, judged together.
Key Takeaways
- Treat every flash photo as two exposures, with shutter speed controlling ambient light and aperture, ISO, power, and distance controlling flash.
- Remember that doubling flash distance costs two stops of light, which is why backgrounds behind your subject go dark so quickly.
- Use guide numbers (distance times f-number at ISO 100) to predict flash reach, or let the flash calculator do the math.
- Count power fractions in stops, since each halving from full power to 1/2 to 1/4 cuts exactly one stop of flash.
More in This Guide
Continue building your flash skills.