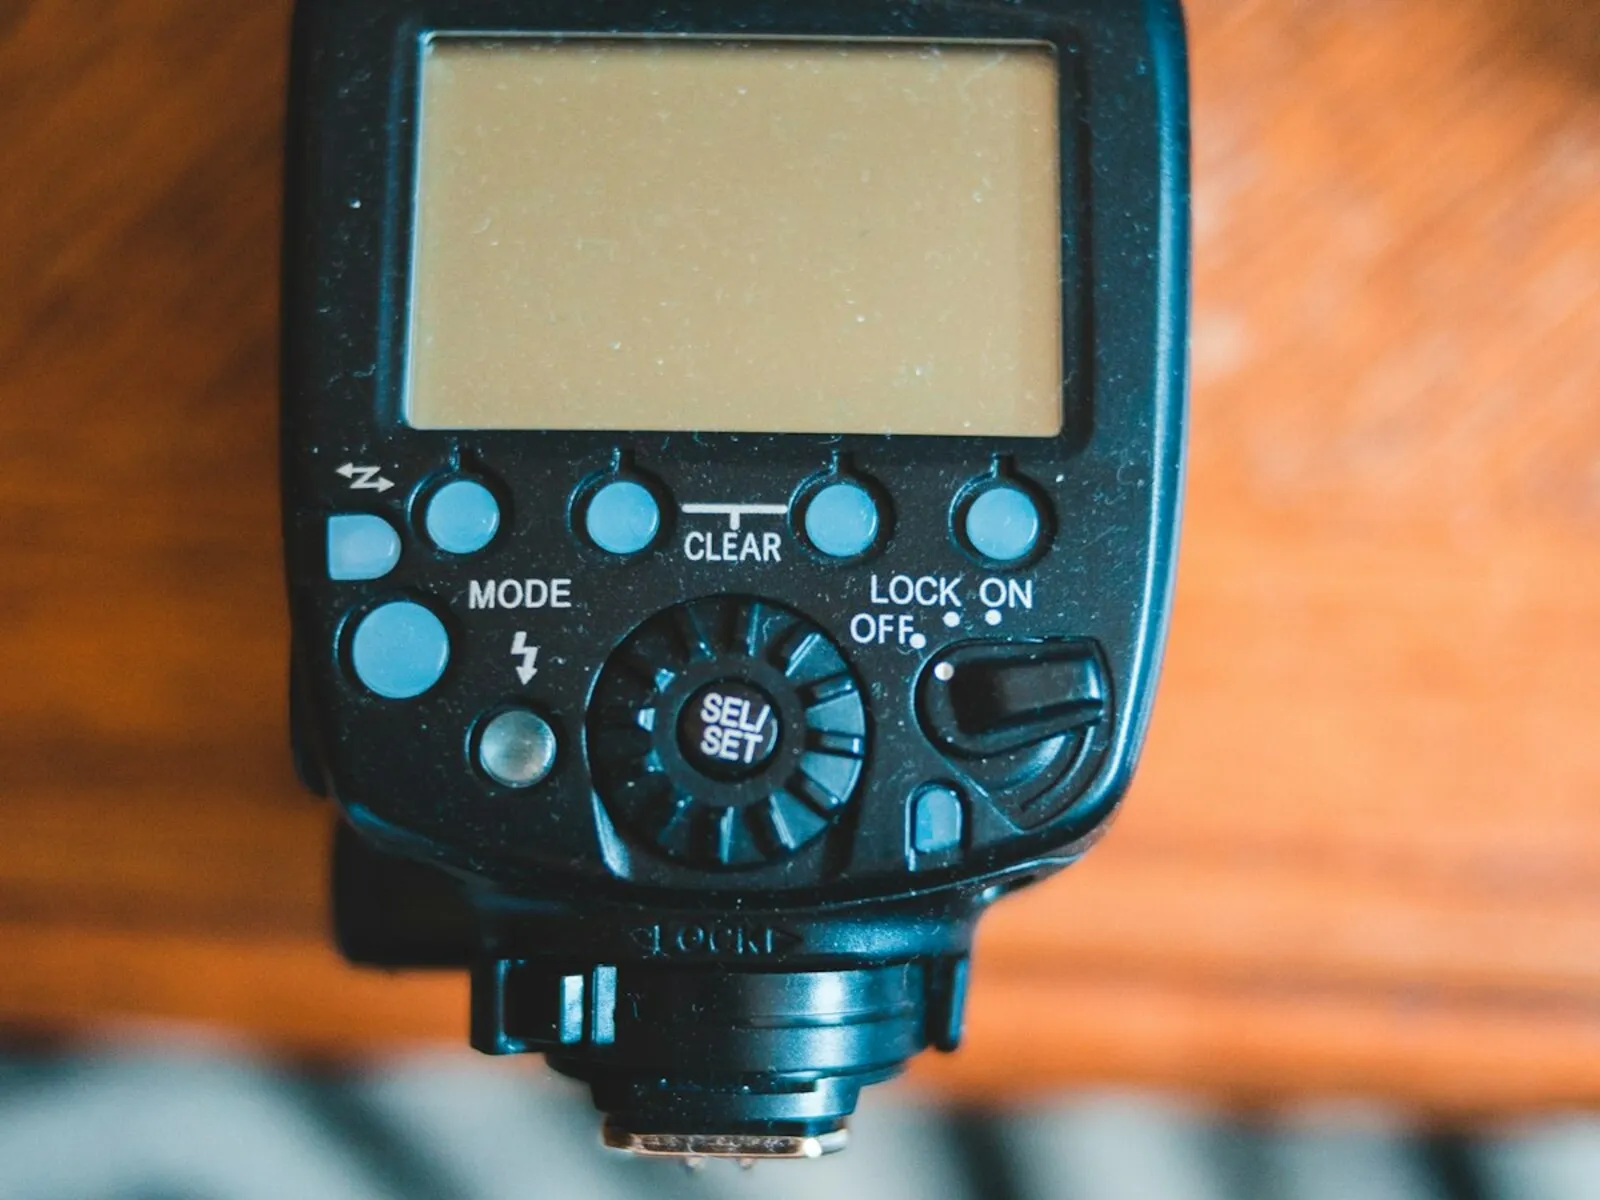
Pointing your flash straight at someone is the most common flash mistake. Tilting the head up at the ceiling is the biggest single fix. One small adjustment, available on any flash with a rotating head, turns harsh, flat, head-on light into something soft and natural. No new gear, no stands, no setup time.
Bounce works because it changes what your subject sees as the light source. Direct flash is a patch of harsh light the size of a business card. Bounced flash turns the ceiling into a source several feet across, and big sources make soft light. That's the entire trick.
Bounce is the first skill to master after flash basics in our flash photography guide. If your photos have that harsh flash look, bounce is almost always the answer, and everything in this article works with a basic speedlight and an ordinary ceiling.
How a Ceiling Becomes a Softbox
Light quality follows one rule. The bigger the light source relative to your subject, the softer the light. That's the whole physics of hard versus soft light, and bounce flash is that rule put to work.
Your flash head is roughly two by three inches. At six feet from a person, that's a point source, which is why direct flash produces sharp-edged shadows, shiny hotspots, and that hard outline on the wall behind your subject.
Tilt the head at the ceiling and the flash lights a patch five or six feet across, and that glowing patch becomes the real light source. Your subject is now lit by something the size of a dining table instead of a drink coaster. Light arrives from dozens of angles at once, filling in shadow edges and wrapping around faces.
Direction improves too. The light falls from above and slightly in front, the way daylight does, and the hard shadow outline behind your subject disappears.
A softbox is a tool that makes a small flash behave like a big window. A white ceiling does the same job, and it came free with the room.
Reading Your Ceiling
Not all ceilings are equal. Look up before you commit.
Height matters most. The sweet spot is a ceiling around 8-10 feet. The light has to travel from your flash up to the ceiling and back down to the subject, so total distance grows fast as ceilings get taller. A 12-foot ceiling is workable with a strong flash and higher ISO. Past 15 feet, you're fighting physics and losing.
White is the reference. A white ceiling returns light without changing its color.
Off-white warms the light slightly. Cream and beige ceilings add gentle warmth that often flatters skin. If it's too much, it's a simple white balance fix because the cast is uniform.
Strong colors are a real problem. A green, blue, or red ceiling tints every face in the frame. Worse, the bounced flash picks up the ceiling's color while the room's ambient light keeps its own, so no single white balance correction fixes both. Skin tones suffer first and worst.
Dark ceilings eat your flash. Black and charcoal surfaces absorb most of what you send up. You'll get weak, muddy light even at full power.
Walk into a room, glance up. Two seconds tells you whether bounce is on the menu.
Bouncing Off Walls for Directional Light
Ceiling bounce is soft, but it comes from above. Wall bounce is soft and comes from the side, which is a different and often better look for portraits.
Light from a big white wall behaves like light from a window. It's soft, it's directional, and it sculpts faces with gentle shadow on one side. That's the exact quality that makes window light portraits work, and wall bounce recreates it anywhere, at night, in a basement, at a reception with no windows in sight.
Rotate your flash head 90 degrees sideways and aim it at a wall to your left or right. Position your subject so the bounced light reaches their face at roughly 45 degrees. Every window light position you know applies here, because you've effectively built a window where you needed one.
A few things to watch. Colored walls tint the light just like colored ceilings. Mirrors, glass, and framed art kick back hard reflections. And distance matters, since a wall five feet away returns far more light than a wall across a banquet hall.
Where to Point the Flash Head
The head position controls where your light comes from. Each option has a job.
45 degrees up: The default. The light lands on the ceiling ahead of you and comes down at a flattering angle for subjects 6-10 feet away. Start here.
Straight up (90 degrees): For close subjects, since a 45-degree tilt would send the light past them. Steep overhead light digs shadows into eye sockets, so pull out the flash's white card to kick light forward and put catchlights back in the eyes.
Up and behind you: Tilt the head up and rotate it backward so the light bounces off the ceiling and wall behind you. The light returns as a huge, soft, frontal source, like standing with your back to a bright window. Often the most flattering option in the room, and the most expensive in power, because the path is the longest.
Sideways at a wall: The directional choice covered above, for when you want light that models the face.
The principle is always the same. Aim the head where you want your light source to be, because after the bounce, that surface is the light.
The Power Cost of Bouncing
Bounce typically costs 2-3 stops compared to direct flash, for two reasons.
The light travels farther. Light follows the inverse square law, so doubling the distance it travels cuts its intensity to a quarter, a two-stop loss. Direct flash might travel 8 feet to your subject. Bounced off a ceiling, that same light travels 5 feet up and another 9 feet down, nearly double the path.
The surface keeps some and scatters the rest. Even clean white paint absorbs a share of the light. And the scattering that makes bounce soft also throws much of it where your subject isn't.
A flash's power is rated by its guide number, which is distance multiplied by f-number at ISO 100. A guide number of 120 in feet means the flash can properly expose a subject 30 feet away at f/4. But guide number math assumes direct flash. Bounce breaks the formula, so treat the numbers as a starting point. The flash distance calculator handles the direct math for any distance, aperture, and ISO, and then you add 2-3 stops on top as a working bounce estimate.
If you shoot manual power, remember that each halving of the power fraction is one stop. Full power to 1/2 is one stop, 1/2 to 1/4 is another. So if a direct shot needs 1/32 power, the same shot bounced needs around 1/8 to 1/4.
TTL Covers the Cost Until It Can't
TTL flash fires a tiny pre-flash, measures what comes back through the lens, and sets power automatically. When you tilt the head up, TTL sees the dimmer return and raises the power on its own. You change the angle, TTL pays the bill. That's why bounce plus TTL is the right starter combination.
Until the flash runs out of bill to pay. A speedlight at full power has nothing more to give, and TTL can't ask for what doesn't exist. The signs are easy to read. Frames come back underexposed, recycle times stretch to several seconds, and batteries drain fast.
When you hit that wall, give the flash less work to do.
- Raise your ISO. One stop of ISO cuts the required flash power in half. ISO 800 indoors with bounce is normal practice, not a compromise.
- Open your aperture. Each stop wider halves the flash power needed, with shallower depth of field as the trade.
- Shorten the bounce path. Move closer to your subject, or pick a lower section of ceiling or a nearer wall.
- Use fresh batteries. They recycle the flash much faster at high output.
One setting that won't help is shutter speed, because it controls ambient light, not flash exposure. Keep it at or below your camera's sync speed, usually around 1/200 to 1/250, and adjust the other three. Whether to stay in TTL or switch to manual full time is its own decision, and TTL vs manual flash walks through it.
When Bounce Fails
Bounce is the best first move, not a universal one. Know the situations where it dies.
High ceilings. Churches, gyms, ballrooms, convention centers. Once the ceiling passes 15 feet or so, the round trip gets so long that even full power returns next to nothing.
Dark venues. Clubs, theaters, and many reception venues paint their ceilings black on purpose. A black ceiling is a light sponge, and no amount of power fixes that.
Strongly colored rooms. A red feature wall or a deep blue ceiling will bounce, but everything it touches comes back tinted. Sometimes you can embrace it. Usually you can't.
Outdoors. There's nothing up there. The sky does not bounce flash back, and the nearest wall might be a block away. Bounce is an indoor technique, full stop.
When bounce fails, you have real options. Off-camera flash with a modifier brings your own soft source instead of borrowing one from the architecture. Direct fill at low power can work when subtlety matters. And if the existing light is decent, raising your ISO and shooting without flash beats fighting a losing bounce battle.
Bounce Cards and Domes, Honestly
Flash accessories promise softbox results from things that fit in a pocket. One is genuinely useful, one is situational, and the rest are mostly hope.
The built-in white card earns its place. Most speedlights hide a pull-out card above the flash tube that kicks a slice of light forward while the rest bounces. With the head straight up, it restores catchlights and adds a touch of fill to faces. It weighs nothing and it's already attached. Use it.
Plastic domes are bounce assistants, not softboxes. A dome scatters light in every direction, onto the ceiling, the walls, and a little toward the subject. Indoors, in a small white room, that's crude omnidirectional bounce and it genuinely helps. Outdoors, a dome does almost nothing except cost you a stop or more, because the source stays flash-sized relative to your subject. The size rule doesn't care what the marketing says.
Strap-on cards and mini softboxes mostly disappoint. A surface a few inches across barely changes the effective source size at portrait distance. You get slight edge softening and a meaningful power loss.
If you have a tilting head and a white ceiling, you already own the best light modifier in the room. Save the accessory budget for a real softbox or umbrella when you take the flash off camera.
A Simple Bounce Routine
Here's a repeatable loop for any new room.
- Start at 45 degrees up with TTL on. The high-percentage opening move.
- Set the camera for the space. ISO 400-800, aperture between f/2.8 and f/5.6, shutter around 1/125 to stay safely under sync speed.
- Take a test shot and read the shadows. Dark eye sockets or a shadowed chin mean the light is dropping too steeply. Tilt the head further back or pop the white card.
- Add direction if the shot deserves it. Rotate toward a wall for that window-light look, then reposition your subject so the light lands at an angle.
- Watch the recycle time. If the flash takes seconds between frames, it's near full power. Raise ISO before it starts missing shots.
- Check skin tones on the back of the camera. A color cast means the bounce surface isn't neutral. Find a whiter surface or accept the correction work later.
Run that loop a few times and bounce stops being a technique and becomes a reflex. Look up, tilt, shoot.
Key Takeaways
- Tilt your flash head toward a white ceiling or wall to turn a tiny speedlight into a soft source many feet across.
- Expect to lose 2-3 stops of power when you bounce, so raise your ISO or open the aperture in larger rooms.
- Bounce off a wall instead of the ceiling when you want directional, window-like light with shadows that model the face.
- Skip bouncing under high, dark, or strongly colored ceilings and switch to direct flash with a modifier or off-camera flash instead.
More in This Guide
Continue building your flash skills.


Related Guides